
Extending the drain hose of a dishwasher is a practical solution when your appliance is located farther away from the drain outlet. Whether you’re rearranging your kitchen layout or installing a new dishwasher in a tight space, understanding how to safely and effectively lengthen the hose can help maintain proper functionality and prevent leaks.
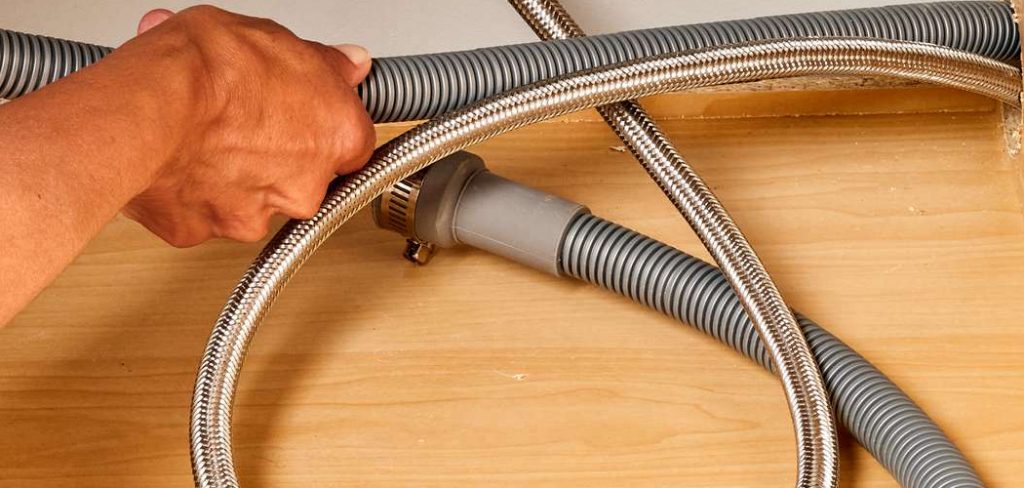
This guide on how to extend dishwasher drain hose will walk you through the essential steps, tools, and precautions needed to complete the task with confidence.
Why Extend the Dishwasher Drain Hose?
In most cases, dishwashers come with a standard drain hose length of about 6 to 10 feet. While this is sufficient for most installations, there are instances where you may need additional length. Some common reasons for extending the dishwasher drain hose include:
- Relocating your dishwasher to a different location in the kitchen
- Installing a new dishwasher in a tight space or under a counter
- Replacing an existing drain hose that is damaged or too short
Whatever your reason may be, extending the dishwasher drain hose will allow you to have more flexibility in terms of placement and help ensure proper drainage.
What You Will Need
Before getting started, it’s essential to gather all the necessary tools and materials. Here’s a list of what you’ll need:
Extended Dishwasher Drain Hose
Make sure to measure the distance between the dishwasher and the drain outlet to determine the length of the extended hose needed. It’s recommended to add an extra foot or so for flexibility and to avoid any tension on the hose.
Hose Clamp
A hose clamp is necessary to connect the two ends of the old and extended drain hoses together securely. Choose a clamp that fits your hose diameter, typically ⅞ inches for most dishwashers.
Screwdriver
You’ll need a screwdriver to loosen and tighten clamps or screws holding the dishwasher in place.
Pliers
Pliers may come in handy when adjusting clamps or manipulating parts of the dishwasher.
Dishwasher Installation Manual
Refer to the installation manual that came with your dishwasher for specific instructions and diagrams on how to extend the drain hose. If you don’t have a manual, it’s usually available online from the manufacturer’s website.
8 Step-by-step Guides on How to Extend Dishwasher Drain Hose
Step 1: Disconnect Power and Water Supply
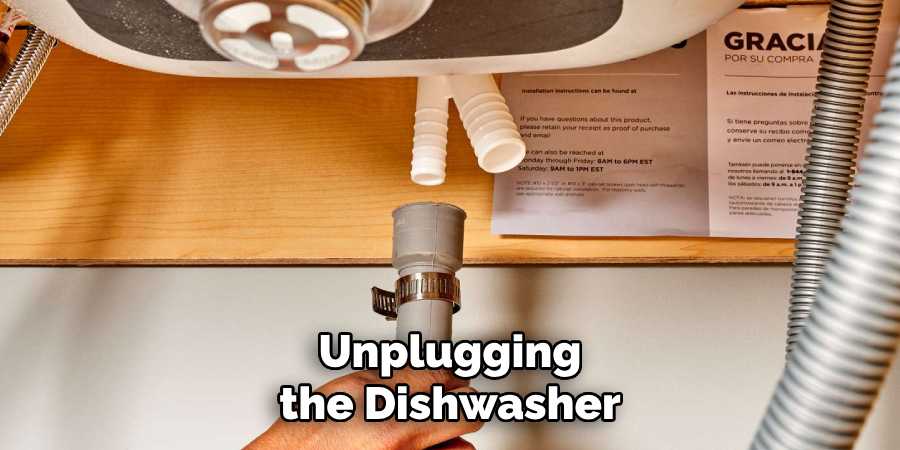
Before beginning any work on your dishwasher, safety should be your top priority. Start by unplugging the dishwasher from the power outlet to prevent any risk of electric shock. If your dishwasher is hardwired, turn off the relevant circuit breaker at your home’s electrical panel. Next, locate the water supply valve, usually found underneath the kitchen sink or behind the dishwasher. Turn the valve clockwise to shut off the water supply to the dishwasher.
This step ensures that no water will flow through the machine while you’re working on the drain hose. Once these steps are complete, you can safely proceed to work on your appliance.
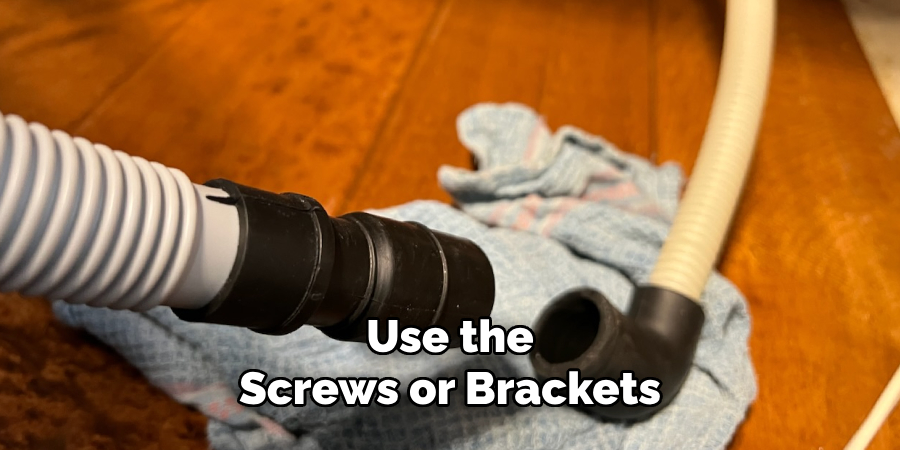
Step 2: Pull Out the Dishwasher
With the power and water supply safely disconnected, carefully pull the dishwasher out from its installed position. Begin by removing any screws or brackets that secure the dishwasher to the countertop, cabinets, or floor as outlined in the installation manual. Use a screwdriver to loosen these fasteners if needed.
Gently slide the dishwasher forward while ensuring that you do not damage the flooring or surrounding cabinetry. If the drain hose or water supply lines are already connected, move the dishwasher slowly to avoid putting stress on these connections. Once the dishwasher has been pulled out and is accessible, you are ready to proceed with extending the drain hose.
Step 3: Locate the Drain Hose
The drain hose is usually located at the back of the dishwasher and connected to a drain pump. Some models may have a separate hose that connects to the garbage disposal or sink drain. Refer to your installation manual if you’re having trouble locating the drain hose.
Once you’ve found it, disconnect it from the dishwasher by gently pulling it off its connection point.
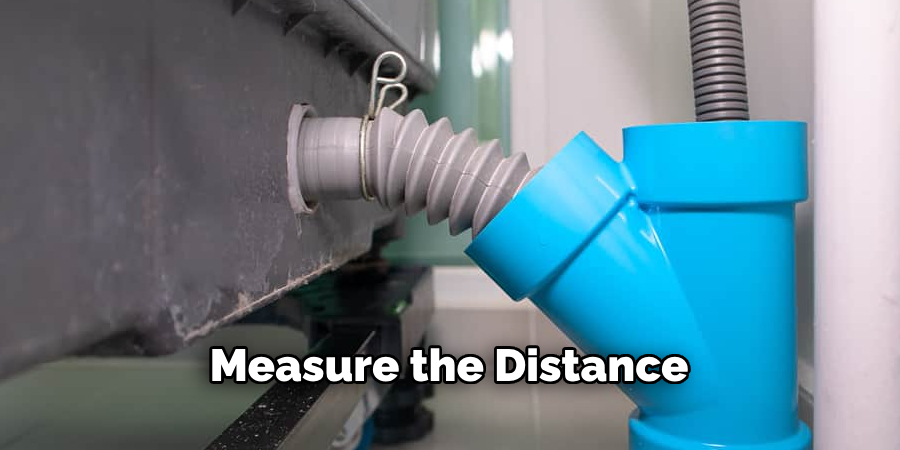
Step 4: Measure and Cut Extended Drain Hose
With the old drain hose disconnected, measure the distance between the dishwasher and the drain outlet to ensure the extended hose will be the correct length. Lay the extended hose alongside the old hose to gauge where the connection will be made and to verify that the total length will reach the drain outlet without being overstretched or kinked.
Once you’ve confirmed the necessary length, use a utility knife or hose cutter to trim the extended hose to size if it is too long. Make sure your cut is clean and straight to ensure a secure and leak-free connection when attaching it to the original hose.
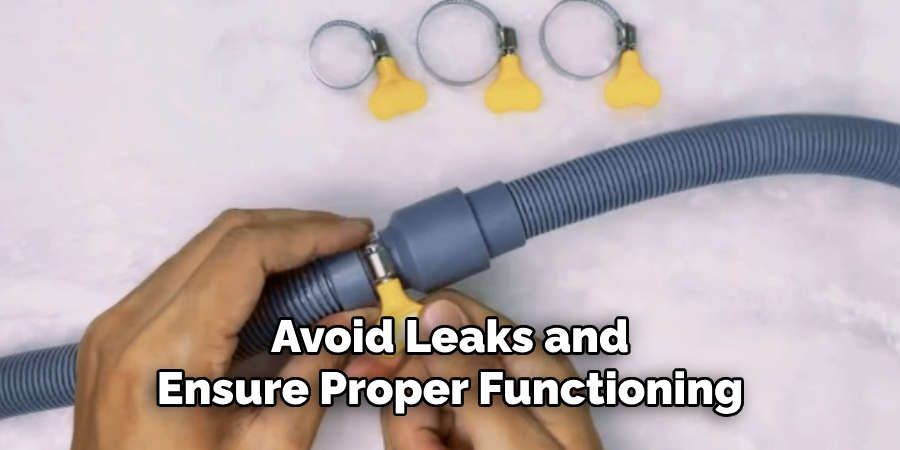
Step 5: Connect the Extended Hose with a Hose Clamp
Slide a hose clamp onto one end of the extended drain hose. Insert this end into the other end of the old drain hose, making sure they overlap by about an inch or two. Secure them together tightly using pliers to tighten the clamp around both hoses.
The connection should be snug, but not too tight to avoid damaging the hoses.
Step 6: Reconnect the Drain Hose
Return the dishwasher to its installed position and carefully guide the extended drain hose back through its original path. Then, reconnect the drain hose to its original connection point on either the garbage disposal or sink drain. Make sure it is securely attached by pushing it in firmly or using a new hose clamp if necessary.
Otherwise, the hose may disconnect and cause leaks or blockages.
Step 7: Secure the Dishwasher
Once you’ve successfully reconnected the extended drain hose and ensured there are no kinks or obstructions, carefully slide the dishwasher back into its designated position. Pay close attention to the alignment of the dishwasher with the surrounding cabinetry and countertop to ensure a proper fit. Use the screws or brackets you removed earlier to reattach the dishwasher to the countertop or cabinets for stability.
Tighten these fasteners with a screwdriver to secure the unit in place, ensuring it won’t shift during operation. Additionally, double-check that the extended drain hose and other connections remain secure and are not pinched or strained during this process.
Step 8: Restore Power and Water Supply
Once everything is securely in place, plug the dishwasher back into the power outlet or turn on the circuit breaker. Then, turn on the water supply valve to allow water flow to the dishwasher. Finally, run a test cycle to make sure that there are no leaks and that the extended drain hose is functioning properly.
If you notice any issues, refer back to your installation manual for troubleshooting steps or consult a professional for assistance. After successfully extending your dishwasher drain hose, remember to clean up any tools and dispose of any excess materials before using your dishwasher again.
Following these step-by-step guides on how to extend the dishwasher drain hose will ensure that you can extend your dishwasher drain hose safely and effectively. Remember to always refer to the specific instructions outlined in your installation manual for your particular dishwasher model. However, with proper precautions and techniques, extending the drain hose of your dishwasher should be a manageable task for any homeowner.
Frequently Asked Questions
Q1: Can I Use Any Type of Hose to Extend My Dishwasher Drain Hose?
A1: No, it is important to use a high-quality, flexible drain hose specifically designed for dishwashers. Regular garden hoses or other types of hoses may not be able to withstand the high water pressure and heat from a dishwasher, leading to potential leaks or damage.
Q2: How Often Do I Need to Replace My Dishwasher Drain Hose?
A2: It is recommended to replace your dishwasher drain hose every 5-10 years, depending on usage and wear and tear. If you notice any cracks, kinks, or leaks in the hose, it should be replaced immediately to avoid further damage and potential flooding.
Q3: Can I Extend My Dishwasher Drain Hose with an Extension Kit?
A3: Yes, extension kits specifically designed for dishwashers can be used to extend the drain hose. These kits usually include everything you need, such as an extended hose and clamps, to safely and effectively extend your dishwasher drain hose. However, refer to your installation manual for compatibility with your specific dishwasher model before purchasing an extension kit.
Q4: Why Do I Need to Extend My Dishwasher Drain Hose?
A4: There are several reasons why you may need to extend your dishwasher drain hose. One common reason is that installing a new dishwasher in a different location requires a longer hose. Another reason could be to accommodate changes in your kitchen layout, such as adding a garbage disposal or rearranging cabinetry. It is essential to extend the drain hose properly to avoid leaks and ensure proper functioning of your dishwasher.
Conclusion
Extending your dishwasher drain hose may seem like a daunting task, but by following the steps on how to extend dishwasher drain hose outlined above, you can complete it with confidence and precision. Always prioritize safety by disconnecting the power and water supply before beginning any work. Take your time with each step to ensure all connections are secure and free of leaks.
Proper installation not only ensures the smooth operation of your dishwasher but also prevents potential damage to your home caused by improper drainage. With a little care and attention to detail, this DIY task can save you time and money while keeping your dishwasher running efficiently.
Professional Focus
Angela Ervin, a former interior designer turned blogger, specializes in kitchen design and renovations. Through her website, she blends her passion for cooking with design expertise, sharing practical and creative ideas. Known for balancing functionality and beauty, Angela’s insightful content has made her a trusted voice in home design and lifestyle.
About the Author
Angela Ervin, an experienced interior designer and blogger, combines her passion for kitchen renovations with storytelling. Living in Petersburg with her family, she enjoys cooking and testing her projects firsthand. Known for her humor and relatable style, Angela shares creative, functional design insights through her content, making her a trusted voice in home design.
Education History
University: Virginia Commonwealth University
Degree: Bachelor of Fine Arts (BFA) in Interior Design
- Angela’s education at VCU focused on mastering core interior design principles, including spatial planning, color theory, materials selection, and sustainable design practices.
- She gained hands-on experience through studio projects and collaborative design exercises, which honed her ability to create functional and aesthetically pleasing environments.
- Her coursework also emphasized problem-solving and practical applications of design, preparing her for real-world projects like her self-directed kitchen renovations.
- The program’s strong foundation in both technical skills and creative expression shaped Angela’s ability to seamlessly integrate form and function in her work.