
Painting marble countertops can be an affordable and creative way to refresh your space without the expense of replacing them. Whether you want to achieve the look of a luxurious marble finish or try a completely different design, the process is straightforward and rewarding with the right tools and techniques.
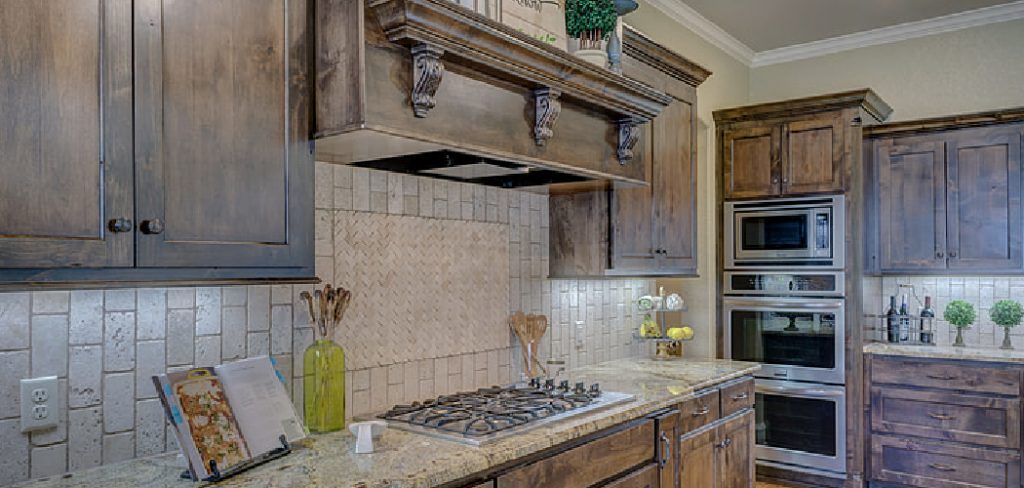
This guide on how to paint marble countertops will walk you through the steps to transform your countertops, providing tips to ensure a professional-looking and durable finish.
Why Paint Marble Countertops?
There are several reasons why you may choose to paint your marble countertops instead of replacing them. One of the main reasons is the cost – painting can be a fraction of the price compared to installing new countertops. Additionally, it allows for more creativity and customization. You can achieve any color or pattern you desire, giving your space a unique look without breaking the bank.
Materials Needed
Before starting your project, make sure you have all the necessary materials on hand:
Sandpaper (220-grit):
To smooth out any rough spots on the countertops.
TSP (Tri-Sodium Phosphate):
To clean and degrease the surface before painting.
Painter’s Tape:
To protect areas around the countertops from paint.
Primer:
A high-quality bonding primer specifically designed for countertops.
Paint:
Choose a durable paint that is suitable for high-traffic areas, such as an acrylic or enamel-based paint.
Sea Sponge/Feather:
These are optional tools used to create the marble effect.
8 Step-by-step Guidelines on How to Paint Marble Countertops
Step 1: Prepare Your Countertops
Proper preparation is key to achieving a smooth and lasting finish. Begin by thoroughly cleaning the countertops with a mixture of water and TSP (Tri-Sodium Phosphate) to remove any grease, dirt, or grime. Rinse the surface with clean water and allow it to dry completely. Once the countertops are dry, use 220-grit sandpaper to gently sand the entire surface.
This step ensures proper adhesion by creating a slightly rough texture for the primer to grip. After sanding, wipe away any dust with a damp cloth or tack cloth. Finally, apply painter’s tape to mask off edges or areas you want to protect, such as backsplashes or nearby walls, so that only the countertop surface is exposed.
Step 2: Apply Primer
Once the countertops are prepared, it’s time to apply the primer. Choose a high-quality bonding primer specifically designed for countertops to ensure it adheres well to the surface. Using a paintbrush or a foam roller, apply a thin, even coat of primer to the entire surface. Be sure to work in smooth, consistent strokes to avoid streaks or uneven spots.
Allow the primer to dry completely according to the manufacturer’s instructions, which usually takes several hours. For best results, you may need to apply a second coat of primer to ensure full and even coverage. Once the primer is fully dry, your countertops will be ready for the next step in the painting process.
Step 3: Mix Paint Colors
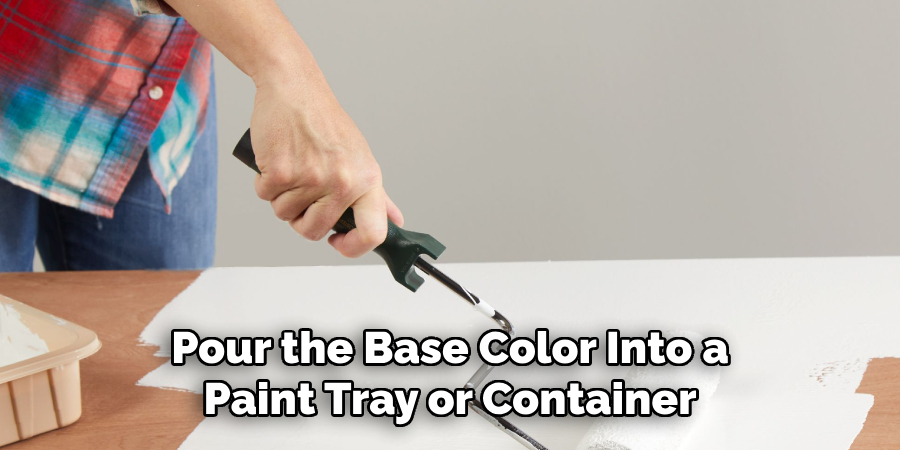
To achieve a realistic marble effect, you’ll need to mix your paint colors carefully. Start by selecting your base color, usually white or a soft neutral shade, to mimic the natural background of marble. Pour the base color into a paint tray or container. Next, choose one or more accent colors for the veins—common choices include gray, black, or even gold for a more striking look. Use separate containers for each accent color and thin them slightly with water to make them easier to work with.
To create a natural marble pattern, experiment with blending the colors using a sea sponge or feather. Dab the tools into the accent colors and practice on a piece of cardboard until you achieve the desired look. Mixing the colors properly is an important step, as it allows you to create soft, organic patterns that resemble the veins found in real marble. Once your paints are mixed and ready, you can move on to applying them to the countertops.
Step 4: Apply Base Coat
After mixing your paint colors, start by applying the base coat to the entire countertop surface. Use a foam roller for large areas and a paintbrush for edges or corners to ensure smooth and consistent coverage. Work in thin, even layers, and avoid overloading the roller or brush with paint to prevent streaks or drips.
Allow the base coat to dry completely according to the manufacturer’s instructions, which may take several hours. For optimal coverage, you may need to apply a second coat of the base color. Once the base coat is fully dry, you’ll have a clean canvas ready to create the marble effect.
Step 5: Apply Vein Colors
Using your thinned accent colors, begin applying the veins to your countertops. There’s no right or wrong way to do this – it’s all about creating a natural and organic pattern that resembles real marble. Use a sea sponge or feather for a soft, veiny look, or try using a small artist’s brush for more defined and intricate patterns. Remember to step back occasionally to assess the overall effect and make adjustments as needed.
Once you’re satisfied with the vein patterns, allow the paint to dry completely before moving on to the next step.
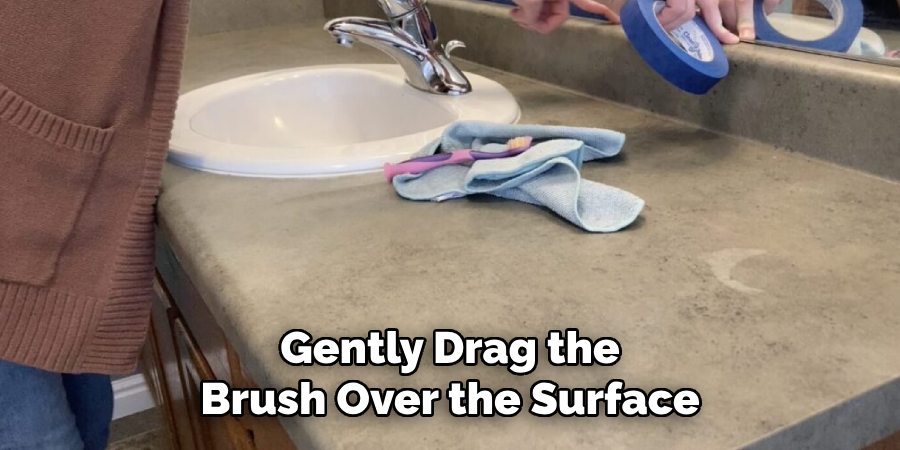
Step 6: Create Depth with Dry Brushing
To add depth and dimension to your faux marble countertops, you can use a dry brushing technique. This involves lightly dipping a dry brush into your accent colors and then wiping off most of the paint on a paper towel or rag. Then, gently drag the brush over the surface in random directions to create subtle variations in color and texture.
Be careful not to overdo this step – less is more when it comes to creating realistic-looking marble patterns.
Step 7: Seal the Surface
To ensure your newly painted countertops last for years to come, it’s crucial to seal them with a durable topcoat. Choose a clear polyurethane or epoxy sealer that is suitable for high-traffic areas and specifically designed for use on painted countertops.
Follow the manufacturer’s instructions carefully and apply at least two coats of sealer, allowing ample drying time between each coat. This step will not only protect your countertops from scratches and stains but also give them a glossy, polished finish similar to real marble.
Step 8: Enjoy Your New Marble Countertops!
Congratulations, you have successfully painted your countertops to resemble luxurious marble! Once the final coat of sealer is fully dry, you can remove the painter’s tape and enjoy your newly transformed countertops. With proper care and maintenance, your faux marble countertops can last for many years without the steep price tag of real marble.
Following these steps on how to paint marble countertops and experimenting with different colors and techniques can also allow you to create unique and stunning marble effects that are customized to your personal style. So go ahead and unleash your creativity while enjoying the beautiful, realistic look of marble in your kitchen or bathroom!
Additional Tips
- Practice on a small area or spare piece of wood first to perfect your technique and color mixing before applying it to your countertops.
- Use a high-quality paintbrush and foam roller to ensure smooth and even coverage.
- Don’t be afraid to mix in different shades or colors for a more realistic marble effect.
- Use a sealer with UV protection to prevent the painted surface from yellowing over time.
- Avoid using harsh chemicals or abrasive cleaners on your newly painted countertops, as these can damage the sealant and ruin the finish.
- Regularly clean your countertops with a mild soap and water solution to keep them looking their best. So, enjoy your new faux marble countertops without breaking the bank! And remember, the possibilities are endless when it comes to painting techniques and color combinations, so have fun experimenting and creating unique marble effects that will surely impress your friends and family. Happy painting!
Frequently Asked Questions
Q: Can I Paint Over My Existing Countertops?
A: Yes, you can paint over most types of countertops, including laminate, wood, and even tile. However, it’s important to properly prepare the surface by cleaning and sanding it before applying any paint.
Q: How Long Will the Painted Countertops Last?
A: With proper preparation and sealing, painted countertops can last for several years. However, regular maintenance and avoiding harsh chemicals will help prolong their lifespan.
Q: Can I Use Any Type of Paint?
A: No, it’s important to use a high-quality, specifically formulated paint for countertops to ensure durability and a professional finish.
Q: What Types of Finishes Can I Achieve?
A: The possibilities are endless when it comes to faux marble finishes – you can create anything from a subtle, soft veining effect to bold and dramatic patterns. It all depends on your preference and artistic abilities.
Conclusion
Transforming your countertops with a faux marble finish is an affordable and rewarding DIY project that can completely revitalize your space. By following these step-by-step instructions on how to paint marble countertops, you can achieve a high-end look without the high-end cost, making it an ideal option for budget-conscious homeowners.
With the right tools, proper preparation, and a bit of patience, your countertops will not only look stunning but also showcase your creativity and personal style. Remember, the key to long-lasting results lies in proper sealing and regular maintenance. Whether you’re updating your kitchen or bathroom, this project is a fantastic way to add elegance and sophistication to your home. Happy painting!
Professional Focus
Angela Ervin, a former interior designer turned blogger, specializes in kitchen design and renovations. Through her website, she blends her passion for cooking with design expertise, sharing practical and creative ideas. Known for balancing functionality and beauty, Angela’s insightful content has made her a trusted voice in home design and lifestyle.
About the Author
Angela Ervin, an experienced interior designer and blogger, combines her passion for kitchen renovations with storytelling. Living in Petersburg with her family, she enjoys cooking and testing her projects firsthand. Known for her humor and relatable style, Angela shares creative, functional design insights through her content, making her a trusted voice in home design.
Education History
University: Virginia Commonwealth University
Degree: Bachelor of Fine Arts (BFA) in Interior Design
- Angela’s education at VCU focused on mastering core interior design principles, including spatial planning, color theory, materials selection, and sustainable design practices.
- She gained hands-on experience through studio projects and collaborative design exercises, which honed her ability to create functional and aesthetically pleasing environments.
- Her coursework also emphasized problem-solving and practical applications of design, preparing her for real-world projects like her self-directed kitchen renovations.
- The program’s strong foundation in both technical skills and creative expression shaped Angela’s ability to seamlessly integrate form and function in her work.