
Cement countertops have become popular for modern kitchens and bathrooms due to their durability, versatility, and sleek aesthetic appeal. Unlike traditional countertop materials, cement countertops allow for shape, color, and finish customization, making them a favorite among homeowners and designers alike. However, cement is a porous material, so it is prone to stains, water damage, and general wear and tear over time. Properly sealing cement countertops is an essential step to maintain their appearance and functionality. A high-quality sealer protects the surface and enhances its durability and resistance to everyday damage.

This article serves as a comprehensive guide on how to seal cement countertops, outlining the materials required, application methods, and tips for achieving a professional and long-lasting seal. With the right approach, you can ensure your cement countertops remain a beautiful and practical feature in your home for years to come.
Materials and Tools Needed
Before sealing your cement countertops, gathering all the necessary materials and tools is important to ensure a smooth and effective process. Having the correct items on hand will make the task easier and help achieve a professional finish that enhances the durability and aesthetics of your countertops.
Essential Materials:
- Concrete sealer – Choose between a penetrating sealer (for a natural look and deep protection) or a topical sealer (for a glossy finish and surface-level protection), depending on your preference.
- Clean cloths or sponges – For cleaning and wiping the countertop surface.
- Painter’s tape (optional) – To protect the edges and surrounding areas.
- Mild detergent – To clean the surface thoroughly before sealing.
- Sandpaper – Use if there are uneven or rough areas that need smoothing before applying the sealer.
- Gloves and protective eyewear – For personal safety during the cleaning and sealing process.
Tools Required:
- Paintbrush or foam roller – To ensure an even application of the sealer.
- Spray bottle (optional) – This is used to apply the sealer in some methods, particularly for larger surfaces.
- Bucket of water – Needed for cleaning tools or rinsing the surface during preparation.
- Dust mask (optional) – For safety when sanding the surface to avoid inhaling dust particles.
With these materials and tools prepared, you’ll be ready to move on to the next steps of the sealing process with confidence.
Preparing the Cement Surface
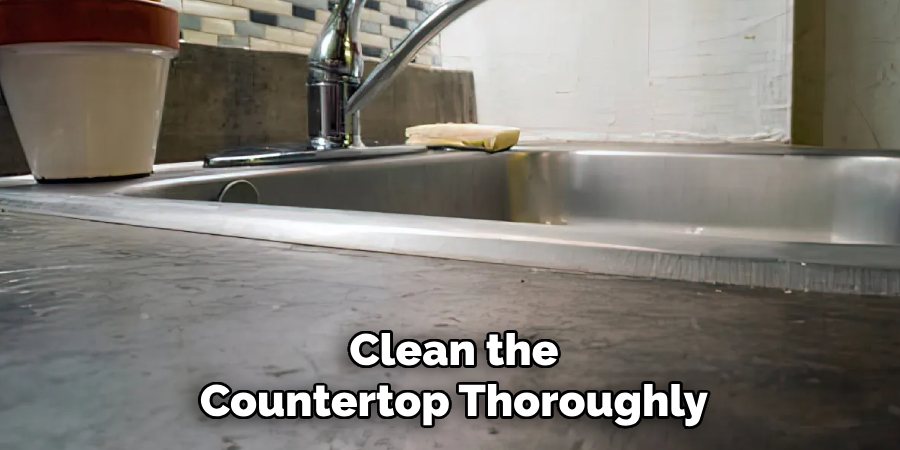
Step 1: Clean the Countertop Thoroughly
Use a mild detergent mixed with warm water to clean the countertop surface. This step helps remove any dirt, grime, or grease that could interfere with sealing. Rub gently but thoroughly with a soft cloth or sponge, paying close attention to corners and edges. Once cleaned, rinse the surface with clean water to ensure no soap residue remains. Allow the countertop to air dry completely or use a clean cloth to speed up the process.
Step 2: Sand the Surface (If Needed)
Inspect the countertop for any uneven areas, rough patches, or imperfections affecting the final finish. If needed, use fine-grit sandpaper to lightly sand these areas, ensuring a smooth and uniform surface for the sealer application. Be careful not to over-sand, as this could damage the cement. After sanding, wipe down the countertop with a clean, damp cloth to remove all dust and debris. This ensures the sealer adheres properly to the surface.
Step 3: Mask the Surrounding Area
To protect nearby surfaces and edges, use painter’s tape to mask off the surrounding areas. Carefully apply the tape along the edges of the countertop and any adjacent walls or fixtures to avoid accidental sealer application. Ensure the tape is secure and creates a clean line for a professional-looking finish. This step helps prevent messes and ensures precise application during sealing.
Choosing the Right Sealer
The appropriate sealer for your concrete countertop is crucial to achieving the desired aesthetic and performance. There are two primary types of sealers to consider, each with its own advantages and limitations.
Penetrating Sealers
Pros: Penetrating sealers soak into the cement, providing a natural matte finish that preserves the countertop’s original appearance. These sealers are an excellent choice for high-traffic countertops as they offer durable protection from within the surface.
Cons: However, penetrating sealers require periodic reapplication, particularly in kitchens or other areas exposed to frequent spills and moisture.
Topical Sealers
Pros: Topical sealers create a glossy, protective layer on the surface, offering enhanced resistance against spills, stains, and abrasion. These are ideal for countertops requiring extra protection.
Cons: Over time, topical sealers may wear and require maintenance. Additionally, they can subtly alter the texture and appearance of the countertop, which may not appeal to everyone.
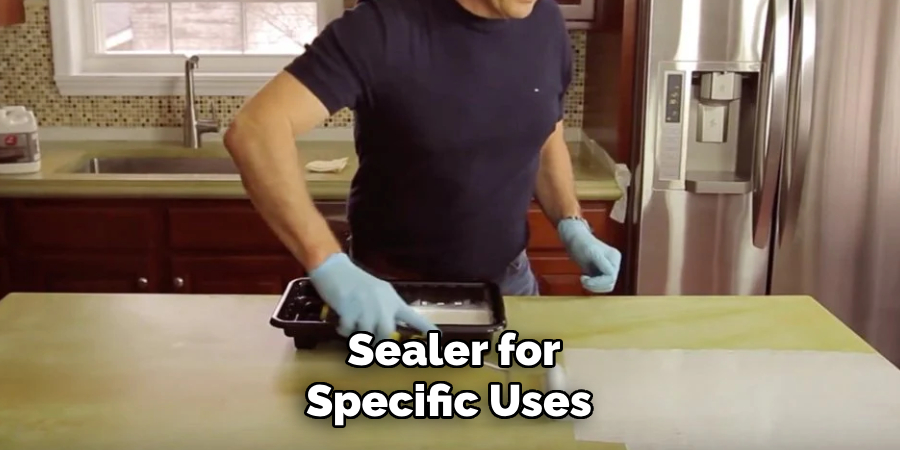
Sealer for Specific Uses
When sealing kitchen countertops that come in contact with food, always opt for food-safe sealers to ensure safety and hygiene. For outdoor concrete countertops, choose UV-resistant sealers to prevent fading and maintain the vibrancy of the surface over time. Carefully selecting the proper sealer ensures your countertop remains functional and visually appealing for years to come.
How to Seal Cement Countertops: Applying the Concrete Sealer
Step 1: Prepare the Sealer
Before applying, shake the sealer container or stir it thoroughly to ensure the contents are evenly mixed and ready for use. This step is crucial to maintaining consistent performance during application. If using a spray sealer, pour the sealer into the spray bottle and test it on a small, inconspicuous area of the countertop. This allows you to check for any unforeseen issues and ensure the nozzle delivers a fine, even mist.
Step 2: Apply the First Coat
To apply the first coat, use a paintbrush, foam roller, or spray bottle, depending on the sealer type and your preference. Start by working in small sections, applying the sealer evenly across the countertop surface. Avoid leaving heavy or pooled spots, as these can lead to uneven drying or finish. Take your time and focus on smooth, consistent strokes to create a perfect base layer.
Step 3: Allow Drying Time
Once the first coat is applied, allow it to dry for the recommended time as specified by the sealer’s manufacturer—typically between 2 to 4 hours, but this can vary. Ensure the countertop remains in a well-ventilated environment throughout the drying process to avoid moisture buildup and ensure the sealant cures properly. Avoid touching or using the surface during this period to maintain the integrity of the application.
Caring for Sealed Cement Countertops
Cleaning and Maintenance
To maintain the finish and longevity of your sealed cement countertop, clean it regularly with a soft cloth or sponge and mild soap. Harsh chemicals or abrasive cleaners should be avoided, as these can degrade the sealer over time. Make it a habit to wipe up spills immediately, particularly on food preparation areas, to prevent staining or moisture seeping through the sealant. Regular cleaning will help preserve the countertop’s appearance and functionality.
Reapplication Schedule
The longevity of the sealer depends on the type of sealant used and the level of use the countertop experiences. Topical sealers typically require reapplication every 1 to 2 years to maintain their protective layer, while penetrating sealers can last longer but still need periodic maintenance. Monitoring for signs of wear, such as dull spots or water absorption, can help you determine when reapplication is necessary.
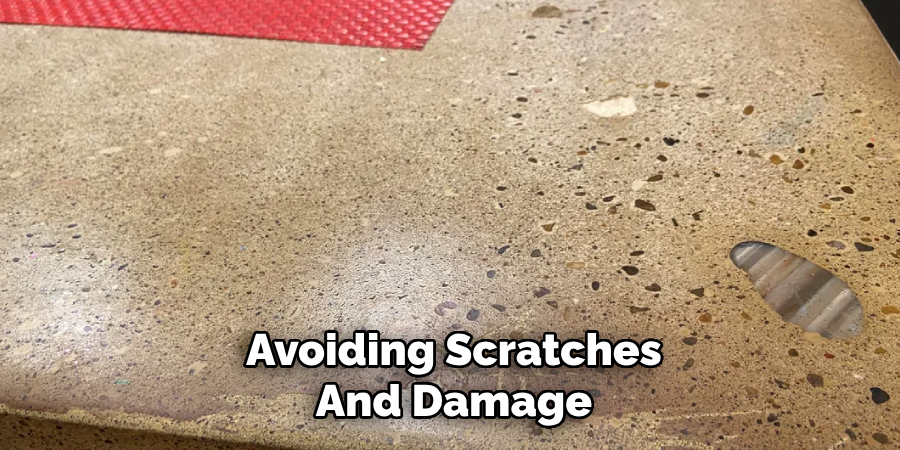
Avoiding Scratches and Damage
To protect the sealed surface, ensure preventive measures are followed. Always use cutting boards when preparing food to avoid scratches, and place trivets or heat-resistant pads under hot pans to prevent heat damage. By following these preventive steps, you can extend the life of your sealed cement countertops and keep them looking pristine.
Common Problems and Solutions
Problem 1: Streaking or Uneven Application
Solution: Streaking or uneven application can occur if the sealer is not applied correctly. To address this, ensure the sealer is spread evenly in thin layers using a high-quality applicator, such as a sponge or microfiber cloth. Sand lightly between coats with fine-grit sandpaper to smooth out imperfections before applying subsequent layers. This practice will ensure a consistent, professional finish.
Problem 2: Staining or Discoloration
Solution: Staining or discoloration, especially with topical sealers, may appear over time. To resolve this issue, clean the surface thoroughly and reapply a new layer of the topical sealer. Touch-ups may be necessary for penetrating sealers if stains persist. Use a cleaner specifically designed for sealed cement countertops to prevent further discoloration and maintain the integrity of the surface.
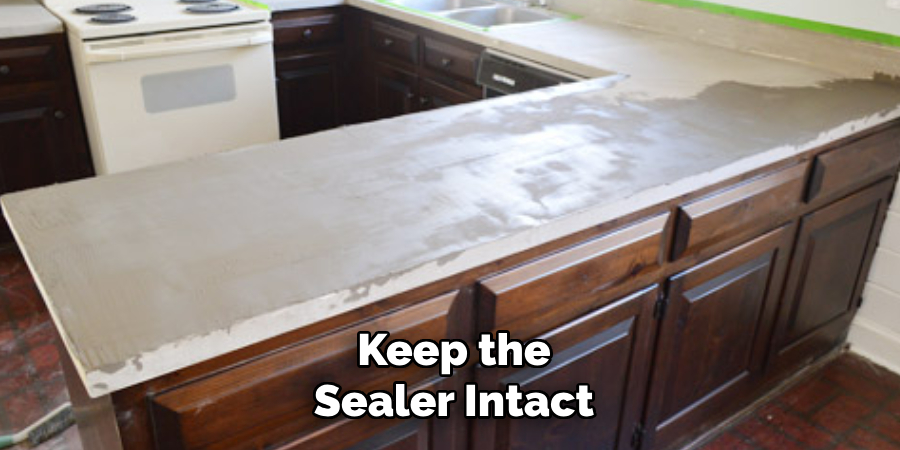
Problem 3: Peeling or Chipping
Solution: Peeling or chipping typically results from wear and tear or improper sealer application. To fix damaged areas, sand down the peeling or chipped sections to create a smooth surface and reapply the sealer to the affected area. Implement regular cleaning, avoid abrasive scrubbing tools for long-term prevention, and follow the recommended maintenance schedule to keep the sealer intact.
Conclusion
Sealing cement countertops is a straightforward process significantly enhancing their durability and appearance. Start by thoroughly cleaning the surface to eliminate dust and debris. Next, select the appropriate sealer, whether topical or penetrating, based on your specific needs. Apply the sealer in multiple even coats, allowing each layer to dry fully before applying the next. Regular maintenance is key to preserving the finish and preventing issues like staining or chipping. By following these steps on “how to seal cement countertops,” you can ensure a long-lasting, professional-looking finish that keeps your countertops protected and visually appealing for years to come.
Professional Focus
Angela Ervin, a former interior designer turned blogger, specializes in kitchen design and renovations. Through her website, she blends her passion for cooking with design expertise, sharing practical and creative ideas. Known for balancing functionality and beauty, Angela’s insightful content has made her a trusted voice in home design and lifestyle.
About the Author
Angela Ervin, an experienced interior designer and blogger, combines her passion for kitchen renovations with storytelling. Living in Petersburg with her family, she enjoys cooking and testing her projects firsthand. Known for her humor and relatable style, Angela shares creative, functional design insights through her content, making her a trusted voice in home design.
Education History
University: Virginia Commonwealth University
Degree: Bachelor of Fine Arts (BFA) in Interior Design
- Angela’s education at VCU focused on mastering core interior design principles, including spatial planning, color theory, materials selection, and sustainable design practices.
- She gained hands-on experience through studio projects and collaborative design exercises, which honed her ability to create functional and aesthetically pleasing environments.
- Her coursework also emphasized problem-solving and practical applications of design, preparing her for real-world projects like her self-directed kitchen renovations.
- The program’s strong foundation in both technical skills and creative expression shaped Angela’s ability to seamlessly integrate form and function in her work.