
Butcher block countertops have long been a favorite choice for homeowners due to their durability, functionality, and natural beauty. These wood countertops offer a warm, rustic charm, making them a versatile addition to any kitchen or workspace. However, maintaining their appeal and longevity requires proper care and treatment. Staining a butcher block countertop is an essential process that enhances the wood’s natural color and protects it from moisture, stains, and everyday wear and tear.
It brings out the wood’s unique grain, allowing the countertop to become both a practical and decorative centerpiece. This article serves as a comprehensive step-by-step guide on how to stain a butcher block countertop effectively. Whether you’re tackling this project for the first time or looking to refresh your countertop, following these steps will ensure a long-lasting and attractive finish suited to your personal style and needs.
Materials and Tools Needed
Essential Materials
- Butcher Block Countertop (unfinished or sanded): The wood surface you’ll be working on must be properly prepped to absorb the stain effectively.
- Wood Stain (oil-based or water-based, depending on preference): Choose a stain that suits both your aesthetic goals and intended use to enhance the wood’s natural beauty.
- Mineral Spirits Or Wood Cleaner (for prepping the surface): These are essential for cleaning the wood and removing any oils or residues before staining.
- Wood Finish Or Sealer (e.g., polyurethane or butcher block oil): Sealing the countertop helps protect it against moisture, stains, and wear, extending its lifespan.
Tools Required
- Sandpaper (medium and fine grit): Sanding smooths the surface and opens the wood grain, ensuring better stain absorption.
- Paintbrush Or Cloth (for applying stain): These tools help you even apply the stain.
- Clean Rags (for wiping off excess stain): Rags ensure a smooth, consistent finish and help prevent the stain from pooling.
- Gloves And a Dust Mask (for safety during sanding): Protect your hands and lungs from potential irritants while working on the project.
- Painter’s Tape (optional for protecting edges): This keeps stain off surrounding countertop areas.
Preparing the Butcher Block Countertop for Staining
Step 1: Cleaning the Surface
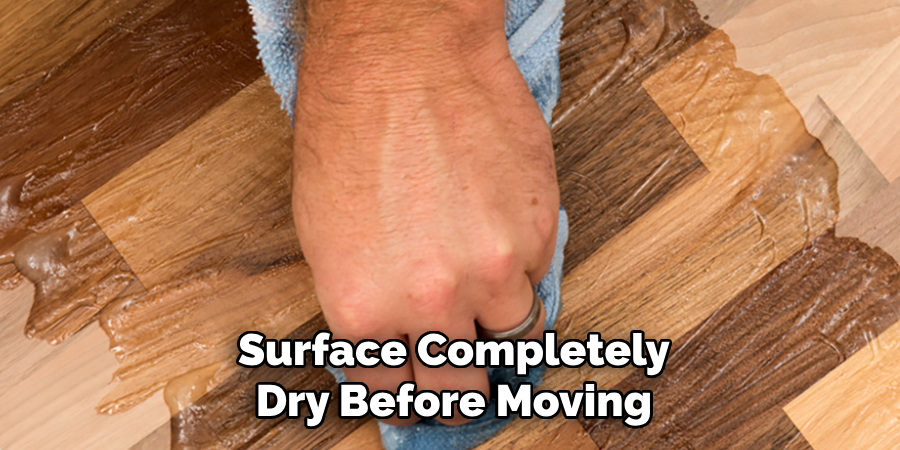
Begin by thoroughly cleaning the butcher block countertop to ensure a smooth staining process. Use mineral spirits or a wood cleaner to remove any grease, dirt, or dust that may have accumulated. This step is crucial for eliminating any residue interfering with the stain’s absorption. Apply the cleaner with a clean cloth, working it into the wood, and let the surface completely dry before moving on to the next step.
Step 2: Sanding the Countertop
Sanding is essential for preparing the wood for staining, as it helps to remove any old finish or imperfections. Start with medium-grit sandpaper (120-150 grit) to work down the surface evenly. Be sure to sand along the grain of the wood to avoid scratches. Once completed, switch to fine-grit sandpaper (220 grit) for an ultra-smooth finish. This helps to open up the wood grain, ensuring maximum stain absorption. After sanding, carefully inspect the surface for any remaining rough patches and give them additional attention.
Step 3: Ensuring Proper Drying and Dust Removal
Once sanding is complete, removing all sanding dust is critical to prevent it from affecting the final finish. Use a tack cloth to carefully wipe down the entire countertop, ensuring no particles remain. This step ensures the surface is clean and ready for the stain, providing a flawless base for beautiful results.
Choosing the Right Stain for Your Butcher Block
Selecting the appropriate stain for your butcher block is vital in achieving your desired finish. There are two main types of stains to consider:
Types of Stains
- Oil-Based Stains: These stains are known for providing a rich, deep color with excellent durability. They tend to penetrate the wood more effectively, offering a longer-lasting finish. However, they require a longer drying time and can produce more pungent odors during application.
- Water-Based Stains: These are an excellent alternative for those seeking a low-odor option. Water-based stains dry faster and are easier to clean up with just soap and water. They also allow for a more eco-friendly option with minimal volatile organic compounds (VOCs).
Selecting the Right Color
Your choice of stain color can significantly impact the appearance of your butcher block. Lighter stains are ideal for showcasing the natural beauty of the wood while creating an airy and organic look. On the other hand, darker stains lend a bold, dramatic effect that can complement modern or traditional decor. Consider harmonizing the stain color with your existing interior design and personal taste when deciding.
Testing the Stain
Before committing fully, apply a small amount of stain onto a scrap piece of wood or an inconspicuous area of the butcher block. This allows you to assess the color and ensure it aligns with your vision before proceeding with the application. Always test to avoid surprises and to achieve a flawless finish.
How to Stain a Butcher Block Countertop: Applying the Stain to the Butcher Block
Applying stain to your butcher block requires careful preparation and technique to ensure a smooth and even finish. Follow these steps to achieve professional results.
Step 1: Preparing the Work Area
Before you begin, set up your workspace in a well-ventilated area to avoid inhaling fumes. Open windows or use a fan to promote airflow. Protect surrounding surfaces by covering them with drop cloths or plastic sheets. This will prevent accidental staining or damage to nearby areas. Additionally, wear gloves to shield your hands from the stain.
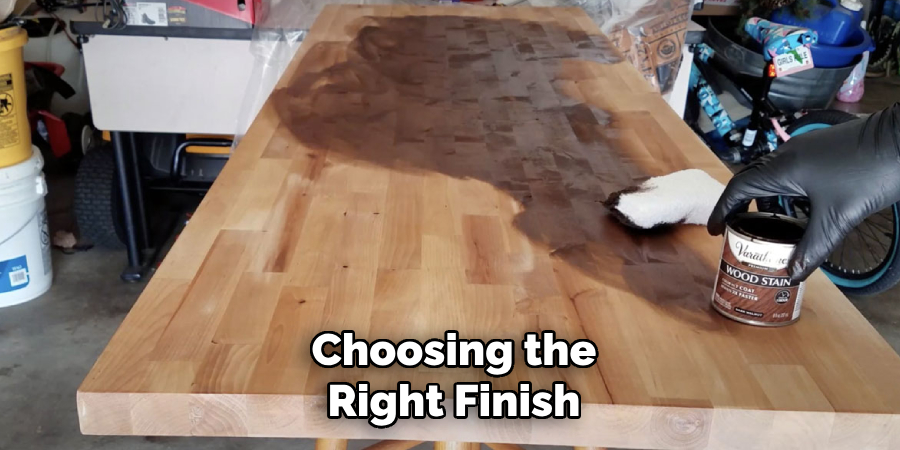
Step 2: Applying the First Coat of Stain
Using a brush or a lint-free cloth, apply a thin, even coat of stain to the butcher block. Work in the direction of the wood grain to help the stain penetrate evenly and enhance the wood’s natural texture. Avoid overloading your brush or cloth to minimize streaking or pooling of the stain.
Step 3: Wiping Off Excess Stain
After applying the stain, use a clean cloth to remove excess. Again, follow the direction of the wood grain during this process. Allow the stain to soak into the wood for the recommended period, typically 10-15 minutes, as indicated on the product label. Removing excess stain ensures a polished and even appearance.
Step 4: Letting the Stain Dry
Once the first coat is complete, allow the butcher block to dry for the duration specified on the stain’s label, usually 4-6 hours. Ensure the area remains dust-free during this time to avoid imperfections in the finish. Proper drying is essential for achieving a durable and long-lasting result.
Sealing and Finishing the Countertop
Step 1: Choosing the Right Finish
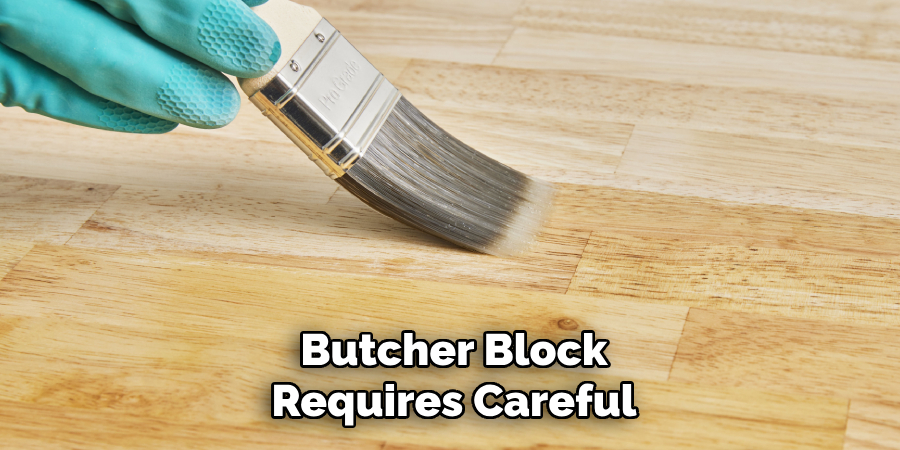
Selecting the appropriate finish is crucial for protecting your butcher block countertop while preserving its beauty. If the countertop is used for food preparation, choose food-safe finishes such as mineral oil, beeswax, or a butcher block oil blend. These finishes are non-toxic and enhance the natural appearance of the wood. For a more complex, more durable surface, consider using a polyurethane finish, especially if your countertop will endure heavy use or exposure to moisture. Remember that polyurethane finishes are not food-safe, so they are better suited for decorative countertops than food prep areas.
Step 2: Applying the Finish
Using a clean, lint-free cloth or a brush, apply a thin, even layer of your chosen finish over the stained wood, ensuring full coverage. Work toward the wood grain to achieve a smooth, uniform application. If using mineral oil or beeswax, gently massage the product into the wood to allow maximum absorption. For polyurethane finishes, apply with steady strokes to avoid streaks or bubbles.
Step 3: Allowing the Finish to Dry and Curing
Allow the initial finish coat to dry completely according to the product’s instructions, typically around 24 hours. Keep the area free of dust and debris to maintain a flawless surface. After the first coat has dried, apply a second layer of finish to enhance protection and achieve a polished, glossy appearance. For best results, some finishes may require additional curing time before the countertop is ready for use. Always refer to the manufacturer’s guidelines for specific drying and curing times.
Maintenance Tips for Stained Butcher Block Countertops
Regular Cleaning and Oil Application
To ensure your butcher block countertop remains in excellent condition, clean it regularly with mild soap and warm water. Avoid using harsh chemicals or abrasive cleaning tools as they can damage the wood’s surface or strip the finish. After cleaning, dry the surface thoroughly to prevent water absorption. Periodically reapply oil or a food-safe finish, such as mineral oil or beeswax, to keep the wood hydrated and protected. This routine application helps maintain the wood’s health and prevents it from cracking or drying out over time.
Avoiding Damage
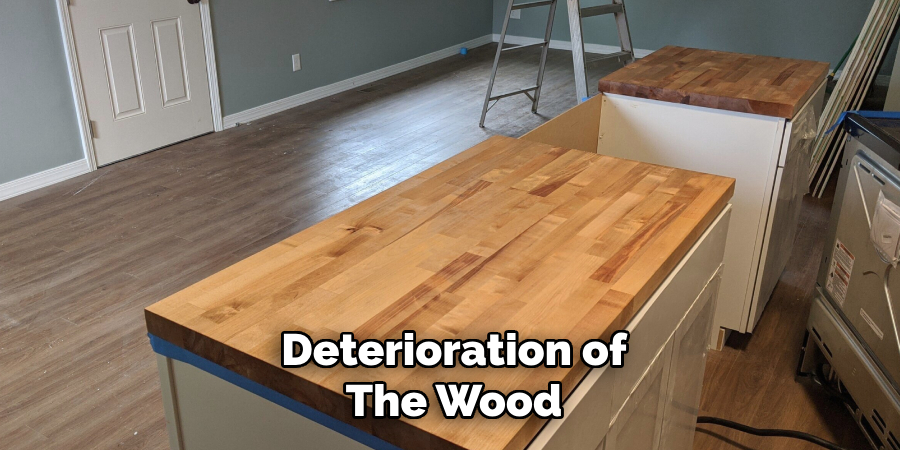
Protect your countertop by using cutting boards and trivets to avoid knife marks, stains, or scorch marks caused by hot pots and pans. Never cut directly on the surface, as this can damage both the wood and the finish. Additionally, avoid prolonged exposure to standing water or excessive heat, as these can cause warping, discoloration, or deterioration of the wood. Taking these precautions will help preserve the beauty and functionality of your stained butcher block countertop for years to come.
Conclusion
Proper care and maintenance are essential to keep your butcher block countertop both functional and visually appealing. You can preserve its natural charm and durability by following the key steps of cleaning, staining, and finishing. Learning how to stain a butcher block countertop allows you to customize the finish to match your personal style while protecting the wood from wear and tear. Regular maintenance, such as cleaning with gentle products and applying protective finishes, extends the countertop’s lifespan and enhances its beauty. With care and customization, your stained butcher block countertop will remain a centerpiece in your home for years to come.
Professional Focus
Angela Ervin, a former interior designer turned blogger, specializes in kitchen design and renovations. Through her website, she blends her passion for cooking with design expertise, sharing practical and creative ideas. Known for balancing functionality and beauty, Angela’s insightful content has made her a trusted voice in home design and lifestyle.
About the Author
Angela Ervin, an experienced interior designer and blogger, combines her passion for kitchen renovations with storytelling. Living in Petersburg with her family, she enjoys cooking and testing her projects firsthand. Known for her humor and relatable style, Angela shares creative, functional design insights through her content, making her a trusted voice in home design.
Education History
University: Virginia Commonwealth University
Degree: Bachelor of Fine Arts (BFA) in Interior Design
- Angela’s education at VCU focused on mastering core interior design principles, including spatial planning, color theory, materials selection, and sustainable design practices.
- She gained hands-on experience through studio projects and collaborative design exercises, which honed her ability to create functional and aesthetically pleasing environments.
- Her coursework also emphasized problem-solving and practical applications of design, preparing her for real-world projects like her self-directed kitchen renovations.
- The program’s strong foundation in both technical skills and creative expression shaped Angela’s ability to seamlessly integrate form and function in her work.