
Accurate countertop measurements ensure a proper fit and achieve a seamless granite installation. Incorrect measurements can lead to gaps, misaligned pieces, or even the need for costly adjustments, wasting both time and money. Proper planning and precision are key to avoiding these avoidable issues. Granite countertops are popular due to their unrivaled durability, timeless aesthetic appeal, and impressive longevity.
They add elegance to any kitchen or bathroom while standing up to daily wear and tear, making them a worthwhile investment. This article aims to provide a comprehensive, step-by-step guide on how to measure countertops for granite. By following these instructions, homeowners and contractors can ensure that their granite countertops are cut to the right dimensions, allowing for a smooth and successful installation process. Whether you’re taking on a DIY project or working with a professional, knowing how to measure countertops for granite is crucial.
Tools and Materials Needed
When measuring countertops for granite, having the right tools and materials is essential to ensure accuracy and efficiency. Below is a list of essential and optional tools that can help streamline the process:
Essential Tools
- Measuring Tape: Preferably a flexible, metal one to ensure durability and precision when taking measurements.
- Carpenter’s Square or Framing Square: Useful for confirming accurate right angles, particularly in corners.
- Level: Ensures that your measurements are perfectly straight and the surfaces are even.
- Pencil or Fabric Marker: For marking measurements directly onto templates or surfaces without smudges or fading.
- Paper and Calculator: Necessary for recording your measurements and calculating total dimensions or adjustments.
Optional Tools
- Laser Measurer: Ideal for achieving high accuracy and for measuring difficult-to-reach spaces.
- Straight Edge: Helps check the flatness of surfaces to verify that the area is suitable for installation.
By using these tools and following proper techniques, you’ll be well-equipped to achieve precise measurements for your granite countertops, paving the way for a smooth installation process.
Preparing the Area and Gathering Information
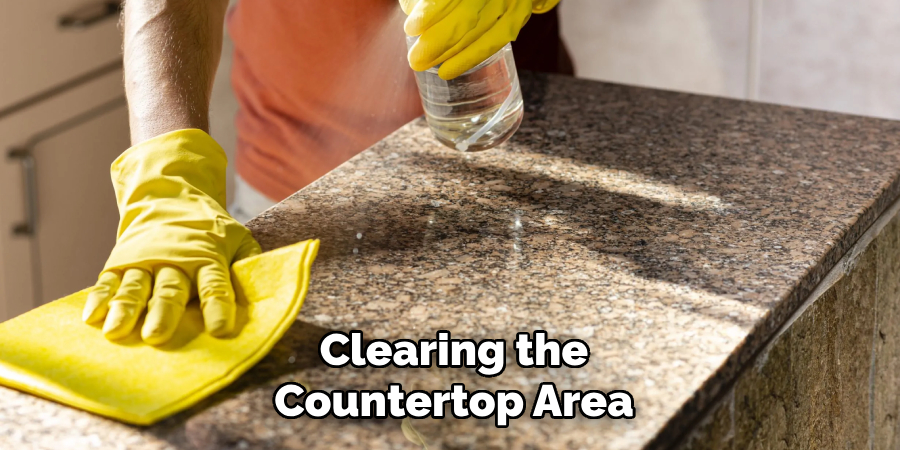
Clearing the Countertop Area
Before you begin measuring, ensure that the entire countertop area is clear of any obstructions. Remove all appliances, dishes, utensils, and any clutter that might hinder precision during the measuring process. This step provides a better view of the surface and helps identify any potential irregularities or imperfections. Additionally, inspect the countertop for existing damage, such as cracks or warping, which could impact the accuracy of your measurements or the overall installation process.
Understanding the Layout
Familiarize yourself with the countertop layout to ensure accurate measurement and fitting. Common layouts include L-shaped, U-shaped, galley, and standalone island counters. Identifying the specific layout will help determine how pieces of granite will need to fit together. Furthermore, note any necessary cutouts for sinks, stoves, or other fixtures, as these elements will require precise measurements and may involve additional adjustments during installation. Careful planning at this stage reduces the likelihood of errors and ensures that the final product complements the existing
How to Measure Countertops for Granite: Measuring the Length and Width of the Countertop
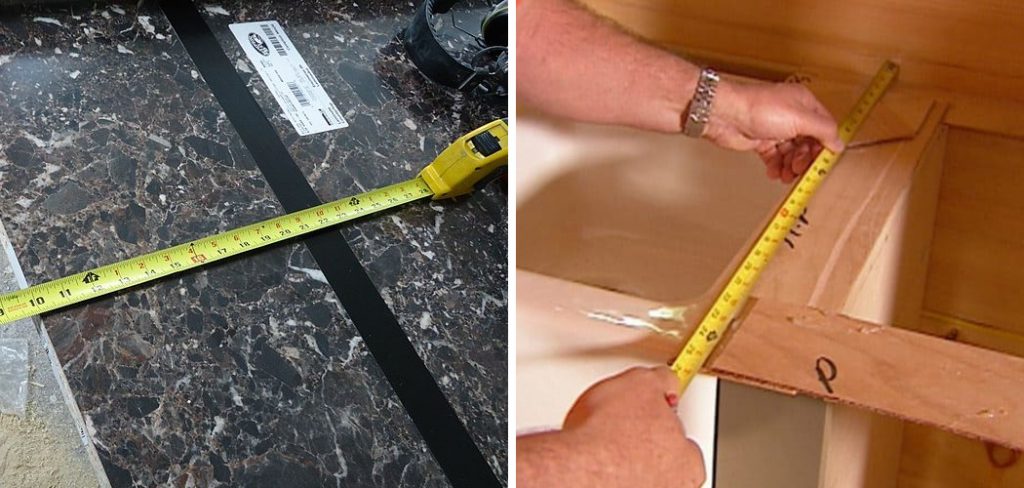
Step 1: Measuring Straight Countertop Edges
Begin by using a measuring tape to measure straight edges of the countertop. Place the tape securely at one end of the edge and stretch it across to the opposite end. Ensure the tape remains flat and does not sag or bend during measurement, as this could impact accuracy. Record the measurement to the nearest 1/8 inch to maintain precision. Repeat this process for each straight edge on the countertop, keeping detailed notes for later reference.
Step 2: Measuring Irregular Countertop Edges
For countertops with curves or non-linear edges, it is essential to break the measurement into smaller sections that are easier to manage. Use a flexible measuring tape that can conform to the shape of the edge for better accuracy. Start at one end and measure along the contour in sections, marking points where each segment ends and recording the corresponding lengths. Continue this process until the entire edge is measured. Breaking the task into sections ensures that even complex shapes are accounted for without oversight.
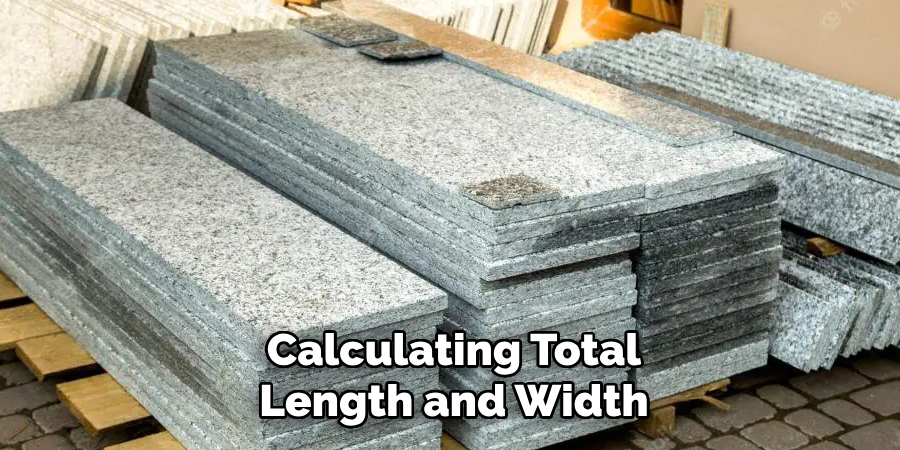
Step 3: Calculating Total Length and Width
Once all measurements have been gathered, add the lengths of each section together to determine the total length of the countertop. Similarly, measure the width separately, ensuring both measurements are accurate to the nearest 1/8 inch. These total dimensions will be used to calculate the full surface area of the countertop and will play a crucial role in selecting and cutting granite pieces to fit precisely during installation.
How to Measure Countertops for Granite: Measuring for Cutouts
Step 1: Identifying Cutout Areas
Before installation, it is essential to identify the areas where cutouts will be made for sinks, stoves, or faucets. Take note of the specific locations and sizes of these cutouts to ensure the proper fit and functionality of the countertop. Careful attention to detail in this step will help avoid errors that could compromise the final installation.
Step 2: Measuring the Dimensions of Cutouts
Using a measuring tape, determine the width and length of each cutout accurately. Ensure that measurements are precise to avoid misalignment when the countertop is positioned. Additionally, record the exact placement of each cutout relative to the edges of the countertop. This includes measuring the distance from the edge of the countertop to the nearest side of the cutout and noting its orientation. Detailed notes or a visual diagram of these measurements can help streamline the cutting process.
Step 3: Marking Cutout Locations
Once all measurements are completed, use a pencil to lightly mark the cutout locations directly on the countertop surface. Offer clear and visible markings that indicate each cutout’s dimensions and placement. These marks serve as essential guides during the cutting process, ensuring accuracy and reducing the margin for error. Proper marking of cutout locations will help facilitate a smoother installation process and ensure that the countertop fits seamlessly with appliances and fixtures.
Measuring for Overhangs and Backsplashes
Step 1: Determining Overhang
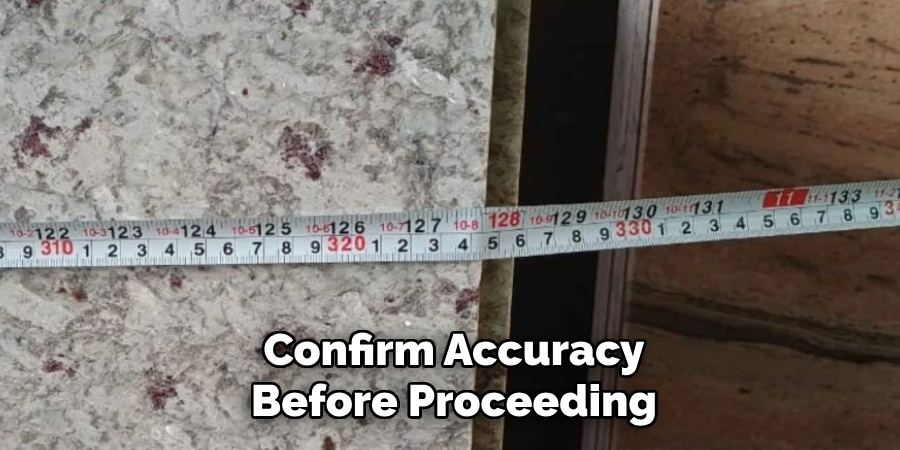
When measuring for overhang, it is important to balance aesthetics and functionality. Typically, overhangs are designed to extend 1–2 inches beyond the edges of the cabinets to provide a sleek and polished look while allowing for ease of use. Use a measuring tape to ensure that the overhang is consistent across the entire countertop length, avoiding unevenness that could affect the appearance and practicality of the surface. Double-check your measurements at multiple points to confirm accuracy before proceeding.
Step 2: Measuring for Backsplashes
For backsplashes, start by measuring the height and width of the areas where they will be installed. Depending on your design preferences, backsplashes can either extend directly from the countertop or cover only a specific portion of the wall. Make a note of these measurements and ensure they align with the overall design scheme. For accuracy, consider leaving a small gap at the top of the backsplash for caulking or finishing materials, which will create a clean and professional appearance. Measuring these elements properly will ensure that your countertops and backsplashes complement each other effectively, contributing to a cohesive and functional kitchen or bathroom space.
Verifying and Double-Checking Measurements
Step 1: Reviewing All Dimensions
To ensure a flawless installation process, reviewing all recorded dimensions thoroughly is critical. Begin by revisiting each measurement previously taken and double-check to confirm no sections have been overlooked or inaccurately measured. To maintain uniformity and accuracy, verify that all measurements align with consistent reference points, such as the same edge of the countertop or a specific wall. Pay special attention to curves, corners, and irregular sections, as these areas are more prone to error. Taking a systematic approach while reviewing ensures the measurements provide a solid foundation for the rest of the project.
Step 2: Finalizing Measurements
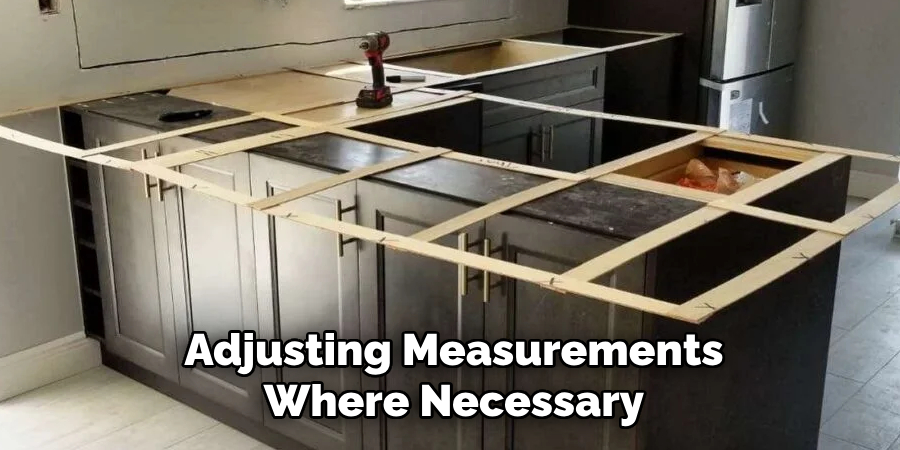
Once the dimensions have been reviewed, analyze the data for any inconsistencies resulting from uneven walls, warped surfaces, or other irregularities commonly found in construction. Use a level and straightedge to identify and account for any deviations, adjusting measurements where necessary to ensure proper alignment. Additionally, verify that planned cutouts for sinks, stoves, or other appliances are correctly placed, with accurate dimensions for both position and size. This final step ensures all components, including pre-made cutouts, align perfectly during installation, reducing potential costly mistakes or delays. Double-checking ensures that nothing is left to chance and that every detail is ready for execution.
Conclusion
Accurate measurements are crucial for a successful granite countertop installation. Key steps in how to measure countertops for granite include carefully recording dimensions, paying close attention to curves and irregular areas, and finalizing measurements by accounting for deviations with tools like levels and straightedges. Ensuring proper placement and sizing of cutouts for sinks and appliances is essential to avoid costly errors. Precision at this stage forms the foundation for a seamless installation. For best results, consider consulting professionals or granite fabricators, especially for custom projects, to achieve the perfect fit and finish for your granite countertops.
Professional Focus
Angela Ervin, a former interior designer turned blogger, specializes in kitchen design and renovations. Through her website, she blends her passion for cooking with design expertise, sharing practical and creative ideas. Known for balancing functionality and beauty, Angela’s insightful content has made her a trusted voice in home design and lifestyle.
About the Author
Angela Ervin, an experienced interior designer and blogger, combines her passion for kitchen renovations with storytelling. Living in Petersburg with her family, she enjoys cooking and testing her projects firsthand. Known for her humor and relatable style, Angela shares creative, functional design insights through her content, making her a trusted voice in home design.
Education History
University: Virginia Commonwealth University
Degree: Bachelor of Fine Arts (BFA) in Interior Design
- Angela’s education at VCU focused on mastering core interior design principles, including spatial planning, color theory, materials selection, and sustainable design practices.
- She gained hands-on experience through studio projects and collaborative design exercises, which honed her ability to create functional and aesthetically pleasing environments.
- Her coursework also emphasized problem-solving and practical applications of design, preparing her for real-world projects like her self-directed kitchen renovations.
- The program’s strong foundation in both technical skills and creative expression shaped Angela’s ability to seamlessly integrate form and function in her work.