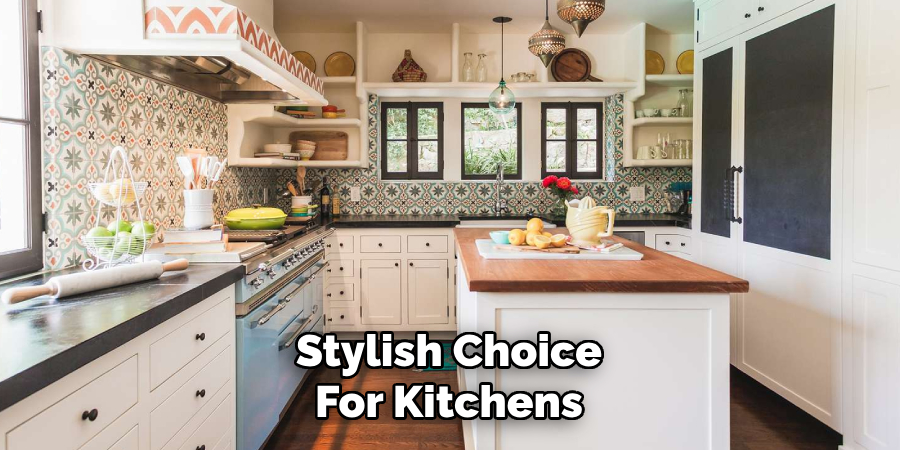
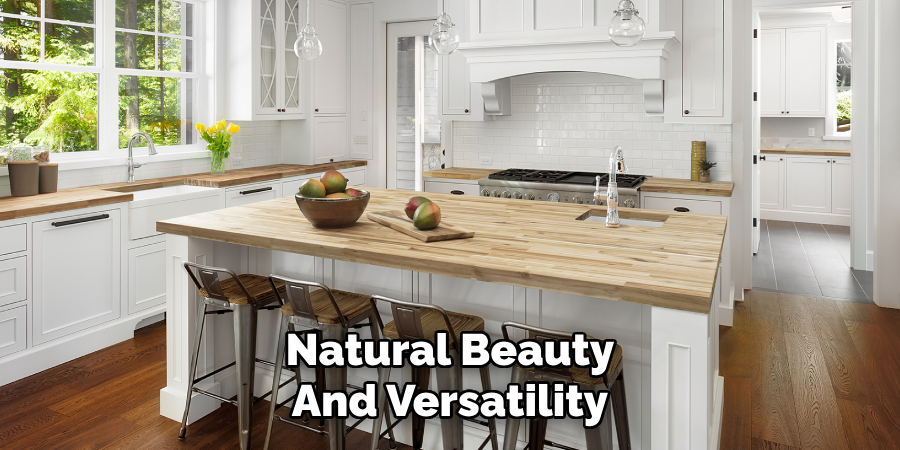
Butcher block countertops are a durable and stylish choice for kitchens, crafted from high-quality hardwoods such as maple, oak, or walnut. Their natural beauty and versatility make them a popular option for homeowners seeking a warm and timeless aesthetic.
However, when it comes to customizing these countertops, precision and care are essential. Learning how to cut a butcher block countertop properly ensures a perfect fit for your space while preserving the wood’s integrity and preventing splintering or warping.
Cutting these dense hardwood surfaces requires the right tools, a steady hand, and attention to detail to achieve professional-grade results. This article aims to provide a clear, step-by-step guide to cutting a butcher block countertop safely and accurately. Whether you’re a seasoned DIY enthusiast or tackling your first kitchen renovation, this guide will help you achieve your project’s seamless and polished finish.
Tools and Materials Needed
The right tools and materials are crucial when cutting a butcher block countertop to ensure a clean and professional finish. Below is a list of essential tools, safety gear, and optional materials to help you prepare for the task:
Essential Tools
- Circular Saw With a Fine-tooth Carbide Blade: Ideal for making precise, straight cuts through the dense hardwood.
- Jigsaw (for curved or irregular cuts): Perfect for customizing shapes or cuts that a circular saw cannot manage.
- Clamps: Used to secure the butcher block and prevent movement during cutting.
- Measuring Tape and Pencil: Helps in marking accurate dimensions on the wood.
- Straightedge or Guide Rail: Ensures guided, straight cuts for professional results.
- Sanding Block or Orbital Sander: Essential for smoothing the edges after cutting.
Safety Gear
- Safety Glasses and Dust Mask: Protect your eyes and lungs from sawdust and small debris.
- Work Gloves: Provide extra safety when handling sharp tools and heavy materials.
Optional Materials
- Painter’s Tape: Placed along the cut line, it helps reduce splintering during the cut.
- Mineral Oil or Wood Sealer: Used to finish freshly cut edges to prevent moisture absorption and maintain the countertop’s durability.
Having these tools and materials on hand before starting ensures a smooth and efficient process, resulting in a flawless butcher block countertop cut.
Measuring and Marking the Cut Line
Step 1: Measure Twice, Cut Once
Begin by measuring the countertop opening carefully, considering any required overhangs for the butcher block. Use a reliable measuring tape to ensure precision and note the dimensions. Accurate measurements are essential to avoid errors. Double-check all your measurements before marking the block to prevent costly mistakes.
Step 2: Marking the Cut Line
Using a pencil, lightly mark the cut line on the surface of the butcher block. To achieve a straight and accurate line, employ a straightedge or guide rail as a reference. Once the line is drawn, apply a strip of painter’s tape along the marked line. This step helps minimize splintering as you cut, ensuring a clean and professional finish.
Step 3: Setting Up the Cutting Area
Secure the butcher block on a stable and level work surface using clamps. This ensures the block remains stationary during the cutting process and enhances your safety. Make sure both sides of the block, especially the cut-off section, are properly supported to prevent binding or uneven cuts. A secure setup guarantees smooth and precise results.
How to Cut a Butcher Block Countertop: Cutting the Butcher Block with a Circular Saw
Step 1: Choosing the Right Saw Blade
Selecting the proper saw blade is critical to achieving a smooth and clean cut. Use a fine-tooth carbide-tipped blade with at least 40 teeth, as it is specifically designed to minimize splintering and deliver precise results. This type of blade is ideal for cutting through the dense material of a butcher block without causing unnecessary damage.
Step 2: Making the Cut
Position the circular saw along the marked cut line, using a straightedge guide to ensure accuracy. Double-check your cut line and the alignment of the guide before beginning. Turn on the saw and start the cut slowly and steadily, maintaining consistent pressure and letting the blade do the work. Avoid forcing the saw through the material, as this can lead to uneven cuts or increase the risk of kickback.
Keep a firm grip on the saw throughout the process, ensuring you can maintain control for a smooth, precise cut.
Step 3: Managing Splintering
Cut with the finished side of the butcher block facing down to reduce splintering and ensure the best surface finish. This orientation helps manage tear-out since most circular saws cut upward. Use a jigsaw to complete the cuts if you encounter tight or intricate corners that the circular saw cannot handle easily.
The jigsaw’s versatility allows for precision in areas where the circular saw might fall short, leaving you with clean edges throughout your project.
Making Curved or Notched Cuts
Step 1: Planning for Cutouts
When fitting a butcher block countertop around a sink, corner, or other irregular shapes, preparation is key. Start by creating a template using materials like cardboard or painter’s tape. This template will act as a precise guide to outline the shape directly onto the butcher block surface. Proper planning ensures accuracy and minimizes the margin for error when making complicated cutouts.
Step 2: Using a Jigsaw for Curved Cuts
A jigsaw is your best tool for curved or notched cuts due to its flexibility and precision. Begin by drilling a starter hole within the area you’ve marked for removal.
This hole allows you to insert the jigsaw blade without damaging the surrounding wood. Carefully follow the line of your template with a jigsaw equipped with a fine-tooth blade, which is ideal for clean and precise cuts on butcher block material. Take time to maintain control of the tool and ensure the cuts align with the outline.
Step 3: Smoothing the Edges
After completing the cut, the edges may feel rough or uneven. Smooth them using 120-grit sandpaper to remove splinters and refine the finish. Sanding improves the appearance and ensures a clean edge that fits seamlessly into your finished design.
Sanding and Finishing the Cut Edges
Step 1: Smoothing the Edges
Begin by using an orbital sander or a sanding block equipped with medium-grit sandpaper, typically between 120 and 150 grit. Carefully sand along the freshly cut edges to remove any roughness or splinters.
Take your time to ensure the edges are smooth and even, blending seamlessly with the rest of the butcher block. Switch to finer grit sandpaper for a polished finish once the initial smoothing is complete.
Step 2: Applying Wood Sealer
To protect the exposed edges from drying out or warping, apply a generous coat of mineral oil or a butcher block conditioner. Use a soft, clean cloth to evenly distribute the sealer along the edges, allowing it to penetrate the wood. This step helps maintain the butcher block’s durability and extends its lifespan, ensuring it remains in excellent condition even after exposure to varying humidity levels.
Step 3: Final Touches
After applying the sealer and allowing to soak in as per the product’s instructions, take a clean, lint-free cloth and thoroughly wipe down the entire surface. This removes any excess product and ensures the surface is clean and ready for installation. Carefully inspect your work to confirm a smooth and professional finish.
Installing the Cut Butcher Block
Step 1: Positioning the Countertop
Place the butcher block in its final location and carefully check the fit. Ensure it aligns with the walls and base cabinets, making adjustments as needed for a snug and even placement. Use a level to confirm that the surface is even on all sides, as any imbalance could affect stability and aesthetics. If necessary, make minor trims or adjustments to achieve a perfect fit.
Step 2: Securing the Countertop
Once the butcher block is correctly positioned, secure it to the base cabinets using screws and brackets. Attach the brackets to the underside of the butcher block and the interior edges of the cabinets. Be sure to drill pilot holes to prevent splitting the wood.
Tighten the screws to ensure a secure hold, but avoid over-tightening, as this could damage the wood. Double-check all connections to verify the stability of the installation.
Step 3: Sealing the Seams
If you are joining multiple sections of butcher block, seams must be sealed to prevent moisture penetration. Apply a thin, even layer of wood glue or a waterproof sealant to the edges of each section before bringing them together.
Press the sections firmly together and wipe away any excess glue or sealant with a damp cloth. Once the glue or sealant has dried completely, lightly sand the seam area if needed to ensure a smooth, continuous surface.
Conclusion
Installing a butcher block countertop requires meticulous steps to ensure a flawless finish. Start by measuring, marking, and cutting the material accurately, as knowing how to cut a butcher block countertop is fundamental for the project’s success. Sand the edges carefully and secure the countertop properly to the cabinets.
Additionally, sealing any seams is essential to prevent water damage. Using the right tools and adhering to safety precautions makes the process smoother and minimizes potential errors. Finally, always test fit the countertop before securing it permanently to achieve the perfect fit and professional result.
Professional Focus
Angela Ervin, a former interior designer turned blogger, specializes in kitchen design and renovations. Through her website, she blends her passion for cooking with design expertise, sharing practical and creative ideas. Known for balancing functionality and beauty, Angela’s insightful content has made her a trusted voice in home design and lifestyle.
About the Author
Angela Ervin, an experienced interior designer and blogger, combines her passion for kitchen renovations with storytelling. Living in Petersburg with her family, she enjoys cooking and testing her projects firsthand. Known for her humor and relatable style, Angela shares creative, functional design insights through her content, making her a trusted voice in home design.
Education History
University: Virginia Commonwealth University
Degree: Bachelor of Fine Arts (BFA) in Interior Design
- Angela’s education at VCU focused on mastering core interior design principles, including spatial planning, color theory, materials selection, and sustainable design practices.
- She gained hands-on experience through studio projects and collaborative design exercises, which honed her ability to create functional and aesthetically pleasing environments.
- Her coursework also emphasized problem-solving and practical applications of design, preparing her for real-world projects like her self-directed kitchen renovations.
- The program’s strong foundation in both technical skills and creative expression shaped Angela’s ability to seamlessly integrate form and function in her work.
