
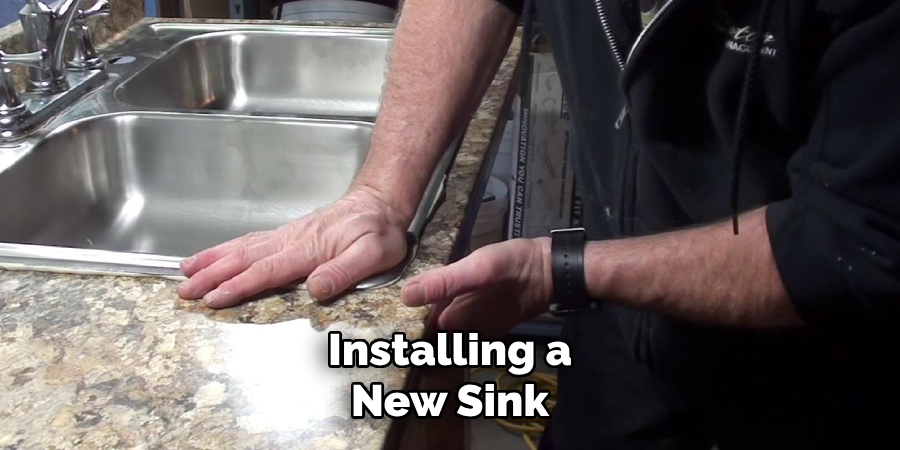
Cutting a granite countertop is crucial when installing a new sink or modifying an existing countertop to fit a different one. Granite, known for its durability and aesthetic appeal, is valuable to any kitchen or bathroom.
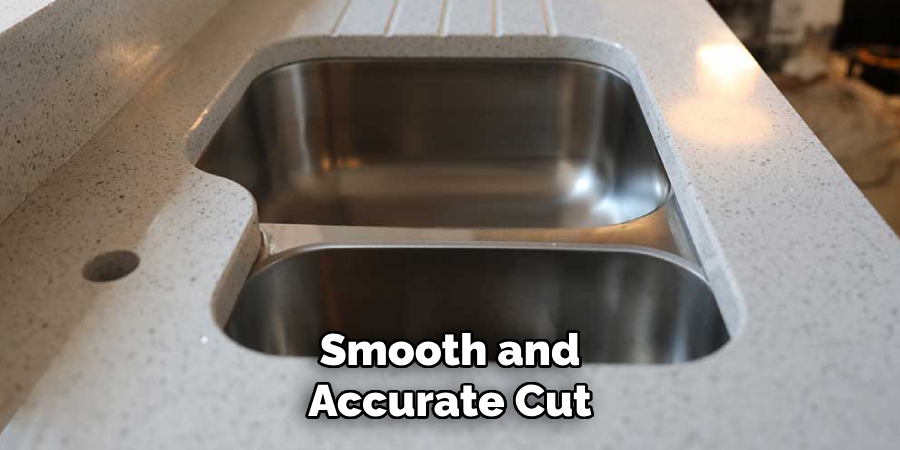
However, precision matters greatly when working with granite, as it is a hard and brittle material prone to cracks or chips if mishandled. Appropriate tools and careful techniques can ensure a smooth and accurate cut.

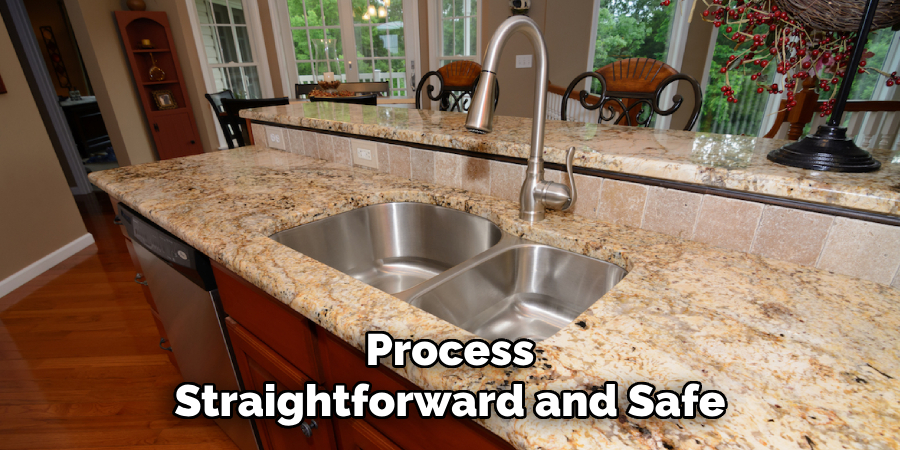
Safety precautions, such as wearing protective gear, are also essential during this process. This guide provides a comprehensive, step-by-step explanation of how to cut a granite countertop for a sink installation, helping homeowners and professionals achieve professional-grade results with confidence. Whether you’re a seasoned DIY enthusiast or a beginner, this guide aims to make the process straightforward and safe.
Tools and Materials Needed
Essential Tools
- Circular Saw with a Diamond Blade (wet or dry): The primary tool for making straight cuts in the granite.
- Angle Grinder with a Diamond Blade: Ideal for fine adjustments and smoothing edges.
- Clamps and Straightedge Guide: Ensures controlled, even cuts along the marked lines.
- Drill with a Diamond Hole Saw Bit: Necessary for creating rounded corners or precise holes.
- Safety Gear (gloves, goggles, dust mask, and ear protection): Crucial for protecting yourself during the cutting process.
Materials
- Painter’s Tape: Used to mark the cutting line and protect the granite’s surface around the cutting area from chips.
- Water Source (if using a wet saw): Keeps the blade cool and minimizes dust during the cutting process.
- Wood Shims or Support Boards: Placed under the granite to provide stability and prevent cracks or breakage while cutting.
Having these tools and materials ready will make the process more efficient and ensure safety and precision during the project.
Measuring and Marking the Cutout Area
Step 1: Measure the Sink Dimensions
Begin by using the sink template provided by the manufacturer. This template outlines the exact dimensions needed for the sink cutout. If a template is not provided, measure the sink’s length and width manually, leaving sufficient room for mounting hardware and sealing edges. Precise measurements are crucial to ensure the sink fits securely without gaps or uneven edges.
Step 2: Mark the Cutting Lines
Once you have the dimensions, cover the granite surface where the cut will be made with painter’s tape. This layer of tape helps to protect the granite from chips or scratches during marking and cutting. After applying the tape, trace the outline of the sink directly onto the tape using a permanent marker. Make sure the lines are bold and easy to see, as they will guide the cutting process.
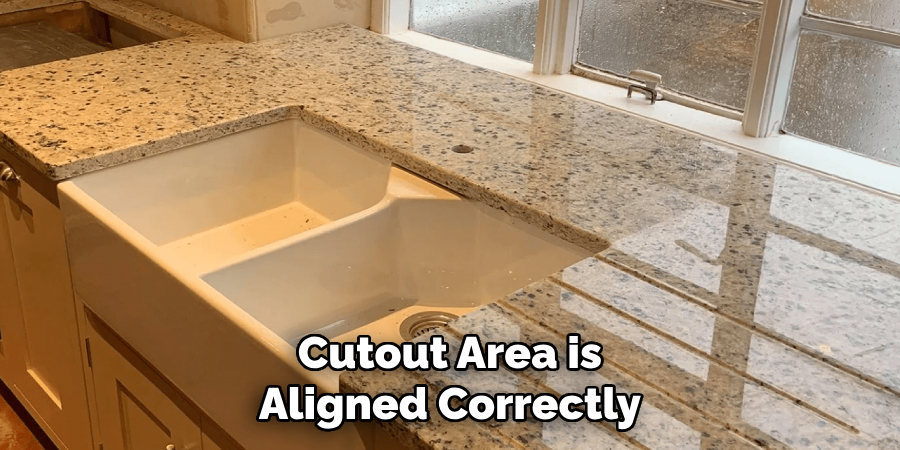
Step 3: Double-Check the Alignment
Before moving on to the cutting phase, double-check that the marked cutout area is aligned correctly. Ensure the sink cutout is centered over the cabinet area below for a balanced and aesthetically pleasing fit.
Additionally, verify the placement is correct about other countertop and kitchen elements, such as the faucet or backsplash, for optimal functionality. Taking the time to confirm alignment now can help prevent costly mistakes later in the project.
Preparing for the Cut
Step 1: Set Up Proper Work Support
Before proceeding with the cut, ensure the granite countertop is adequately supported to prevent cracking or instability. Use sturdy sawhorses or lay the granite on a flat surface covered with a sheet of plywood. The support should extend to all granite edges to reduce stress and keep the material steady throughout the cutting process. Proper support is crucial to achieving a clean and precise cut.
Step 2: Secure the Countertop
Once the countertop is in position, secure it firmly to avoid any movement while cutting. Use clamps to hold the granite in place, ensuring they do not obstruct the area to be cut. This step minimizes the risk of accidents and ensures that the cut follows the marked lines precisely. Double-check that the countertop is stable before moving on to the next stage.
Step 3: Wear Safety Gear
Cutting granite can produce flying debris and fine dust, posing a hazard to your eyes and lungs. To protect yourself, wear safety goggles to shield your eyes and a high-quality dust mask or respirator to prevent dust inhalation. Additionally, use sturdy gloves to protect your hands from sharp edges during handling. Prioritizing safety will ensure a smoother and safer cutting process.
How to Cut a Granite Countertop for A Sink: Cutting the Granite Countertop
Step 1: Drilling Pilot Holes in the Corners
Before making the main cuts, drill pilot holes at each corner of the marked cutout using a diamond hole saw bit. These holes act as a guide and help prevent over-cutting when working with the circular saw. Position the drill perpendicular to the surface of the granite and apply steady, even pressure to create clean holes. This step ensures precision and reduces the risk of cracking the material during the cutting process.
Step 2: Making the Main Cuts
To make the main cuts, use a circular saw equipped with a diamond blade designed for granite. Follow the marked outline carefully, making sure to cut in multiple passes rather than completing the cut in a single attempt. Gradually increasing the depth of the blade with each pass will help to reduce stress on the granite and prevent chipping.
Move the saw slowly and steadily along the lines, allowing the blade to do the work without forcing it. During this step, maintain focus and control to ensure a clean and accurate cut.
Step 3: Finishing the Corners and Edges
Once the primary cuts are complete, use an angle grinder with a diamond grinding wheel to refine the corners and smooth any rough edges left behind. Carefully shape the corners to match the desired finish and ensure the cutout is even. Smoothing the edges enhances the countertop’s appearance and minimizes the risk of sharp edges. Take your time during this step to achieve a professional and polished result.
Smoothing and Polishing the Edges
Step 1: Smoothing the Cut Edges
Use a diamond polishing pad or fine-grit sandpaper along the cut edges to achieve a refined finish. Begin with a lower grit to remove any major imperfections or roughness, gradually transitioning to higher grits for a smoother, polished surface. Work methodically along the edges, applying consistent pressure to ensure an even finish. This step enhances the overall appearance of the countertop and prepares it for the final fit.
Step 2: Checking the Sink Fit
Place the sink carefully into the cutout to verify it fits snugly and securely. Check all sides to ensure there are no gaps between the sink and the granite. If any adjustments are required, mark the granite areas that need slight shaping. A precise fit is crucial for functionality and prevents later issues during installation.
Step 3: Final Touch-Ups
Make any necessary small adjustments to the cutout using the angle grinder equipped with a diamond wheel. Focus on refining the areas marked during the fitting process. Once adjustments are complete, inspect the edges and corners for smoothness and an even finish. Perfecting these final details ensures a professional and polished result, ready for sink installation.
Installing the Sink After Cutting
Apply a Sealant
Before installing the sink, apply a silicone-based sealant to the freshly cut edges of the granite. This step is crucial to protect the edges from potential water damage, which can weaken the stone over time. Ensure the sealant is applied evenly along all exposed edges, allowing it to dry completely before proceeding.
Securing the Sink
Carefully place the sink into the prepared cutout. For drop-in sinks, gently lower the sink into place, ensuring it aligns properly with the edges. If you’re installing an undermount sink, follow the manufacturer’s guidelines to fasten it underneath the granite securely. Use clamps or mounting brackets to secure the sink firmly while the adhesive cures. Double-check the alignment to ensure a perfect and seamless fit.
Connecting the Plumbing
Once the sink is in place, attach the faucet, drain, and water supply lines according to the manufacturer’s instructions. Use plumber’s tape on threaded connections to prevent leaks, and tighten all fittings securely. After all connections are made, test the plumbing by running water to check for any leaks. Proper installation guarantees functionality and durability, completing the countertop project.
Conclusion
Installing a sink into a granite countertop requires careful planning and precision. Key steps include measuring and marking the cutout, cutting the granite with proper tools, and securely installing the sink. Using the right equipment and following safety precautions is crucial for achieving professional results.
If you’re uncertain about how to cut a granite countertop for a sink, it’s always wise to consult a professional to avoid costly mistakes. By following these guidelines, you can ensure a successful and seamless installation, enhancing the functionality and appearance of your countertop.
Professional Focus
Angela Ervin, a former interior designer turned blogger, specializes in kitchen design and renovations. Through her website, she blends her passion for cooking with design expertise, sharing practical and creative ideas. Known for balancing functionality and beauty, Angela’s insightful content has made her a trusted voice in home design and lifestyle.
About the Author
Angela Ervin, an experienced interior designer and blogger, combines her passion for kitchen renovations with storytelling. Living in Petersburg with her family, she enjoys cooking and testing her projects firsthand. Known for her humor and relatable style, Angela shares creative, functional design insights through her content, making her a trusted voice in home design.
Education History
University: Virginia Commonwealth University
Degree: Bachelor of Fine Arts (BFA) in Interior Design
- Angela’s education at VCU focused on mastering core interior design principles, including spatial planning, color theory, materials selection, and sustainable design practices.
- She gained hands-on experience through studio projects and collaborative design exercises, which honed her ability to create functional and aesthetically pleasing environments.
- Her coursework also emphasized problem-solving and practical applications of design, preparing her for real-world projects like her self-directed kitchen renovations.
- The program’s strong foundation in both technical skills and creative expression shaped Angela’s ability to seamlessly integrate form and function in her work.