
Are you tired of looking at your old, outdated countertops? Or maybe you’re just looking for a quick and inexpensive way to update your kitchen or bathroom.
How to cover countertop with contact paper is an affordable and creative way to refresh your space without the need for costly renovations. Contact paper is a self-adhesive material available in a variety of colors, patterns, and finishes, making it easy to achieve a look that complements your style. Whether you want a sleek marble appearance or a rustic wood design, this DIY project allows you to transform your kitchen or bathroom countertops quickly. Additionally, it’s simple to apply and remove, making it an ideal option for renters or anyone seeking a temporary update.
With a few basic tools and patience, you can achieve a professional-looking finish right in your home.
What Are the Benefits of Using Contact Paper for Countertops?
There are several benefits to using contact paper as a countertop cover.
- Affordability: Contact paper is extremely budget-friendly compared to traditional countertop materials like granite or quartz. You can achieve the same look for a fraction of the cost.
- Easy Application: Contact paper is designed with a self-adhesive backing, making it easy to apply without any special tools or skills. It’s also easily removable, allowing you to change your design whenever possible.
- Variety of Designs: With countless colors, patterns, and finishes available, there’s no shortage of options for contact paper designs. This allows you to find the perfect fit for your style and the overall aesthetic of your space.
- Durability: While contact paper may not be as durable as traditional countertop materials, it can still withstand daily use with proper care. It’s also water-resistant, making it suitable for kitchen and bathroom countertops.
- Temporary Solution: Whether renting a home or just looking for a temporary update, contact paper is an excellent solution. It can quickly transform your countertops without any permanent changes or damage.
What Will You Need?
Before you get started, make sure you have the following basic materials and tools:
- Contact paper (measure your countertops to determine how much you will need)
- Scissors or a utility knife
- Measuring tape
- Cutting board or surface
- Squeegee or credit card for smoothing out air bubbles
- Optional: ruler, pencil, and painter’s tape for more precise cuts
Once you have all your supplies, it’s time to transform your countertops!
8 Easy Steps on How to Cover Countertop With Contact Paper
Step 1: Clean and Prepare Your Countertops
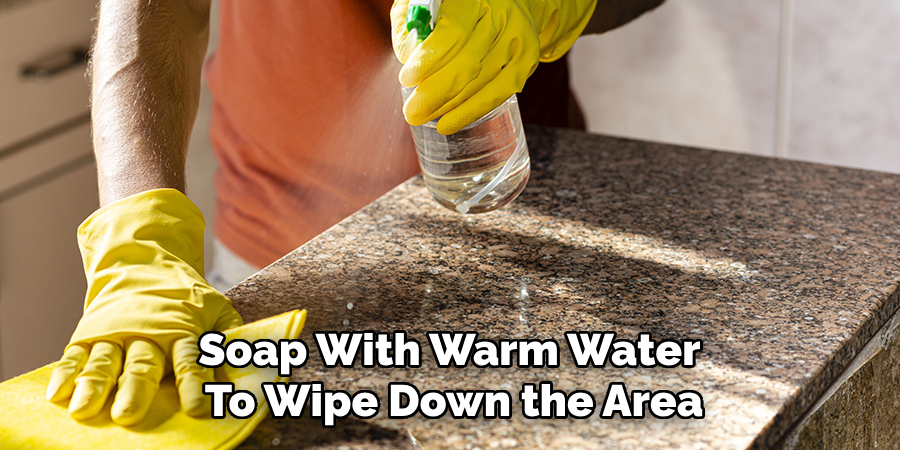
Start by thoroughly cleaning your countertops to ensure the surface is smooth and free of dirt, grease, and debris. Use a mild cleaner or soap with warm water to wipe down the area, removing any stains or residue. Consider lightly sanding your countertops to create a uniform surface if they have rough or uneven spots. This step is crucial for the contact paper to adhere correctly and last longer without peeling or bubbling. Once cleaned, dry the surface thoroughly with a clean towel, as dampness can affect the adhesive quality of the contact paper. Preparing your countertops carefully will ensure a neat and durable finish.
Step 2: Measure and Cut the Contact Paper
Measure the dimensions of your countertop carefully to determine the amount of contact paper you’ll need. Use a measuring tape for accuracy and add an extra inch to each side to allow for overlap and trimming later. Roll out the contact paper on a flat surface and use a ruler and pencil to mark your measurements. If precision is essential, use painter’s tape to secure the contact paper while cutting. Cut along the marked lines with scissors or a utility knife, ensuring the edges are straight and even. Properly measuring and cutting pieces will make the application process smoother and result in a professional-looking finish.
Step 3: Apply the Contact Paper
Start by peeling a small section of the backing paper from one corner of the contact paper. Align the exposed adhesive edge with the edge of your countertop, ensuring it is straight and properly positioned. Gradually peel away more backing paper as you press down the contact paper, working slowly to avoid air bubbles and wrinkles. Use a smoothing tool or a plastic card to press the contact paper firmly onto the surface, working from the center outward to eliminate any trapped air. Take your time to ensure a smooth and even application across the entire countertop.
Step 4: Trim Excess and Finish Edges
Once the contact paper is fully applied, use a sharp utility knife to carefully trim any excess material along the edges of the countertop. Hold the blade at a slight angle and follow the edge closely to achieve a precise cut. If your countertop has rounded edges or corners, take extra care to neatly wrap the contact paper around them and smooth it down securely. Use a credit card or similar tool to press the edges firmly into place for a polished look. Inspect the entire surface to ensure there are no air bubbles or loose edges, and make any final adjustments as needed. This step ensures a clean, professional appearance for your countertop makeover.
Step 5: Maintenance and Care
To keep your newly covered countertop looking its best, following proper maintenance practices is essential. Avoid placing hot items directly on the contact paper as the heat may cause it to warp or peel. Use trivets or heat-resistant mats for hot pots and pans. Clean the surface regularly with a soft, damp cloth and mild detergent to remove dirt or spills. Avoid using abrasive cleaners or scrubbers that could damage the material. With proper care, your revamped countertop will maintain its fresh and stylish appearance for years.
Step 6: Removing the Contact Paper
Removing the contact paper is a simple process if you decide to change the look of your countertop in the future. Begin by gently lifting a corner of the paper to create a starting point. Slowly peel it back at a low angle to minimize adhesive residue. If the contact paper is stubborn, use a hairdryer to apply heat to loosen the adhesive, making it more manageable. After removing the paper, clean the surface with an adhesive remover or a mixture of warm water and dish soap to eliminate any remaining residue. This step ensures your countertop is ready for a fresh new look or a return to its original state.
Step 7: Troubleshooting Common Issues
During the process of applying or removing contact paper, you might encounter some common issues. For example, if you notice air bubbles under the contact paper after application, use a straight pin to gently puncture the bubble and smooth it out with a credit card. Another issue could be misalignment during installation—simply lift the paper carefully and realign it before pressing it down firmly. If adhesive residue remains after removal, try using rubbing alcohol or a specialized adhesive remover for a cleaner finish. Addressing these issues promptly ensures your countertop project’s polished and professional result.
Step 8: Maintaining Your Contact Paper Countertop
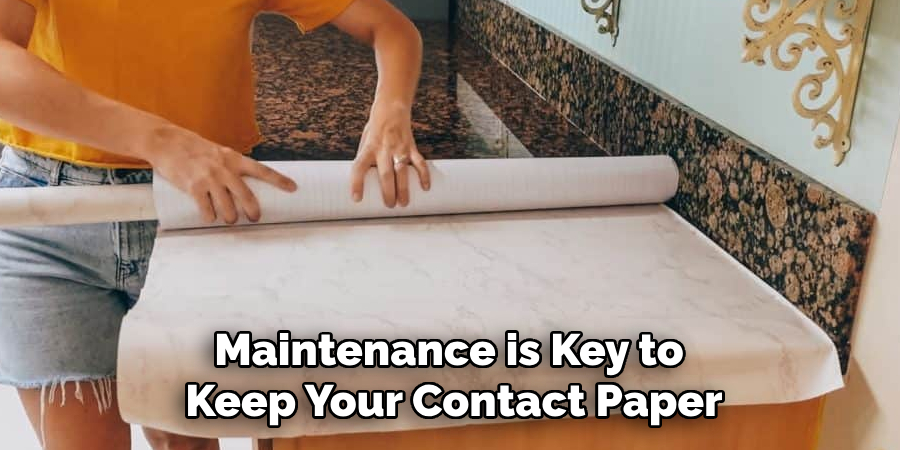
Regular maintenance is key to keep your contact paper countertop looking fresh and durable. Clean the surface with a soft, damp cloth and mild dish soap to prevent dirt and stains from building up. Avoid using abrasive cleaners or scouring pads, which can damage the contact paper. Additionally, use cutting boards for food preparation and trivets for hot pans to protect the surface from scratches and heat. With proper care, your contact paper countertop can remain a stylish and functional feature in your kitchen or workspace.
By following these simple steps, you can transform your countertops into a budget-friendly and creatively.
5 Things You Should Avoid
- Skipping Surface Preparation: Failing to clean and dry the countertop thoroughly before applying contact paper can lead to bumps, bubbles, and poor adhesion. Always ensure the surface is free of dust, grease, or any debris.
- Choosing the Wrong Type of Contact Paper: Not all contact papers are created equal. Avoid using low-quality or unsuitable types that may not withstand moisture or heat, as countertops often face daily wear and tear.
- Applying Without Measuring Properly: Rushing into application without accurate measurements can result in wasted material or misaligned edges. Take your time to measure and cut carefully for a seamless finish.
- Ignoring Air Bubbles During Application: Do not overlook air bubbles when applying the contact paper. Use a smoothing tool or a credit card to push out any bubbles for a cleaner look and better adherence.
- Neglecting to Seal Edges: Exposing edges can cause the contact paper to peel prematurely. Make sure to press down edges firmly or use a clear sealant to keep them secure and durable.
Conclusion
How to cover countertop with contact paper can be a cost-effective and stylish way to update your kitchen or workspace.
You can achieve a professional-looking finish that lasts by adequately preparing the surface, selecting the right contact paper, measuring accurately, and applying it with care to avoid air bubbles or peeling edges. Taking the time to address common mistakes and follow best practices will ensure your project is successful and your transformed countertop remains functional and attractive for years.
Hopefully, this guide has given you the confidence and knowledge to take on this DIY project and enjoy the satisfaction of a brand new countertop without breaking the bank. Happy decorating!
Professional Focus
Angela Ervin, a former interior designer turned blogger, specializes in kitchen design and renovations. Through her website, she blends her passion for cooking with design expertise, sharing practical and creative ideas. Known for balancing functionality and beauty, Angela’s insightful content has made her a trusted voice in home design and lifestyle.
About the Author
Angela Ervin, an experienced interior designer and blogger, combines her passion for kitchen renovations with storytelling. Living in Petersburg with her family, she enjoys cooking and testing her projects firsthand. Known for her humor and relatable style, Angela shares creative, functional design insights through her content, making her a trusted voice in home design.
Education History
University: Virginia Commonwealth University
Degree: Bachelor of Fine Arts (BFA) in Interior Design
- Angela’s education at VCU focused on mastering core interior design principles, including spatial planning, color theory, materials selection, and sustainable design practices.
- She gained hands-on experience through studio projects and collaborative design exercises, which honed her ability to create functional and aesthetically pleasing environments.
- Her coursework also emphasized problem-solving and practical applications of design, preparing her for real-world projects like her self-directed kitchen renovations.
- The program’s strong foundation in both technical skills and creative expression shaped Angela’s ability to seamlessly integrate form and function in her work.