
Are you thinking of joining laminate countertops on your own? If so, then this guide is for you.
Joining laminate countertops is essential for creating a seamless and professional-looking kitchen or workspace. Whether installing new countertops or repairing existing ones, learning the proper techniques will help ensure a durable and aesthetically pleasing result.
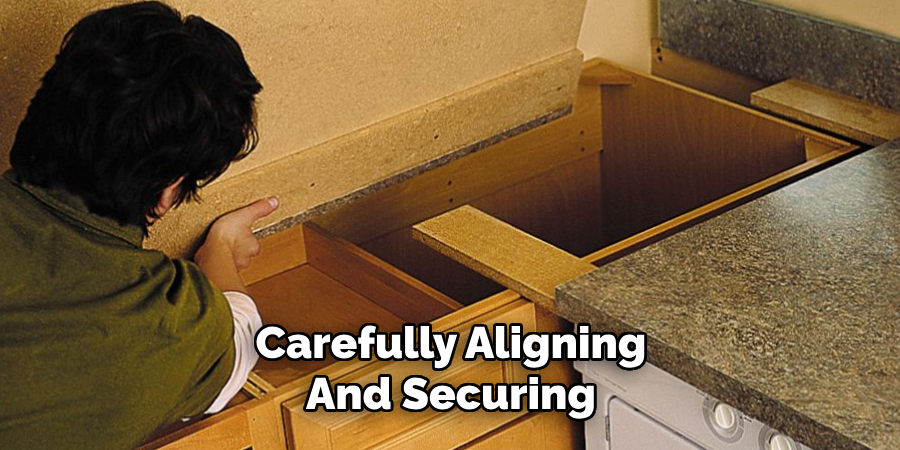
By carefully aligning and securing the pieces, you can achieve a tight, nearly invisible joint that enhances the overall appearance of your space. Additionally, joining laminate countertops is a cost-effective alternative to hiring a professional, making it a popular DIY project.
This guide on how to join laminate countertops will walk you through the tools, materials, and steps needed to successfully join laminate countertops. Let’s get started!
What Are the Benefits of Joining Laminate Countertops?
Before diving into the process of joining laminate countertops, it’s essential to understand why this skill is valuable. Here are some benefits of joining laminate countertops:
- Seamless Appearance: By successfully joining two or more pieces of laminate countertop, you can create a seamless and cohesive look that enhances the overall appearance of your space.
- Cost-effective: As mentioned earlier, joining laminate countertops is an affordable alternative to hiring a professional. With the right tools and materials, you can achieve professional-looking results at a fraction of the cost.
- Customizable: Joining laminate countertops allows for endless design possibilities. Mix and match different colors and patterns to create a unique look for your kitchen or workspace.
- Durable: When done correctly, joining laminate countertops produces a strong and durable joint that can withstand daily wear and tear. This makes it an ideal choice for high-traffic areas.
What Will You Need?
Before attempting to join laminate countertops, make sure you have the following tools on hand:
- Sander: A sander will come in handy when smoothing any rough edges on the countertop pieces.
- Router: A router creates a clean and precise edge for the joint.
- Seam Router Bit: This specialized router bit is designed to create a seamless joint between two pieces of laminate countertop. Using a high-quality seam router bit is essential for the best results.
- File: A file is used to fine-tune the edges of the countertop pieces and ensure they are smooth and flush before joining them together.
- Clamps: Clamps are necessary for holding the countertop pieces in place while joining them together.
- Caulk Gun: You’ll need a caulk gun to apply adhesive or caulking along the joint between the two countertop pieces.
- Adhesive/Caulking: Depending on your preference, you can use either construction adhesive or silicone-based caulking to join laminate countertops.
Once you have all the necessary tools, it’s time to gather the materials needed for the project.
8 Easy Steps on How to Join Laminate Countertops
Step 1: Measure and Cut the Countertops
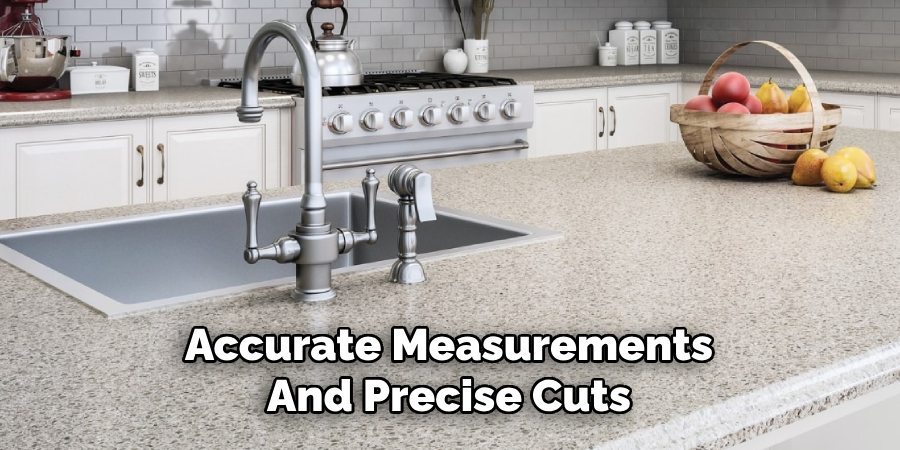
Accurate measurements and precise cuts are critical to ensuring a perfect fit when joining laminate countertops. Begin by measuring the space where the countertops will be installed and carefully mark those measurements on the countertop pieces. Use a measuring tape and a pencil to draw a clear guideline for the cut.
Double-check your measurements to avoid errors. Once confirmed, use a circular saw or laminate jigsaw blade to cut along the marked lines, ensuring clean and even edges. If possible, clamp the countertops securely to prevent shifting during cutting. This step is essential for achieving your finished project’s seamless and professional look.
Step 2: Dry-Fit the Countertops
Before applying any adhesive, dry-fit the countertop pieces to ensure they align correctly and fit the space as intended. Place the countertops in their intended positions and check for gaps, uneven edges, or misalignments. Adjust the pieces as needed to achieve a flush and seamless fit.
Take this opportunity to confirm that any cutouts, such as for sinks or appliances, are properly aligned. Dry-fitting helps identify any potential issues early, allowing you to make adjustments before permanently joining the countertops.
Step 3: Secure the Countertops
Once you are satisfied with the dry-fit, begin securing the countertops in place. Apply a high-quality adhesive, such as silicone or construction adhesive, to the top edges of the cabinets where the countertops will rest. Carefully lower the countertops onto the adhesive, ensuring they remain aligned.
If your countertops require seams, use countertop joint connectors or bolts to join the pieces together, creating a seamless appearance tightly. Wipe away any excess adhesive immediately using a damp cloth to maintain a clean finish. Allow the adhesive to fully cure as per the manufacturer’s instructions before proceeding to the next step.
Step 4: Seal the Countertops
After the countertops are securely in place and the adhesive has cured, it’s essential to seal the surface for long-term durability. Depending on the countertop material, use an appropriate sealant to protect against stains, moisture, and wear. For natural stone countertops, such as granite or marble, apply a penetrating sealer using a clean cloth or sponge, ensuring an even coat.
Allow the sealer to penetrate for the recommended time and then wipe off any excess with a soft, lint-free cloth. For other materials, follow the manufacturer’s guidelines for sealing and maintenance. Regular resealing may be required to maintain the countertops’ appearance and performance.
Step 5: Finish with Caulking
To create a polished and professional look, apply caulk along the seams where the countertops meet the wall, backsplash, or other adjacent surfaces. Use a caulking gun and a silicone or acrylic caulk that matches the countertop color or is clear for a subtle finish.
Run a consistent bead of caulk along the seams, then smooth it out with a caulk tool or your finger dipped in soapy water for an even application. Allow the caulk to dry fully per the manufacturer’s instructions before using the countertops. This step enhances the aesthetics and prevents water and debris from entering the gaps.

Step 6: Final Inspection and Clean-Up
After completing the installation and finishing steps, conduct a thorough final inspection of the countertops. Check for gaps, uneven surfaces, or areas requiring additional caulk or adjustments.
Wipe down the entire surface with a damp, soft cloth to remove dust, smudges, or residue from the installation process. Ensure that all tools and materials have been cleaned and put away. This final step ensures that your countertops are ready for use and helps maintain their pristine condition.
Step 7: Maintaining Your Countertops
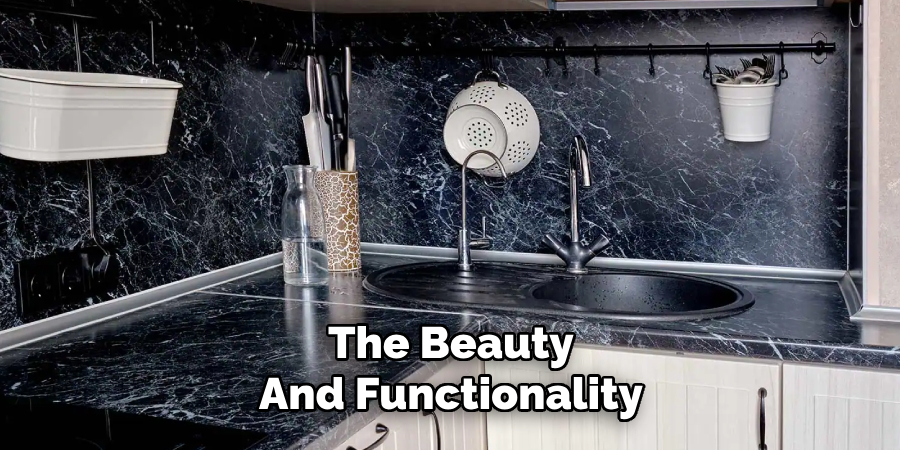
Proper maintenance is key to preserving the beauty and functionality of your countertops over time. Clean the surface regularly using a soft, damp cloth and a mild, non-abrasive cleaner to avoid scratching or damaging the finish. Avoid placing extremely hot pots or pans directly on the surface, and always use trivets or heat-resistant pads.
Promptly wipe up spills, especially acidic substances like citrus juices or vinegar, to prevent staining or etching. Following these simple care tips will help ensure your countertops remain in excellent condition for years.
Step 8: Repairing Minor Damage
Over time, your countertops may develop minor scratches or chips. Slight surface scratches can often be repaired using a countertop repair kit specifically designed for your material. For deeper scratches or chips, consider using a color-matched filler to restore the damaged area. Be sure to follow the manufacturer’s instructions to ensure a seamless repair.
If the damage is extensive, it may be necessary to consult a professional to maintain your countertops’ aesthetic and structural integrity. Regular inspections and prompt repairs will help extend their lifespan and keep them looking their best.
By following these steps, you can successfully install and maintain beautiful countertops in your home.
5 Things You Should Avoid
- Skipping Surface Preparation: Always ensure the surfaces are clean, dry, and debris-free before joining. Neglecting proper preparation can lead to weak bonds and uneven seams.
- Using Incorrect Adhesive: Avoid using the wrong type of adhesive. Specific adhesives designed for laminate work best, while others may fail to provide a strong and durable hold.
- Failing to Align Properly: Misaligned pieces can result in unsightly seams and a poor finish. Take your time to measure carefully and align the edges perfectly before securing.
- Rushing the Clamping Process: Don’t rush removing clamps before the adhesive has cured completely. Premature removal can weaken the joint and affect its strength.
- Ignoring Temperature and Humidity: Failing to account for temperature and humidity levels during installation can cause expansion or contraction, leading to gaps or warping over time.
By avoiding these common mistakes, you can ensure a successful and long-lasting installation when joining laminate countertops.
Conclusion
How to join laminate countertops requires careful planning, attention to detail, and the correct tools.
You can achieve a seamless, professional finish by understanding the process and avoiding common mistakes. Ensure you thoroughly prepare the surfaces, use the appropriate adhesive, and align the pieces for the best results. Patience is key—take your time clamping and curing to allow for a durable bond. Additionally, environmental factors like temperature and humidity should be kept in mind to prevent issues down the line.
With these steps, you’ll create a sturdy and visually appealing countertop that lasts years.
Professional Focus
Angela Ervin, a former interior designer turned blogger, specializes in kitchen design and renovations. Through her website, she blends her passion for cooking with design expertise, sharing practical and creative ideas. Known for balancing functionality and beauty, Angela’s insightful content has made her a trusted voice in home design and lifestyle.
About the Author
Angela Ervin, an experienced interior designer and blogger, combines her passion for kitchen renovations with storytelling. Living in Petersburg with her family, she enjoys cooking and testing her projects firsthand. Known for her humor and relatable style, Angela shares creative, functional design insights through her content, making her a trusted voice in home design.
Education History
University: Virginia Commonwealth University
Degree: Bachelor of Fine Arts (BFA) in Interior Design
- Angela’s education at VCU focused on mastering core interior design principles, including spatial planning, color theory, materials selection, and sustainable design practices.
- She gained hands-on experience through studio projects and collaborative design exercises, which honed her ability to create functional and aesthetically pleasing environments.
- Her coursework also emphasized problem-solving and practical applications of design, preparing her for real-world projects like her self-directed kitchen renovations.
- The program’s strong foundation in both technical skills and creative expression shaped Angela’s ability to seamlessly integrate form and function in her work.