
Are you tired of seeing scratches and scuff marks on your beautiful countertop? Don’t worry, you’re not alone. Over time, countertops can get scratched from daily use, causing them to lose their shine and become an eyesore.
Countertops play a central role in our homes, providing functionality and style to kitchens, bathrooms, and other spaces. However, scratches can mar their surface over time, diminishing their appearance and appeal. Removing scratches from countertops might seem challenging, but with the right techniques and tools, you can restore their original look and ensure their longevity.
This guide on how to remove scratches from countertop will take you through effective methods to tackle scratches, whether your countertop is made of granite, laminate, marble, or another material. Let’s get started!
What Are the Benefits of Removing Scratches From Countertop?
Before we dive into the methods, let’s first understand why removing scratches from your countertop is important.
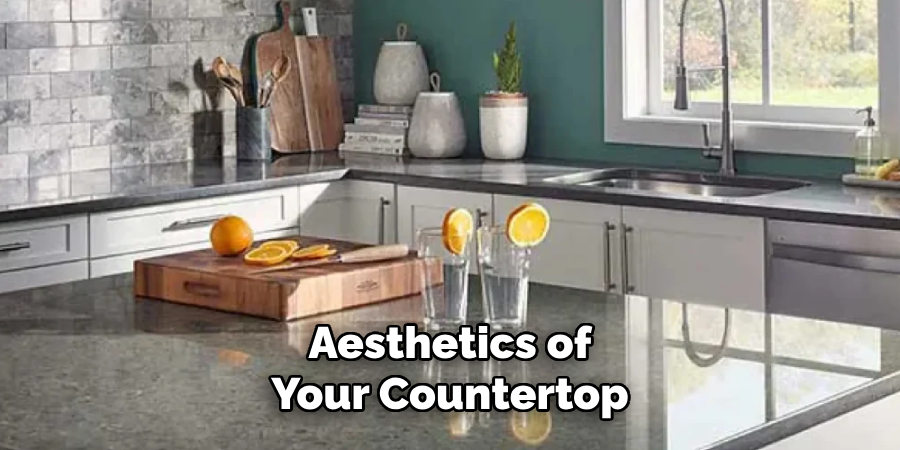
- Improve Aesthetic Appeal: Scratches on countertops can be unsightly and take away from the overall appearance of a room. By removing them, you can restore your countertop’s shine and enhance the aesthetic appeal of your space.
- Increase Longevity: Scratches not only affect the appearance but can also cause further damage if left unattended. They can collect dirt and bacteria, making them difficult to clean and potentially leading to more significant issues in the future. By removing scratches promptly, you can prolong the lifespan of your countertop.
- Cost-Efficient: Repairing scratches is much more cost-effective than replacing an entire countertop, which can be a significant investment. You can save money by using the right techniques and tools while still achieving great results.
What Will You Need?
Depending on the severity of scratches, you may need different tools and materials to remove them effectively. Here are some essential items that you should have before starting the process:
- Soft Cloth or Sponge: A soft cloth or sponge is necessary to apply cleaners and buff out scratches. Avoid using abrasive materials as they can cause further damage to your countertop.
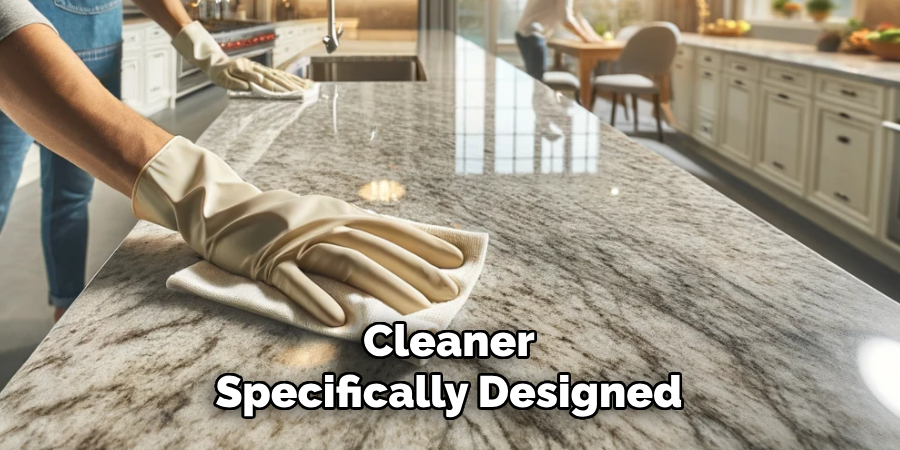
- Countertop Cleaner: Choose a cleaner specifically designed for your countertop material, such as granite, marble, or laminate. These cleaners will be gentle yet effective in removing dirt and grime without damaging the surface.
- Sandpaper: For deeper scratches, sandpaper can help smooth out the surface and reduce their visibility. Choose a fine grit sandpaper, such as 2000 or higher, to avoid creating more scratches.
- Polishing Compound: For more severe scratches, you may need a polishing compound to restore the shine and smoothness of your countertop. Again, make sure to choose one that is suitable for your countertop material.
Once you have all the necessary tools and materials, you can begin removing scratches from your countertop.
9 Easy Steps on How to Remove Scratches From Countertop
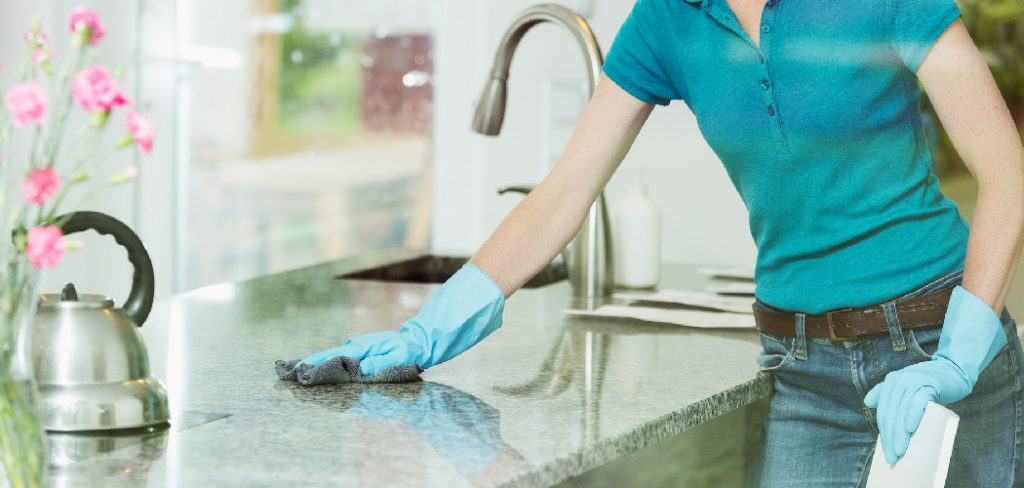
Step 1. Clean the Countertop Thoroughly
Thoroughly clean the surface of your countertop using a cleaner specifically designed for its material. This step is essential to remove any dirt, grease, or debris that could interfere with your scratch repair process. Use a soft cloth or sponge to apply the cleaner, scrubbing gently to avoid worsening any existing scratches.
Ensure that all areas are cleaned, especially around the scratched section, as leftover dirt can make the scratches appear more pronounced or hinder the effectiveness of the repair steps. Once cleaned, rinse the countertop with water to eliminate any residual cleaner and dry it with a clean, lint-free cloth before proceeding to the next step.
Step 2. Inspect the Scratch:
Carefully examine the scratch to determine its depth and severity. Essential polishing can often address Light, superficial scratches, while deeper gouges may require a filler or professional repair.
Run your fingernail across the scratch; if your nail catches, the scratch is likely deeper and will need additional treatment. Understanding the nature of the scratch will help you choose the most effective method and products for repair. Once you’ve assessed the damage, move on to the appropriate steps for restoring your countertop’s surface.
Step 3. Apply a Repair Solution
Use a non-abrasive polishing compound or a countertop repair kit designed for your surface type for light scratches. Apply the product to a soft, clean cloth and gently rub it into the scratch using circular motions. Continue polishing until the scratch diminishes or blends with the surrounding area.
If you’re dealing with a deeper scratch, use a filler compound recommended for your countertop material. Follow the manufacturer’s instructions carefully to fill the scratch and achieve a smooth finish. Allow the repair solution to set or dry as specified before proceeding.
Step 4. Seal and Protect the Surface
Once the scratch has been repaired, sealing and protecting the countertop is essential to prevent future damage. Use a countertop sealer appropriate for your specific material to create a protective barrier. Apply the sealer evenly with a clean, soft cloth or applicator, following the manufacturer’s instructions.
Allow it to dry completely before using the surface. Regular sealing can maintain the countertop’s durability and appearance, ensuring it remains pristine over time.

Step 5. Maintain Your Countertop Regularly
Proper maintenance is key to extending the life of your countertop and keeping it scratch-free. Clean the surface daily with a soft cloth and a gentle cleaner suitable for your countertop material. Avoid using abrasive sponges or harsh chemicals that might damage the finish.
Use cutting boards and trivets to prevent scratches or heat damage, and promptly wipe up spills to avoid staining. Consistent care will ensure your countertop remains functional, beautiful, and resilient for years.
Step 6. Address Repairs Promptly
Even with regular care, countertops may experience minor damages like scratches, chips, or stains over time. Address these issues promptly to prevent them from worsening. Use a repair kit designed for your countertop material for light scratches or gently buff the area with a non-abrasive pad. For deeper chips or cracks, consult a professional to ensure proper repair. Quick action and appropriate solutions will help maintain the integrity and aesthetics of your countertop.
Step 7. Seal and Protect Annually
Certain countertop materials, like granite or marble, may require periodic sealing to maintain their durability and resistance to stains.
Check the manufacturer’s recommendations and apply a high-quality sealant as directed, typically once a year. This protective layer will help prevent moisture and spills from penetrating the surface, preserving the countertop’s appearance and extending its lifespan. Regular sealing ensures your countertop remains both functional and visually appealing over time.
Step 8. Practice Daily Care
To keep your countertop pristine, incorporate daily cleaning habits into your routine. Use a soft cloth or sponge with a mild, non-abrasive cleaner to wipe down the surface and remove any spills or debris.
Avoid using harsh chemicals or abrasive cleaning tools, as these can damage the finish or surface of your countertop. Consistent daily care will go a long way in preserving the beauty and functionality of your countertop for years. If you have any questions about the appropriate cleaning methods, refer to the manufacturer’s instructions or consult a professional.
Step 9. Address Stains Promptly
While regular cleaning helps maintain your countertop, addressing any stains as soon as they occur is essential. For tougher stains, use a specialized cleaner recommended for your countertop material, ensuring it’s safe and non-damaging. Avoid acidic cleaners like vinegar for natural stone surfaces, as they may etch or dull the surface. Promptly tackling stains prevents them from setting and keeps your countertop looking flawless.
Following these steps and implementing regular care can keep your countertop looking brand new for years.
5 Things You Should Avoid
1. Using Abrasive Cleaners: Avoid harsh or abrasive cleaners as they can further worsen the scratches and damage the countertop surface. Stick to gentle, non-abrasive products designed for your specific countertop material.
2. Applying Excessive Pressure: Scrubbing with too much force can deepen the scratches or even create new ones. Always use light, controlled pressure when attempting to remove scratches.
3. Ignoring Manufacturer Guidelines: Each countertop material comes with specific care instructions. Ignoring these guidelines can lead to improper cleaning or repair techniques, potentially voiding warranties.
4. Using Steel Wool or Rough Pads: While it may seem like a quick fix, using steel wool, scouring pads, or similarly rough materials can leave the surface of your countertop with permanent deep scratches.
5. Skipping a Test Patch: Do not skip testing any cleaning product or scratch removal technique on a small, inconspicuous section of the countertop first. This ensures the method chosen will not cause irreversible damage.
By avoiding these common mistakes and implementing proper care, you can keep your countertop looking pristine for years.

Conclusion
How to remove scratches from countertop requires a combination of patience, the right tools, and proper techniques.
By carefully following the steps outlined above and avoiding common mistakes, such as using excessive pressure or skipping a test patch, you can effectively restore the surface without causing further damage. Always prioritize understanding the specific care guidelines for your countertop material and choose products designed for its maintenance.
With diligent care and attention, your countertop can regain its smooth and polished appearance, maintaining its durability and aesthetic appeal for years.
Professional Focus
Angela Ervin, a former interior designer turned blogger, specializes in kitchen design and renovations. Through her website, she blends her passion for cooking with design expertise, sharing practical and creative ideas. Known for balancing functionality and beauty, Angela’s insightful content has made her a trusted voice in home design and lifestyle.
About the Author
Angela Ervin, an experienced interior designer and blogger, combines her passion for kitchen renovations with storytelling. Living in Petersburg with her family, she enjoys cooking and testing her projects firsthand. Known for her humor and relatable style, Angela shares creative, functional design insights through her content, making her a trusted voice in home design.
Education History
University: Virginia Commonwealth University
Degree: Bachelor of Fine Arts (BFA) in Interior Design
- Angela’s education at VCU focused on mastering core interior design principles, including spatial planning, color theory, materials selection, and sustainable design practices.
- She gained hands-on experience through studio projects and collaborative design exercises, which honed her ability to create functional and aesthetically pleasing environments.
- Her coursework also emphasized problem-solving and practical applications of design, preparing her for real-world projects like her self-directed kitchen renovations.
- The program’s strong foundation in both technical skills and creative expression shaped Angela’s ability to seamlessly integrate form and function in her work.