
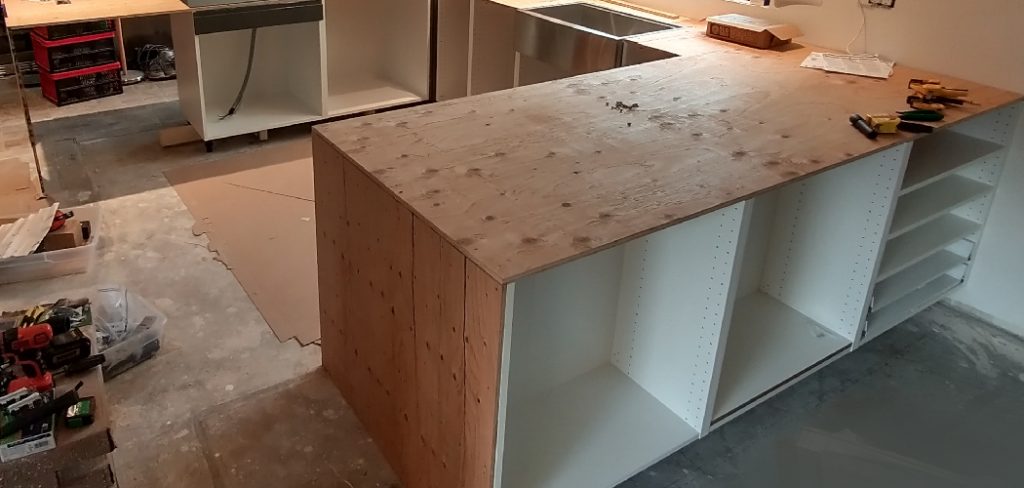
When installing countertops, ensuring the proper overhang is crucial for both functionality and aesthetics. The overhang refers to the portion of the countertop that extends beyond the base cabinets, providing space for tasks like cooking and cleaning, while also adding to the overall design appeal. Measuring countertop overhang accurately ensures uniformity, comfort, and safety, whether you’re working on a kitchen remodel or a new installation.
This guide on how to measure countertop overhang explains the steps needed to measure your countertop overhang effectively.
Why is Measuring Countertop Overhang Important?
As mentioned, the appropriate amount of overhang on your countertops is essential for multiple reasons. Firstly, it allows for more comfortable and safer use of the countertop. For example, having enough overhang enables you to sit comfortably at a breakfast bar or workstation without feeling cramped.
Secondly, proper measurement ensures uniformity in design and functionality. When countertops have consistent overhangs, it creates a cohesive look throughout the space and prevents any potential hazards caused by uneven surfaces.
Lastly, incorrect overhang measurements can result in costly mistakes during installation, such as not leaving enough space for appliances or cabinets to open properly. Therefore, taking accurate measurements beforehand can save time and money in the long run.
Tools Needed to Measure Countertop Overhang
Before you begin measuring, make sure you have the following tools on hand:
Measuring Tape:
A measuring tape is necessary for accurately measuring the length and width of your countertop. Make sure it is at least 25 feet in length to accommodate larger surfaces.
Pencil:
A pencil will be used to mark the measurements on your countertop.
Straight Edge or Level:
A straight edge or level will help you draw straight lines for more precise measurements
7 Steps on How to Measure Countertop Overhang
Step 1: Measure the Base Cabinets
Start by measuring the depth of the base cabinets, as this determines how far the countertop will overhang. Using your measuring tape, measure from the back edge of the cabinet to the front edge. Record this measurement, as it will serve as the baseline for determining the appropriate overhang length.
Ensure that you measure multiple points along the cabinet to account for any inconsistencies in the surface. Consistent measurements will help achieve a uniform overhang and prevent misalignment during installation.

Step 2: Determine the Desired Overhang Length
Next, decide how much overhang you want for your countertop. The standard measurement is typically between 1 to 1.5 inches, but it ultimately depends on personal preference and the size of your countertop.
Keep in mind that smaller overhangs may not provide enough space for tasks like food preparation or sitting at a counter, while larger overhangs can create an imbalance in the overall design.
Step 3: Mark the Front Edge of the Countertop
Using your measuring tape, measure out the desired overhang length from the front edge of the base cabinets. For example, if you have chosen a 1.5-inch overhang, measure 1.5 inches outward from the cabinet’s front edge. Once measured, use a pencil to mark this point along the length of the cabinets.
To ensure accuracy, repeat this process at several points along the cabinet edge and mark consistently. Then, use a straight edge or level to connect these marks into a continuous line. This line will serve as a guide for where the front edge of your countertop should align during installation. Taking time to mark the front edge precisely will help ensure a uniform and professional appearance.
Step 4: Measure the Length and Width of the Countertop
Using your measuring tape, measure the total length of the countertop area from one end to the other. Be sure to measure along the back edge of the base cabinets to get an accurate dimension. Record this measurement, as it will help you cut or order the correct size of the countertop.
Next, measure the width of the countertop by measuring from the back wall or backsplash area to the front edge of the countertop (including the desired overhang). This measurement should account for both the depth of the base cabinets and any overhang you determined earlier in Step 2. Write down this width to ensure precise cutting and alignment during installation.

Step 5: Calculate the Overhang Area
To calculate the overhang area, you will need both the total dimensions of the countertop (length and width) and the depth of the base cabinets. Start by subtracting the depth of the base cabinets from the total width of the countertop. This difference represents the depth of the overhang. For example, if the total width of the countertop is 26 inches and the base cabinets are 24 inches deep, the overhang depth would be 2 inches.
Next, multiply the overhang depth by the length of the countertop to determine the total overhang area. This calculation is especially important if you plan to install a larger countertop or want to ensure the overhang is sufficient for specific tasks, such as seating or additional workspace.
Step 6: Double-Check Measurements
Before proceeding with installation, it is crucial to double-check all measurements to ensure accuracy. This step can prevent costly mistakes and delays during the installation process. Make sure that the depth of your overhang aligns with your desired measurement from Step 2, and the width of your countertop accounts for both the base cabinet depth and overhang length.
You can also check for consistency by measuring along the front edge of the countertop, ensuring that all markings align with the desired overhang length.
Step 7: Seek Professional Assistance if Needed
If you are unsure about your measurements or feel uncomfortable completing this process on your own, it is always best to seek professional assistance. A licensed contractor or experienced installer can help ensure accurate and precise measurements for a seamless installation process. Additionally, they may have specialized tools and techniques to achieve more complex designs or larger countertops.

Following these seven steps to measure countertop overhang can help you achieve a professional and functional space that meets your design needs. By taking the time to accurately measure and plan, you can save time, money, and potential headaches during the installation process. Remember to always triple-check your measurements before proceeding with any cutting or installation. Now that you know how to measure countertop overhang, you can confidently move forward with your kitchen or bathroom remodel.
Common Mistakes to Avoid
- Not measuring multiple points for consistency
- Forgetting to account for the depth of the base cabinets when determining overhang length
- Using inaccurate or imprecise tools, such as a warped ruler or measuring tape with missing markings
- Rushing through measurements or not double-checking for accuracy
- Not seeking professional assistance if needed
Additional Tips and Considerations
- When in doubt, always round down your overhang measurement to prevent potential accidents or imbalance.
- If your countertop has an uneven surface, measure from the highest point to ensure proper alignment.
- Take into account any special features or designs that may affect the overhang, such as a curved counter or an angled cabinet.
- If ordering a custom countertop, be sure to provide the exact measurements to avoid delays or extra costs.
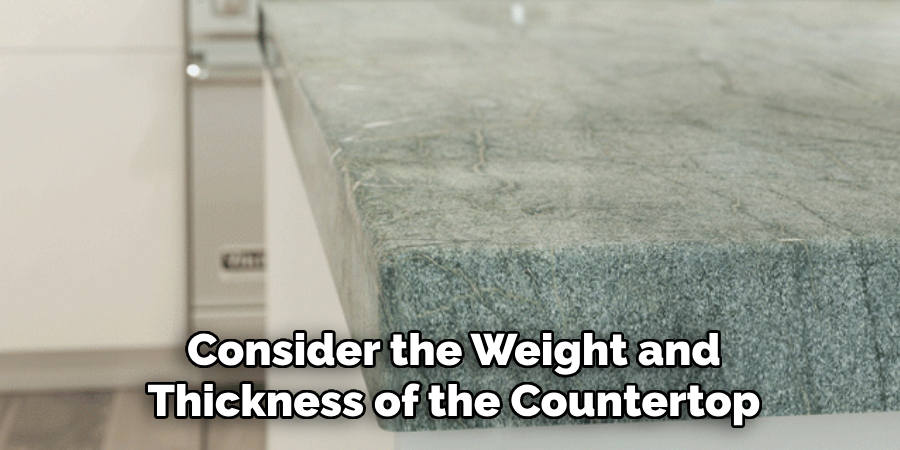
- Consider the weight and thickness of the countertop material when determining overhang length, as some materials may require additional support for larger overhangs.
- Be mindful of any electrical outlets or appliances near the edge of your countertop and adjust measurements accordingly.
Now that you have successfully measured your countertop overhang, it’s time to move on to installation!
Frequently Asked Questions
Q1: Can I Have Different Overhang Lengths for Different Parts of My Countertop?
A: Yes, you can have varying overhang lengths for different areas of your countertop. However, it is crucial to ensure that they are measured accurately and consistently to achieve a uniform appearance. Additionally, keep in mind that larger overhangs may require additional support and planning to prevent any potential hazards or misalignment.
Q2: How Do I Determine the Appropriate Overhang Length for My Countertop?
A: The standard overhang length is typically between 1 to 1.5 inches. However, it ultimately depends on personal preference and the size of your countertop space. Consider how you plan to use your countertop (e.g., food preparation, seating) and the overall design aesthetic when determining the appropriate overhang length.
Q3: Can I Install an Overhang Without Base Cabinets?
A: While it is not recommended, it is possible to install an overhang without base cabinets. However, this will require additional support and planning for proper weight distribution and stability. In this case, it may be best to consult with a professional installer or contractor.
Q4: Can I Change the Overhang Length After the Countertop is Installed?
A: In most cases, it is not recommended to alter the overhang length after installation as it can compromise the structural integrity of the countertop and potentially cause damage. It is best to plan and measure carefully beforehand and make any necessary adjustments before installation.
Conclusion
Measuring and planning your countertop overhang is a critical step in creating a functional and visually appealing space. By following the outlined steps on how to measure countertop overhang, double-checking your measurements, and considering additional tips, you can avoid common pitfalls and ensure a smooth installation process. Whether you are tackling a DIY project or working with a professional, taking the time to accurately determine your overhang specifications will contribute to a successful remodel.
With proper planning and attention to detail, your countertop can become the perfect centerpiece for your kitchen or bathroom, combining both style and practicality.
Professional Focus
Angela Ervin, a former interior designer turned blogger, specializes in kitchen design and renovations. Through her website, she blends her passion for cooking with design expertise, sharing practical and creative ideas. Known for balancing functionality and beauty, Angela’s insightful content has made her a trusted voice in home design and lifestyle.
About the Author
Angela Ervin, an experienced interior designer and blogger, combines her passion for kitchen renovations with storytelling. Living in Petersburg with her family, she enjoys cooking and testing her projects firsthand. Known for her humor and relatable style, Angela shares creative, functional design insights through her content, making her a trusted voice in home design.
Education History
University: Virginia Commonwealth University
Degree: Bachelor of Fine Arts (BFA) in Interior Design
- Angela’s education at VCU focused on mastering core interior design principles, including spatial planning, color theory, materials selection, and sustainable design practices.
- She gained hands-on experience through studio projects and collaborative design exercises, which honed her ability to create functional and aesthetically pleasing environments.
- Her coursework also emphasized problem-solving and practical applications of design, preparing her for real-world projects like her self-directed kitchen renovations.
- The program’s strong foundation in both technical skills and creative expression shaped Angela’s ability to seamlessly integrate form and function in her work.