
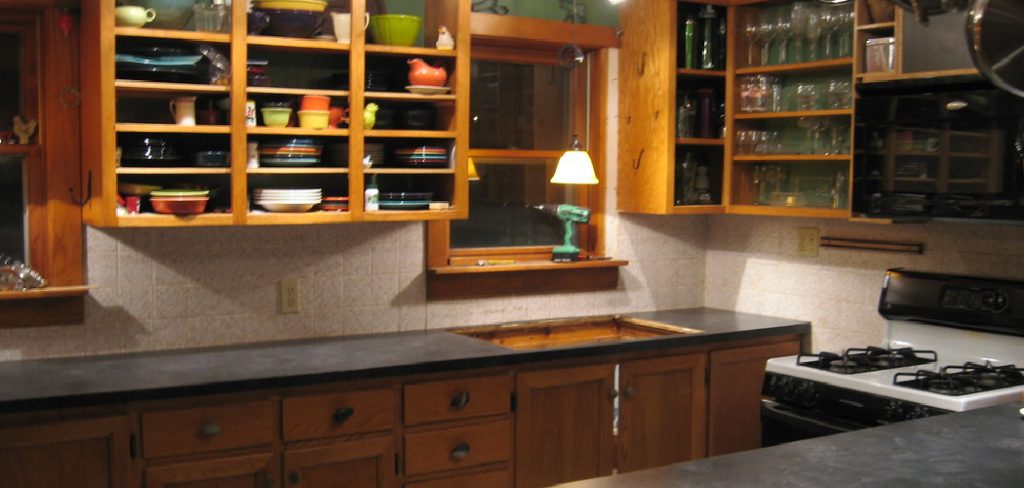
Painting laminate countertops is an affordable and effective way to give your kitchen or bathroom a fresh, updated look without the expense of replacing them. Whether you’re aiming for a sleek, modern finish or a bold pop of color, painting laminate surfaces is a fun DIY project that can dramatically transform your space. With the right tools, preparation, and techniques, you can achieve a professional-looking result that lasts for years.
This guide on how to paint laminate countertops will walk you through the process step by step, helping you create a durable and stylish finish.
Why Paint Laminate Countertops?
Before we dive into the how-tos, let’s discuss why painting your laminate countertops can be a great option. For one, it’s much more budget-friendly than replacing them entirely. Laminate is also a durable material that can withstand daily use and spills, making it a practical choice for kitchen and bathroom surfaces. However, over time, laminate can start to show signs of wear and tear or become outdated in style. Painting over laminate allows you to update the look without breaking the bank.
Furthermore, painting your countertops gives you endless customization options. From choosing your own colors and patterns to creating unique designs with specialty paints and techniques, you have the freedom to make your countertops truly one-of-a-kind.
Materials Needed
To successfully paint your laminate countertops, you will need the following materials:
Primer:
Choose a high-quality primer that is specifically designed for use on laminate surfaces. This will ensure proper adhesion and help the paint last longer.
Paint:
Acrylic, latex, or oil-based paints can all be used to paint over laminate. Choose a color and finish that suits your style and matches your overall kitchen or bathroom design.
Brushes:
Invest in good quality brushes for a smooth and professional finish. A small angled brush is ideal for cutting in edges, while a foam roller is great for larger areas.
Painter’s tape:
Use painter’s tape to protect any areas you do not want to get paint on, such as walls or cabinets.
Sandpaper:
Sanding the laminate surface before painting will help the primer and paint adhere better. Use a fine-grit sandpaper (around 220 grit) for best results.
Tack cloth:
After sanding, use a tack cloth to remove any dust or debris from the surface before priming.
Topcoat:
For added durability and protection, consider applying a topcoat over your painted countertops. This can be in the form of a clear sealant or wax.
7 Step-by-step Guides on How to Paint Laminate Countertops
Step 1: Prepare the Surface
Proper preparation is key to achieving a durable and flawless finish when painting laminate countertops. Start by thoroughly cleaning the surface with a mild detergent and warm water to remove grease, dirt, and any residue. Pay close attention to corners and edges, where grime can often build up. Once the surface is clean and dry, lightly sand the entire countertop using fine-grit sandpaper (around 220 grit) to create a slightly rough texture.
This helps the primer adhere better to the laminate. Be sure to sand evenly and avoid pressing too hard to prevent damage to the surface. After sanding, wipe down the countertop with a tack cloth to remove any dust or debris, ensuring a clean surface for the next step.
Step 2: Protect Surrounding Areas
Before you begin priming and painting, take the necessary steps to protect the surrounding areas to avoid accidental splatters or smudges. Use painter’s tape to mask off edges where the countertop meets the walls, backsplash, sink, or any other adjacent surfaces. Make sure the tape is firmly pressed down to prevent paint from seeping underneath.
If there are cabinets or appliances nearby, consider covering them with plastic sheets or drop cloths for extra protection. Additionally, lay down a drop cloth or old sheets on the floor to catch any drips or spills. Properly protecting the surrounding areas will not only save you from unnecessary cleanup but also ensure a neater, more professional result.
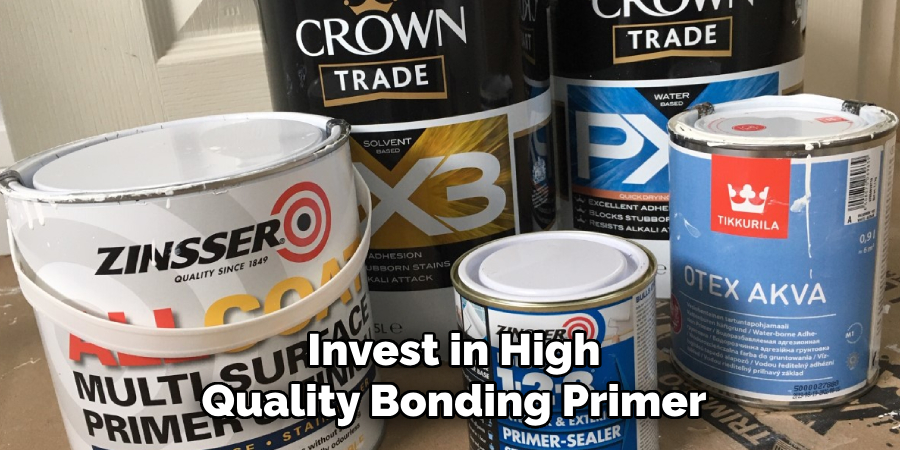
Step 3: Apply Primer
Once the surface is prepped and protected, it’s time to apply the primer. Use a high-quality bonding primer designed specifically for laminate surfaces. This will help the paint adhere better and prevent peeling or chipping in the long run. Using a foam roller or brush, apply an even coat of primer over the entire countertop surface, following the manufacturer’s instructions for drying times between coats.
For best results, apply at least two coats of primer, sanding lightly between each coat with fine-grit sandpaper to create a smooth finish. After the final coat of primer has dried completely, remove any excess painter’s tape before moving on to the next step.
Step 4: Paint the Countertop
After the primer has dried, it’s time to add color to your countertop. Choose a high-quality paint that is suitable for use on laminate surfaces and comes in a finish of your choice (such as matte, satin, or gloss). Using a small angled brush, carefully cut in along the edges and corners of the countertop first. Then use a foam roller to apply an even coat of paint over the rest of the surface.
For better coverage, allow the first coat to dry completely before applying a second coat. This will also help achieve a more durable finish. If you want to create a pattern or design on your countertop, now is the time to do so using specialty paints or techniques. Allow the final coat of paint to dry completely before moving on to the next step.
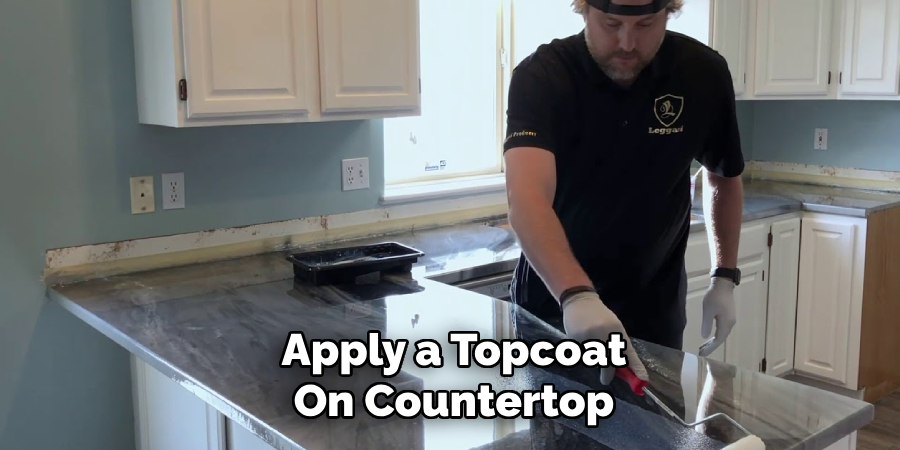
Step 5: Apply a Topcoat
For added protection and durability, consider applying a topcoat over your painted countertops. This can be in the form of a clear sealant or wax. If you choose a sealant, use a brush or roller to apply an even coat over the entire surface, following the manufacturer’s instructions for drying times between coats.
If you opt for wax, use a clean cloth to gently rub it onto the surface in circular motions until evenly distributed. Buff off any excess wax with a dry cloth for a smooth finish. Adding a topcoat will not only protect your painted countertops from daily wear and tear but also give them a polished, finished look.
Step 6: Let it Cure
After completing all the steps, let your newly painted countertops cure for at least 24 hours before using them. This will allow the paint and topcoat to fully dry and harden, ensuring a longer-lasting finish. Avoid placing any heavy objects on the countertop during this time to prevent any damage or imprints in the paint.
You may also want to avoid using harsh chemicals or cleaners on the countertop for the first few weeks, as this can affect the finish. Once fully cured, your painted laminate countertops should be ready for use and able to withstand regular kitchen or bathroom activities.
Step 7: Maintenance
To keep your painted laminate countertops looking fresh and pristine, implement a regular maintenance routine. Clean the surface regularly using a soft cloth or sponge and a mild, non-abrasive cleaner to avoid damaging the paint or topcoat. Avoid using harsh chemicals, bleach, or abrasive scrubbers, as these can wear down the finish over time.
If the surface does get scratched or chipped, touch up the affected areas with paint and topcoat as needed. With proper maintenance, your painted countertops can last for several years before needing a fresh coat of paint. Following these steps on how to paint laminate countertops and taking proper care of your painted laminate countertops can transform the look of your space without breaking the bank on expensive replacements.
Common Mistakes to Avoid
Skipping the Sanding Step:
This is crucial for proper adhesion of the primer and paint. Skipping this step can result in peeling or chipping of the paint over time.
Rushing the Drying Process:
Make sure to follow the manufacturer’s instructions for drying times between coats of primer, paint, and topcoat. Rushing this process can lead to an uneven finish or even cause the paint to peel or bubble.
Using Low-Quality Materials:
Invest in high-quality bonding primer, paint, and topcoat designed specifically for laminate surfaces. Using low-quality materials may save you money initially but can result in a subpar finish and require more frequent touch-ups or repainting in the future.
Not Properly Protecting Surrounding Areas:
Take the necessary steps to protect adjacent surfaces and areas before painting to avoid accidental splatters or smudges. Neglecting this step can result in messy cleanup and uneven painting.
Neglecting Maintenance:
Properly maintaining your painted laminate countertops is key to ensuring their longevity. Skipping regular cleaning or using harsh chemicals can damage the finish and require more frequent touch-ups or repainting.
Frequently Asked Questions
Q: Can I Paint Over Laminate Countertops That Already Have a Layer of Paint on Them?
A: Yes, but make sure to properly sand and prime the surface before adding a new coat of paint.
Q: How Long Will My Painted Laminate Countertops Last?
A: With proper maintenance, your painted countertops can last for several years before needing a fresh coat of paint.
Q: Can I Use Regular Wall Paint on Laminate Countertops?
A: No, it is important to use a high-quality paint specifically designed for use on laminate surfaces. This will ensure better adhesion and durability.
Q: Is It Possible to Create Patterns or Designs with Paint on Laminate Countertops?
A: Yes, there are specialty paints and techniques that allow you to create patterns or designs on your countertops. Just make sure to follow the manufacturer’s instructions and properly seal the design with a topcoat.
Q: Can I Use My Painted Laminate Countertops for Food Preparation?
A: Yes, as long as the countertops are properly sealed and cured before use. It is still important to avoid using harsh chemicals or cleaners on the surface, as these can damage the finish over time.
Conclusion
Painting laminate countertops is an affordable and easy way to update your kitchen or bathroom without completely replacing your old counters.
By following these steps on how to paint laminate countertops and avoiding common mistakes, you can achieve a beautiful and durable finish that will last for years to come.
Professional Focus
Angela Ervin, a former interior designer turned blogger, specializes in kitchen design and renovations. Through her website, she blends her passion for cooking with design expertise, sharing practical and creative ideas. Known for balancing functionality and beauty, Angela’s insightful content has made her a trusted voice in home design and lifestyle.
About the Author
Angela Ervin, an experienced interior designer and blogger, combines her passion for kitchen renovations with storytelling. Living in Petersburg with her family, she enjoys cooking and testing her projects firsthand. Known for her humor and relatable style, Angela shares creative, functional design insights through her content, making her a trusted voice in home design.
Education History
University: Virginia Commonwealth University
Degree: Bachelor of Fine Arts (BFA) in Interior Design
- Angela’s education at VCU focused on mastering core interior design principles, including spatial planning, color theory, materials selection, and sustainable design practices.
- She gained hands-on experience through studio projects and collaborative design exercises, which honed her ability to create functional and aesthetically pleasing environments.
- Her coursework also emphasized problem-solving and practical applications of design, preparing her for real-world projects like her self-directed kitchen renovations.
- The program’s strong foundation in both technical skills and creative expression shaped Angela’s ability to seamlessly integrate form and function in her work.