
Properly installing a dishwasher’s drain hose is crucial for the appliance’s performance and longevity. The drain hose ensures that wastewater is effectively removed from the dishwasher, preventing potential leaks and maintaining overall efficiency.
A poorly installed drain hose can lead to several issues, such as clogs, backflow, or even water damage to your kitchen. This article serves as a comprehensive step-by-step guide on how to run drain hose for dishwasher, ensuring it is installed safely and functions optimally.
By following these recommendations, you will enjoy the benefits of a properly running dishwasher, including preventing leaks, avoiding blockages, and extending the lifespan of your appliance.Proper installation not only streamlines the operation of the dishwasher but also safeguards your home from unnecessary repair costs and water-related complications.
Materials and Tools Needed
Required Materials
- Drain Hose (typically 5-10 feet in length): This is essential for guiding wastewater from the dishwasher to your plumbing system.
- Hose Clamps: Used to secure the hose firmly at connection points to prevent leaks.
- Pipe Adapter (if necessary): This helps attach the drain hose to your home’s plumbing if a direct connection is incompatible.
- Teflon Tape (optional): Ideal for sealing threaded connections to avoid any potential leaks.
Tools You’ll Need
- Adjustable Wrench or Pliers: These tools assist in tightening the hose clamps to create a secure and leak-free connection.
- Screwdriver: Needed to fasten the hose connection to the dishwasher securely.
- Utility Knife: For cutting the drain hose to the desired length if the standard size doesn’t fit your setup.
- Drill (optional): Required for creating a hole in cabinets or walls if you need to route the drain hose through these spaces.
Having all these materials and tools handy before beginning the installation will make the process smoother and more efficient, ensuring a properly functioning dishwasher drain system.
Choosing the Right Drain Hose
Selecting the Correct Length
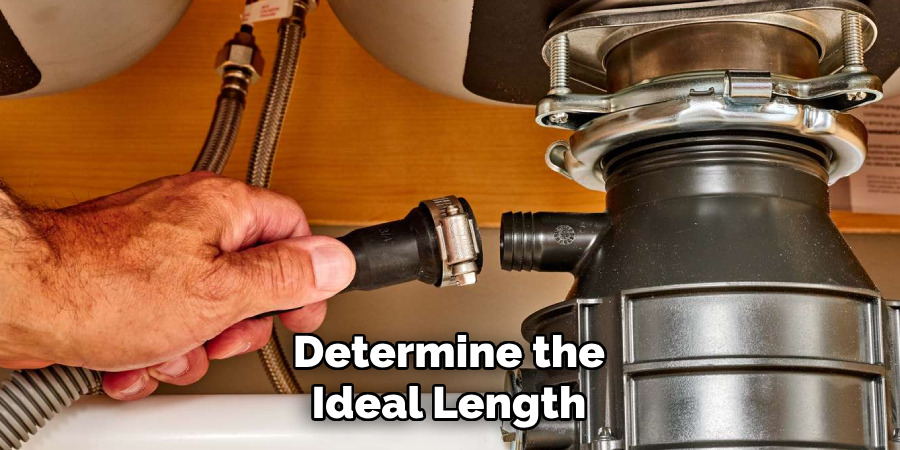
When choosing a drain hose, selecting one with the correct length is essential to ensure a seamless installation. The hose must be long enough to comfortably connect the dishwasher’s drain outlet to the drainpipe or garbage disposal without excessive tension.
At the same time, avoid excessive slack in the hose, as it could lead to water pooling or blockages. Measure the distance between connection points carefully and consider any bends or routing paths in your kitchen setup to determine the ideal length.
Choosing the Right Material
The material of the drain hose plays a crucial role in its functionality and durability. Most standard dishwashers use flexible plastic hoses, which are cost-effective and easy to install. However, in situations requiring added durability or protection against damage, a braided metal hose might be a better choice. Evaluate both your appliance’s requirements and the conditions of its environment to decide on a suitable material.
Compatibility with Your Plumbing
Ensuring compatibility between the hose and your home’s plumbing is vital for a leak-free connection. Please pay close attention to the diameter of the hose and ensure it matches the size of your drain connection, which is typically 5/8 inch or 1/2 inch. An adequately matched diameter will provide a secure fit and prevent leaks, contributing to an efficient and reliable dishwasher system.
Preparing the Dishwasher and Plumbing
Step 1: Disconnecting the Power and Water Supply
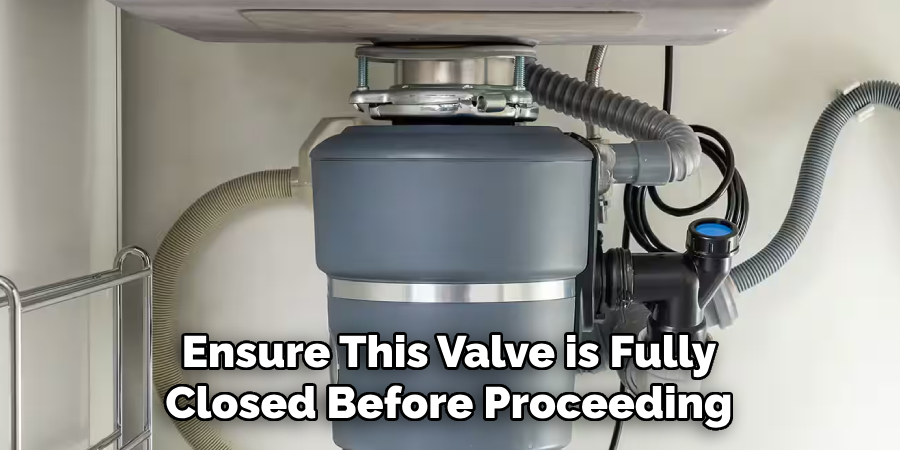
Safety should be your top priority before beginning any work on your dishwasher. Start by turning off the power to the dishwasher at the circuit breaker to eliminate the risk of electrical shock. Next, shut off the water supply to prevent leaks or spills. Usually, there is a valve under the sink that controls the water flow to your dishwasher—ensure this valve is fully closed before proceeding.
Step 2: Locate the Drain Outlet on the Dishwasher
To prepare to connect a new drain hose, locate the drain outlet on your dishwasher. This outlet is typically found on the underside of the appliance. Consult the dishwasher’s manual if needed to confirm the exact location. If there is an existing drain hose attached to the outlet, remove it carefully by loosening any clamps or connections securing it in place. Make sure the outlet is free of debris and ready for the new installation.
Step 3: Preparing the Drain Connection
At the plumbing side, locate the drain connection—this could be a direct drain pipe or a garbage disposal unit. If necessary, disconnect the existing drain line at the connection point to make way for the new installation. Inspect the drain or disposal to ensure it is blockage-free, as clogs can cause drainage issues later.
Use a flashlight if needed to check for obstructions and clear them out before proceeding with the installation process. A clean and accessible drain connection is essential to a seamless and leak-free setup.
How to Run Drain Hose for Dishwasher: Installing the Drain Hose
Step 1: Connecting the Hose to the Dishwasher
Attach one end of the drain hose to the dishwasher’s drain outlet, ensuring a tight and secure connection. Use a hose clamp to hold it firmly, tightening it enough to prevent leaks but not so much that it damages the hose. Consider using Teflon tape to create an airtight, leak-free seal if the connection is threaded. Double-check that the hose is fully seated on the outlet before moving on to the next step.
Step 2: Routing the Hose
Carefully route the drain hose through the cabinet or under the sink, following a clear, unobstructed path to the plumbing connection. Avoid sharp bends or twists in the hose, as these can hinder water flow and potentially lead to clogs or leaks over time.
To meet standard plumbing codes and prevent wastewater from backing up into the dishwasher, create a “high loop.” This means the hose should rise up higher than the level of the dishwasher before descending to the drain connection. The high loop is a critical detail for proper functionality and hygiene.
Step 3: Securing the Hose
Once the hose is routed, secure it along its path using hose clamps or sturdy zip ties. Attach these fasteners to stable surfaces, such as the side of the cabinet or the wall beneath the sink, to prevent the hose from shifting during the dishwasher’s operation.
This will help maintain a reliable connection and ensure the hose stays properly positioned. Finally, review the installation to confirm all connections are secure and the hose is adequately supported.
Connecting the Drain Hose to the Plumbing
Step 1: Attaching to the Drain or Garbage Disposal
Connect the open end of the drain hose to the designated drain pipe or the drain inlet on your garbage disposal. Ensure the hose fits snugly over the connection point to prevent leaks. If you are using a garbage disposal, first check to see if the knockout plug inside the inlet has been removed. This step is crucial for allowing wastewater to flow freely.
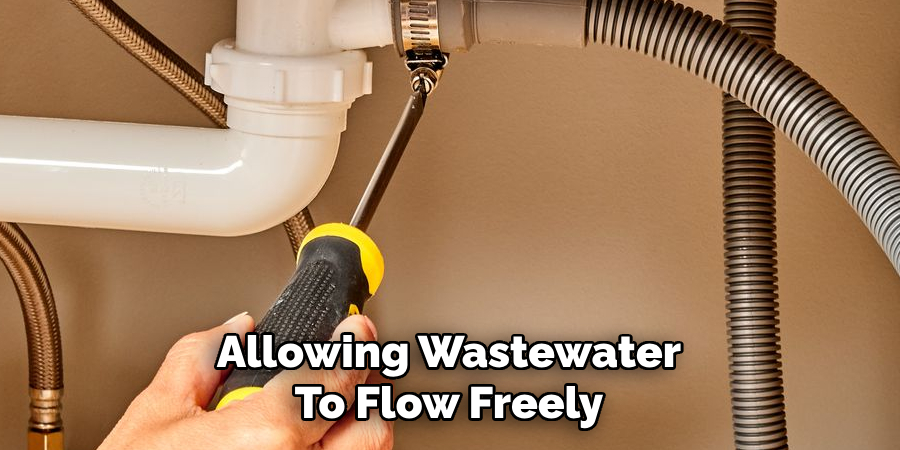
Use a flathead screwdriver or similar tool to carefully remove the knockout plug if it is still in place. Once the plug is cleared, slide the hose over the inlet, making sure it is appropriately aligned. Secure the connection with a hose clamp to keep it firmly in place.
Step 2: Tightening the Connections
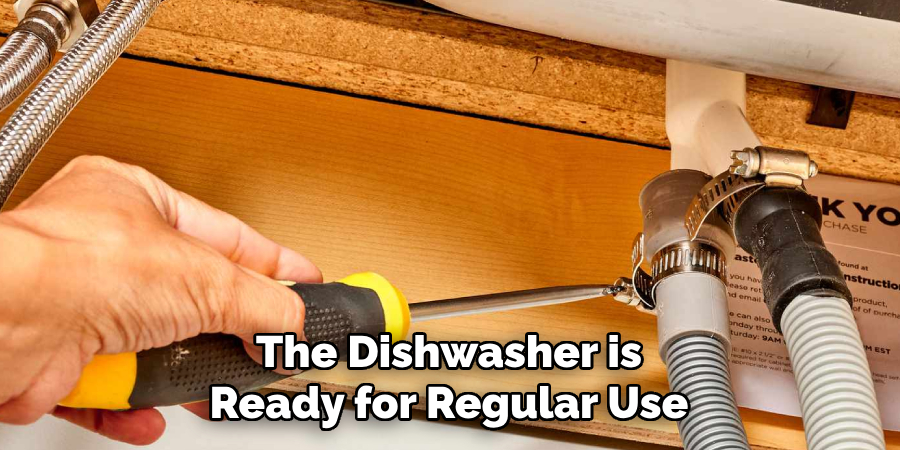
After the hose is attached, use an adjustable wrench to tighten the hose clamps on both ends of the drain hose. Start by tightening the clamp at the dishwasher end, followed by the clamp at the drain or garbage disposal connection.
Ensure the clamps are tightened enough to create a secure, leak-proof seal, but avoid overtightening, as this can crack the hose or strain the plumbing fittings. A well-secured connection will prevent water leaks and maintain the smooth operation of the dishwasher. With the drain hose properly connected, test the setup by running a short cycle on the dishwasher and checking for any signs of leaks.
Testing and Ensuring Proper Functionality
Step 1: Reconnecting Power and Water Supply
Restore the power to the dishwasher by plugging it back into the outlet or switching the circuit breaker to the “on” position. Next, reconnect the water supply line to the dishwasher and turn the water valve back on. Carefully inspect all connection points, including the water supply and drain hose, for any signs of leakage. Tighten connections if necessary to ensure everything is secure.
Step 2: Running a Test Cycle
Run a short cycle on the dishwasher to test its functionality. During this cycle, pay close attention to any unusual noises that might indicate an issue with the drain hose or pump. Check for leaks at the drain hose connection points, especially the areas secured with clamps. If any leaks or misalignments are detected, stop the cycle, adjust the hose or clamps, and tighten them as needed to ensure a proper seal.
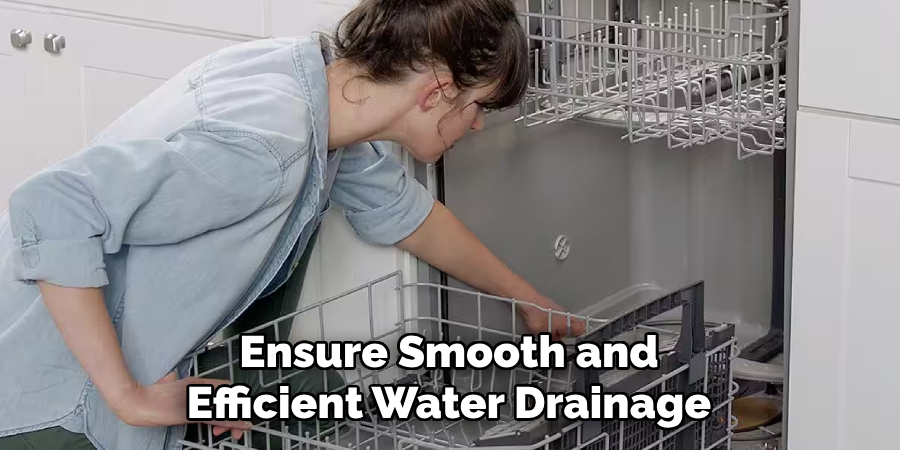
Step 3: Checking for Water Drainage
Monitor the dishwasher as it progresses to the draining stage of the cycle. Confirm that water drains out smoothly through the hose without any backflow. Ensure the hose maintains its “high loop” position, which prevents wastewater from flowing back into the dishwasher. The installation is successful once the cycle is complete without incident and the dishwasher is ready for regular use.
Troubleshooting Common Issues
Leaking Drain Hose
Inspect the hose clamps for looseness if you notice any water leaking from the drain hose. Tighten them carefully to ensure a secure fit. Additionally, examine the hose for any visible cracks, splits, or wear and tear. If damage is found, replace the hose with a new one to prevent further leakage. Regularly checking for these issues can help maintain the dishwasher’s functionality and prevent water damage in your home.
Clogs in the Hose
A slow-draining dishwasher often indicates a clog in the drain hose. To resolve this, disconnect the drain hose from the dishwasher and thoroughly inspect it for blockages. Use a flexible cleaning brush or a pipe cleaner to dislodge and remove any debris or buildup blocking the flow of water. Reattach the hose securely and run a test cycle to ensure proper drainage.
Improper Drainage or Backflow
If you experience backflow or improper drainage, verify that the drain hose is positioned with a proper high loop. This prevents wastewater from flowing back into the dishwasher. Check for any kinks, sharp bends, or obstructions in the hose that could restrict water flow. Adjust the hose as needed to ensure smooth and efficient water drainage.
Conclusion
Properly understanding how to run drain hose for dishwasher is essential to ensuring long-lasting performance and avoiding potential issues. Begin by selecting the right drain hose suitable for your dishwasher model. Securely connect the hose to both the dishwasher and the plumbing system, and implement a proper high loop to prevent backflow.
After installation, thoroughly check for leaks and run a test cycle to confirm smooth operation. Finally, as part of regular maintenance, inspect the drain hose for wear and tear to prevent clogs or leaks and keep your dishwasher functioning efficiently over time.
Professional Focus
Angela Ervin, a former interior designer turned blogger, specializes in kitchen design and renovations. Through her website, she blends her passion for cooking with design expertise, sharing practical and creative ideas. Known for balancing functionality and beauty, Angela’s insightful content has made her a trusted voice in home design and lifestyle.
About the Author
Angela Ervin, an experienced interior designer and blogger, combines her passion for kitchen renovations with storytelling. Living in Petersburg with her family, she enjoys cooking and testing her projects firsthand. Known for her humor and relatable style, Angela shares creative, functional design insights through her content, making her a trusted voice in home design.
Education History
University: Virginia Commonwealth University
Degree: Bachelor of Fine Arts (BFA) in Interior Design
- Angela’s education at VCU focused on mastering core interior design principles, including spatial planning, color theory, materials selection, and sustainable design practices.
- She gained hands-on experience through studio projects and collaborative design exercises, which honed her ability to create functional and aesthetically pleasing environments.
- Her coursework also emphasized problem-solving and practical applications of design, preparing her for real-world projects like her self-directed kitchen renovations.
- The program’s strong foundation in both technical skills and creative expression shaped Angela’s ability to seamlessly integrate form and function in her work.