
A leaking dishwasher can be a frustrating problem, but it’s often easier to fix than you might think. Leaks can arise from a variety of causes, ranging from faulty seals to clogged drains. Knowing how to identify the source of the leak and perform simple repairs can save you time, money, and the hassle of hiring a professional.
This guide on how to fix a leaking dishwasher will walk you through the common reasons for dishwasher leaks and provide clear steps to fix the issue.
What is a Dishwasher Leak?
A dishwasher leak occurs when water escapes from the appliance during its operation. These leaks can lead to puddles on your kitchen floor, water damage to surrounding cabinets, or even mold growth if left unchecked. A dishwasher is designed to handle a significant amount of water internally, and when its components fail to contain or drain this water properly, a leak occurs.
The most common areas where leaks originate include the door seal, the water supply hose, the drain connection, or even cracks in the tub. Understanding what constitutes a dishwasher leak is the first step toward diagnosing and resolving the problem effectively.
Common Cause of Dishwasher Leaks
Before diving into how to fix a leaking dishwasher, it’s essential to understand the potential reasons behind the leak. Here are some common causes of dishwasher leaks:
Faulty Door Seal
The rubber gasket that lines the dishwasher’s door and creates a watertight seal can become damaged or loose over time, allowing water to escape. This is perhaps the most common cause of dishwasher leaks and can be easily fixed by replacing the door seal.
Loose or Damaged Water Supply Hose
The water supply hose connects your dishwasher to your home’s plumbing. If it becomes loose, damaged, or develops a hole, it can lead to leaks. Inspecting this hose regularly and tightening any connections can help prevent leaks from occurring.
Clogged Drain
If your dishwasher is not draining properly, the excess water may overflow and leak from the appliance. A clogged drain could be caused by food debris or foreign objects stuck in the drain filter or drain line. Regularly cleaning these components can prevent clogs and potential leaks.
Cracks in the Tub
Over time, the tub of your dishwasher can develop cracks or other damage that allows water to escape. This is more common in older dishwashers and may require professional repairs or even a full replacement.
7 Steps on How to Fix a Leaking Dishwasher
Step 1: Identify the Source of the Leak
Before attempting any repairs, it’s crucial to determine exactly where the leak is coming from. Start by carefully inspecting your dishwasher while it’s running. Look for any visible drips or water pooling underneath or around the appliance. Pay close attention to common problem areas such as the door seal, water supply hose, and the base of the dishwasher.
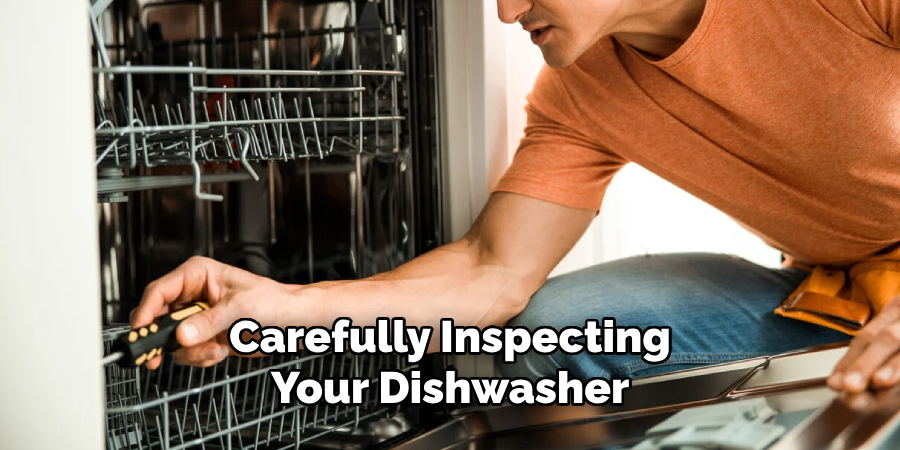
You can also open the dishwasher mid-cycle (taking care to avoid spilling water) to check for signs of water escaping from the door or tub. Identifying the exact source of the leak will help you focus your repair efforts and avoid unnecessary guesswork.
Step 2: Turn Off the Power and Water Supply
Before making any repairs, it’s crucial to turn off your dishwasher’s power supply. This can be done by unplugging the appliance or turning off the circuit breaker connected to it. Additionally, you’ll need to shut off the water supply valve that feeds your dishwasher. This is typically located under the kitchen sink or behind the dishwasher itself.
You may also want to place towels or a pan on the floor near the dishwasher to catch any water that may leak during the repair process.
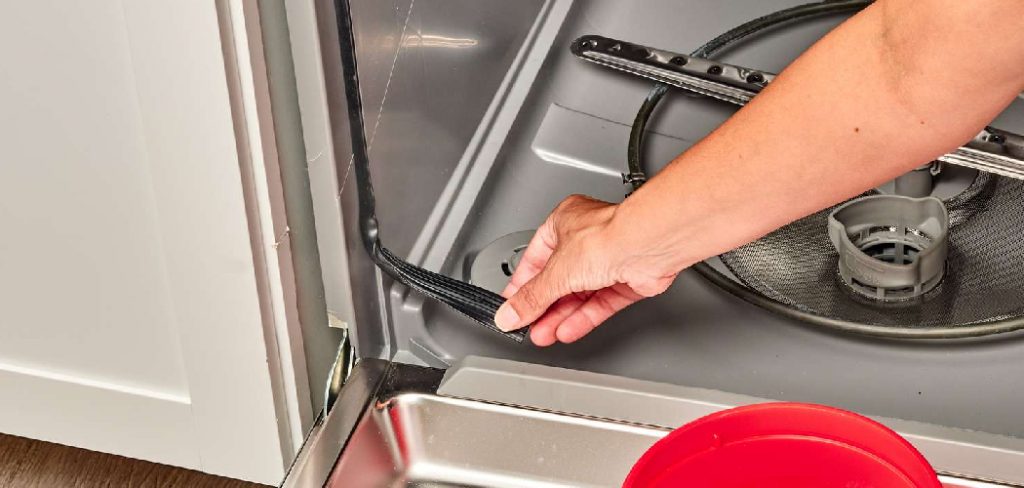
Step 3: Inspect and Clean the Door Seal
If you’ve determined that the door seal is causing the leak, remove it and inspect for any damage. If it’s only dirty, clean it with warm, soapy water and rinse thoroughly. If there are visible cracks or tears, it will need to be replaced. You can find a replacement seal at most hardware stores.

To install a new door seal, first, soak it in hot water for a few minutes to soften it. Then, starting at one corner of the door, carefully push the new seal into place, making sure it’s snug and even all around.
Step 4: Tighten or Replace the Water Supply Hose
If the water supply hose is the source of the leak, it’s time to inspect it closely for damage or loose connections. Begin by locating the hose, which is usually found at the back of the dishwasher and connects to the water supply line under the sink. Check to see if the connections at both ends are secure—use a wrench to gently tighten them if they seem loose.
If the hose shows signs of wear, cracks, or holes, it will need to be replaced. To replace the hose, first disconnect it from both the dishwasher and the water supply valve. Have a bucket or towel ready to catch any remaining water in the hose. Purchase a compatible replacement hose from a hardware store, ensuring it is the correct length and fits your dishwasher model. Attach the new hose securely, tightening the connections at both ends to prevent leaks. Finally, turn the water supply back on and run a quick test to confirm that the issue is resolved.
Step 5: Check and Unclog the Drain
If you’ve determined that a clogged drain is causing the leak, it’s essential to clean it out thoroughly. Begin by removing any visible debris or food particles from the dishwasher’s drain filter. Then, use a plumbing snake or a wire hanger to gently unclog the drain line.
Once the drain is cleared, run your dishwasher on a quick cycle with hot water to flush out any remaining debris. This should resolve the issue, but if not, you may need to call in a professional plumber for further assistance.
Step 6: Inspect and Repair Cracks in the Tub
If you’ve found cracks or other damage in your dishwasher’s tub, it’s best to call in a professional for repair or replacement. Attempting to fix this issue yourself can be challenging and may lead to further damage if not done correctly.
You can also consider purchasing a new dishwasher if the damage is extensive or your appliance is old and nearing the end of its lifespan.
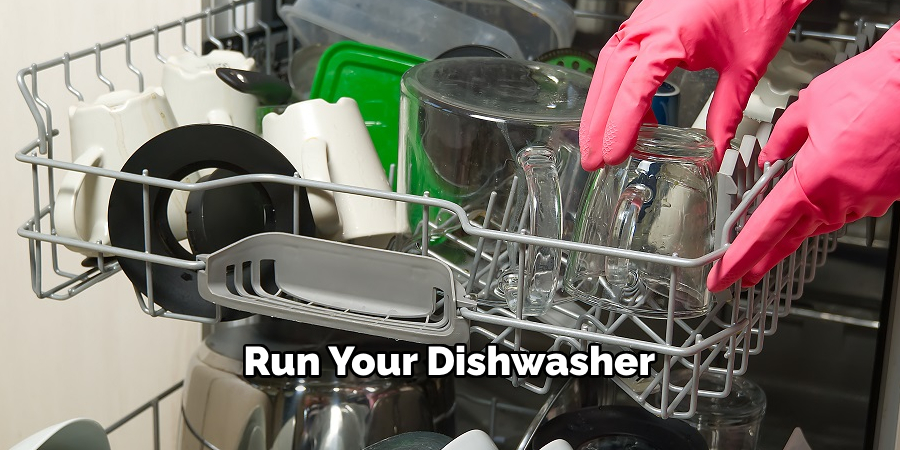
Step 7: Run a Final Test
After completing any repairs, it’s important to run a final test to confirm that the leak has been resolved. Turn on the power and water supply, then run your dishwasher through a regular cycle with a full load of dishes. Monitor for any signs of leakage and make sure everything is functioning properly.
Following these steps on how to fix a leaking dishwasher and regularly maintaining your dishwasher can help prevent leaks and keep your appliance running efficiently for years to come.
It’s also important to note that if you are uncomfortable making any of these repairs yourself, it’s always best to call in a professional for assistance. Attempting to fix a leak without proper knowledge or tools can potentially cause more damage and end up costing you more money in the long run.
Frequently Asked Questions
Q: How Often Should I Inspect My Dishwasher for Potential Leaks?
A: It’s recommended to visually inspect your dishwasher every few months and perform a more thorough inspection at least once a year. However, if you notice any signs of leakage or unusual noises coming from your dishwasher, it’s best to inspect it immediately.
Q: Can I Use Regular Dish Soap in My Dishwasher?
A: No, regular dish soap is not suitable for use in dishwashers. It produces too many suds and can cause a leak or other damage to your appliance. Always use a dedicated dishwasher detergent for best results.
Q: What Should I Do If My Dishwasher Is Leaking During the Cycle?
A: First, turn off the power and water supply to your dishwasher to prevent further damage. Then, identify the source of the leak using the steps outlined above. Once you have determined the cause, follow the appropriate steps to fix it. If you are unsure or unable to resolve the issue, it’s best to call a professional for assistance.
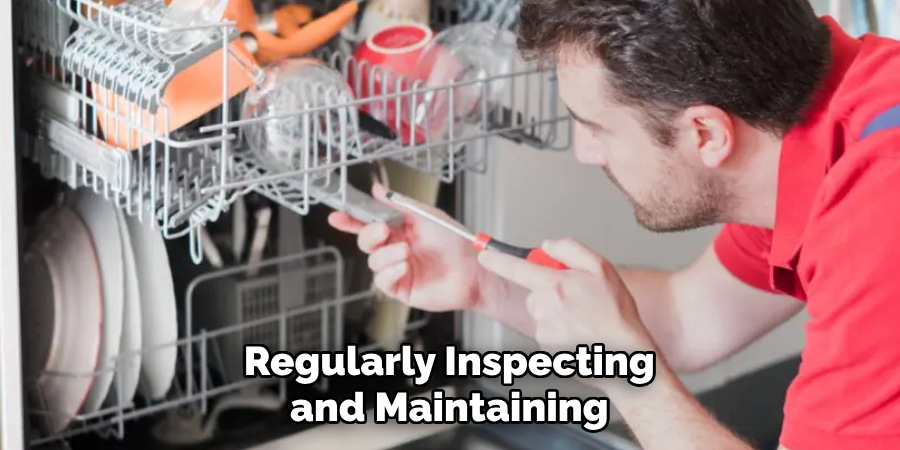
Q: How Can I Prevent Leaks in My Dishwasher?
A: Regularly inspecting and maintaining your dishwasher can help prevent leaks. This includes cleaning the door sea, checking and tightening connections, unclogging the drain, and addressing any cracks in the tub before they worsen. Additionally, using a proper dishwasher detergent and avoiding overloading your appliance can also help prevent leaks.
Conclusion
While a leaking dishwasher can be a frustrating problem, understanding its potential causes and following these seven steps to fix it can save you time, money, and stress.
Remember to regularly clean and maintain your dishwasher to prevent future leaks from occurring. By taking proper care of your appliance, you can ensure it will continue to efficiently clean your dishes for years to come.
Thanks for reading this article on how to fix a leaking dishwasher.
Professional Focus
Angela Ervin, a former interior designer turned blogger, specializes in kitchen design and renovations. Through her website, she blends her passion for cooking with design expertise, sharing practical and creative ideas. Known for balancing functionality and beauty, Angela’s insightful content has made her a trusted voice in home design and lifestyle.
About the Author
Angela Ervin, an experienced interior designer and blogger, combines her passion for kitchen renovations with storytelling. Living in Petersburg with her family, she enjoys cooking and testing her projects firsthand. Known for her humor and relatable style, Angela shares creative, functional design insights through her content, making her a trusted voice in home design.
Education History
University: Virginia Commonwealth University
Degree: Bachelor of Fine Arts (BFA) in Interior Design
- Angela’s education at VCU focused on mastering core interior design principles, including spatial planning, color theory, materials selection, and sustainable design practices.
- She gained hands-on experience through studio projects and collaborative design exercises, which honed her ability to create functional and aesthetically pleasing environments.
- Her coursework also emphasized problem-solving and practical applications of design, preparing her for real-world projects like her self-directed kitchen renovations.
- The program’s strong foundation in both technical skills and creative expression shaped Angela’s ability to seamlessly integrate form and function in her work.