
Using a Smeg oven is an easy and enjoyable experience once you understand its features and functionalities. Designed with sleek aesthetics and advanced technology, Smeg ovens offer a combination of style and convenience for all your cooking needs.
Whether you are baking, roasting, or grilling, this guide on how to use smeg oven will provide clear instructions to help you get the most out of your Smeg oven.
Safety First
Before using your Smeg oven, it is essential to prioritize safety to ensure a smooth and hazard-free cooking experience. Always start by reading the user manual carefully to familiarize yourself with the oven’s controls and safety warnings. Make sure the oven is properly installed and connected by a qualified professional. Avoid using the appliance if the power cord or plug is damaged.
Never leave the oven unattended while in operation, especially at high temperatures. Use heat-resistant oven mitts or gloves to handle hot dishes and avoid touching the hot surfaces of the oven. Lastly, keep the area around the oven clutter-free and ensure good ventilation to prevent any accidents. By keeping these safety tips in mind, you can enjoy the functionality of your Smeg oven with confidence.
Understanding the Control Panel
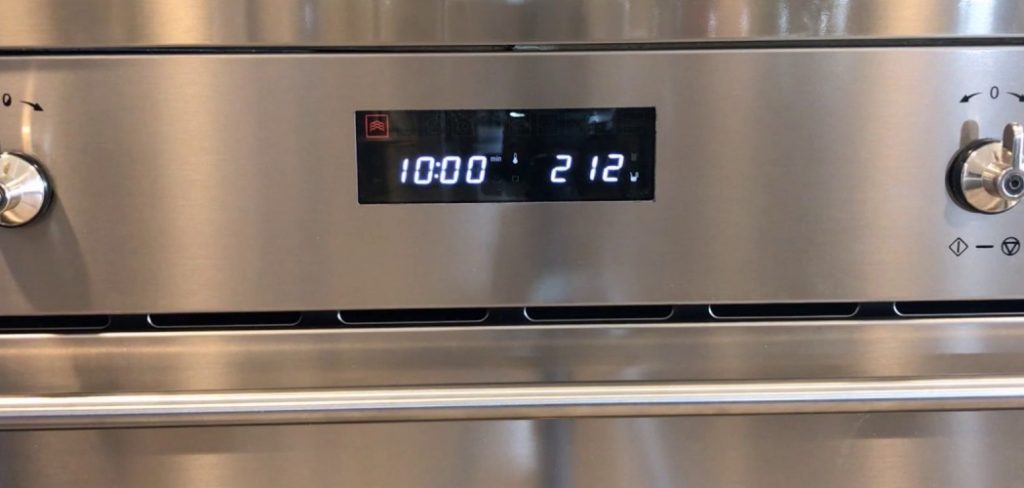
The control panel of your Smeg oven is designed for ease of use while providing precise control over its various functions. It typically includes a combination of knobs, buttons, and a digital display. The knobs allow you to set the temperature and select cooking modes, such as baking, broiling, or convection. The digital display shows key information like cooking time, temperature, and mode settings for easy monitoring.
Additionally, some models feature touch-sensitive buttons for advanced functions, such as delayed start or preset cooking programs. Familiarize yourself with the icons and labels on the panel, as they correspond to the oven’s numerous features. Taking the time to understand the control panel ensures effortless operation and effective cooking results.
Needed Materials
To properly use a convection oven and take advantage of its features, you will need the following materials:
Convection Oven
Of course, the first thing you will need is a convection oven itself. These come in various sizes and styles, so make sure to choose one that fits your kitchen space and cooking needs.
Baking Trays/Pans
Most convection ovens come with their own baking trays or pans specifically designed for optimal circulation of hot air. However, if yours doesn’t include these accessories, make sure to invest in ones that are compatible with convection cooking. These will ensure your food is cooked evenly and effectively.
Cooling Racks
Cooling racks are essential for allowing air to circulate around baked goods, preventing them from becoming soggy. Make sure to have a few on hand for when you need to cool down your freshly baked treats.
Oven Thermometer
Convection ovens can sometimes have uneven heat distribution, so it’s important to have an oven thermometer to ensure the temperature is accurate and consistent. This will help you achieve perfect results every time.
Silicone Baking Mats
Silicone baking mats are a great alternative to parchment paper or cooking spray. They provide a non-stick surface that helps prevent food from sticking and makes cleanup a breeze.
Pastry Blender
If you enjoy baking pies or making dough, a pastry blender is a must-have tool. It helps incorporate butter or shortening into flour for flaky pie crusts and biscuits.
Rolling Pin
A rolling pin is a versatile tool that can be used for rolling out dough, crushing crackers or nuts, and even tenderizing meat. Look for one with ball bearings to ensure smooth rolling action.
10 Step-by-step Guidelines on How to Use Smeg Oven
Step 1: Familiarize Yourself with the Oven
Before using your Smeg oven, take some time to get acquainted with its features and controls. Read the user manual thoroughly to understand the various functions, such as convection, grill, and defrost settings.

Identify the control knobs, digital display, and any additional accessories included, such as baking trays or racks. Familiarizing yourself with the oven will help you operate it efficiently and make full use of its capabilities.
Step 2: Preheat the Oven
Preheating your Smeg oven is essential to ensure even cooking and optimal results. Begin by selecting the desired cooking function using the control knob or digital interface, depending on your model.
Then, set the temperature to the required level as specified in your recipe. Allow the oven to preheat fully, which is typically indicated by a light or sound once the set temperature is reached. This step is crucial for achieving consistent and professional-quality cooking outcomes.
Step 3: Determine Cooking Method
Selecting the appropriate cooking method for your dish is key to perfecting your recipe in a Smeg oven. Choose from a variety of cooking functions such as fan-forced, grill, convection, or conventional heating, depending on the requirements of your meal.
For baked goods, the fan-forced setting ensures even heat distribution, while the grill function is ideal for achieving a golden, crispy finish. Refer to your recipe or consult the Smeg oven manual to match the method with your dish, ensuring optimal results every time.
Step 4: Prepare Your Dish
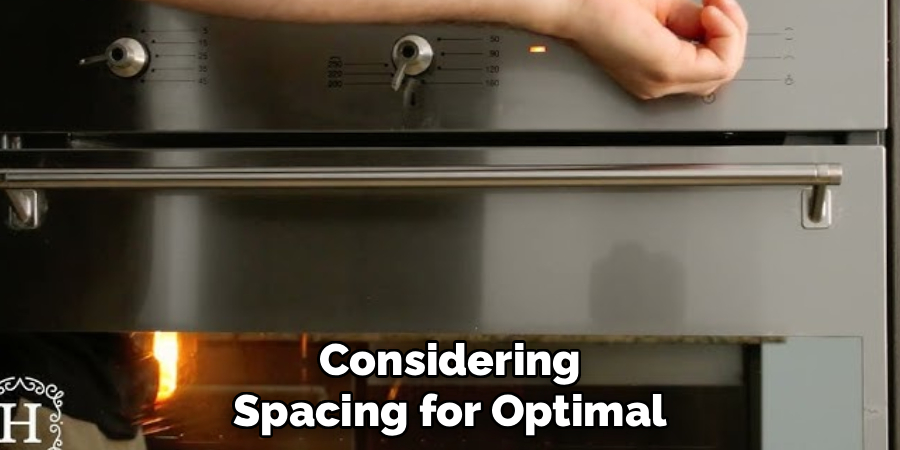
Before placing your dish into the oven, ensure all ingredients are properly prepared and assembled according to your recipe. Use high-quality cookware that is compatible with your Smeg oven for the best results. Preheat the oven to the recommended temperature, allowing it to reach an even heat before baking or roasting.
If your recipe requires it, use baking paper or oven-safe dishes to prevent sticking and promote easy cleanup. Once your dish is ready, carefully place it on the appropriate oven rack, considering spacing for optimal air circulation. This step sets the foundation for a perfectly cooked meal.
Step 5: Place the Dish in the Oven
Gently place your prepared dish on the designated oven rack, keeping in mind the positioning recommended in your recipe. Ensure that there is enough space around the dish to allow for proper air circulation, which is essential for even cooking.
Close the oven door carefully to maintain the preheated temperature, and set a timer to keep track of the cooking duration. Avoid opening the door frequently, as this can cause heat loss and affect the cooking process.
Step 6: Monitor Cooking Time
While your dish is in the oven, keep an eye on the cooking time to ensure it doesn’t overcook or burn. Refer to your recipe for the recommended duration and set additional reminders if needed.
About halfway through the cooking process, you may want to check on the dish’s progress by peering through the oven door window or using the oven light, avoiding the need to open the door. If your recipe calls for turning or stirring the dish, do so quickly to minimize heat loss. Make adjustments as necessary to achieve the perfect result.
Step 7: Check for Doneness
When the cooking time is nearly up, it’s important to check if your dish is properly done. Use the method specified in your recipe to determine doneness, whether it’s testing the internal temperature with a food thermometer, inserting a toothpick, or assessing the texture and color.
For meats, ensure they meet the appropriate internal temperature for safety and flavor. Baked goods, like cakes, should spring back lightly when touched or have a clean toothpick when inserted. If additional cooking time is needed, monitor closely to avoid overcooking.
Step 8: Let the Dish Rest
Allowing your dish to rest after cooking is a crucial step that enhances both flavor and texture. For meats, resting enables the juices to redistribute evenly, ensuring a tender and moist result.
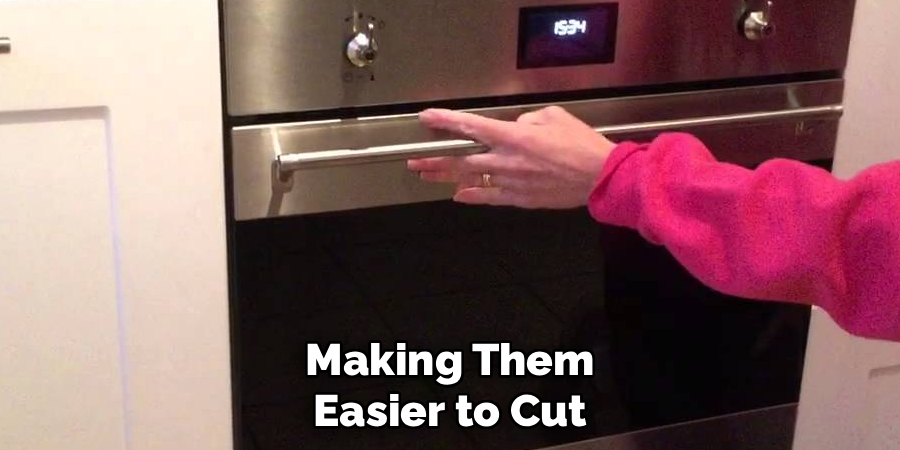
Baked goods benefit from cooling, allowing them to set properly and making them easier to cut and serve. Depending on the dish, the resting time may vary—follow your recipe for guidance. Remember, patience during this step can make a significant difference in the quality of your final creation.
Step 9: Clean Up
After enjoying your delicious creation, it’s important to tidy up the space where you prepared it. Start by clearing away any utensils, bowls, or tools used during cooking. Wash dishes promptly to avoid stubborn stains or residue from setting in.
Wipe down countertops, stovetops, and any other surfaces that may have been splattered or spilled on during the process. A clean kitchen not only maintains hygiene but also makes the space ready for your next culinary adventure. Cleaning as you go can help make this step faster and less overwhelming.
Step 10: Experiment and Have Fun
Cooking is a skill that can be improved with practice. Don’t be afraid to experiment with different ingredients or techniques to make a dish your own. And most importantly, have fun while cooking! It’s a great way to express creativity and share tasty meals with loved ones.
Following these steps on how to use smeg oven will not only help you achieve delicious results but also make the process of cooking more enjoyable and efficient. So next time you fire up your Smeg oven, keep these tips in mind for a stress-free and successful cooking experience. Happy cooking!
Troubleshooting Common Issues
Even with the best practices in place, you may occasionally encounter issues while using your Smeg oven. Here are some common problems and their potential solutions:
The Oven Isn’t Heating Up Properly
Check if the power supply is connected securely or ensure the circuit breaker hasn’t tripped. If the issue persists, verify the oven’s temperature settings or consider recalibrating the thermostat.
Uneven Cooking or Baking
Confirm that you’re using the recommended rack position for the dish you’re preparing. Avoid overloading the oven, as proper air circulation is essential for even cooking. It may also help to preheat the oven fully before placing your food inside.
The Oven Door Isn’t Closing Fully
Inspect the door seal for any dirt, food debris, or damage. Cleaning or replacing the seal may resolve the issue. Make sure there’s nothing obstructing the door’s closure.
The Oven Light Isn’t Working
If the light bulb has burnt out, consult your oven’s manual for guidance on replacing it. Be sure to use a bulb that matches the manufacturer’s specifications.
Strange Odors During Operation
This could be caused by residue or grease buildup inside the oven. Perform a thorough cleaning using products recommended in the user manual. Any new oven may also emit odors during the initial use as coatings and components settle.
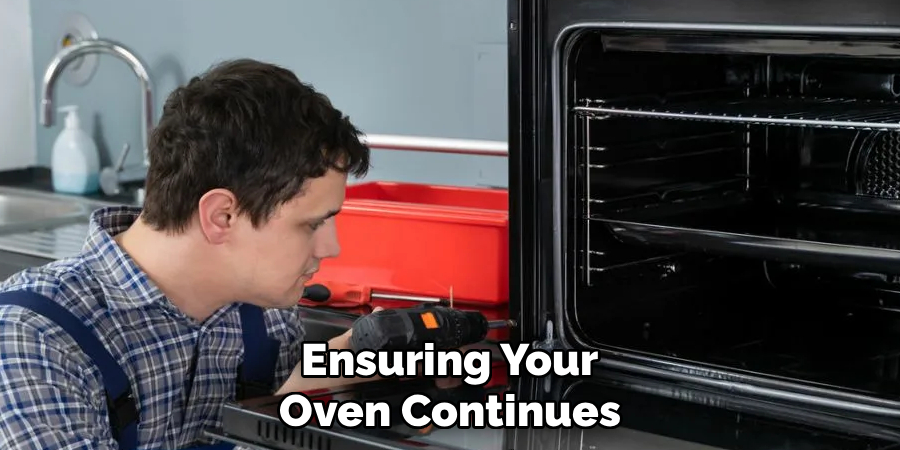
If troubleshooting doesn’t resolve the issue, refer to your Smeg oven’s user manual for more detailed guidance, or contact Smeg’s customer support for further assistance. Regular maintenance and care can go a long way in preventing common problems and ensuring your oven continues to perform efficiently.
Conclusion
Proper care and regular maintenance are essential for keeping your Smeg oven in optimal condition. By following the troubleshooting tips and cleaning recommendations provided, you can address common issues effectively and extend the lifespan of your appliance. Remember to consult the user manual for detailed instructions on how to use smeg oven and reach out to Smeg’s customer support if you need further assistance.
With consistent attention and care, your Smeg oven will continue to deliver reliability and performance for years to come.
Professional Focus
Angela Ervin, a former interior designer turned blogger, specializes in kitchen design and renovations. Through her website, she blends her passion for cooking with design expertise, sharing practical and creative ideas. Known for balancing functionality and beauty, Angela’s insightful content has made her a trusted voice in home design and lifestyle.
About the Author
Angela Ervin, an experienced interior designer and blogger, combines her passion for kitchen renovations with storytelling. Living in Petersburg with her family, she enjoys cooking and testing her projects firsthand. Known for her humor and relatable style, Angela shares creative, functional design insights through her content, making her a trusted voice in home design.
Education History
University: Virginia Commonwealth University
Degree: Bachelor of Fine Arts (BFA) in Interior Design
- Angela’s education at VCU focused on mastering core interior design principles, including spatial planning, color theory, materials selection, and sustainable design practices.
- She gained hands-on experience through studio projects and collaborative design exercises, which honed her ability to create functional and aesthetically pleasing environments.
- Her coursework also emphasized problem-solving and practical applications of design, preparing her for real-world projects like her self-directed kitchen renovations.
- The program’s strong foundation in both technical skills and creative expression shaped Angela’s ability to seamlessly integrate form and function in her work.