
Removing the door from a dishwasher might seem like a challenging task, but with the right tools and guidance, it can be done safely and efficiently. Whether you need to remove the door for repairs, replacement, or cleaning, it’s essential to follow proper steps to avoid damaging the appliance.
This guide on how to remove door from dishwasher will walk you through the process, ensuring a smooth and straightforward experience.
Why Remove the Door From a Dishwasher?
There are several reasons why you might need to remove the door from your dishwasher. Some common reasons include:
- Repair or replacement of damaged parts such as hinges or latches
- Deep cleaning of the interior and exterior of the door
- Replacing the entire door due to wear and tear or change in design
No matter the reason, it’s crucial to approach the process with caution and follow proper steps to avoid any accidents or damage.
Tools Required
Before beginning the process, make sure you have the following tools on hand:
Screwdriver (Depending on Dishwasher Model)
To remove the door from your dishwasher, you will likely need a Phillips or flathead screwdriver. Check your dishwasher’s manual or inspect the door to determine which type of screwdriver is needed.
Wrench (Depending on Dishwasher Model)
Some dishwashers may require a wrench to remove the door. Check your manual or inspect the door to determine if a wrench is necessary.
Soft Cloth
Having a soft cloth on hand can be helpful when handling the door, as it can protect the surface from scratches and provide a better grip.
9 Step-by-step Guides on How to Remove Door From Dishwasher
Step 1: Unplug the Dishwasher
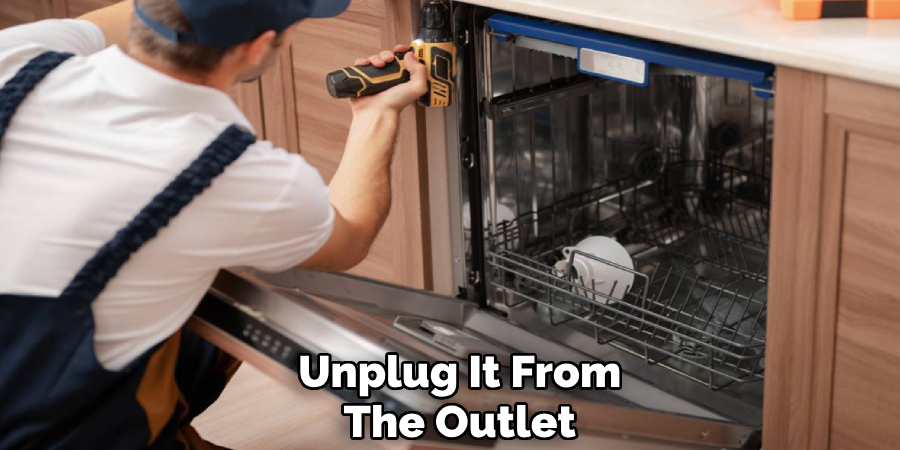
Before you begin, ensure the dishwasher is completely powered off to prevent any electrical issues or accidents. Locate the dishwasher’s power cord, which is typically plugged into an outlet beneath the kitchen sink or behind the appliance. Carefully unplug it from the outlet. If your dishwasher is hardwired, you will need to turn off the circuit breaker supplying power to the dishwasher.
Double-check that the power is off by attempting to start the dishwasher or observing if any indicator lights are still on. Safety is paramount, so take this step seriously before proceeding.
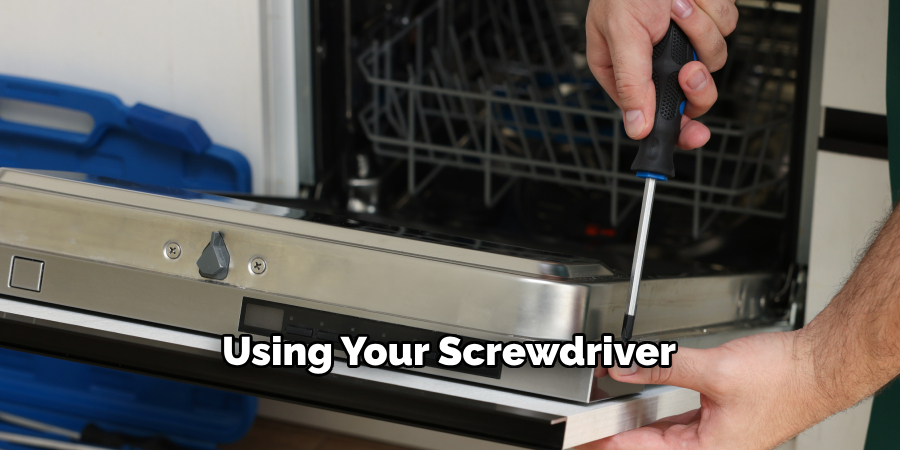
Step 2: Remove the Screws or Bolts from the Door Hinges
Locate the screws or bolts securing the dishwasher door hinges. These are typically found along the sides of the door or at the base, depending on the dishwasher model. Using the appropriate screwdriver or wrench, carefully loosen and remove these fasteners. Make sure to keep the screws or bolts in a safe place, such as a small container, so they do not get lost during the process.
Once all the screws or bolts are removed, gently test the door to ensure it is no longer secured by the hinges. Do not attempt to force the door, as any resistance may indicate additional fasteners or connections that need to be addressed before proceeding. Always work carefully to prevent damage to the hinges or the door itself.
Step 3: Disconnect the Door Latch
The door latch is an essential component that keeps the dishwasher door securely closed during operation. To disconnect it, locate the latch mechanism, which is typically positioned at the top center of the door. Begin by carefully inspecting the latch to identify how it is connected. Most models will have a small set of screws or clips securing the latch in place.
Using the appropriate screwdriver, loosen and remove the screws holding the latch. If your model uses clips, gently release them with your fingers or a flathead screwdriver. Once the latch is free, carefully disconnect any electrical wires attached to it by sliding them off the terminals or unclipping them, depending on your dishwasher’s design. Take note of the arrangement of the wires to ensure proper reconnection if needed later.
Step 4: Remove the Door From the Dishwasher Body
With the screws, bolts, and latch disconnected, the door should now be ready to detach from the dishwasher body. Carefully hold the sides of the door with both hands to ensure a firm grip. Slowly pull the door outward while simultaneously lifting it slightly to disengage it from the hinge mechanisms. Depending on your dishwasher model, you may need to tilt the door to one side or another to fully release it from its fittings.

Be attentive to any remaining connections, such as additional wires or fasteners that might still be attached to the door. If you encounter resistance, pause and inspect the area to ensure all components have been properly disconnected before proceeding. Once the door is free, lay it on a soft cloth or padded surface to avoid scratches or damage. Always work carefully through this step to ensure the door and surrounding components remain in good condition.
Step 5: Remove the Door Springs (If Needed)
Some dishwasher models use door springs to help with the opening and closing of the door. If your model uses springs, you may need to remove them before fully separating the door from the body. Locate the springs along each side of the dishwasher and carefully release them from their holding clips or brackets. With both springs removed, set them aside in a safe place for reinstallation later.
You may also need to remove any rubber door gaskets or seals if they are attached to the door during this step. Refer to your dishwasher’s manual for specific instructions on how to do this without causing damage.
Step 6: Inspect and Clean the Door
With the dishwasher door fully removed, take the opportunity to inspect it for any signs of damage, wear, or build-up. Look for cracks, rust, or uneven surfaces that may need repair or replacement. Check the edges and corners of the door, as well as the hinges and screws, for any signs of corrosion or loose parts.
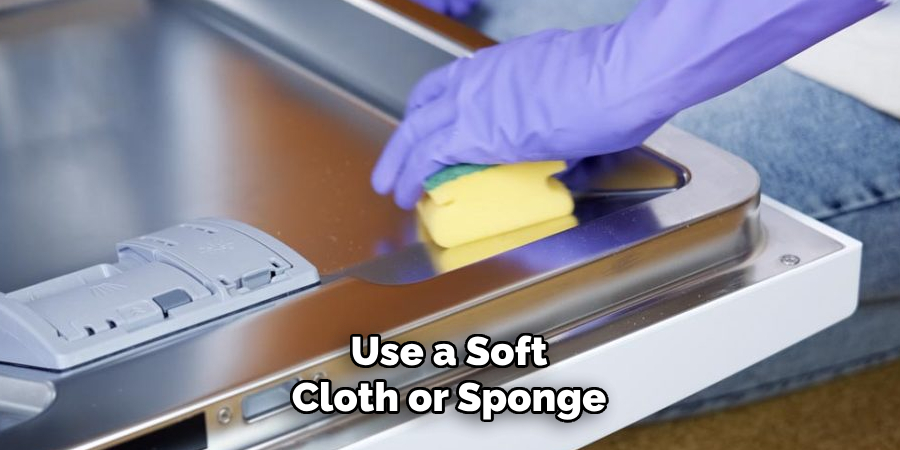
Next, use a soft cloth or sponge with a mild cleaning solution to thoroughly clean the door’s exterior and interior surfaces. Focus on removing grease, food particles, or any other debris that may have accumulated over time. For stubborn stains, use a non-abrasive brush or a mixture of baking soda and water. Pay special attention to the edges around the door and the gasket area, as these sections often collect dirt and grime.
Step 7: Reinstall the Door Springs (If Removed)
Once you have completed cleaning and inspecting the door, it is time to reinstall any parts that were removed. Begin by attaching the door springs back onto their designated clips or brackets.
With both springs in place, slowly raise the door back into position on the dishwasher body while aligning it with the hinges. Depending on your model, you may need to tilt or adjust the door slightly to ensure a proper fit.
Step 8: Reconnect and Secure the Door Latch
With the door securely attached to its hinges and resting in its closed position, it is time to reconnect and secure the latch mechanism. Begin by reattaching any electrical wires that were disconnected earlier, ensuring they are securely in place. Next, use either screws or clips (depending on your model) to secure the latch back onto the door.
Once the latch is secured, test it by opening and closing the door a few times to make sure it functions properly. If you encounter any issues with the latch not staying closed or opening smoothly, double-check all connections and adjust as needed before moving on.
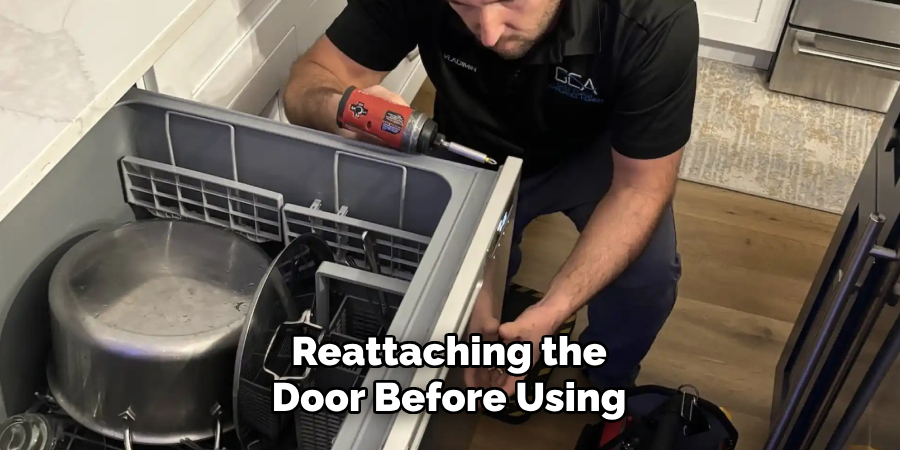
Step 9: Reattach the Screws or Bolts to the Door Hinges
The final step is to reattach the screws or bolts that hold the door hinges in place. Using your screwdriver or wrench, carefully tighten each fastener until they are snug but not over-tightened. This will help ensure the door is securely attached to the dishwasher and operates smoothly without any wobbling or misalignment.
Following these steps on how to remove door from dishwasher should allow you to successfully remove, clean, and reinstall your dishwasher door. Remember to always work carefully and double-check all connections before using the dishwasher again. Proper maintenance and cleaning of the door can help extend its lifespan and ensure a hygienic environment for your dishes. Consider incorporating this task into your regular cleaning routine to keep your dishwasher running efficiently for years to come. Happy cleaning!
Additional Tips and Tricks
- If you encounter any difficulty during the door removal process, consult your dishwasher’s manual or contact the manufacturer for assistance.
- Before reattaching the door, check the alignment of the hinges to ensure they are straight and not bent or damaged. If needed, adjust the hinges or replace them.
- When cleaning the door, do not use abrasive cleaners or scrubbers as they can damage the finish and surfaces of your dishwasher.
- Regularly inspect and clean the door gasket to prevent mold or mildew growth and maintain a tight seal.
- For hard-to-reach areas, use a toothbrush or cotton swab dipped in a cleaning solution to remove dirt and grime.
- Avoid slamming the dishwasher door as it can cause damage to the latch mechanism and hinges over time.
- Consider using a dishwasher cleaner or descaler to remove any built-up residue and keep your dishwasher functioning efficiently. Follow the instructions on the product carefully for best results.
- If you notice any unusual noises, leaks, or malfunctions with the dishwasher door, stop using it immediately and contact a professional for repairs. Proper maintenance and care can help prevent expensive repairs in the long run.
Frequently Asked Questions
Q: Why Should I Remove the Dishwasher Door for Cleaning?
A: Removing the dishwasher door allows for easier access to clean and inspect areas that are often overlooked, such as the hinges and gasket. It also helps prevent damage or scratches to the door during cleaning.
Q: How Often Should I Clean the Dishwasher Door?
A: It is recommended to clean the dishwasher door at least once a month or more frequently if you notice any build-up or odors.
Q: Can I Use Any Cleaning Products on the Dishwasher Door?
A: It is best to use mild, non-abrasive cleaners specifically designed for dishwashers. Avoid using harsh chemicals or bleach as they can damage the door’s finish and components.
Q: Can I Use the Dishwasher Immediately After Reattaching the Door?
A: It is recommended to wait at least 12 hours after reattaching the door before using the dishwasher. This allows for proper drying and ensures all connections are secure.
Q: Can I Remove Any Other Parts of My Dishwasher for Cleaning?
A: The dishwasher door is typically the only part that can be fully removed for cleaning. If you encounter any issues or need to replace other parts, consult your manual or contact a professional for assistance.
Conclusion
Maintaining your dishwasher door is an essential part of ensuring the overall efficiency and longevity of your appliance. By regularly cleaning, inspecting, and addressing any potential issues with the door, you can prevent costly repairs and maintain a hygienic environment for your dishes. Following the outlined steps on how to remove door from dishwasher will help you safely remove, clean, and reinstall the door, keeping it in optimal condition.
Incorporate these practices into your routine maintenance schedule, and your dishwasher will continue to perform at its best for years to come. A well-cared-for dishwasher not only saves you time and effort but also delivers sparkling clean dishes every time!
Professional Focus
Angela Ervin, a former interior designer turned blogger, specializes in kitchen design and renovations. Through her website, she blends her passion for cooking with design expertise, sharing practical and creative ideas. Known for balancing functionality and beauty, Angela’s insightful content has made her a trusted voice in home design and lifestyle.
About the Author
Angela Ervin, an experienced interior designer and blogger, combines her passion for kitchen renovations with storytelling. Living in Petersburg with her family, she enjoys cooking and testing her projects firsthand. Known for her humor and relatable style, Angela shares creative, functional design insights through her content, making her a trusted voice in home design.
Education History
University: Virginia Commonwealth University
Degree: Bachelor of Fine Arts (BFA) in Interior Design
- Angela’s education at VCU focused on mastering core interior design principles, including spatial planning, color theory, materials selection, and sustainable design practices.
- She gained hands-on experience through studio projects and collaborative design exercises, which honed her ability to create functional and aesthetically pleasing environments.
- Her coursework also emphasized problem-solving and practical applications of design, preparing her for real-world projects like her self-directed kitchen renovations.
- The program’s strong foundation in both technical skills and creative expression shaped Angela’s ability to seamlessly integrate form and function in her work.