
Electric grills have become a game-changer for those who love the joy of grilling but want a simpler, cleaner, and more accessible cooking method. Unlike traditional charcoal or gas grills, electric grills are smoke-free, compact, and perfect for both indoor and outdoor settings. Whether you’re a grilling enthusiast or someone just getting started, learning how to use an electric grill opens up a world of flavorful possibilities without the hassle of managing fuel or controlling an open flame.
One of the key advantages of an electric grill is its ease of use. Simply plug it into a power outlet, set the desired temperature, and get started with your cooking. The adjustable heat settings provide precise control, ensuring your food is cooked to perfection every time. Additionally, electric grills often come with non-stick surfaces, making cleanup quick and effortless. This convenience makes them an ideal choice for weeknight meals, small gatherings, or even experimenting with new recipes.
This guide will walk you through everything you need to know to get the most out of your electric grill—whether that’s achieving the perfect sear on your steak or whipping up a quick and delicious veggie feast. By the end, you’ll be confident in your skills and ready to fire up some unforgettable meals!
Why Mastering This Topic Matters
Grilling is not just a cooking method; it’s an experience. The aroma of sizzling food on the grill and the excitement of a freshly prepared meal bring people together. But for many, traditional grills feel intimidating—fire hazards, complex setups, and environmental concerns can easily deter home cooks.
Here’s where electric grills come in. With their easy plug-and-play design, they remove all the barriers while keeping the delicious results intact. Whether you’re short on outdoor space, living in a city apartment, or simply looking for a more eco-friendly option, an electric grill is the ultimate solution. Understanding how to use an electric grill ensures you don’t just own one—you maximize its potential, creating meals that are flavorful, healthy, and hassle-free.
10 Step-by-Step Guide on How to Use an Electric Grill
Grilling with an electric grill couldn’t be simpler, but to cook like a pro, it’s important to follow specific steps for the best results. Below, we break down everything you need to do from start to finish.
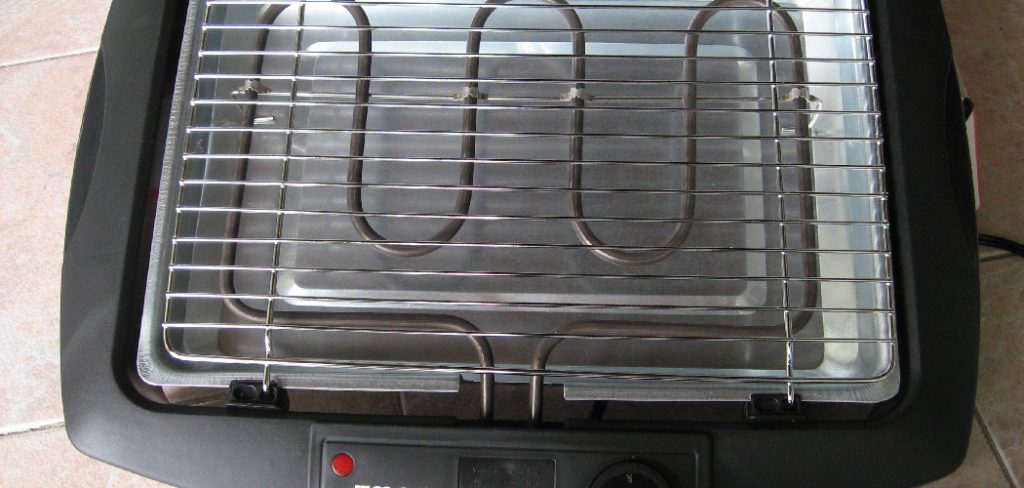
Step 1: Unpack and Set Up Your Electric Grill
Before you start grilling, ensure your electric grill is set up correctly. Unpack the unit and carefully read the manufacturer’s manual for assembly instructions. Most electric grills are straightforward to set up, with minimal parts to assemble. Choose a flat, sturdy surface for your grill—indoors or outdoors. If you’re using it inside, ensure proper ventilation around the cooking area.

Step 2: Preheat the Grill
Preheating is vital for achieving even cooking results. Plug the grill into an electrical outlet and turn it on using the temperature control settings (this varies based on your grill model). Allow the grill to preheat for around 10–15 minutes. Many grills have an indicator light to signal when it’s preheated and ready for use.
Step 3: Prepare Your Ingredients
While the grill is preheating, prep your ingredients. For meats, consider marinating them ahead of time for added flavor and tenderness. For vegetables or bread, brush them lightly with oil to prevent sticking. Cut items into similar sizes to ensure they cook evenly on the grill.
Step 4: Apply Oil or Non-Stick Spray to the Grill Plates
Using oil prevents food from sticking to the cooking surface and ensures a cleaner grilling process. Use a heat-resistant brush to spread a thin layer of oil onto the grill plates, or opt for a non-stick cooking spray. This step is crucial for achieving those beautiful grill marks on your food.
Step 5: Place Food on the Grill
Once the grill is ready, arrange your food on the plates. Avoid overcrowding—leaving space between items allows the heat to circulate and ensures even cooking. For electric contact grills (like those that press down), close the lid gently for quicker cooking times.
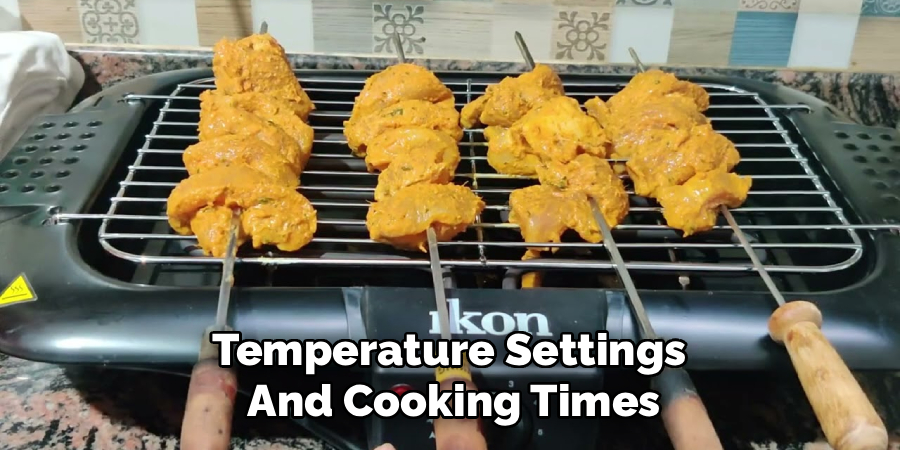
Step 6: Monitor Cooking Time and Temperature
Each type of food requires specific temperature settings and cooking times. For instance, steaks may need high heat for a quick sear, while vegetables might do better on a medium setting. Use the grill’s temperature control knob and a timer to keep track. Some grills come with preset programs for commonly cooked items, so take full advantage of those features.
Step 7: Check for Doneness
To ensure your food is perfectly cooked, use a meat thermometer for items like chicken or steaks. The internal temperature should meet food safety standards (e.g., 165°F for poultry, 145°F for beef). For vegetables, pierce them with a fork—they should feel tender but not too soft.
Step 8: Remove Food and Keep It Warm
Use tongs or a spatula to safely remove the cooked food from your grill. If you’re serving immediately, transfer it to a plate or tray. For larger batches or if you need time to plate, keep the food warm by covering it with foil or placing it in a low-heat oven.
Step 9: Clean Your Grill After Use
Cleaning your grill after every use helps maintain its performance and extends its lifespan. Allow the grill to cool completely before removing the plates (if detachable). Wash them with warm soapy water or follow the cleaning instructions in the manual. For a grill with non-removable plates, wipe it down with a damp sponge or cloth.
Step 10: Store the Grill Properly
Once cleaned, store your electric grill in a dry, safe place. Wrap the cord neatly around the grill or its storage hooks (if available). If you plan to use it outdoors, consider covering it with a protective grill cover to prevent dust or weather damage.
By following these steps, you’ll not only master how to use an electric grill but also enjoy consistent, delicious results every time.
Comparing Electric Grills with Traditional Grilling Methods
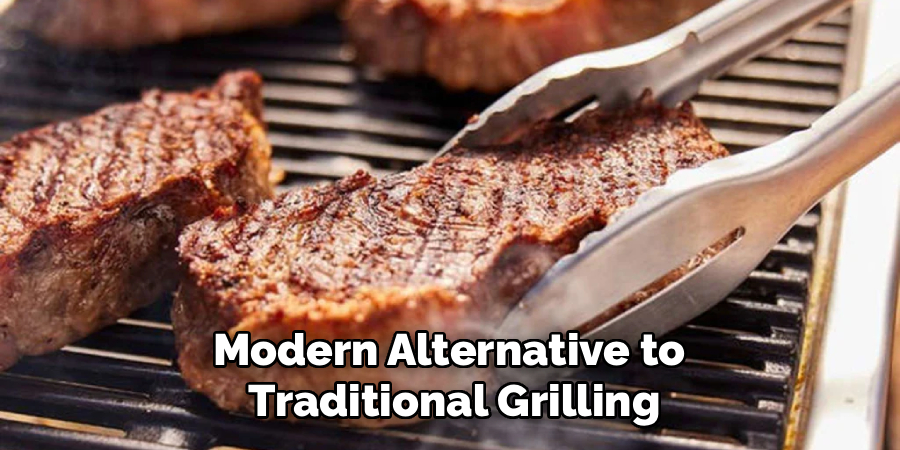
Electric grills offer a modern alternative to traditional grilling, each with its own set of advantages and considerations. Unlike charcoal or gas grills, electric grills heat up quickly and maintain consistent temperatures, making them more convenient for those with busy lifestyles. Additionally, they produce minimal smoke, making them ideal for indoor use or areas with strict grilling regulations. On the other hand, traditional grills, like charcoal or gas, are often favored for the smoky, rich flavor they impart to food, which electric grills may not replicate as effectively.
Charcoal grilling, in particular, allows for intricate flavor layering due to the direct contact with charcoal and smoke infusion. However, traditional methods typically require more time, effort, and space, such as fuel management and outdoor-only setups. Ultimately, the choice between electric and traditional grilling depends on individual preferences, space availability, and convenience needs.
Frequently Asked Questions
1. Can I Use an Electric Grill Indoors?
Absolutely! Electric grills are perfect for indoor use because they don’t produce the same level of smoke as traditional grills. Just make sure you have proper ventilation, and follow the manufacturer’s instructions for safe operation.
2. What’s the Best Way to Clean an Electric Grill After Use?
The best way to clean your electric grill is by waiting until it cools down. For detachable plates, wash them with warm, soapy water or in the dishwasher if they’re dishwasher-safe. If the plates are non-detachable, use a damp sponge and non-abrasive cleaner to wipe them down.
3. How Do I Know When the Grill Is Hot Enough?
Most electric grills have an indicator light that turns on when the unit is preheated and ready to use. If yours doesn’t have this feature, allow at least 10–15 minutes of preheating time before placing food on the grill.
4. Is Food Cooked on an Electric Grill Healthy?
Yes, grilling on an electric grill is a healthy option! It allows excess fats to drip away, resulting in lower-calorie meals. Plus, you can grill vegetables, lean meats, and other nutritious items without adding unnecessary fats or oils.
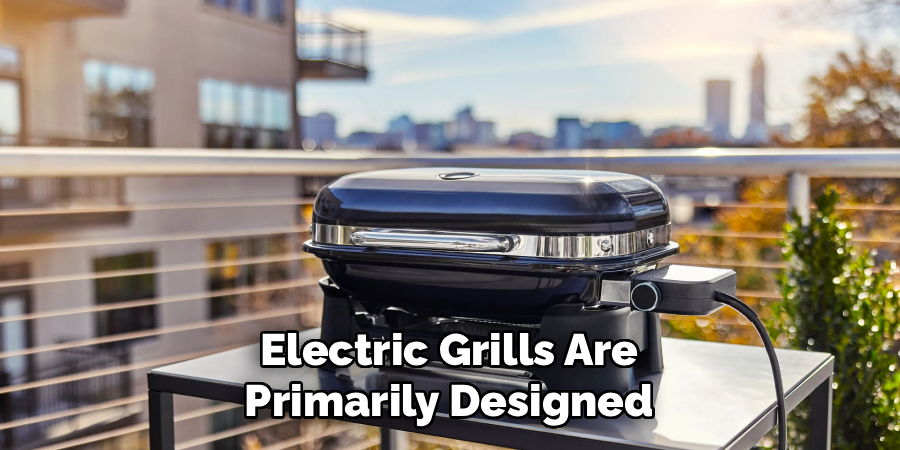
5. Can I Use an Electric Grill for Baking or Roasting?
While electric grills are primarily designed for grilling, some models come with additional settings that allow you to bake, roast, or even toast food. Check your grill’s manual for versatility options and guidelines.
Conclusion
Using an electric grill is an easy, efficient, and beginner-friendly way to enjoy grilled food year-round. With its convenience and versatility, you can whip up restaurant-quality dishes from the comfort of your home. Whether you’re searing a steak, grilling some fresh veggies, or experimenting with recipes, this cooking method is bound to make your meals both delicious and hassle-free.
Electric grills are also an environmentally friendly option compared to traditional charcoal or gas grills. They produce less smoke and eliminate the need for fossil fuels, making them a more sustainable choice. Additionally, they are suitable for use in both indoor and outdoor settings, offering flexibility and convenience for various cooking scenarios. When maintained properly, an electric grill can be a durable and cost-effective addition to your kitchen or patio setup.
Now that you know how to use an electric grill, all that’s left to do is plug it in, preheat, and get grilling. Bring out your favorite ingredients and start crafting culinary masterpieces without the mess or stress of traditional grilling!
Professional Focus
Angela Ervin, a former interior designer turned blogger, specializes in kitchen design and renovations. Through her website, she blends her passion for cooking with design expertise, sharing practical and creative ideas. Known for balancing functionality and beauty, Angela’s insightful content has made her a trusted voice in home design and lifestyle.
About the Author
Angela Ervin, an experienced interior designer and blogger, combines her passion for kitchen renovations with storytelling. Living in Petersburg with her family, she enjoys cooking and testing her projects firsthand. Known for her humor and relatable style, Angela shares creative, functional design insights through her content, making her a trusted voice in home design.
Education History
University: Virginia Commonwealth University
Degree: Bachelor of Fine Arts (BFA) in Interior Design
- Angela’s education at VCU focused on mastering core interior design principles, including spatial planning, color theory, materials selection, and sustainable design practices.
- She gained hands-on experience through studio projects and collaborative design exercises, which honed her ability to create functional and aesthetically pleasing environments.
- Her coursework also emphasized problem-solving and practical applications of design, preparing her for real-world projects like her self-directed kitchen renovations.
- The program’s strong foundation in both technical skills and creative expression shaped Angela’s ability to seamlessly integrate form and function in her work.