
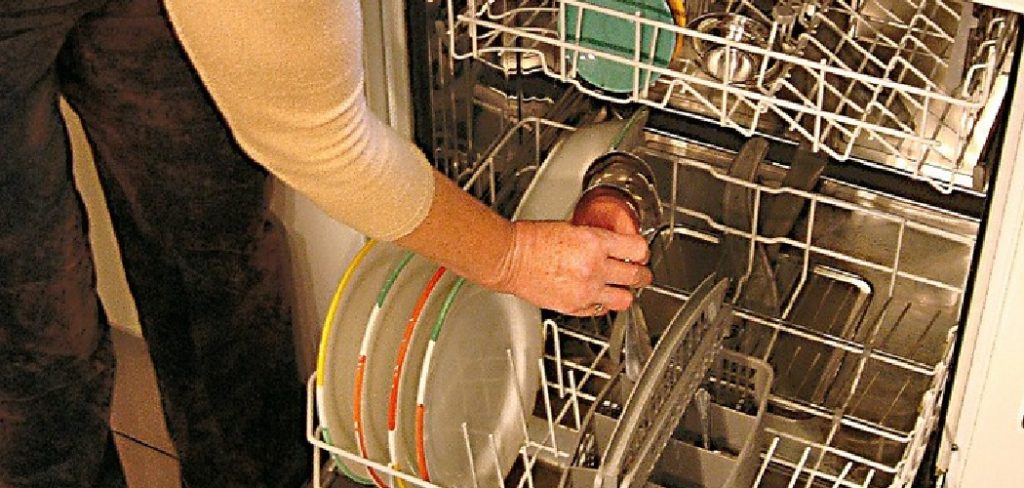
A dishwasher rack is an essential part of your dishwasher, holding your dishes securely during the wash cycle. Over time, however, it may develop issues such as rusty tines, broken wheels, or misalignment, which can affect its functionality and the overall efficiency of your dishwasher. Fortunately, many common problems with dishwasher racks can be fixed with a few simple tools and some basic know-how. This guide will walk you through the steps of how to fix dishwasher rack, helping to extend its lifespan and keep your appliance running smoothly.
Why Fixing a Faulty Dishwasher Rack is Important
Addressing a faulty dishwasher rack promptly is essential for maintaining the efficiency and functionality of your dishwasher. A damaged or misaligned rack can prevent dishes from being properly secured, leading to inefficient cleaning and potential damage to your plates, glasses, or utensils during the wash cycle.
Additionally, unresolved issues such as rusted tines can lead to rust particles contaminating your dishes and even causing corrosion inside your dishwasher. By fixing these problems early, you can avoid costly repairs or the need for a full rack replacement, ensuring your dishwasher continues to perform at its best. Taking care of a dishwasher rack also enhances the longevity of your appliance, supporting consistent and hassle-free operation.
Diagnosing the Problem
Before you can fix your dishwasher rack, it’s crucial to determine what’s causing the issue. Start by thoroughly inspecting the rack for visible signs of damage. Look for rust spots on the tines, broken or missing rack wheels, and any areas where the coating has worn away, exposing the metal underneath. Check if the rack moves smoothly along the tracks and if it properly aligns when pushed inside the dishwasher. Pay attention to any rattling sounds or difficulties you experience when loading or unloading the dishwasher, as these can indicate misalignment or loose components. By identifying the specific problem, you’ll be better equipped to address it with the right tools and solutions.
10 Methods How to Fix Dishwasher Rack
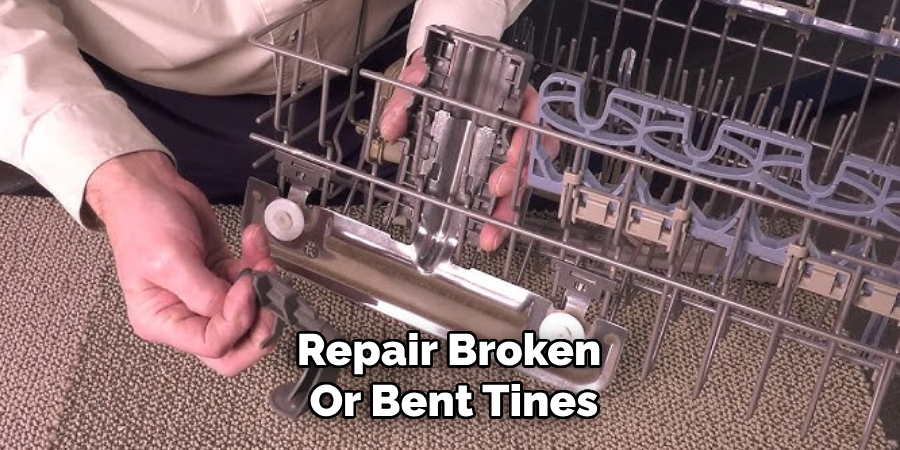
1. Repair Broken or Bent Tines with a Dishwasher Rack Repair Kit
Dishwasher rack tines can bend or break due to heavy loads or long-term use. Instead of replacing the entire rack, you can fix individual tines with a dishwasher rack repair kit, which includes vinyl repair paint and tine caps.
- Start by cleaning the damaged area with a damp cloth to remove grease and debris.
- If the tine is bent, use pliers to gently straighten it.
- Apply dishwasher rack repair paint to the damaged section to create a protective coating.
- Let the paint dry for at least 24 hours before using the dishwasher.
- For broken tines, attach replacement tine caps with heat-resistant adhesive to cover exposed metal.
This method prevents further rusting and deterioration, keeping your rack sturdy and functional.
2. Replace or Reattach Loose Rack Wheels
If your dishwasher rack does not slide smoothly, the rack wheels may be loose, damaged, or missing. Replacing or reattaching the wheels ensures smooth movement.
- Remove the dishwasher rack from the unit.
- Inspect the wheels to see if they are cracked, wobbly, or detached.
- If a wheel is loose, try reinstalling it by snapping it back into the axle.
- If the wheel is broken, replace it with a compatible replacement part.
- Secure the new wheels in place and test the rack to ensure smooth rolling.
Properly functioning wheels prevent strain on the rack and dishwasher door, improving overall performance.
3. Use Zip Ties to Secure Loose Components
For minor issues such as loose or broken sections, zip ties provide a quick and effective temporary fix.
- Identify the loose area, such as a detached tine or rack support.
- Use a heat-resistant zip tie to tightly secure the component in place.
- Trim off the excess zip tie length with scissors.
- Ensure that the repair does not interfere with dish placement or washer operation.
While not a permanent solution, zip ties help hold the rack together until a more permanent fix is applied.
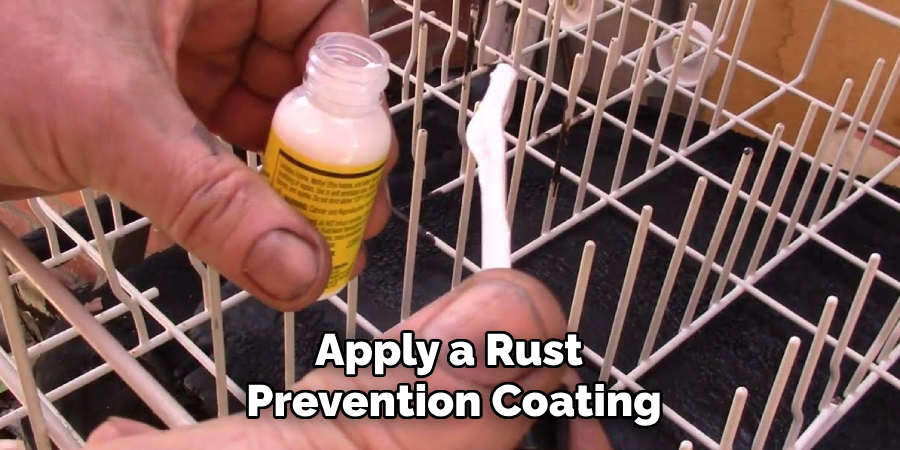
4. Apply a Rust Prevention Coating
Rust spots on a dishwasher rack can spread quickly, leading to further deterioration. To prevent this, apply a rust prevention coating or vinyl paint designed for dishwasher racks.
- Clean the rusted areas thoroughly using a wire brush or sandpaper.
- Wipe the rack dry to remove moisture.
- Apply a thin coat of rust-resistant paint to the affected areas.
- Allow the coating to dry completely before placing the rack back into the dishwasher.
This method prolongs the life of your dishwasher rack and prevents rust from contaminating dishes.
5. Adjust the Rack Height for Better Stability
Many dishwashers have adjustable racks that can be moved up or down to accommodate larger dishes. If your rack wobbles or does not fit properly, adjusting its height can resolve the issue.
- Locate the adjustment levers or clips on the sides of the rack.
- Lift or lower the rack to the desired height.
- Ensure that the rack sits evenly to prevent dishes from tipping over during a wash cycle.
Proper alignment helps dishes stay securely in place and prevents excessive wear on the rack.
6. Replace Worn-Out Rack Tracks or Rails
If your dishwasher rack does not slide smoothly, the tracks or rails may be worn out or damaged. Replacing them ensures easy movement and prevents the rack from getting stuck.
- Remove the dishwasher rack from the unit.
- Inspect the rails for cracks, rust, or misalignment.
- If the rails are damaged, purchase compatible replacements from the dishwasher manufacturer.
- Install the new tracks by securing them in place with screws or clips.
- Test the rack to ensure it slides in and out smoothly.
Properly functioning rails make loading and unloading dishes more convenient and efficient.
7. Use Epoxy Glue for Small Cracks or Breaks
If a section of the rack is cracked or slightly broken, using epoxy glue provides a strong, waterproof bond.
- Clean the cracked area and let it dry completely.
- Apply dishwasher-safe epoxy glue to the damaged section.
- Hold the broken parts together and let the glue cure for 24 hours.
- Test the rack to ensure it is stable before using it.
Epoxy glue is a great solution for small breaks and structural reinforcement.
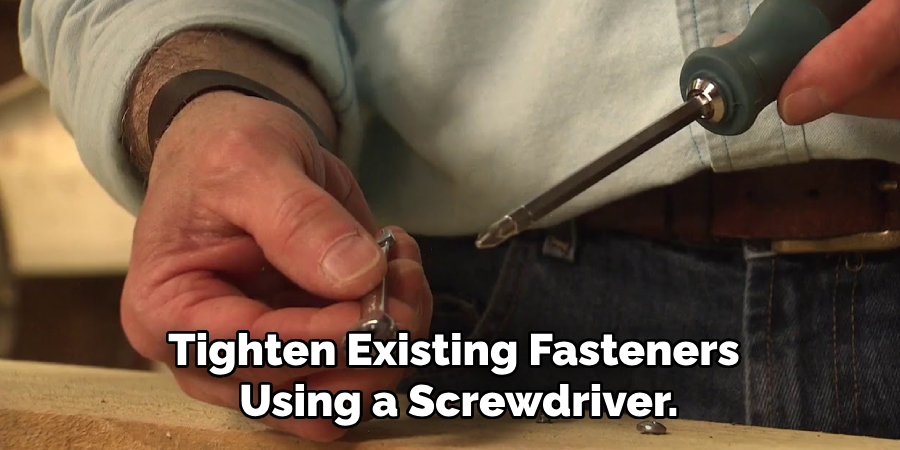
8. Secure Loose Rack Clips or Fasteners
Dishwasher racks are often held in place by plastic clips or metal fasteners. If these come loose, the rack may become unstable.
- Locate any loose or missing clips that attach the rack to the dishwasher walls.
- Tighten existing fasteners using a screwdriver.
- If a clip is broken, replace it with a new one from the manufacturer.
- Ensure that the rack sits securely without excessive movement.
Properly secured clips prevent unnecessary stress on the rack and keep dishes in place.
9. Replace the Entire Rack If It Is Beyond Repair
If your dishwasher rack has multiple broken tines, severe rust, or large structural damage, replacing it may be the best option.
- Check your dishwasher model number to find a compatible replacement rack.
- Remove the old rack by detaching it from the rails.
- Slide the new rack into place and ensure it fits properly.
- Test the rack by running an empty cycle to ensure smooth operation.
A new rack provides better durability and functionality, preventing further issues with dishwashing performance.
10. Maintain the Rack to Prevent Future Damage
Preventing damage is easier than repairing it. Follow these maintenance tips to keep your dishwasher rack in top condition:
- Avoid overloading the rack, as excessive weight can bend tines and break wheels.
- Regularly inspect for rust or damage and address issues early.
- Use a dishwasher-safe rack liner to protect against chipping and scratches.
- Clean the rack monthly with warm, soapy water to remove food debris and grime.
- Ensure dishes are loaded correctly to prevent unnecessary strain on the rack.
By maintaining your dishwasher rack properly, you can avoid costly repairs and replacements in the future.
Things to Consider When Repairing a Dishwasher Rack
When repairing a dishwasher rack, there are several factors to keep in mind to ensure a successful and long-lasting fix:
Compatibility of Replacement Parts
Always ensure that replacement parts, such as wheels, clips, or tracks, are compatible with your dishwasher model. Using incorrect parts can cause poor performance or further damage.
Safety During Repairs
Handle tools and damaged components carefully to avoid cuts or injuries. For example, rusted or broken tines can have sharp edges and require proper handling.
Durability of Materials Used
Opt for strong, dishwasher-safe adhesives, paints, and replacements designed to withstand high temperatures and water exposure. This helps maintain the rack’s integrity over time.
Cost-Effectiveness
Consider the total cost of repairs, including tools and replacement parts, and compare it to the cost of purchasing a new rack. When damage is extensive, replacing the entire rack may be more economical.
Manufacturer Guidelines
Refer to your dishwasher’s user manual or manufacturer’s website for specific repair instructions and part recommendations. This ensures you follow the proper procedures and avoid voiding any warranties.
Conclusion
A faulty dishwasher rack can cause frustration, inefficient cleaning, and potential damage to dishes. However, with these 10 effective repair methods, you can restore your rack’s functionality and extend its lifespan. Whether you fix broken tines, replace worn-out wheels, or apply a rust prevention coating, these solutions help keep your dishwasher running smoothly. So, there you have it – a quick and easy guide on how to fix dishwasher rack.
Professional Focus
Angela Ervin, a former interior designer turned blogger, specializes in kitchen design and renovations. Through her website, she blends her passion for cooking with design expertise, sharing practical and creative ideas. Known for balancing functionality and beauty, Angela’s insightful content has made her a trusted voice in home design and lifestyle.
About the Author
Angela Ervin, an experienced interior designer and blogger, combines her passion for kitchen renovations with storytelling. Living in Petersburg with her family, she enjoys cooking and testing her projects firsthand. Known for her humor and relatable style, Angela shares creative, functional design insights through her content, making her a trusted voice in home design.
Education History
University: Virginia Commonwealth University
Degree: Bachelor of Fine Arts (BFA) in Interior Design
- Angela’s education at VCU focused on mastering core interior design principles, including spatial planning, color theory, materials selection, and sustainable design practices.
- She gained hands-on experience through studio projects and collaborative design exercises, which honed her ability to create functional and aesthetically pleasing environments.
- Her coursework also emphasized problem-solving and practical applications of design, preparing her for real-world projects like her self-directed kitchen renovations.
- The program’s strong foundation in both technical skills and creative expression shaped Angela’s ability to seamlessly integrate form and function in her work.