
Are you tired of your baked goods coming out undercooked or burnt? The solution may be as simple as calibrating your oven temperature.

Calibrating your oven temperature is essential to ensure consistent cooking and baking results. Over time, ovens can become slightly inaccurate, leading to undercooked or overcooked meals. By verifying and adjusting your oven’s temperature settings, you can take control of your cooking process and achieve reliable outcomes every time. Additionally, calibrating your oven can save you time and money by avoiding food waste and preventing the need for costly repairs or replacements.
This guide on how to calibrate your oven temperature will walk you through the simple steps needed to test and calibrate your oven, helping you maintain the precision needed for all your favorite recipes.
What are the Benefits of Calibrating Your Oven Temperature?
Before we dive into the steps of calibrating your oven temperature, let’s first understand why it is essential.
- Consistent Results: As mentioned earlier, calibrating your oven will ensure that your food cooks evenly and consistently. This consistency is crucial for delicate dishes such as soufflés or cakes where even a slight temperature difference can result in disaster.
- Accurate Cooking Times: With a calibrated oven, you can trust that the cooking times stated in recipes will be accurate. This is especially helpful when following new recipes or cooking unfamiliar dishes.
- Energy Efficiency: An oven with an inaccurate temperature setting may take longer to cook food, leading to higher energy bills. By calibrating your oven, you can ensure it functions at its optimal temperature and reduce energy usage.
- Prevent Food Waste: Overcooked or undercooked food often gets in the trash, causing unnecessary food waste. Calibrating your oven can help prevent this by ensuring your food cooks perfectly every time.
These are just a few of the benefits of calibrating your oven temperature. Now, let’s get into the steps to do it.
What Will You Need?
Before you begin calibrating your oven temperature, make sure you have the following items on hand:
- Oven thermometer
- Oven mitts or pot holders
- Screwdriver (if needed for adjustments)
Once you have these items ready, you can start the calibration process.
9 Easy Steps on How to Calibrate Your Oven Temperature
Step 1. Preheat Your Oven:
Start by setting your oven to a standard baking temperature of 350°F (175°C). Allow the oven to preheat fully, which typically takes 10-15 minutes depending on your model. It’s essential to ensure your oven has reached its set temperature before moving to the next step. Using the preheat feature ensures accuracy when testing the temperature stability of your oven. While waiting, you can prepare the oven thermometer for placement. Ensure the thermometer is clean and in good working condition to avoid skewed results.
Step 2. Place the Oven Thermometer Inside:
Place the oven thermometer in the center of the middle rack, as this is generally considered the most accurate position for measuring the oven’s internal temperature. Avoid placing the thermometer near the walls or corners of the oven, as these areas may experience uneven heating. Ensure the thermometer is upright and visible through the oven window so you can easily monitor the temperature without opening the oven door.
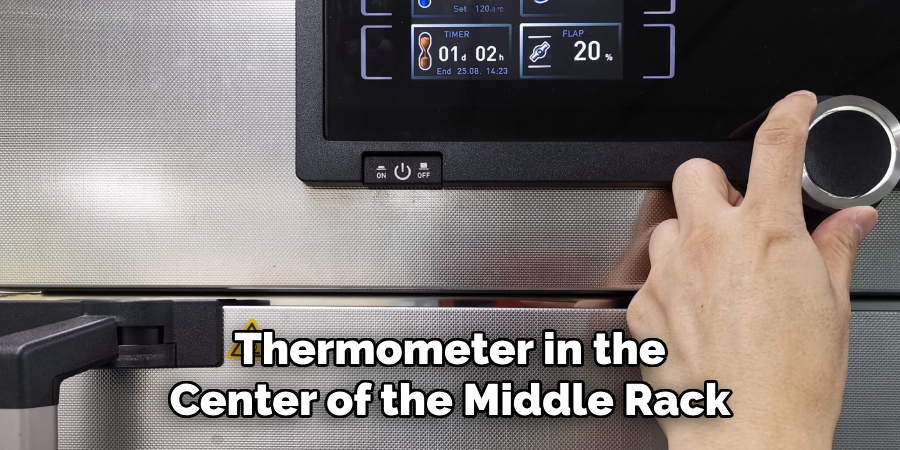
Opening the door frequently can cause heat loss, leading to inaccurate readings. Allow the thermometer to sit inside the oven for at least 10 minutes to stabilize and reflect the oven’s current temperature. This will provide a reliable baseline measurement for your calibration process. Once the thermometer has stabilized, compare its reading with the oven’s displayed temperature.
Step 3. Compare the Thermometer Reading with the Oven Display:
After the thermometer stabilizes inside the oven, carefully note its temperature reading without opening the door. Compare this reading to the temperature displayed on the oven’s control panel. If the two temperatures match closely, your oven is calibrated correctly. However, if there is a significant discrepancy, note the difference and proceed to adjust the oven’s temperature settings accordingly. Be sure to record the difference for future reference, as some ovens allow manual recalibration to align the displayed temperature with the actual internal temperature.
Step 4. Adjust the Oven’s Temperature Settings:
If a discrepancy is identified between the thermometer reading and the oven’s displayed temperature, consult your oven’s user manual to determine how to recalibrate or adjust the temperature settings. Many ovens have a specific recalibration feature accessible through the control panel. Follow the manufacturer’s instructions to make the appropriate adjustments. Some ovens may require you to input the temperature offset directly, while others might need professional assistance for proper calibration. Once adjustments are made, repeat the calibration process to confirm accuracy.
Step 5. Test Your Oven’s Accuracy Regularly:
To ensure consistent and precise cooking results, it’s essential to test your oven’s accuracy periodically. Over time, an oven’s calibration can drift due to regular use or mechanical wear. Consider checking the accuracy every few months or whenever you
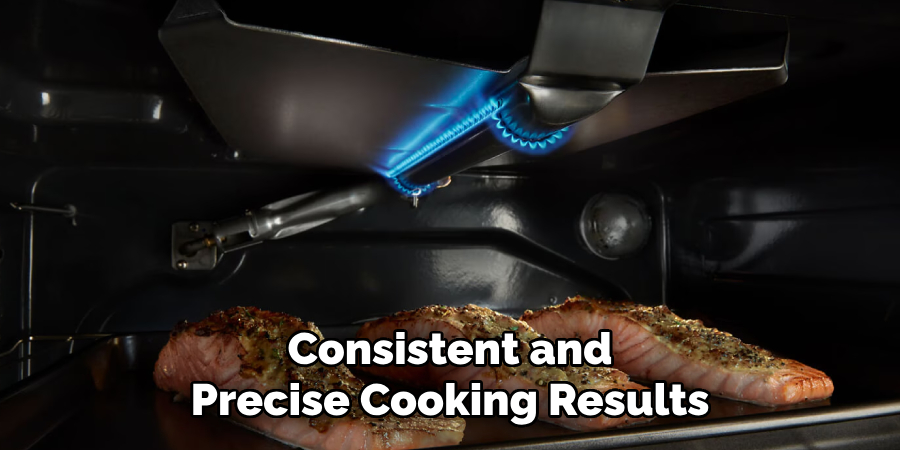
notice unusual cooking times or uneven recipe results. Regular testing helps maintain your oven’s reliability and ensures your culinary creations turn out as expected.
Step 6. Clean and Maintain Your Oven:
Regular cleaning and maintenance are essential to ensure your oven performs at its best. Grease, food debris, and spills can accumulate over time, potentially affecting the oven’s efficiency and even impacting the flavor of your dishes. Follow the manufacturer’s guidelines to clean the oven’s interior and exterior properly. Use the self-cleaning function as directed for self-cleaning ovens, but ensure proper ventilation during the process. Additionally, inspect and clean the oven racks, door seals, and vents to prevent build-up and ensure smooth operation. Routine maintenance not only extends the life of your appliance but also keeps it in optimal condition for precise and consistent cooking.
Step 7. Use Proper Cookware:
The type and condition of cookware you use can significantly impact your oven’s performance and the outcome of your recipes. Always opt for oven-safe cookware and select materials like glass, ceramic, or heavy-duty metal that distribute heat evenly. Avoid using damaged or warped pans, which may lead to uneven cooking. Additionally, ensure the size of the cookware fits comfortably within the oven, allowing proper air circulation for consistent heat distribution. Choosing the right cookware enhances the quality of your dishes and helps maintain efficient oven operation.
Step 8. Preheat the Oven Properly:
Preheating your oven is essential for achieving the best results in baking and roasting. Always allow the oven to reach the desired temperature before placing your food inside. Most modern ovens signal when fully preheated, but you can also use an oven thermometer for accuracy. Skipping this step can lead to uneven cooking or poor texture. Proper preheating ensures that your dishes are exposed to consistent heat from the start, which is crucial for achieving the intended flavor and texture.
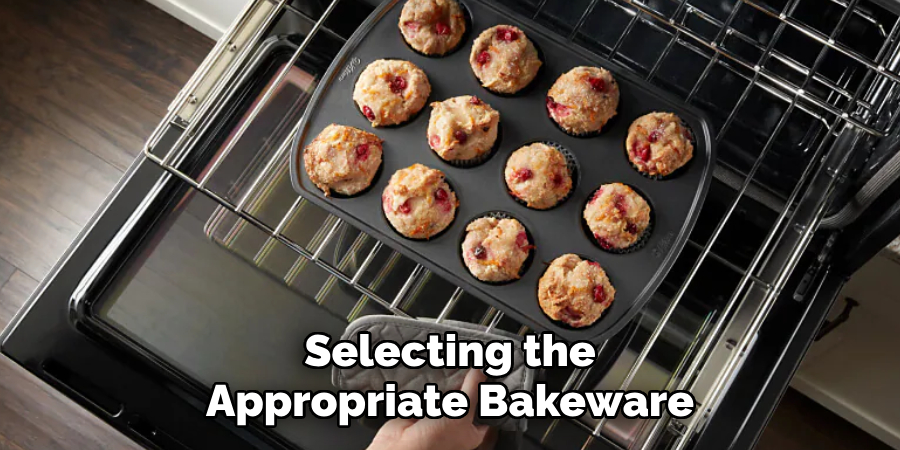
Step 9. Use the Right Bakeware:
Selecting the appropriate bakeware is crucial for optimal cooking and baking results. Glass, metal, and ceramic bakeware have unique properties, affecting how heat is conducted and retained. For instance, metal pans heat up quickly and are ideal for baking goods like cookies or cakes, while glass and ceramic are excellent for casseroles or dishes that require even, slow cooking. Always follow the recipe’s recommendations for bakeware and ensure it is clean and in good condition to prevent any impact on the flavor or quality of your food.
Following these steps and maintaining proper oven calibration ensures that your dishes are consistently cooked to perfection.
5 Things You Should Avoid
- Skipping the User Manual: One of the most common mistakes is neglecting to read the oven’s user manual. Each oven model can have specific calibration instructions, and ignoring these can lead to improper adjustments.
- Using the Wrong Thermometer: Avoid relying on an inaccurate or low-quality thermometer to check your oven’s temperature. Always invest in a reliable oven-safe thermometer designed for precise cooking measurements.
- Making Large Adjustments Immediately: It’s important not to make drastic changes to the oven settings all at once. Calibration requires minor, incremental adjustments to achieve the desired temperature.
- Ignoring Preheating Time: Skipping the complete preheating process can throw off temperature readings. Always ensure the oven has been preheated for the recommended time before you start calibrating.
- Calibrating Without Testing Multiple Times: Relying on a single test run can result in inaccurate settings. Always test the oven’s temperature multiple times to confirm consistency before finalizing adjustments.
By avoiding these common mistakes, you can ensure precise and reliable oven temperature readings for all your cooking needs.
Conclusion
How to calibrate your oven temperature is an essential step to ensure consistent and reliable cooking results.
By avoiding common mistakes, such as skipping preheating or making significant adjustments too quickly, and following a methodical approach, you can fine-tune your oven to perform at its best. Use a high-quality oven thermometer, make incremental changes, and test thoroughly to achieve accurate results.
With patience and attention to detail, you can enhance not only the performance of your oven but also the quality of your culinary creations.
Professional Focus
Angela Ervin, a former interior designer turned blogger, specializes in kitchen design and renovations. Through her website, she blends her passion for cooking with design expertise, sharing practical and creative ideas. Known for balancing functionality and beauty, Angela’s insightful content has made her a trusted voice in home design and lifestyle.
About the Author
Angela Ervin, an experienced interior designer and blogger, combines her passion for kitchen renovations with storytelling. Living in Petersburg with her family, she enjoys cooking and testing her projects firsthand. Known for her humor and relatable style, Angela shares creative, functional design insights through her content, making her a trusted voice in home design.
Education History
University: Virginia Commonwealth University
Degree: Bachelor of Fine Arts (BFA) in Interior Design
- Angela’s education at VCU focused on mastering core interior design principles, including spatial planning, color theory, materials selection, and sustainable design practices.
- She gained hands-on experience through studio projects and collaborative design exercises, which honed her ability to create functional and aesthetically pleasing environments.
- Her coursework also emphasized problem-solving and practical applications of design, preparing her for real-world projects like her self-directed kitchen renovations.
- The program’s strong foundation in both technical skills and creative expression shaped Angela’s ability to seamlessly integrate form and function in her work.