
Are you looking for a convenient way to preserve the abundance of sweet potatoes from your garden? Don’t worry, drying them in the oven is an easy and efficient method to store your sweet potatoes for future use. Not only does it save space in your pantry, but it also prolongs the shelf life of this nutritious and delicious vegetable.

How to dry sweet potatoes in the oven is an excellent way to preserve them for long-term storage or to create a healthy and delicious snack. This method is simple, effective, and requires minimal equipment, making it accessible. Oven-dried sweet potatoes retain much of their natural sweetness and nutrients while achieving a wonderfully chewy texture.
By following this process, you can enjoy the versatility of sweet potatoes in a shelf-stable form, perfect for snacking, cooking, or baking.
What Are the Benefits of Drying Sweet Potatoes in the Oven?
There are many benefits to drying sweet potatoes in the oven, including:
- Longer Shelf Life: Dried sweet potatoes can last up to a year when stored correctly in an airtight container.
- Space-saving: Unlike fresh sweet potatoes, dried ones occupy minimal space in your pantry or storage area.
- Nutritious Snack: Oven-dried sweet potatoes retain much nutritional content, making them a healthy and convenient snack.
- Versatility: You can use dried sweet potatoes in recipes such as soups, stews, casseroles, or even grind them into flour for baking.
These are just a few of the benefits of drying sweet potatoes in the oven. Now, let’s dive into the easy steps to dry sweet potatoes in your oven at home.
What Will You Need?
Before you begin, make sure to gather the following materials:
- Sweet Potatoes
- Sharp knife
- Baking sheet or wire rack
- Parchment paper
- Oven thermometer (optional but recommended)
Once you have all the necessary items, it’s time to start drying your sweet potatoes.
8 Easy Steps on How to Dry Sweet Potatoes in the Oven
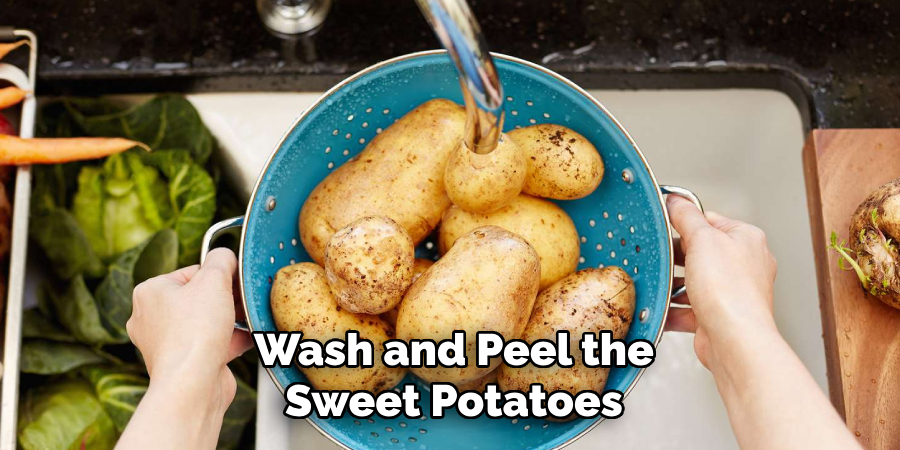
Step 1. Wash and Peel the Sweet Potatoes:
Begin by thoroughly washing the sweet potatoes under running water to remove any dirt or debris. Use a vegetable brush if needed to scrub off stubborn spots. Once clean, use a sharp knife or vegetable peeler to peel the sweet potatoes. Removing the skin ensures a smoother texture in the dried slices and eliminates any dirt or imperfections that may remain on the peel. For those who prefer to keep the skin for added nutrients, wash them extra carefully and proceed as normal. After peeling, rinse the sweet potatoes again to ensure they are completely clean before moving to the next step.
Step 2. Slice the Sweet Potatoes:
Using a sharp knife, slice the sweet potatoes into uniform pieces, approximately 1/8 to 1/4 inch thick. Consistent thickness is crucial to ensure even drying. Depending on your preference and intended use for the dried sweet potatoes, you can slice them into rounds, strips, or lengthwise. Take your time and work carefully to prevent uneven cuts, as uneven slices may lead to over-drying or under-drying in some areas.
Step 3. Pre-Treat the Sweet Potatoes:
To enhance the color and texture of your dried sweet potatoes, consider pre-treating them before drying. This can be done by blanching the slices in boiling water for 2-3 minutes, then immediately transferring them to an ice bath to stop cooking. Blanching helps preserve the vibrant orange color and can reduce drying time. After blanching, drain and pat the slices dry with a clean kitchen towel or paper towels to remove excess moisture before proceeding to the drying step.
Step 4. Arrange and Dry the Sweet Potatoes:
Once the sweet potato slices are pre-treated and dried, arrange them on the drying trays in a single layer. Ensure the slices do not overlap or touch each other to allow proper air circulation. For oven drying, set the oven to the lowest temperature setting, ideally between 120°F and 140°F, and leave the oven door slightly ajar to facilitate airflow. Follow the manufacturer’s instructions for a food dehydrator, typically setting it to 135°F. Drying times may vary, but it usually takes 6-12 hours. Check periodically and rotate the trays if needed to ensure even drying. The sweet potatoes are ready when they feel firm, leathery, and pliable but not sticky or brittle.
Step 5. Store the Dried Sweet Potatoes:
Once the sweet potato slices have dried completely, allow them to cool to room temperature. Transfer the dried slices into airtight containers, such as glass jars or vacuum-sealed bags, to maintain their texture and flavor. Store the containers in a cool, dark, and dry place to prolong their shelf life. Properly dried and stored sweet potatoes can last for up to six months. To check for any moisture after storage, inspect the containers occasionally for condensation, which could lead to spoilage.

Step 6. Use the Dried Sweet Potatoes:
Dried sweet potatoes are a versatile ingredient that can be used in various snacks and recipes. Enjoy them as a healthy, chewy snack, or rehydrate them by soaking in warm water for use in soups, stews, or casseroles. You can also grind dried sweet potatoes into a fine powder to use as a nutritious flour alternative in baking. Get creative with your culinary options and find ways to incorporate this nutrient-dense ingredient into your meals!
Step 7. Tips for Drying Sweet Potatoes Successfully:
To ensure the best results when drying sweet potatoes, choose firm, fresh, and high-quality sweet potatoes without any blemishes or bruises. Slice them evenly to promote uniform drying, and avoid cutting pieces that are too thick, as these may dry unevenly. If using a dehydrator, arrange the slices in a single layer without overlapping to allow proper airflow. Regularly monitor the drying process and rotate the trays to ensure consistent dehydration. By following these tips, you’ll achieve perfectly dried sweet potatoes every time.
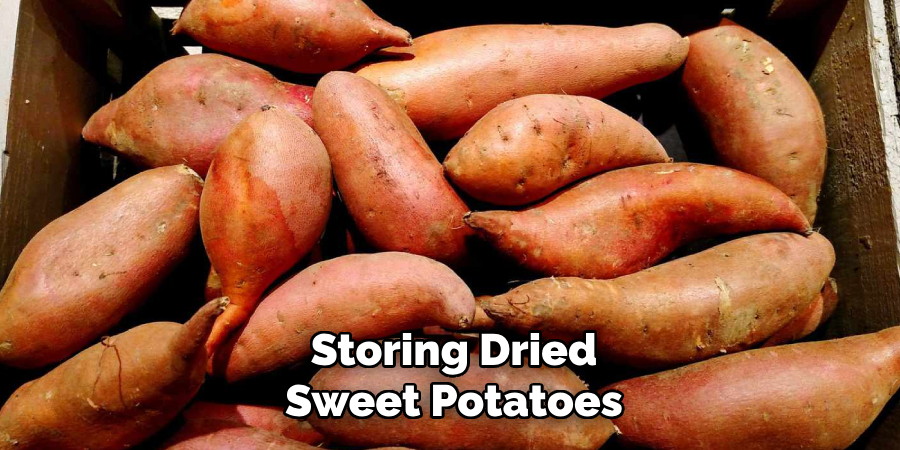
Step 8. Storing Dried Sweet Potatoes:
Once your sweet potatoes are entirely dried, proper storage is essential to preserve their flavor and nutritional value. Transfer the dried sweet potato slices or pieces into airtight containers or vacuum-sealed bags to prevent exposure to moisture and air. Store them in a cool, dark, and dry place, such as a pantry or cupboard. For longer shelf life, consider keeping them in the refrigerator or freezer. Label the containers with the date of preparation to track freshness and ensure you rotate your stock. When stored correctly, dried sweet potatoes can last for several months, making them a convenient and healthy ingredient to have on hand.
By following these simple steps, you can quickly dry sweet potatoes in your oven or dehydrator and enjoy their delicious flavor and nutritional benefits all year round.
5 Things You Should Avoid
- Skipping the Prepping Step: Avoid washing, peeling, and properly slicing the sweet potatoes. Dirt and residue can affect the drying process, while uneven slicing can lead to inconsistent drying, with some pieces turning brittle and others staying moist.
- Overlapping the Slices on the Baking Sheet: Ensure the sweet potato slices are laid out in a single layer without touching or overlapping, as this can cause uneven airflow and result in poorly dried or soggy sections.
- Setting the Oven Temperature Too High: Drying sweet potatoes requires low and consistent heat. Setting the oven above 175°F (80°C) can cook or burn the slices instead of dehydrating them, defeating the purpose of the process.
- Skipping the Turning Process During Drying: Failing to flip or rotate the slices midway can cause one side to dry more, leading to an inconsistent texture. Regular turning ensures even drying throughout.
- Storing the Sweet Potatoes Before Fully Drying: Never store the sweet potatoes before completely drying. Residual moisture can promote mold growth, spoilage, and a shorter shelf life, rendering your hard work useless.
By avoiding these common mistakes, you can achieve perfectly dried sweet potatoes with improved flavor, texture, and preservation.
Why is Your Sweet Potato Hard After Baking?
Sweet potatoes contain high levels of starch, which needs to be broken down into simple sugars for the vegetable to soften. When baking or roasting sweet potatoes, it’s essential to reach a high enough temperature to convert the starch into sugar fully. If your baked sweet potato is still hard, it could be due to several reasons, including:
- Insufficient Baking Time: Ensure you bake or roast your sweet potatoes long enough. The exact time depends on the size and type of sweet potato, but medium-sized potatoes typically take about 45-60 minutes at 375°F (190°C).
- Packing Too Many Potatoes in One Pan: Overcrowding the baking sheet with sweet potatoes can lead to uneven heat distribution, causing some pieces to remain hard while others soften.
- Not Poking Holes in the Potatoes: Before placing them in the oven, poke a few holes in the skin of the sweet potatoes using a fork or knife. This allows steam to escape and ensures that the inside cooks evenly.
- Storing Raw Sweet Potatoes in the Refrigerator: If you’ve stored your raw sweet potatoes in the fridge, they may take longer to cook and remain firm even after baking. Cold temperatures can affect their starch conversion process, leading to undercooked potatoes.
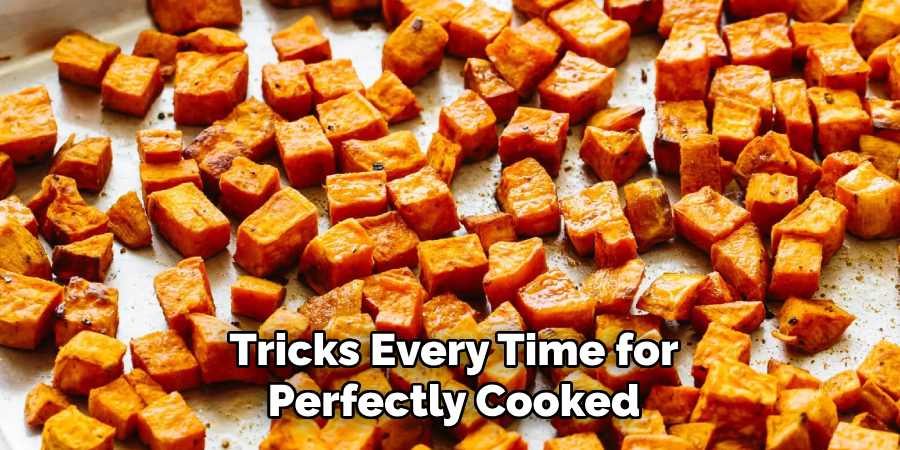
To avoid ending up with hard, unappetizing baked sweet potatoes, follow these tips and tricks every time for perfectly cooked, soft, and delicious sweet potatoes.
Conclusion
How to dry sweet potatoes in the oven is an excellent way to preserve their nutritional value and enjoy them as a healthy snack or ingredient in various recipes.
You can achieve consistent results by carefully following the steps of slicing evenly, using the correct oven temperature, and ensuring proper airflow. Avoiding common pitfalls such as overcrowding the baking tray, skipping the turning process, or prematurely storing the dried slices will ensure your final product is of high quality.
With patience and attention to detail, you can master oven-drying sweet potatoes and enjoy their rich flavor and long shelf life.
Professional Focus
Angela Ervin, a former interior designer turned blogger, specializes in kitchen design and renovations. Through her website, she blends her passion for cooking with design expertise, sharing practical and creative ideas. Known for balancing functionality and beauty, Angela’s insightful content has made her a trusted voice in home design and lifestyle.
About the Author
Angela Ervin, an experienced interior designer and blogger, combines her passion for kitchen renovations with storytelling. Living in Petersburg with her family, she enjoys cooking and testing her projects firsthand. Known for her humor and relatable style, Angela shares creative, functional design insights through her content, making her a trusted voice in home design.
Education History
University: Virginia Commonwealth University
Degree: Bachelor of Fine Arts (BFA) in Interior Design
- Angela’s education at VCU focused on mastering core interior design principles, including spatial planning, color theory, materials selection, and sustainable design practices.
- She gained hands-on experience through studio projects and collaborative design exercises, which honed her ability to create functional and aesthetically pleasing environments.
- Her coursework also emphasized problem-solving and practical applications of design, preparing her for real-world projects like her self-directed kitchen renovations.
- The program’s strong foundation in both technical skills and creative expression shaped Angela’s ability to seamlessly integrate form and function in her work.