
Are you craving a healthy snack but don’t have much time to spare? Roasted peanuts are a great option for a quick and tasty treat. And the best part? You can easily make them in your microwave!
How to roast peanuts in microwave oven is a quick and convenient way to prepare this tasty snack. Whether you’re looking to add a crunchy twist to your recipes or simply enjoy them on their own, the microwave method delivers perfectly roasted peanuts in just a few minutes. This technique requires minimal effort and eliminates the need for additional cooking appliances.
By following some simple steps, you can achieve consistently roasted peanuts that are full of flavor and ready to satisfy your cravings. Let’s dive into the easy process of roasting peanuts in your microwave oven.
What Are the Benefits of Roasting Peanuts
Roasted peanuts are a popular snack for many reasons. They offer a satisfying crunch and are loaded with nutrients, making them an excellent option for snacking and incorporating into meals. Some benefits of roasting peanuts include:
- Increased Flavor: Roasting peanuts enhances their natural nutty taste, making them even more delicious.
- Longer Shelf Life: When roasted correctly, peanuts can last longer than raw ones, making them an ideal option for stocking up on healthy snacks.
- Health Benefits: Peanuts contain healthy fats, protein, fiber, and other essential nutrients that make them a nutritious addition to your diet.
- Versatility: Once roasted, you can use peanuts in various recipes, from savory dishes to sweet treats.
Now that we’ve covered the benefits, let’s learn how to roast peanuts in a microwave oven.
What Will You Need?
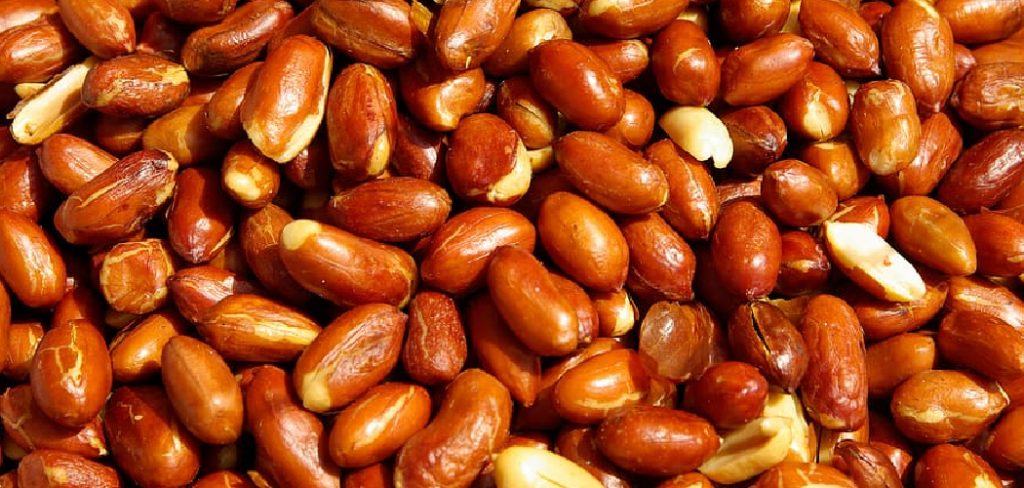
- Raw peanuts (shelled)
- Microwave-safe plate
- Paper towel or microwave-safe paper bag
- Salt (optional)
Once you have these items ready, you’re good to go!
8 Easy Steps on How to Roast Peanuts in Microwave Oven
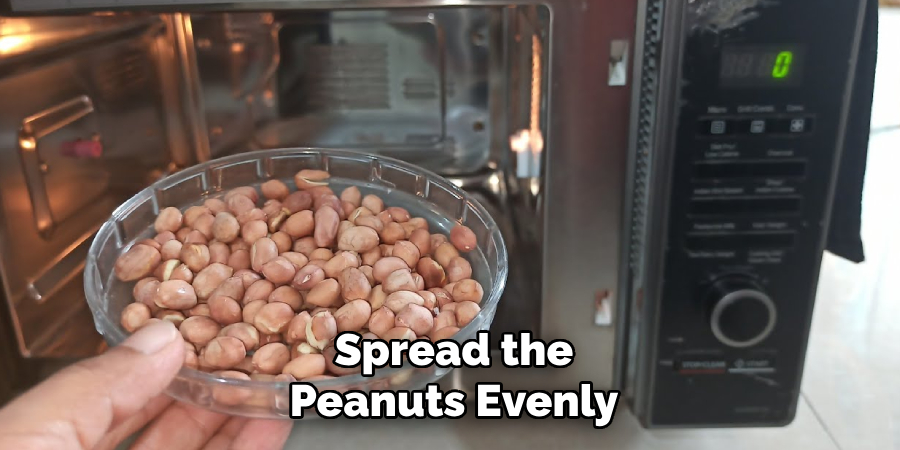
Step 1. Spread the Peanuts Evenly:
Take your raw, shelled peanuts and place them on a microwave-safe plate. Ensure they are spread out in a single layer and not piled up, as overlapping peanuts may roast unevenly. This step is crucial to achieve a consistent roast, so take the time to arrange them correctly. If you’re using a paper towel or microwave-safe paper bag, make sure the peanuts are spread to allow the heat to reach them uniformly.
Step 2. Cover the Peanuts:
Cover the peanuts with a sheet of microwave-safe plastic wrap or a microwave-safe lid to ensure even roasting and prevent any splattering or drying out. If you’re using a paper towel, lightly place it over the peanuts without pressing down too much; this will allow steam to escape while still maintaining moisture balance. Covering the peanuts helps to lock in heat, which is key in achieving a uniform, golden roast. Additionally, it minimizes mess and keeps the roasting process smooth and controlled.
Step 3. Start Microwaving:
Set your microwave to medium power to ensure the peanuts roast evenly without burning. Begin by microwaving the peanuts for 1 to 2 minutes. After the initial burst, carefully remove the plate and stir the peanuts with a spoon or shake them lightly to redistribute them. This step is essential for avoiding hot spots and ensuring all peanuts are exposed to the heat equally. Once stirred, place the plate back in the microwave and roast in 30-second intervals.
Between each interval, check both the color and aroma of the peanuts. You’ll know they’re nearing perfection when they turn a light golden brown and emit a rich, nutty smell. Remember, peanuts can continue to cook slightly even after being removed from the microwave due to residual heat, so avoid roasting them to a dark shade. This method allows for better control over roasting, ensuring a delightful crunch and flavor in every bite.
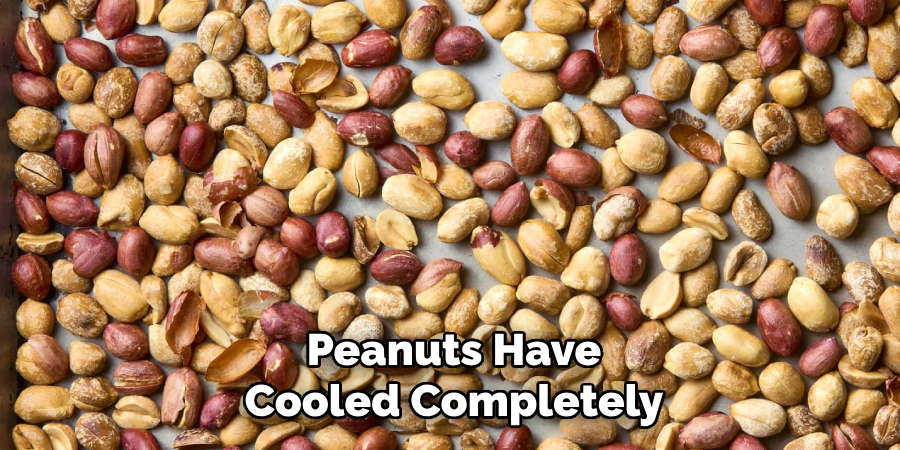
Step 4. Cool the Peanuts:
After the peanuts have reached the desired color and aroma, remove them from the microwave and transfer them onto a clean, cool plate or a baking sheet lined with parchment paper. Spread them out evenly to allow for faster cooling and prevent further cooking from residual heat. Allow the peanuts to cool completely before serving or storing. Proper cooling will help them achieve the perfect crunch and lock in their roasted flavor.
Step 5. Store the Peanuts:
Once the peanuts have cooled completely, transfer them into an airtight container to maintain their freshness and crunch. Glass jars or resealable plastic containers work well for this purpose. Ensure the container is clean and dry before adding the peanuts, as any moisture could reduce their shelf life and affect their texture. Store the container in a cool, dry place away from direct sunlight to prevent the peanuts from becoming rancid. Properly stored roasted peanuts can stay fresh for up to several weeks, allowing you to enjoy their rich flavor and satisfying crunch over time. For even longer preservation, consider refrigeration, particularly in warmer climates, as it helps to extend their freshness.
Step 6. Enjoy Your Roasted Peanuts:
Now that your roasted peanuts are ideally stored, it’s time to indulge in their irresistible flavor. These crunchy, golden delights can be enjoyed as a standalone snack, added to trail mixes, or used as a topping for desserts and salads. You can also grind them to make homemade peanut butter or incorporate them into various recipes for an extra layer of taste and texture. However you choose to savor them, your freshly roasted peanuts will surely be a satisfying treat!
Step 7. Experiment with Flavor Variations:
Take your roasted peanuts to the next level by experimenting with different seasonings and flavor combinations. You can toss them with a pinch of sea salt, a dash of paprika, or a sprinkle of cinnamon for a sweet touch. For a spicy kick, try coating them with chili powder or cayenne. If you prefer savory blends, garlic powder or smoked paprika can add depth. Mixing and matching flavors allows you to create custom peanut snacks that cater to your taste preferences and make your roasted peanuts even more delightful.
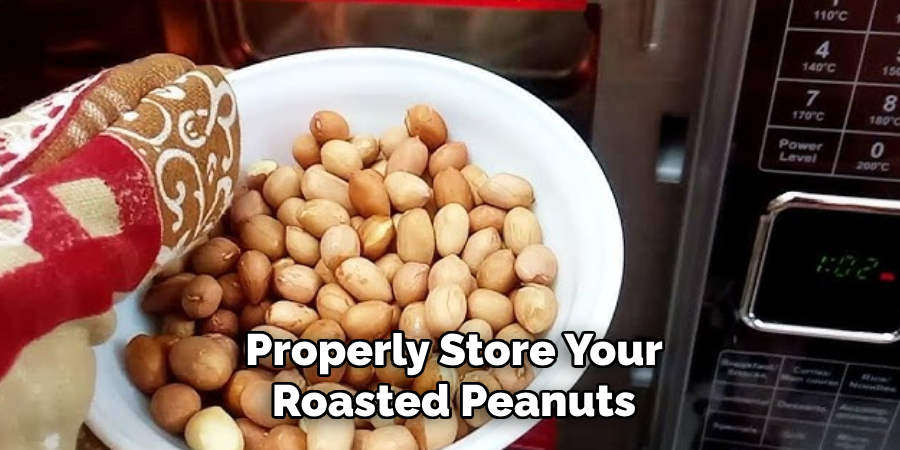
Step 8. Properly Store Your Roasted Peanuts:
Proper storage is essential to maintain the freshness and flavor of your roasted peanuts. Allow the peanuts to cool completely before transferring them to an airtight container. Keep the container in a cool, dry place, away from direct sunlight or moisture, to prevent them from becoming stale or losing their crunch. If you have flavored your peanuts, ensure they are scorched before storing to avoid clumping. Properly stored, your roasted peanuts can stay fresh and delicious for up to a few weeks, ready to be enjoyed whenever you crave a tasty snack!
By following these simple steps, you can easily and quickly roast peanuts in your microwave oven without any hassle or mess.
5 Things You Should Avoid
- Using a High Power Setting: Avoid setting your microwave to maximum power, as this can cause the peanuts to burn quickly and unevenly. Use a lower power setting to ensure they roast evenly.
- Skipping Stirring in Between: Do not skip stirring the peanuts at regular intervals. This helps distribute the heat evenly and prevents overheating in certain spots.
- Roasting for Too Long in One Go: Avoid microwaving the peanuts for an extended time without checking. It’s better to roast them in short bursts and monitor their progress.
- Ignoring Moisture on the Peanuts: Ensure the peanuts are parched before roasting. Any moisture can lead to steaming instead of roasting, which affects the texture and flavor.
- Overcrowding the Microwave Dish: Never overcrowd the dish as it can result in uneven roasting. Spread the peanuts in a single layer for better results.
By avoiding these common mistakes, you can ensure that your roasted peanuts turn out perfectly every time.
What is the Difference Between Toasted and Roasted Peanuts?
There is often confusion between the terms “toasted” and “roasted” regarding peanuts. While they may seem interchangeable, there are some key differences between these two methods of cooking peanuts.
Toasting is a dry cooking method that involves heating food evenly with direct heat, usually on a stovetop or in an oven. This can be done using a pan or baking sheet, with little to no oil added. Toasting gives the peanuts a crispy texture and enhances their natural flavor.
On the other hand, roasting is a wet cooking method where food is cooked with indirect heat in an enclosed environment such as an oven or microwave. In the case of roasted peanuts, they are cooked in their natural oils, resulting in a richer and more intense flavor.
In summary, toasting is a quicker and drier method of cooking peanuts, while roasting takes longer but results in a more flavorful end product. Depending on personal preference and the desired outcome, either method can cook delicious roasted peanuts.
Conclusion
How to roast peanuts in microwave oven is a simple and efficient process that allows you to achieve a rich, roasted flavor from the comfort of your kitchen.
Begin by spreading the raw peanuts evenly on a microwave-safe plate or dish, ensuring they are arranged in a single layer for even cooking. Set the microwave to medium power and roast the peanuts in 1 to 2 minutes intervals, stirring them thoroughly after each interval to prevent burning. The total cooking time will vary depending on your microwave’s power and the desired roasting level, but it generally takes 4 to 8 minutes.
Once the peanuts are evenly roasted and fragrant, remove them from the microwave and allow them to cool completely before enjoying their warm, nutty flavor.
Professional Focus
Angela Ervin, a former interior designer turned blogger, specializes in kitchen design and renovations. Through her website, she blends her passion for cooking with design expertise, sharing practical and creative ideas. Known for balancing functionality and beauty, Angela’s insightful content has made her a trusted voice in home design and lifestyle.
About the Author
Angela Ervin, an experienced interior designer and blogger, combines her passion for kitchen renovations with storytelling. Living in Petersburg with her family, she enjoys cooking and testing her projects firsthand. Known for her humor and relatable style, Angela shares creative, functional design insights through her content, making her a trusted voice in home design.
Education History
University: Virginia Commonwealth University
Degree: Bachelor of Fine Arts (BFA) in Interior Design
- Angela’s education at VCU focused on mastering core interior design principles, including spatial planning, color theory, materials selection, and sustainable design practices.
- She gained hands-on experience through studio projects and collaborative design exercises, which honed her ability to create functional and aesthetically pleasing environments.
- Her coursework also emphasized problem-solving and practical applications of design, preparing her for real-world projects like her self-directed kitchen renovations.
- The program’s strong foundation in both technical skills and creative expression shaped Angela’s ability to seamlessly integrate form and function in her work.