
Are you tired of scrubbing your Frigidaire self-cleaning oven after every use? You can easily clean your oven without breaking a sweat with the right steps and tools.
How to clean frigidaire self cleaning oven is an essential task to ensure it continues to perform efficiently and safely. Unlike traditional cleaning methods, a self-cleaning oven is equipped to handle much of the work for you using high temperatures to burn off residue and grime. This function simplifies the cleaning process while maintaining the integrity of your appliance. However, understanding the correct steps and safety precautions for using the self-cleaning feature is crucial to achieving optimal results.
This guide will walk you through the necessary steps to clean your Frigidaire self-cleaning oven effectively.
What Are the Benefits of a Self-Cleaning Oven?
Before we delve into the cleaning process, let’s first understand the benefits of having a self-cleaning oven.
- Time-saving: One of the main advantages of owning a self-cleaning oven is the time it saves you. With traditional ovens, cleaning can be a labor-intensive task that takes up significant time and effort. With a self-cleaning feature, all you have to do is start the cycle and let it do its job.
- Cost-effective: Using harsh chemicals and scrubbing materials to clean your traditional oven can add up over time. A self-cleaning oven eliminates the need for these products, making it cost-effective in the long run.
- Efficient Cleaning: The high temperatures in the self-cleaning cycle ensure that your oven is thoroughly cleaned, removing even the toughest stains and residue. This results in a more efficient and hygienic cooking environment.
These are just a few benefits of having a self-cleaning oven. Now, let’s move on to the steps for cleaning your Frigidaire self-cleaning oven.
What Will You Need?
Before you start the cleaning process, make sure you have the following items on hand:
- Rubber Gloves: These will protect your hands from any chemicals or residue during cleaning.
- Sponge or Cloth: You’ll need a gentle sponge or cloth to wipe away any remaining debris after the self-cleaning cycle.
- Warm Water: To help with stubborn stains, warm water can be used with your sponge or cloth.
- Baking Soda and Vinegar: These natural ingredients can be an alternative to harsh chemicals for tough spots and stains.
Once you have all your supplies, you can begin cleaning your Frigidaire self-cleaning oven.
8 Easy Steps on How to Clean Frigidaire Self Cleaning Oven
Step 1. Remove all Contents from the Oven:
Before starting the self-cleaning process, take out everything inside the oven. This includes oven racks, cookware, thermometers, or other items you might store in the oven. Leaving these items in could damage them or interfere with the cleaning process. Ensuring
the oven cavity is empty is essential, as the intense heat during the self-cleaning cycle can cause some materials to warp or release harmful fumes. Place the removed items aside, and if they need cleaning, you can clean them separately with warm water and mild soap. Once the oven is completely empty, you’re ready to move on to the next step.
Step 2. Wipe Down the Oven Interior:
Before initiating the self-cleaning cycle, use a damp cloth or sponge to wipe down the inside of the oven gently. Focus on removing any loose debris, food particles, or grease that could smoke or burn during cleaning. Pay special attention to the bottom of the oven and areas around the door seal. This step helps to ensure a smoother and more effective self-cleaning cycle while minimizing unpleasant odors. Avoid using any harsh chemicals or abrasive tools, as they could damage the interior surface. Once you’ve wiped it down, the oven is prepped for the next stage.
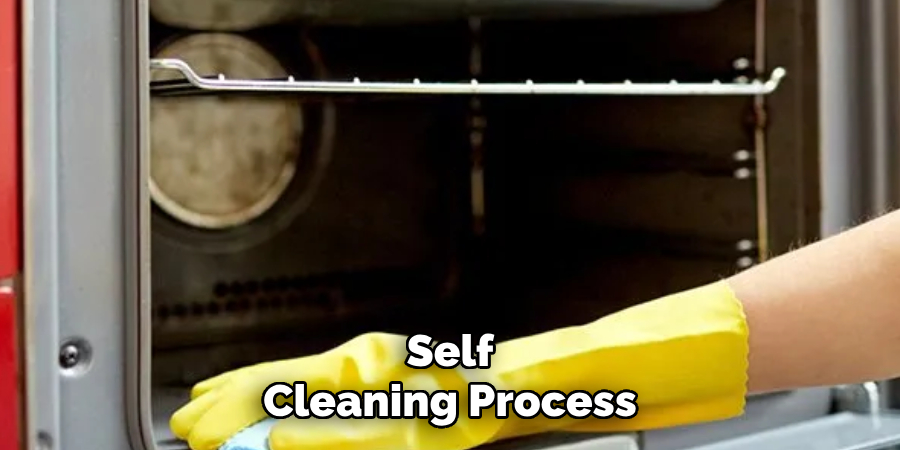
Step 3. Start the Self-Cleaning Cycle:
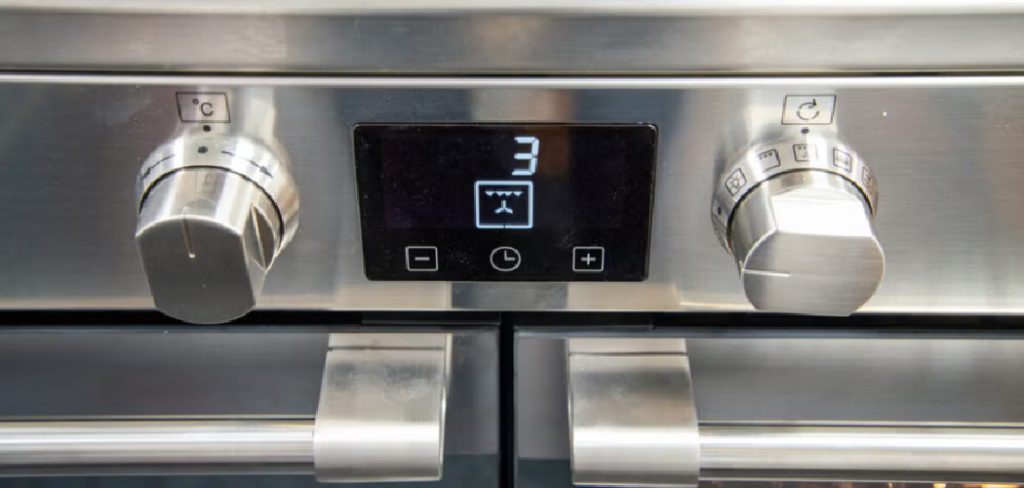
Now that the oven is prepared correctly, you can initiate the self-cleaning cycle. Refer to your oven’s user manual for specific instructions, as settings may vary depending on the model. Typically, you’ll select the self-cleaning option and set the desired cleaning duration, often ranging from two to four hours.
During the cycle, the oven will heat to extremely high temperatures to incinerate any remaining residue, leaving behind a fine ash. Ensure proper ventilation in your kitchen by turning on an exhaust fan or opening windows to help minimize smoke or odors. Do not open the oven door during the cycle, as it will be extremely hot and could disrupt the process. Once the cycle completes, allow the oven to cool completely before proceeding to the final step.
Step 4. Final Cleanup:
After the self-cleaning cycle has finished and the oven has cooled completely, it’s time for the final cleanup. Open the oven door and use a damp cloth or sponge to remove the fine ash left behind from the cleaning process. A gentle scrub with a non-abrasive
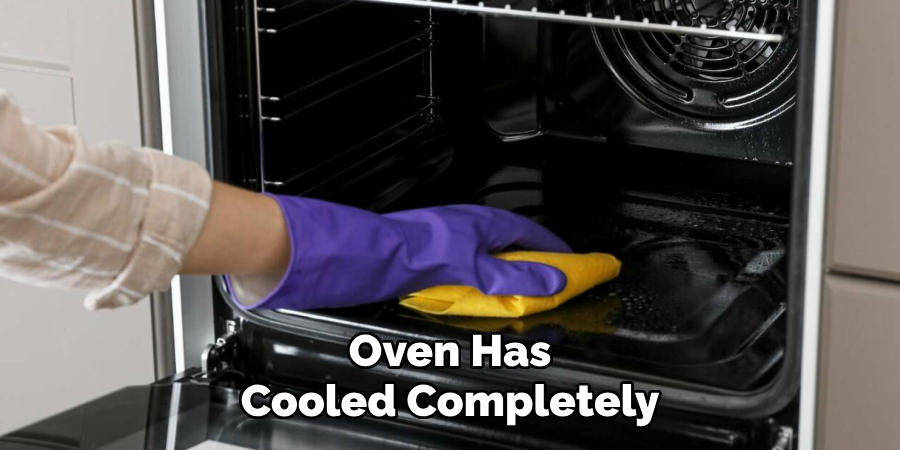
pad may be needed for any stubborn spots. Inspect the interior thoroughly to ensure all debris has been removed. Replace any racks or accessories you removed earlier, ensuring they are clean and properly positioned. Your oven is now fresh, clean, and ready for use!
Step 5. Routine Maintenance Tips:
Establish a routine maintenance schedule to keep your oven in top condition and minimize the need for intense cleaning sessions. Wipe up spills and food residue as soon as the oven cools after each use to prevent buildup. Use oven-safe liners on the bottom rack to catch drips while cooking, ensuring they don’t obstruct airflow.
Periodically check and clean the oven door gasket to maintain a proper seal. Avoid using harsh chemical cleaners, which can damage the oven’s finish. By adopting these simple practices, you can extend the life of your oven and ensure consistent performance over time.
Step 6. Troubleshooting Common Issues:
Even with proper cleaning and maintenance, ovens can sometimes experience issues that impact their performance. If your oven isn’t heating evenly, ensure the racks are correctly positioned, and check for any obstructions around the heating elements. Consider using an oven thermometer to verify accuracy and recalibrate the internal thermostat if necessary for temperature inconsistencies.
If your oven fails to turn on, inspect the power source, circuit breakers, or fuses. When facing persistent problems, consult the user manual or contact a professional technician for assistance. Addressing these issues promptly can help restore your oven’s functionality and prevent further complications.
Step 7. Enhancing Energy Efficiency:
Improving your oven’s energy efficiency can save money on utility bills and reduce environmental impact. Start by avoiding unnecessary preheating unless a recipe specifically calls for it. When cooking multiple dishes, try to batch them together to make the most of the heat in the oven.
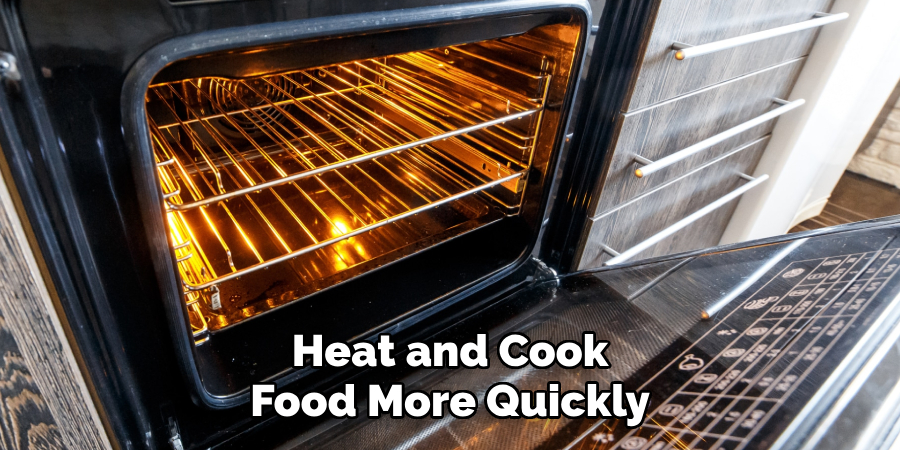
Use cookware with lids to trap heat and cook food more quickly. Regularly check the oven door seal for any gaps or wear that could cause heat loss, and replace it if necessary. Additionally, turning the oven off a few minutes before cooking time ends can utilize residual heat to finish the process, conserving energy while still delivering excellent results. You can maximize your oven’s efficiency and performance through these small adjustments.
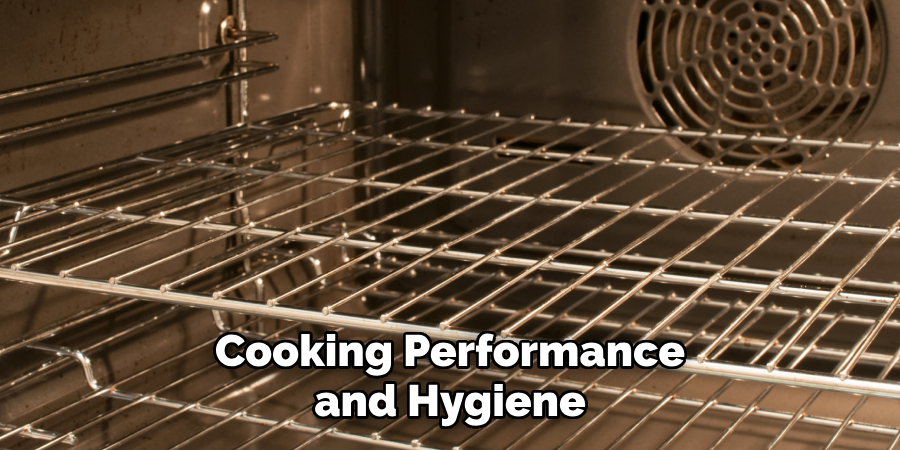
Step 8. Cleaning and Maintaining Oven Racks:
Maintaining clean oven racks is essential for optimal cooking performance and hygiene. Remove the racks from the oven and soak them in warm, soapy water for about 20 minutes to loosen any baked-on grease or residue. Use a non-abrasive sponge or brush to scrub away tough stains and rinse thoroughly with clean water.
For particularly stubborn grime, a baking soda and water paste can be an effective natural cleaner. Always dry the racks entirely before returning them to the oven to prevent rusting. Regularly cleaning the racks extends their lifespan and ensures even cooking and a cleaner oven interior.
By following these steps and implementing routine maintenance, you can keep your oven running efficiently and effectively for years.
5 Things You Should Avoid
- Using Harsh Chemical Cleaners: Avoid harsh chemical cleaners in your Frigidaire self-cleaning oven. The self-cleaning function is designed to remove debris and grease without the need for potentially damaging substances.
- Scrubbing with Abrasive Tools: Do not use steel wool, wire brushes, or other abrasive tools to clean the oven. These can scratch the interior surfaces and damage the oven’s finish.
- Starting the Self-Clean Cycle with Heavy Spills Inside: Always remove large food spills or debris before initiating the self-cleaning cycle. These can produce excessive smoke or even lead to unpleasant odors during cleaning.
- Interrupting the Self-Cleaning Cycle: Once the self-cleaning cycle has begun, avoid turning it off midway. Interrupting the cycle can leave residue inside the oven and may result in uneven cleaning.
- Ignoring Proper Ventilation: During the self-cleaning process, ensure there is adequate ventilation in your home. Failing to do so can result in a strong burning smell, which may linger in enclosed spaces.
Conclusion
How to clean frigidaire self cleaning oven is a straightforward process when proper precautions and steps are followed.
You can maintain your oven’s condition and performance by using the self-cleaning function as intended, avoiding abrasive tools, and ensuring adequate ventilation. Always remove significant spills beforehand and allow the cleaning cycle to run uninterrupted for the best results.
With these guidelines, your oven will remain clean and functional for years.
Professional Focus
Angela Ervin, a former interior designer turned blogger, specializes in kitchen design and renovations. Through her website, she blends her passion for cooking with design expertise, sharing practical and creative ideas. Known for balancing functionality and beauty, Angela’s insightful content has made her a trusted voice in home design and lifestyle.
About the Author
Angela Ervin, an experienced interior designer and blogger, combines her passion for kitchen renovations with storytelling. Living in Petersburg with her family, she enjoys cooking and testing her projects firsthand. Known for her humor and relatable style, Angela shares creative, functional design insights through her content, making her a trusted voice in home design.
Education History
University: Virginia Commonwealth University
Degree: Bachelor of Fine Arts (BFA) in Interior Design
- Angela’s education at VCU focused on mastering core interior design principles, including spatial planning, color theory, materials selection, and sustainable design practices.
- She gained hands-on experience through studio projects and collaborative design exercises, which honed her ability to create functional and aesthetically pleasing environments.
- Her coursework also emphasized problem-solving and practical applications of design, preparing her for real-world projects like her self-directed kitchen renovations.
- The program’s strong foundation in both technical skills and creative expression shaped Angela’s ability to seamlessly integrate form and function in her work.