
Are you tired of using your washer and dryer as a makeshift countertop? Do you want to create a functional and attractive space in your laundry room? Building a countertop over your washer and dryer is the perfect solution!
How to build countertop over washer and dryer is a practical and stylish way to maximize your laundry room space.

This project provides a flat surface for folding clothes and organizing supplies and creates a cleaner and more cohesive look for the area. Whether you’re aiming for a DIY solution or a more polished finish, constructing a countertop is straightforward with the right tools, materials, and guidance.
This guide will walk you through the necessary steps to design and install a functional and visually appealing countertop that perfectly fits your space.
What Are the Benefits of Building Countertop Over Washer and Dryer?
Before we dive into the steps of building a countertop over the washer and dryer, let’s first discuss the advantages of this project.
- Efficient Use of Space: Adding a countertop over your washer and dryer is an excellent way to maximize limited space in your laundry room. It eliminates the need for extra furniture or storage units that occupy valuable floor space.
- Increased Storage Capacity: By building a countertop, you also gain additional storage options. You can install shelves or cabinets underneath it to keep laundry supplies, detergent, and other household items within reach.
- Enhanced Aesthetics: Let’s be honest; washers and dryers are not the most visually appealing appliances. By creating a countertop over them, you can transform the look of your laundry room into a more polished and organized space.
- Multi-Purpose Functionality: A countertop over your washer and dryer can serve various purposes besides just folding clothes. You can use it as a workspace, crafting area, or desk for small tasks.
What Will You Need?
To begin building your countertop over washer and dryer, you will need the following materials and tools:
- Wooden Boards: These will be the main material for your countertop. Make sure to measure the dimensions of your washer and dryer before purchasing to ensure a perfect fit.
- Screws/Nails: Choose screws or nails that are appropriate in length for securing the boards together.
- Saw: You will need a saw to cut the wooden boards to the desired size.
- Measuring Tape/Leveler: These tools will help you accurately measure and level off your countertop during installation.
- Sandpaper/Electric Sander: Sanding is essential to ensure a smooth and polished finish for your countertop.
- Drill: A drill will be needed to create holes for screws or nails.
- Paint/Stain/Sealant: Depending on your preference, you can paint, stain, or seal your countertop for added protection and aesthetics.

Once you have gathered all the necessary materials and tools, you can begin building your countertop over your washer and dryer following these steps.
8 Easy Steps on How to Build Countertop Over Washer and Dryer:
Step 1: Measure and Design
Start by measuring your washer and dryer’s total width, depth, and height. Use a measuring tape to take accurate measurements to account for any connection hoses, vents, or cords that might add additional width or height. Also, decide on how much overhang you want for your countertop, if any. Once you have the dimensions, sketch out a design for your countertop. Include details such as the wooden boards’ overall length, width, thickness, and how it will fit snugly over your appliances. A clear design will help guide you through the building process and minimize mistakes. Double-check all measurements, as precision is crucial for a stable and professional-looking installation.
Step 2: Gather Your Materials
Once you have finalized your measurements and design, gather all the required materials and tools for the project. Common materials include a wooden board or plywood for the countertop, brackets for support, screws, wood glue, sandpaper, wood stain or paint, and a sealant. For tools, you may need a saw, drill, measuring tape, level, screwdriver, and a paintbrush or roller. Choose durable materials and complement your laundry room’s overall aesthetic. Having everything on hand before you begin will make the process smoother and more efficient.
Step 3: Prepare the Wooden Surface
Before installing the wooden board, take the time to prepare the surface to ensure a polished and lasting finish. Start by sanding the board using sandpaper to smooth out any rough edges or surfaces. This step is essential for preventing splinters and improving the appearance of the wood. Once the surface is smooth, clean off any dust or debris with a damp cloth.
If you plan to stain, paint, or seal the wood, now is the time to apply your chosen finish. Allow the finish to dry completely per the manufacturer’s instructions before proceeding. Proper preparation will enhance the durability and aesthetics of your countertop.
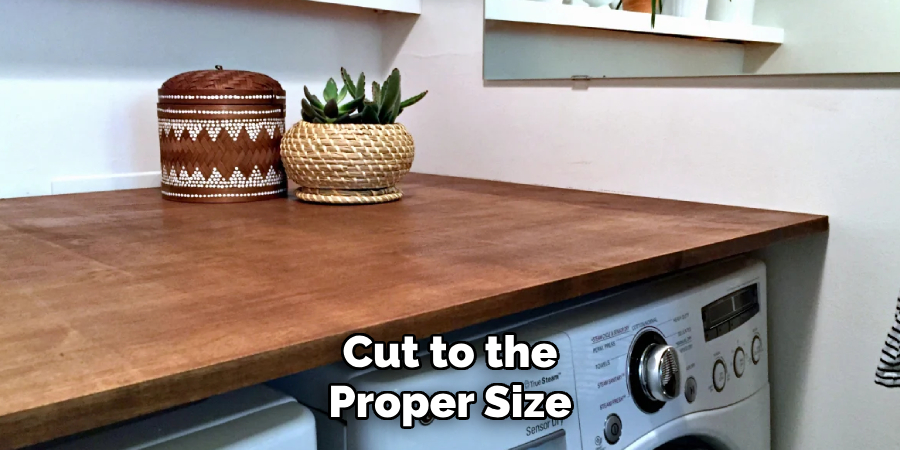
Step 4: Measure and Cut the Wooden Board
Accurate measurements ensure the wooden countertop fits perfectly in your laundry room. Using a measuring tape, determine the dimensions of the area where the countertop will be installed. Mark these measurements onto the wooden board with a pencil, double-checking for accuracy. Once marked, use a saw to carefully cut the board to size, following the lines you’ve drawn. Consider using a template or guide to achieve precise cuts if you’re working with corners or irregular spaces. After cutting, sand the edges to ensure they are smooth and safe to handle. Taking the time to measure and cut correctly will result in a professional-looking and functional countertop.
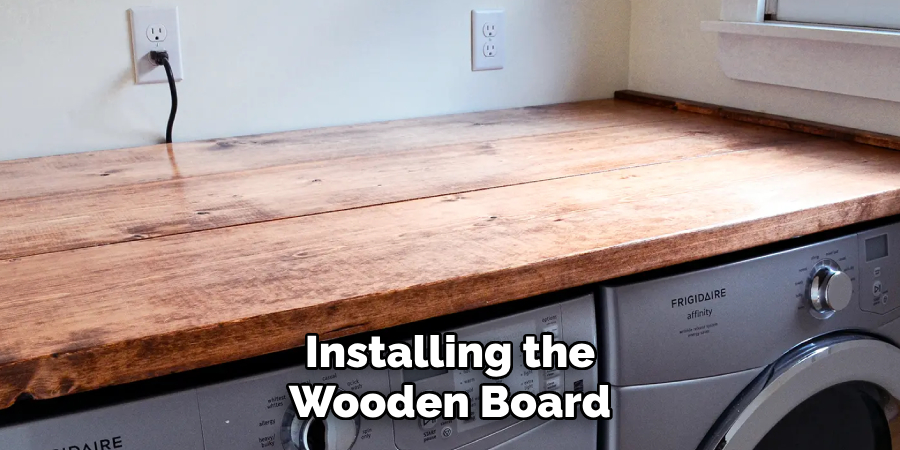
Step 5: Install the Wooden Countertop
With the wooden board cut to the proper size, place it gently onto the designated area in your laundry room to test the fit. Ensure that it sits level and aligns with the surrounding surfaces. If adjustments are needed, carefully trim or sand the edges as necessary. Once satisfied with the fit, secure the countertop in place using screws, brackets, or construction adhesive, based on your specific setup.
Make sure to fasten it evenly to prevent wobbling or unevenness. Double-check that the countertop is sturdy and aligned adequately before finalizing the installation. This step will give your laundry room a polished and reliable workspace.
Step 6: Finish and Seal the Wooden Countertop
To ensure the longevity and durability of your wooden countertop, finish and seal it properly. Begin by applying a wood stain, if desired, to enhance the color and bring out the wood’s natural grain. Allow the stain to dry completely before proceeding. Next, use a high-quality wood sealant or polyurethane coating to protect the surface from moisture, stains, and daily wear. Apply the sealant evenly with a brush or cloth, following the manufacturer’s instructions, and allow adequate drying time between coats. For best results, apply multiple coats for maximum protection. Once the finish has fully cured, your wooden countertop will be ready for use, combining both functionality and aesthetic appeal to your laundry room.
Step 7: Organize and Accessorize Your Laundry Room
With the wooden countertop installed and sealed, it’s time to organize and accessorize your laundry room for optimal functionality. Arrange laundry essentials such as detergent, fabric softeners, and stain removers in accessible storage solutions like baskets or bins. Add shelves or cabinets above or beside the countertop to maximize storage space. Hooks can be installed to hang clothes or organize cleaning tools. Lastly, personalize the space with decorative touches like plants, artwork, or a stylish rug to make the laundry room inviting and visually appealing. A well-organized and decorated space can make laundry tasks more enjoyable and efficient.
Step 8: Maintain Your Laundry Room
Regular maintenance is key to keep your laundry room functional and appealing over time. Wipe your wooden countertop periodically with a damp cloth to keep it clean and free from dust or spills. Check the sealant periodically for signs of wear and reapply as needed to ensure the countertop remains protected.
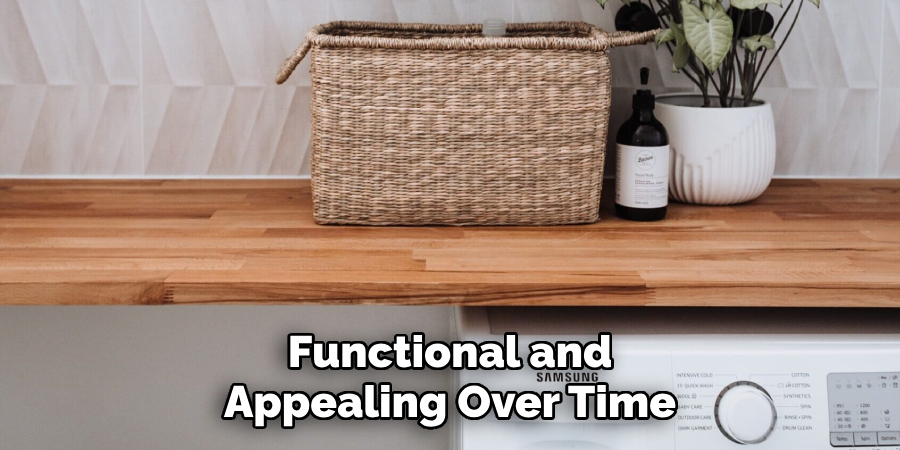
Organize storage areas weekly to prevent clutter from accumulating, and keep an eye out for any needed repairs, such as tightening hooks or fixing loose shelves. Proper maintenance will preserve the appearance and efficiency of your laundry room for years to come.
By following these steps, you can create a beautiful and functional wooden countertop for your laundry room.
5 Things You Should Avoid
- Using Incorrect Measurements: Failing to take precise measurements of your washer, dryer, and surrounding space can result in a countertop that doesn’t fit properly. Always double-check dimensions before cutting materials.
- Ignoring Ventilation Requirements: Washers and dryers generate heat and moisture, so it’s crucial not to block ventilation areas. Ensure your design allows proper airflow to avoid appliance damage or structural issues.
- Choosing Weak or Unsuitable Materials: Avoid using materials that lack durability or strength. The countertop should be made of sturdy materials to handle both weight and vibrations from the machines during operation.
- Overlooking Appliance Access: Ensure your countertop doesn’t obstruct access to the washer and dryer lids, doors, or maintenance compartments. Proper clearance is essential for functionality and repairs.
- Skipping Secure Installation: Neglecting to anchor the countertop securely can lead to instability and potential safety hazards. Use appropriate mounting hardware and techniques to ensure everything stays firmly in place.
Conclusion
How to build countertop over washer and dryer requires thoughtful planning and careful execution.
You can create a durable and functional space by avoiding common mistakes such as improper measurements, poor ventilation planning, or using weak materials. Always ensure the appliances remain accessible for daily use and maintenance, and securely install the countertop to avoid potential hazards.
With proper preparation and attention to detail, your new countertop will enhance the utility of your laundry area and add to its overall aesthetic and efficiency.
Professional Focus
Angela Ervin, a former interior designer turned blogger, specializes in kitchen design and renovations. Through her website, she blends her passion for cooking with design expertise, sharing practical and creative ideas. Known for balancing functionality and beauty, Angela’s insightful content has made her a trusted voice in home design and lifestyle.
About the Author
Angela Ervin, an experienced interior designer and blogger, combines her passion for kitchen renovations with storytelling. Living in Petersburg with her family, she enjoys cooking and testing her projects firsthand. Known for her humor and relatable style, Angela shares creative, functional design insights through her content, making her a trusted voice in home design.
Education History
University: Virginia Commonwealth University
Degree: Bachelor of Fine Arts (BFA) in Interior Design
- Angela’s education at VCU focused on mastering core interior design principles, including spatial planning, color theory, materials selection, and sustainable design practices.
- She gained hands-on experience through studio projects and collaborative design exercises, which honed her ability to create functional and aesthetically pleasing environments.
- Her coursework also emphasized problem-solving and practical applications of design, preparing her for real-world projects like her self-directed kitchen renovations.
- The program’s strong foundation in both technical skills and creative expression shaped Angela’s ability to seamlessly integrate form and function in her work.