
A burnt oven tray can feel like a lost cause, with stubborn stains and residue that seem impossible to remove. However, with the right cleaning methods and a little effort, you can restore it to its original condition. Understanding how to clean a burnt oven tray is crucial for maintaining a neat kitchen and ensuring your safety.
A dirty oven tray can negatively affect your cooking results, cause unpleasant smoke, and even pose a potential fire hazard. This guide provides step-by-step instructions on the best ways to tackle tough stains and burnt-on residue, using household items and commercial cleaning products. By following these tips, you’ll learn how to effectively clean and maintain your oven trays, ensuring they remain in excellent condition for years to come.
Understanding Different Types of Oven Tray Materials
When learning how to clean a burnt oven tray, it’s important first to understand the material of your tray, as this determines the appropriate cleaning method. Different materials have unique properties that require specific care to avoid damage.
Aluminum Trays
Aluminum trays are lightweight and ideal for everyday cooking. However, they are prone to scratching and can react with acidic cleaners like vinegar, leading to discoloration or pitting. When cleaning burnt aluminum trays, avoid abrasive scrubbers and opt for gentle methods like soaking in warm soapy water or using a mixture of baking soda and water for stubborn stains.
Non-Stick Trays
Non-stick trays are designed for easy cleaning but require extra caution to preserve the coating. Harsh scrubbing or the use of abrasive cleaners can damage the non-stick layer, reducing its effectiveness. To clean burnt residue, use a soft sponge with mild dish soap and heat the tray slightly to loosen tough stains.
Stainless Steel Trays
Stainless steel trays are durable and can withstand heavy use, but they may develop burnt stains over time. These trays can handle more intensive cleaning methods, such as scrubbing with steel wool or using commercial degreasers. For a natural approach, try scrubbing with a baking soda paste.
Enamel-Coated Trays
Thanks to their protective coating, enamel-coated trays are more resistant to burning and staining. However, this coating can chip if handled roughly. Stick to gentle cleaning methods using non-abrasive tools and mild detergents. Avoid sudden temperature changes, like rinsing a hot tray with cold water, to prevent cracking the enamel.
Essential Tools and Cleaning Supplies
Using the right tools and supplies is crucial to maintain your baking trays in top condition. Here are some essentials to consider for effective cleaning:

- Baking soda and vinegar – These natural and non-toxic cleaning agents are excellent for tackling tough stains and grime, leaving trays refreshed without harsh chemicals.
- Dish soap and hot water – Perfect for basic cleaning, this combination works well on light burns and everyday grease buildup.
- Lemon and salt – This duo serves as a natural abrasive cleaner, ideal for breaking down stubborn spots while being gentle on delicate surfaces.
- Commercial oven cleaners – When heavy-duty cleaning is necessary, these powerful products effectively remove burnt residues and baked-on grime, especially on stainless steel trays.
Scrubbing Tools
- Soft sponges – Essential for non-stick trays, these prevent scratches and maintain the integrity of the coating.
- Steel wool – Best reserved for stainless steel trays; it can aggressively scrub away burnt stains without damaging the surface.
- Old toothbrush – Offers precise scrubbing for tricky corners and tray edges, ensuring no residue is left behind.
- Plastic scraper – Useful for gently removing thick, baked-on buildup without harming the tray’s surface.
Equipping yourself with these tools and supplies will make cleaning your trays efficient and prolong their usability.
Basic Cleaning Method for Light Burns
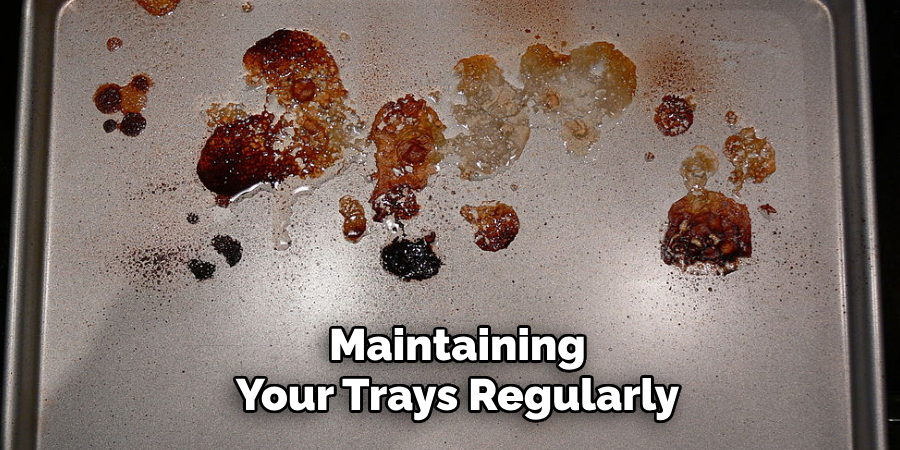
Maintaining your trays regularly can prevent burns and stains from becoming permanent. Follow this simple five-step method to clean trays with light burns effectively:
Step 1: Begin by filling the tray with warm, soapy water. Use a mild dish soap to ensure gentle cleaning while softening food residue.
Step 2: Allow the tray to soak for at least 30 minutes. This step helps loosen any stuck-on residue, making the scrubbing process significantly easier.
Step 3: Using a soft sponge, gently scrub the entire surface of the tray. Focus on areas with visible burns or stains, ensuring the non-stick coating (if present) remains intact.
Step 4: Rinse the tray thoroughly with clean water to remove soap and any loosened debris. Ensure no residue remains, as leftover soap can affect the tray during its next use.
Step 5: Dry the tray completely using a soft cloth or towel. If stubborn spots persist, repeat the process as needed, soaking the tray and applying more effort while scrubbing.
This straightforward method helps keep your trays in top condition, prolonging their lifespan and ensuring they stay ready for your next cooking session.
How to Clean a Burnt Oven Tray: Deep Cleaning Methods
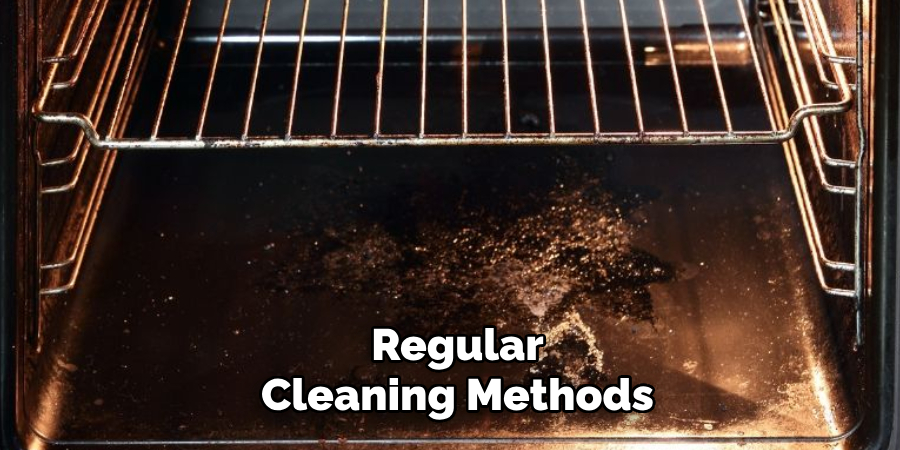
Sometimes, regular cleaning methods may not be sufficient to remove stubborn burnt stains from your trays. For these instances, deep cleaning techniques can be highly effective. Below are three proven methods to restore your tray to its original state.
Baking Soda and Vinegar Method
Step 1: Sprinkle baking soda generously over the burnt areas of the tray.
Step 2: Pour vinegar over the baking soda. The mixture will start to fizz—this reaction helps break down tough residue.
Step 3: Allow the tray to sit for 10-15 minutes to maximize the cleaning effect of the fizzing action.
Step 4: Scrub the burnt areas thoroughly using a brush or sponge. For best results, focus on the tougher stains with gentle pressure.
Step 5: Rinse the tray well with clean water and dry it completely using a soft towel.
Lemon and Salt Scrub
Step 1: Cut a fresh lemon in half and dip the exposed side in a generous amount of salt. The abrasive salt and the acidic lemon juice create a powerful cleaning agent.
Step 2: Use the lemon to scrub the burnt areas of the tray, applying consistent pressure for optimal effect.
Step 3: Leave the lemon and salt residue to sit on the tray for 10 minutes.
Step 4: Rinse the tray thoroughly with water and pat it dry with a clean cloth.
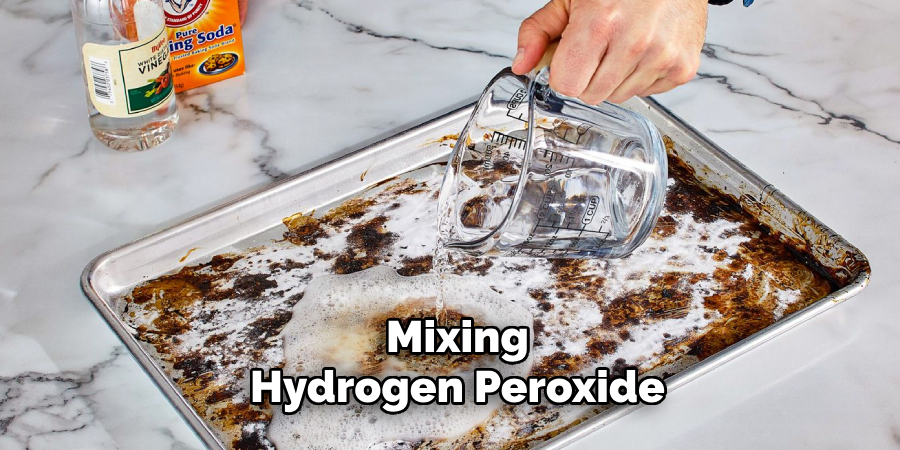
Hydrogen Peroxide and Baking Soda Paste
Step 1: Create a thick paste by mixing hydrogen peroxide with baking soda in a small bowl.
Step 2: Spread the paste evenly over the burnt stains on the tray, ensuring full coverage.
Step 3: Allow the paste to sit on the stains for about 1 hour. This soak time helps to break down the tough residues.
Step 4: Scrub the affected areas using a sponge or brush to loosen the debris.
Step 5: Rinse the tray thoroughly and dry it completely before storing.
These deep cleaning methods are designed to tackle even the most difficult burnt stains. With some effort and a few household ingredients, your trays can look as good as new, ready for your next cooking adventure!
Using Commercial Oven Cleaners
When deep cleaning burnt trays, commercial oven cleaners can be a convenient option for tough stains. It’s crucial to choose a non-toxic and fume-free cleaner for safety and ease of use. These safer options are effective while minimizing unnecessary exposure to harsh chemicals.
Step-by-Step Process
Step 1: Spray the commercial oven cleaner evenly over the burnt tray, focusing on the affected areas.
Step 2: Allow the cleaner to sit for the manufacturer’s recommended duration, typically 10 to 30 minutes. This dwell time loosens stubborn stains and residues.
Step 3: Use a sponge or cloth to wipe away the loosened debris. Apply gentle pressure to scrub off any remaining stains as needed.
Step 4: Rinse the tray thoroughly with water to eliminate all chemical residues, ensuring it is safe for future use.
Safety Precautions
When handling oven cleaners, always wear gloves to protect your skin from irritation. Work in a well-ventilated area to avoid inhaling fumes, even with fume-free options. Additionally, avoid using these cleaners on non-stick trays unless explicitly stated on the product label to prevent damaging the tray’s surface.
Following these steps will help ensure efficient and safe cleaning, leaving your trays spotless and ready for use.
Preventing Burnt Build-Up on Oven Trays
To minimize burnt build-up on your oven trays, a few preventive measures can be highly effective. Using parchment paper or silicone baking mats provides a protective barrier between food and the tray, significantly reducing the chance of residues sticking or burning onto the surface. These options are also easy to remove and discard or clean after use.
Regular cleaning after each use is another critical step in preventing stubborn buildup over time. By promptly addressing spills and stains, you eliminate the opportunity for residues to harden and adhere to the tray’s surface, simplifying maintenance.
Applying a light oil coating before cooking can also be a preventative measure. The thin layer helps create a non-stick effect, ensuring food particles don’t bond tightly with the tray. It also makes cleaning up after cooking far less of a chore.
Lastly, avoid overheating your trays, as excessive temperatures can cause food to char and result in more stubborn burn marks. Monitoring cooking times and temperatures carefully prevents damage to your trays and improves the quality of your meals. With these simple practices, you can keep your oven trays in excellent condition and extend their lifespan.
Alternative Cleaning Hacks for Tough Stains
Boiling Water Soak
Try using boiling water to loosen stubborn burnt food from your oven tray for a straightforward and effective solution. Begin by pouring boiling water directly onto the tray, completely covering the affected areas. Allow the tray to soak for about 15-20 minutes, which helps soften any hardened stains. Afterward, use a sponge or scrubber to remove the loosened residue gently.
Dishwasher Tablet Method
Dishwasher tablets aren’t just for your machine; they can work wonders on burnt trays too. Wet the burnt areas on the tray, then take a damp dishwasher tablet and rub it directly over the stains. The cleaning agents in the tablet effectively break down grease and burnt-on food, leaving your tray much cleaner with minimal effort.
Ammonia Bag Trick
The ammonia bag trick can be highly effective for non-coated trays with particularly tough stains. Secure the tray overnight in a sealed plastic bag with a small amount of ammonia. The fumes will help loosen the toughest grime, making cleaning easier the next day. Remember to handle ammonia carefully and ensure proper ventilation when using this method.
Conclusion
Cleaning burnt oven trays doesn’t have to be a daunting task. From soaking with boiling water to using a dishwasher tablet or the ammonia bag trick, there are effective methods to tackle stains depending on the tray material and severity of the burns. Regular maintenance and proper precautions, such as avoiding abrasive tools on coated surfaces, can keep your trays in excellent condition. By following these techniques on how to clean a burnt oven tray, even the most stubborn stains can be removed, restoring their appearance and extending their lifespan. Take charge and enjoy spotless trays with minimal effort!
Professional Focus
Angela Ervin, a former interior designer turned blogger, specializes in kitchen design and renovations. Through her website, she blends her passion for cooking with design expertise, sharing practical and creative ideas. Known for balancing functionality and beauty, Angela’s insightful content has made her a trusted voice in home design and lifestyle.
About the Author
Angela Ervin, an experienced interior designer and blogger, combines her passion for kitchen renovations with storytelling. Living in Petersburg with her family, she enjoys cooking and testing her projects firsthand. Known for her humor and relatable style, Angela shares creative, functional design insights through her content, making her a trusted voice in home design.
Education History
University: Virginia Commonwealth University
Degree: Bachelor of Fine Arts (BFA) in Interior Design
- Angela’s education at VCU focused on mastering core interior design principles, including spatial planning, color theory, materials selection, and sustainable design practices.
- She gained hands-on experience through studio projects and collaborative design exercises, which honed her ability to create functional and aesthetically pleasing environments.
- Her coursework also emphasized problem-solving and practical applications of design, preparing her for real-world projects like her self-directed kitchen renovations.
- The program’s strong foundation in both technical skills and creative expression shaped Angela’s ability to seamlessly integrate form and function in her work.