
Cleaning your Mr. Coffee coffee maker regularly is essential to ensure it continues to brew great-tasting coffee and operates efficiently. Over time, mineral deposits and coffee residue can build up inside the machine, affecting both its performance and the flavor of your coffee. Using vinegar is a simple, natural, and effective way to remove these build-ups and keep your coffee maker in top condition.

This guide on how to clean a mr coffee coffee maker with vinegar will walk you through the steps needed to clean your coffee maker with vinegar, ensuring your mornings start with a reliably fresh cup of coffee.
Why Vinegar is the Best Cleaner for Mr. Coffee Coffee Makers
Vinegar is an acid solution that breaks down mineral deposits and dissolves oils, making it an excellent natural cleaner for coffee makers. It also has disinfectant properties, which help to remove bacteria and other germs that may be present in your machine.
But the benefits of using vinegar as a cleaner don’t stop there. Unlike chemical cleaners, vinegar is non-toxic and environmentally friendly, making it safe to use around food and drinks. Additionally, it’s inexpensive and readily available in most households.
Now that you know why vinegar is the best cleaner for your Mr. Coffee coffee maker, let’s dive into how to clean your machine with vinegar.
Needed Materials
White Vinegar:
You will need a bottle of white vinegar, which can be found in the cooking aisle of most grocery stores. White vinegar is typically distilled and has a higher concentration of acetic acid, making it more effective at cleaning than other types of vinegar.
Water:
Water is an essential ingredient in this cleaning process. It will dilute the vinegar and help to remove any residue or debris from your coffee maker.
Cleaning Cloth or Sponge:
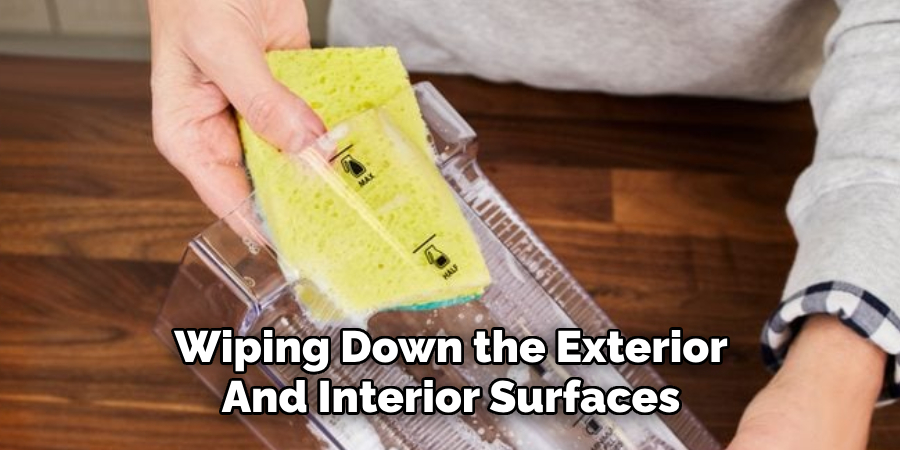
A soft cloth or sponge is necessary for wiping down the exterior and interior surfaces of your coffee maker. Avoid using abrasive materials that could scratch or damage your machine’s surface.
10 Simple Methods on How to Clean a Mr Coffee Coffee Maker With Vinegar
Method 1: Unplug the Machine
Before starting the cleaning process, ensure that your Mr. Coffee coffee maker is unplugged from the power outlet. This step is crucial for safety, as it prevents any risk of electric shock or damage to the machine during cleaning.
Allow the coffee maker to cool down completely if it was recently used, as hot surfaces can be hazardous or cause injury. Once the machine is unplugged, you are ready to proceed with the next steps.
Method 2: Remove the Used Coffee Filter and Grounds
Take out the used coffee filter from the machine, as well as any leftover coffee grounds in the filter basket. Discard these appropriately, ensuring no debris is left behind. Check the filter basket and surrounding areas for any coffee residue, as lingering grounds can interfere with the cleaning process.
A quick rinse under running water can help remove any remaining particles before you move on to the next step.
Method 3: Prepare the Cleaning Solution
To prepare the cleaning solution, mix equal parts of white vinegar and water. For most Mr. Coffee coffee makers, you will need approximately 4-5 cups of each liquid, depending on the size of your machine’s water reservoir. This mixture effectively breaks down mineral deposits while remaining safe for use in your coffee maker.

Carefully pour the vinegar and water solution into the coffee maker’s water reservoir. Ensure the reservoir is filled to its maximum capacity or at least enough to run a full brewing cycle. Once the solution is ready and in place, you can proceed to the next method for running the cleaning cycle.
Method 4: Run a Cleaning Cycle
With the vinegar and water mixture in place, turn on your coffee maker to start the cleaning cycle. Let it run through a full brewing cycle, just as you would when making a regular pot of coffee. The vinegar solution will travel through the machine’s internal components, dissolving any mineral deposits and removing any built-up residue along the way.
You may notice that the brewed solution has a strong vinegar smell, but do not worry; this is normal and part of the cleaning process.
Method 5: Pause During the Cleaning Cycle
As soon as half of the cleaning cycle is complete, pause the machine for about one hour. This waiting period allows the vinegar solution to sit inside the machine and work its magic on tougher build-ups. During this time, you can also use a sponge or cloth to wipe down any exterior surfaces of your coffee maker that may need some extra attention.
After an hour has passed, resume the cleaning cycle until it is complete. The longer pause between brewing cycles will help ensure a more thorough and effective clean.
Method 6: Run Fresh Water Cycle
After completing the cleaning cycle with the vinegar solution, it is essential to run a freshwater cycle to rinse out any remaining vinegar and residue from your coffee maker. Empty the carafe and discard the used vinegar solution. Rinse the water reservoir thoroughly with fresh water to ensure no lingering traces of vinegar are left behind.
Next, fill the water reservoir with clean, fresh water and run a full brewing cycle without adding any coffee grounds or filters. Once the cycle is complete, empty the carafe and check for any remaining vinegar odor. For optimal results, repeat this step at least one or two more times until the smell of vinegar is completely gone. This ensures that your coffee maker is clean and ready for your next brew.
Method 7: Clean the Carafe and Filter Basket
With the internal cleaning process complete, it’s time to clean the carafe and filter basket thoroughly. Start by removing the carafe and filter basket from the coffee maker. Wash the carafe with warm, soapy water, scrubbing gently to remove any coffee stains or residue inside. For stubborn stains, you can use a mixture of baking soda and water to create a mild abrasive paste for extra cleaning power.

Similarly, rinse the filter basket under running water and scrub with a soft brush or sponge to remove any lingering coffee or oil build-up. Ensure all parts are thoroughly rinsed to remove soap or cleaning residue. Once cleaned, dry the carafe and filter basket with a clean towel or allow them to air dry before reassembling the coffee maker. Keeping these parts clean ensures better-tasting coffee and extends the life of your machine.
Method 8: Repeat if Necessary
If you notice that there is still some build-up remaining inside your coffee maker after completing all the steps above, you may need to repeat the entire process. In some cases, particularly if your machine has not been cleaned in a while, multiple cleaning cycles may be necessary to achieve a thorough clean. Be patient and persistent, and your efforts will pay off in the end.
You may also need to increase the concentration of vinegar in your solution if you have hard water or severe mineral deposits. Experiment with different ratios until you find what works best for your coffee maker.
Method 9: Clean the Exterior Surfaces
To keep your Mr. Coffee coffee maker looking pristine, it is also essential to clean the exterior surfaces regularly. Use a damp cloth or sponge with mild soap to wipe down all external areas of your machine, removing any dust or stains that may have accumulated over time. Avoid using harsh chemicals or abrasive materials as they can damage the machine’s surface.
You can also use a mixture of equal parts vinegar and water to clean the exterior surfaces for an extra deep clean. Simply apply the solution to a cloth or sponge and wipe down the machine, then rinse with clean water and dry with a towel.
Method 10: Regular Maintenance for Your Coffee Maker
Maintaining a regular cleaning schedule for your Mr. Coffee coffee maker will help keep it in top shape and ensure the best-tasting coffee every time. It is recommended that you clean your machine at least once a month or more frequently if you use it daily.

In addition to regular cleaning, it is also crucial to descale your coffee maker every few months, depending on the hardness of your water. Descaling involves using a specialized solution to remove built-up mineral deposits from the machine’s internal components. This process helps keep your coffee maker running smoothly and prevents any potential damage from occurring.
By following these simple steps on how to clean a mr coffee coffee maker with vinegar and incorporating them into your routine, you can ensure that your Mr. Coffee coffee maker stays in excellent condition for years to come. So go ahead and brew yourself a fresh cup of coffee with confidence – your clean and well-maintained coffee maker has got you covered! Happy brewing!
Frequently Asked Questions
Q1: Can I Use Other Types of Vinegar to Clean My Coffee Maker?
A: While white distilled vinegar is the most commonly used type for cleaning, you can also use apple cider vinegar or even lemon juice as a substitute. Just be aware that these alternatives may have a slightly different scent compared to white vinegar
Q2: How Often Should I Clean My Mr. Coffee Coffee Maker?
A: It is recommended that you clean your coffee maker at least once a month or more frequently if you use it daily.
Q3: Can I Use Vinegar and Water Solution for Descaling My Coffee Maker?
A: No, the vinegar and water solution is not strong enough to effectively descale your coffee maker. For descaling, it is best to use a specialized descaling solution designed specifically for coffee makers.
Q4: Can I Put the Carafe and Filter Basket in the Dishwasher?
A: It is not recommended to put these parts in the dishwasher as it can cause damage to the materials and affect their performance. It is best to hand wash them with warm, soapy water and rinse thoroughly.

Conclusion
Cleaning your Mr. Coffee coffee maker with vinegar is a simple and effective way to keep it in top condition and ensure delicious-tasting coffee every time.
By following the steps outlined in this guide on how to clean a mr coffee coffee maker with vinegar and incorporating regular maintenance into your routine, you can enjoy your coffee maker for years to come. Remember to also describe your machine every few months for optimal performance. Happy brewing!
Professional Focus
Angela Ervin, a former interior designer turned blogger, specializes in kitchen design and renovations. Through her website, she blends her passion for cooking with design expertise, sharing practical and creative ideas. Known for balancing functionality and beauty, Angela’s insightful content has made her a trusted voice in home design and lifestyle.
About the Author
Angela Ervin, an experienced interior designer and blogger, combines her passion for kitchen renovations with storytelling. Living in Petersburg with her family, she enjoys cooking and testing her projects firsthand. Known for her humor and relatable style, Angela shares creative, functional design insights through her content, making her a trusted voice in home design.
Education History
University: Virginia Commonwealth University
Degree: Bachelor of Fine Arts (BFA) in Interior Design
- Angela’s education at VCU focused on mastering core interior design principles, including spatial planning, color theory, materials selection, and sustainable design practices.
- She gained hands-on experience through studio projects and collaborative design exercises, which honed her ability to create functional and aesthetically pleasing environments.
- Her coursework also emphasized problem-solving and practical applications of design, preparing her for real-world projects like her self-directed kitchen renovations.
- The program’s strong foundation in both technical skills and creative expression shaped Angela’s ability to seamlessly integrate form and function in her work.