
A self-cleaning electric oven simplifies the task of maintaining your kitchen appliance, but it still demands occasional attention to ensure optimal performance. While the self-cleaning feature efficiently burns away grease and grime at high temperatures, some residue may remain, potentially impacting the oven’s efficiency.
Regular cleaning can enhance its functionality, eliminate lingering odors, and keep it looking spotless.
Understanding how to clean a self-cleaning electric oven manually, even after using the self-cleaning function, is essential for extending its lifespan and preventing unnecessary wear. This article provides a step-by-step guide to assist you in maintaining your self-cleaning oven properly.
By following these simple tips and methods, you can achieve a cleaner oven with minimal effort, ensuring it continues to perform as intended for years to come. Maintaining your oven has never been easier with the right strategies and care in place.
Understanding How Self-Cleaning Ovens Work
The self-cleaning feature in electric ovens is designed to make maintenance easier by significantly reducing the effort required to remove grease and food residues. This is achieved through the self-cleaning mode, which operates at extremely high temperatures, typically ranging from 800°F to 900°F.
During this process, the intense heat incinerates any food debris or grime, reducing it to fine ash that can be easily wiped away. A self-cleaning cycle usually takes 2 to 4 hours, depending on the oven model and the level of residue present.
There are different types of self-cleaning ovens, each employing a unique method. Pyrolytic self-cleaning ovens use the high-temperature process to burn off residue into ash, requiring minimal post-cleaning.
On the other hand, some newer ovens feature steam or water-clean cycles that utilize steam to loosen stubborn grime. This option operates at lower temperatures and is suitable for lighter cleaning tasks, as it softens deposits for easy wiping but does not burn them away.
After completing a self-cleaning cycle, you can expect most residues to turn into ash. However, some residue may persist, especially in hard-to-reach spaces such as corners or around the heating elements. A quick wipe with a damp cloth is usually sufficient to remove these remnants and keep your oven spotless.
Preparing the Oven for Cleaning
Turn Off and Cool Down
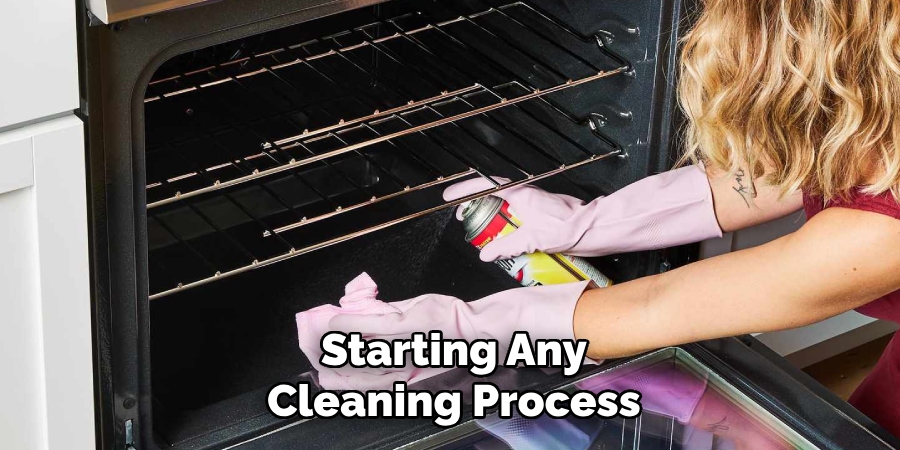
Before starting any cleaning process, ensure that the oven is turned off and completely cooled down. This step is crucial for your safety, as the internal temperature of a recently self-cleaned oven can remain extremely high for hours. Handling the oven prematurely can result in severe burns or damage to cleaning materials.
Remove Oven Racks and Accessories
If your oven includes removable racks, take them out before starting the self-cleaning cycle. The high heat involved in the process could warp or damage these components. For manual cleaning, you can easily clean the racks separately using warm, soapy water or a specialized oven rack cleaner. Make sure also to remove any additional accessories, such as thermometers or trays, to keep them safe.
Protect the Floor Area
Before cleaning, place towels, newspaper, or a drop cloth on the floor directly beneath the oven. This precaution prevents ash or debris from soiling your kitchen flooring, making the overall cleaning process more efficient and less messy.
Check the Oven’s Interior
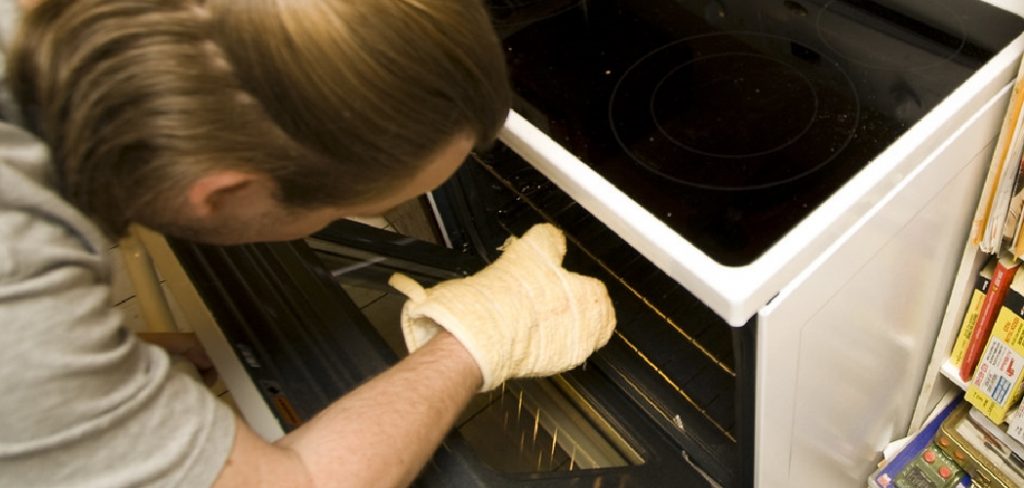
Scrutinize the interior of the oven before beginning the cleaning process. Check for any heavy debris, such as large food particles, that might need to be manually wiped or scraped away. Removing stubborn residues beforehand ensures a smoother and more effective cleaning experience.
How to Clean a Self-Cleaning Electric Oven: Wiping Away Ash and Residue
Use a Damp Cloth or Sponge
After the self-cleaning cycle is complete and the oven has cooled, carefully wipe away ash residue left on the interior surfaces with a soft, damp cloth or sponge. Be sure to avoid using abrasive sponges or pads, as these can scratch or damage the oven’s lining.
Focus on the Oven’s Interior Walls
Pay close attention to the interior walls and ceiling of the oven, as these areas typically collect the most ash during the cleaning process. Gently wipe these surfaces with your damp cloth or sponge to ensure a thorough clean.
Using a Vacuum Cleaner for Large Debris
A handheld vacuum cleaner can be beneficial for larger debris or ash. Use it to collect the bigger fragments before wiping down the surfaces. This step will save time and ensure the cloth or sponge doesn’t get overburdened with ash.
Cleaning the Oven Door
Don’t forget to clean the interior side of the oven door. Wipe it down with a soft, damp cloth to remove any residue. If stubborn stains or grime persist, use a gentle oven cleaner applied sparingly. Wipe the area afterward to ensure no cleaner residue remains, leaving the glass and surface spotless.
Maintaining these steps ensures your oven is left sparkling clean and ready for its next use.
Cleaning the Oven Racks
Soaking the Racks
Begin by removing the oven racks and soaking them in warm, soapy water or a solution made with baking soda and water. Choose a large sink, bathtub, or even a durable bucket that can fully submerge the racks. Allow the racks to sit in the solution for 1-2 hours to loosen grease, grime, and any baked-on residue.
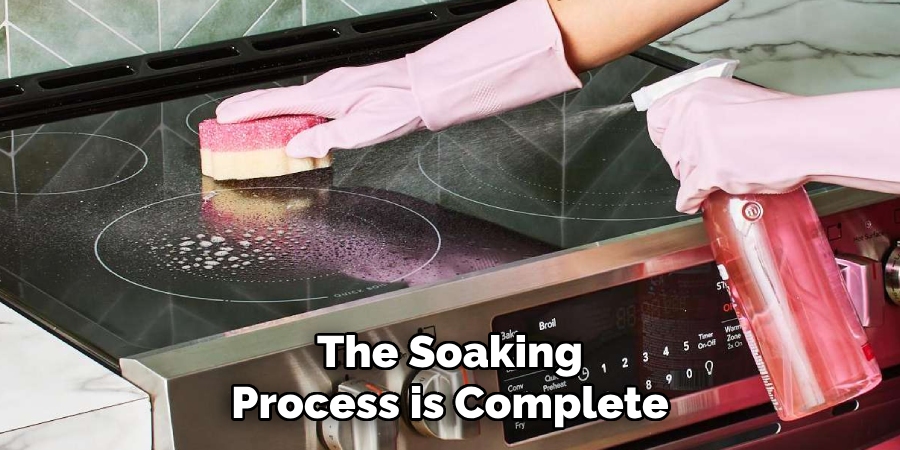
Scrubbing the Racks
Once the soaking process is complete, use a soft brush or dish scrubber to scrub away dirt and buildup. For areas with stubborn residue or heavy grease, sprinkle a layer of baking soda directly onto the racks and continue scrubbing gently. Avoid using rough or abrasive materials that could damage the surface of the racks.
Rinsing and Drying
After thoroughly cleaning the racks, rinse them with warm water to ensure all soap, grease, and baking soda have been removed. Dry the racks completely with a clean towel or allow them to air dry in a well-ventilated area. Ensure they are moisture-free before placing them back into the oven to avoid any potential rusting.
Following these steps will keep your oven racks in excellent condition and extend their lifespan.
Cleaning the Oven Door and Exterior
Cleaning the Oven Door Glass
To clean the interior glass of the oven door, use a dedicated glass cleaner or a homemade solution composed of equal parts vinegar and water. Spray the solution generously on the glass and allow it to sit for a few minutes to break down any grease or baked-on residue.
Then, using a non-abrasive cloth, gently scrub the surface in circular motions to remove dirt and buildup. Be cautious not to use any abrasive pads or tools, as they can scratch the glass and compromise its clarity.
Removing Grease and Fingerprints from the Exterior
A mild detergent or multi-surface cleaner works best for the oven’s exterior to eliminate grease, fingerprints, and general dirt. Apply the cleaner to a soft, damp cloth and gently wipe down the oven’s surface, including the handles.
Avoid harsh chemicals or abrasive sponges that could damage the oven’s finish or leave scratches. Consider using a stainless steel cleaner for added shine and fingerprint resistance for stainless steel ovens.
Cleaning the Oven Controls and Knobs
The control panel and knobs require delicate cleaning to prevent potential damage. Wipe the control panel gently using a damp microfiber cloth to remove smudges and grime. For thorough cleaning around the knobs, employ a soft brush to reach narrow gaps without putting undue force on the controls. This ensures your oven looks spotless without affecting its functionality.
Dealing with Persistent Odors
What Causes Odors After Self-Cleaning
The self-cleaning process can produce a burning smell caused by high temperatures incinerating food residue and leftover grease. While this scent typically dissipates as the oven cools, persistent odors may remain if significant grease or stubborn residue was present. Addressing these lingering smells promptly ensures they don’t impact the use or enjoyment of your oven.
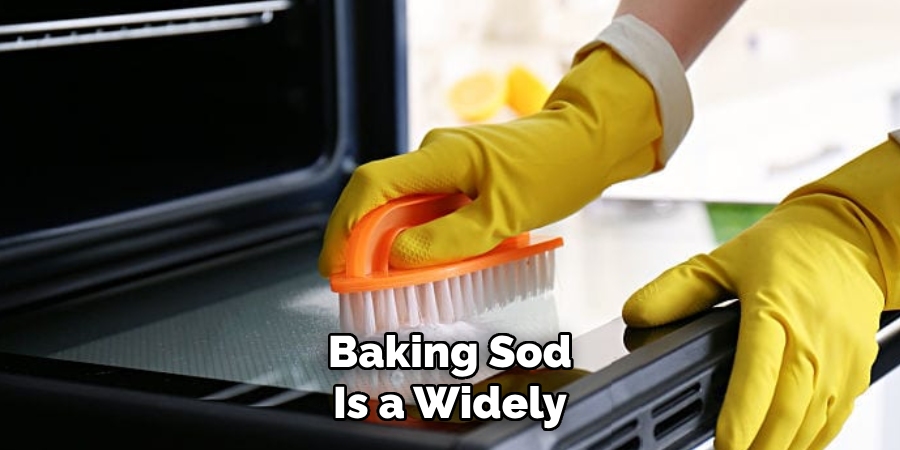
Using Baking Soda
Baking soda is a widely recommended solution for neutralizing odors effectively and naturally. To use this method, place an open box of baking soda inside the cooled oven to absorb the odors.
For optimal results, allow the baking soda to sit overnight. The powder will work to trap unpleasant smells within the enclosed space. Afterward, remove the baking soda and wipe down the interior surfaces of the oven with a damp cloth to ensure it’s clean and fresh for use.
Using Vinegar
Vinegar is another excellent remedy for tackling strong, unpleasant odors. Fill a bowl with white vinegar and place it inside the closed oven overnight. The vinegar’s natural acidity helps neutralize stubborn smells and leaves a clean scent behind. This simple yet effective method is a great alternative for removing odors without using harsh chemicals.
Regular Maintenance Tips for a Clean Oven
Proper maintenance is essential to keep your oven clean and working efficiently. Here are some practical tips to maintain a spotless oven:
- Use Oven Liners: Place an oven liner at the base of your oven to catch spills and food debris. This simple addition makes cleanup much easier and helps prevent stubborn stains.
- Quick Wipe-Ups After Cooking: Promptly wipe down any spills or splatters after the oven has cooled. This prevents food residue from hardening, which can be difficult to remove later.
- Regular Deep Cleaning: Schedule a thorough cleaning every 3-6 months, depending on how often you use your oven. Regular cleaning ensures grease and grime don’t accumulate to problematic levels.
- Avoid Harsh Cleaners: Opt for non-toxic, mild cleaning agents. Harsh chemicals can damage your oven’s interior surface and leave behind harmful residues.
By following these steps, you can extend the life of your oven and maintain a safe cooking environment.

Conclusion
Self-cleaning electric ovens are efficient and designed to simplify maintenance, but periodic cleaning and care are still necessary to keep them performing at their best. Always follow manufacturer instructions for proper cleaning and maintenance to avoid any potential damage or mishaps.
Understanding “how to clean a self-cleaning electric oven” is key to ensuring it stays in excellent condition. By regularly wiping down spills, using oven liners, and scheduling occasional deep cleanings, you can maintain a spotless oven that’s ready for any culinary endeavor. These small efforts will go a long way in extending your oven’s lifespan and usability.
Professional Focus
Angela Ervin, a former interior designer turned blogger, specializes in kitchen design and renovations. Through her website, she blends her passion for cooking with design expertise, sharing practical and creative ideas. Known for balancing functionality and beauty, Angela’s insightful content has made her a trusted voice in home design and lifestyle.
About the Author
Angela Ervin, an experienced interior designer and blogger, combines her passion for kitchen renovations with storytelling. Living in Petersburg with her family, she enjoys cooking and testing her projects firsthand. Known for her humor and relatable style, Angela shares creative, functional design insights through her content, making her a trusted voice in home design.
Education History
University: Virginia Commonwealth University
Degree: Bachelor of Fine Arts (BFA) in Interior Design
- Angela’s education at VCU focused on mastering core interior design principles, including spatial planning, color theory, materials selection, and sustainable design practices.
- She gained hands-on experience through studio projects and collaborative design exercises, which honed her ability to create functional and aesthetically pleasing environments.
- Her coursework also emphasized problem-solving and practical applications of design, preparing her for real-world projects like her self-directed kitchen renovations.
- The program’s strong foundation in both technical skills and creative expression shaped Angela’s ability to seamlessly integrate form and function in her work.