
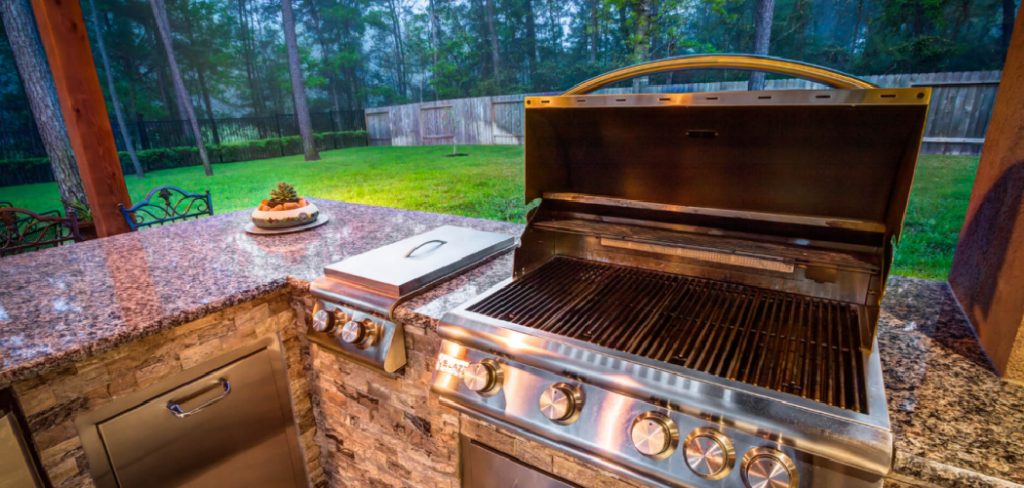
Cleaning your electric grill regularly is crucial to keep it functioning efficiently and to ensure safe, delicious meals. Whether you use your grill for quick weeknight dinners or long weekend barbecues, knowing the right way to clean it can make all the difference. Many beginners often avoid cleaning their grills because it seems like a daunting and time-consuming task. However, once you know the steps, the process becomes simple and even satisfying. This guide will walk you through how to clean an electric grill and keep it in excellent condition without damaging it.
Before we dive into the specific steps, let’s first discuss why it is important to regularly clean your electric grill. Over time, grease and food particles can build up on the grates and other parts of the grill, which not only affects the flavor of your food but also poses a potential fire hazard. Additionally, leaving old food residue on your grill can attract pests and bacteria, putting you at risk for foodborne illnesses.
So now that we understand the importance of cleaning our electric grills, let’s get started with the steps. The first step is to make sure your grill is completely cool before attempting to clean it. This will prevent any accidental burns or damage to the grill.
Next,
Why is it Important to Clean Your Electric Grill?
Regularly cleaning your electric grill is essential for a number of reasons. First, it extends the lifespan of the grill. Food residue, grease, and debris can accumulate over time, leading to rust, corrosion, and even mechanical failure. A clean grill also ensures that your food tastes better. Old grease and remnants from previous meals can alter the flavor of your freshly cooked dishes.
Cleaning is also a health matter. When you allow grease and particles to accumulate, it creates a breeding ground for bacteria. Regularly maintaining your grill ensures a hygienic cooking space, reducing the risk of contamination. Lastly, a clean grill performs better. It heats more evenly and prevents flare-ups caused by leftover grease or stuck-on debris. Investing a little time in maintenance pays off in the form of better-tasting food and a grill that lasts for years.
9 Step-by-Step Guide on How to Clean an Electric Grill
Figuring out how to clean an electric grill might seem complicated at first, but it’s surprisingly manageable when broken down into clear steps. Follow this comprehensive guide to deep clean your grill effectively.
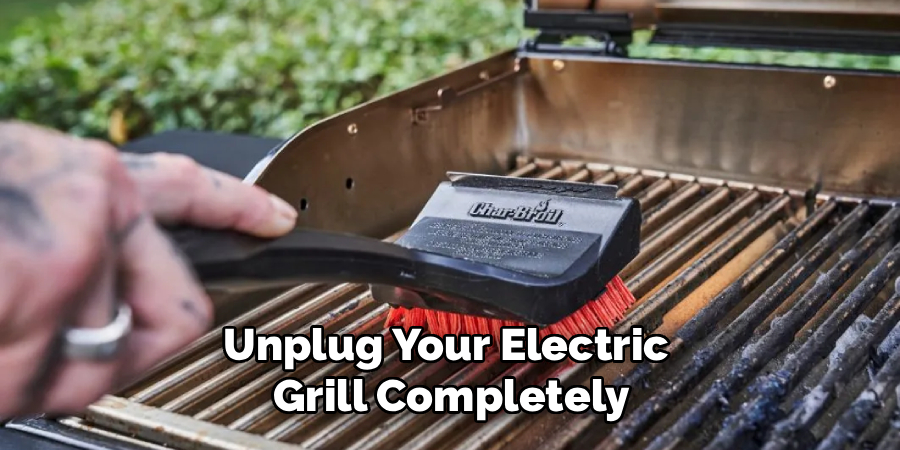
Step 1: Unplug the Grill and Allow it to Cool
Before you begin the cleaning process, make sure to unplug your electric grill completely. Cleaning while it’s still connected to electricity is not only unsafe but could potentially damage the internal components. Allow the appliance to cool completely if it was recently in use. A hot grill can cause burns and make greasy residues harder to manage.
Step 2: Remove and Inspect Removable Parts
Take off any removable parts such as drip trays, grates, or heating elements, depending on the model of your electric grill. Consult the manual if you’re unsure about which parts can be safely taken out. Once removed, inspect each piece for any wear or damage. This is also a great time to wipe down these components separately for a more thorough clean.
Step 3: Wipe Down the Grill Plates
The grill plates are where most of the cooking happens and they can accumulate a lot of grease and food debris. The best way to clean them is by using a damp cloth or a sponge soaked in warm, soapy water. Avoid abrasive scrubbers that may scratch nonstick surfaces. If your grill plates are detachable, soak them in the soapy water for about 15 minutes before scrubbing lightly.
Step 4: Tackle Stubborn Grease with Baking Soda
Stubborn grease stains on the grill plates or other parts? Sprinkle some baking soda onto the affected areas and dampen it with a little water to form a paste. Allow this to sit for 15–20 minutes, as the baking soda will naturally break down the buildup. Gently scrub after the waiting period and rinse thoroughly.
Step 5: Clean the Drip Tray
The drip tray is designed to catch excess grease and tends to build up grime quickly. Remove the tray and empty any accumulated grease. Wash it with warm, soapy water, ensuring you scrub away all the residue. Dry it completely before reinserting it into the grill. Proper maintenance of the tray is essential for preventing grease fires.
Step 6: Wipe Down the Exterior
Don’t forget about the outside of your electric grill. Use a soft cloth dampened with a gentle cleaner to wipe down the surface. Avoid using excess water or harsh chemicals, which could damage the finish or seep into the internal components. Polishing the exterior keeps your grill looking brand-new and protects it from discoloration.

Step 7: Reassemble and Perform a Final Check
Once all the parts are clean and fully dry, reassemble the grill carefully. Make sure everything is properly aligned and securely in place to avoid issues the next time you use it. Perform a quick final check to ensure that no debris or moisture remains.
Step 8: Perform an Initial Burn-Off
Before cooking your next meal, perform an initial burn-off to sanitize the cleaned surfaces. Plug in the grill, turn it on, and allow it to heat for a few minutes. This step will help get rid of any residue from cleaning products or extra moisture.
Step 9: Maintain a Regular Cleaning Schedule
To keep your electric grill in excellent condition, develop a habit of cleaning it after every use. Wipe down the grates, empty the drip tray, and store it in a clean, dry place. This regular maintenance minimizes buildup and makes deep cleaning significantly easier.
Common Electric Grill Problems
Uneven Heating
One of the most common issues is uneven heating, where certain areas of the grill may cook food faster than others. This could be due to faulty heating elements or grease buildup.
Sticking Food
Food sticking to the grates can lead to frustration and messy cleanup. This usually happens when grills are not properly preheated or oiled before cooking.
Power Issues
Sometimes, electric grills fail to turn on or lose power mid-use. This may be due to a faulty power cord, connections, or an overloaded circuit.
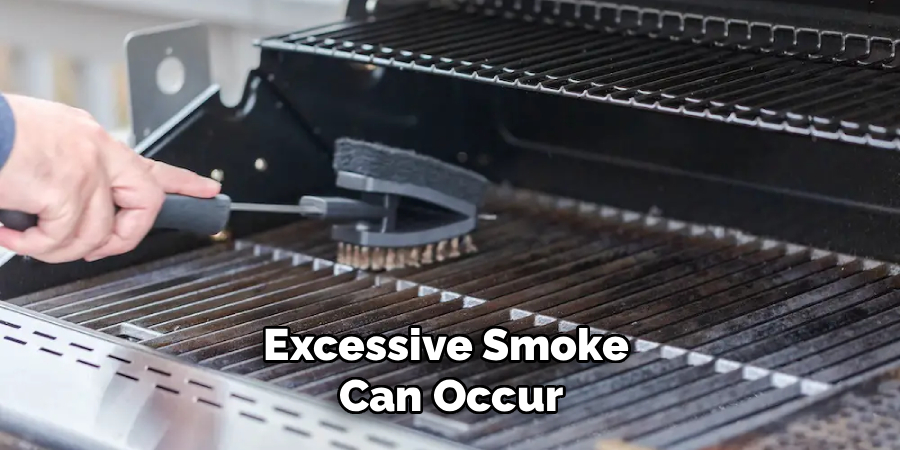
Excessive Smoke
Excessive smoke can occur if grease and food residue build up on the grill or drip tray. Keeping these areas clean is essential for safe and efficient cooking.
Difficulty Reaching Desired Temperature
If your grill struggles to reach or maintain the desired temperature, it may indicate a problem with the thermostat or heating element.
Rusting or Corrosion
Over time, exposure to moisture can lead to rust or corrosion on the grill’s metal components. Proper cleaning and storage can help prevent this issue.
Damaged Nonstick Coating
Nonstick coatings can peel or scratch if abrasive tools are used for cleaning. Using soft sponges or brushes can help preserve the coating.
Regular maintenance and troubleshooting can prevent these problems and extend the lifespan of your electric grill.
Frequently Asked Questions
How often should I clean my electric grill?
It’s best to clean your electric grill after every use to prevent grease and debris from building up. A more thorough deep clean, like the one described in this guide, can be done once a month or whenever you notice significant residue accumulation.
Can I use a dishwasher to clean grill components?
Some electric grills have removable grill plates and drip trays that are dishwasher-safe. Check the manufacturer’s manual to confirm. However, handwashing is often more effective for preserving the longevity of delicate parts.
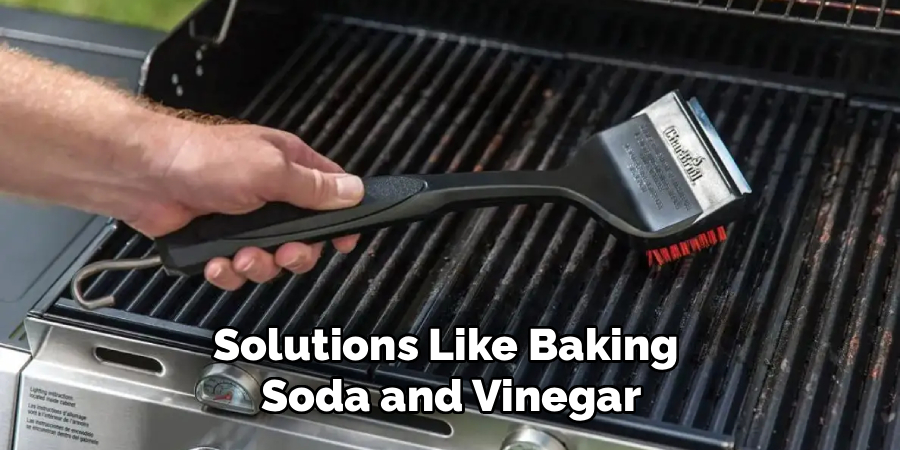
What cleaning products are safe for my electric grill?
Stick to mild, non-abrasive cleaners like dish soap or natural solutions like baking soda and vinegar. Avoid harsh chemicals or abrasive cleaning pads that can scratch or damage nonstick surfaces.
Is it safe to clean the grill while it’s hot?
No, always wait until your grill has completely cooled down before you start cleaning. Handling it while it’s still hot increases the chances of burns and makes it harder to clean grease and stuck-on food.
What if my grill still smells after cleaning?
If your electric grill has an odor even after cleaning, use a mixture of vinegar and water to wipe it down. Vinegar neutralizes smells naturally, leaving no chemical residue behind. Perform a burn-off afterward to remove any lingering smells entirely.
Conclusion
Cleaning your electric grill doesn’t have to be an overwhelming task. With the right steps and a bit of regular maintenance, you can ensure your grill stays in great condition, ready to deliver perfectly cooked meals every time. By following this guide, you’ve learned not only how to clean an electric grill effectively but also how to keep it hygienic and safe for all your cooking adventures. Take the time to give your electric grill the care it deserves—you’ll thank yourself the next time you fire it up!
Regular maintenance of your electric grill also extends its lifespan, saving you money in the long run. Beyond cleaning, it’s essential to check for any signs of wear and tear, such as damaged cords or loose components. Addressing these issues promptly not only ensures safety but also prevents further damage. Additionally, storing your grill in a dry, protected space when not in use helps shield it from environmental factors that could cause rust or deterioration. By combining thorough cleaning with proactive care, you can enjoy consistent performance and maximize the value of your electric grill over time.
Professional Focus
Angela Ervin, a former interior designer turned blogger, specializes in kitchen design and renovations. Through her website, she blends her passion for cooking with design expertise, sharing practical and creative ideas. Known for balancing functionality and beauty, Angela’s insightful content has made her a trusted voice in home design and lifestyle.
About the Author
Angela Ervin, an experienced interior designer and blogger, combines her passion for kitchen renovations with storytelling. Living in Petersburg with her family, she enjoys cooking and testing her projects firsthand. Known for her humor and relatable style, Angela shares creative, functional design insights through her content, making her a trusted voice in home design.
Education History
University: Virginia Commonwealth University
Degree: Bachelor of Fine Arts (BFA) in Interior Design
- Angela’s education at VCU focused on mastering core interior design principles, including spatial planning, color theory, materials selection, and sustainable design practices.
- She gained hands-on experience through studio projects and collaborative design exercises, which honed her ability to create functional and aesthetically pleasing environments.
- Her coursework also emphasized problem-solving and practical applications of design, preparing her for real-world projects like her self-directed kitchen renovations.
- The program’s strong foundation in both technical skills and creative expression shaped Angela’s ability to seamlessly integrate form and function in her work.