
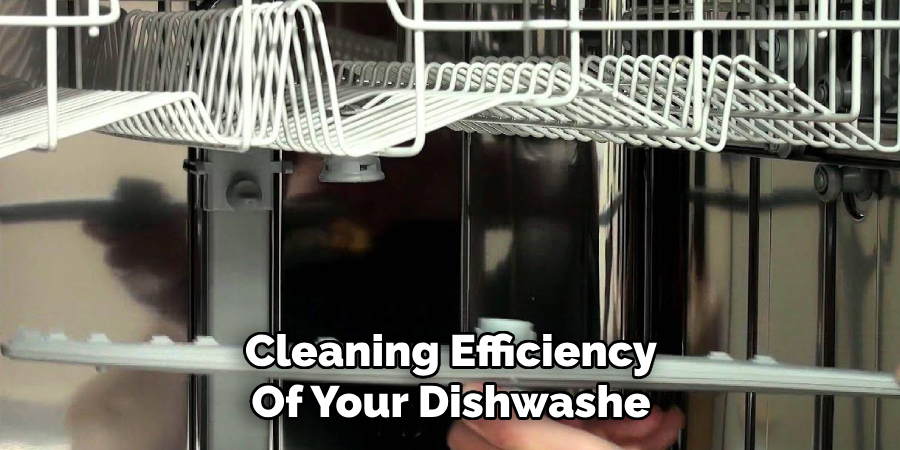
Clean spray arms ensure your dishwasher performs effectively, providing spotless dishes after every cycle. The spray arms are responsible for distributing water evenly during washing, and any clogs or buildup can hinder their performance.
When spray arms become dirty or blocked, water flow is restricted, resulting in poor cleaning results and, in some cases, unpleasant odors. This affects the cleanliness of your dishes and can put unnecessary strain on your appliance, reducing its efficiency over time.
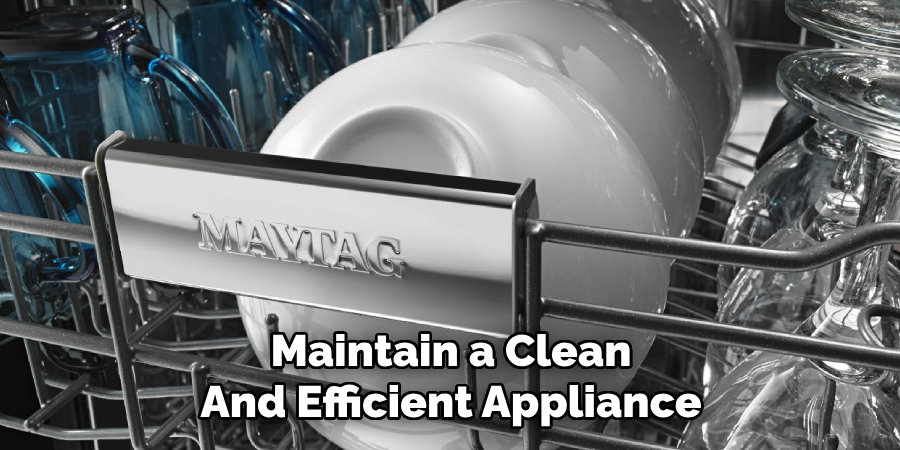
The purpose of this article is to guide you through maintaining your dishwasher’s performance by cleaning its spray arms properly. By learning how to clean dishwasher spray arms, you can prevent common issues, ensure optimal water circulation, and extend the lifespan of your dishwasher. Taking a proactive approach to maintenance will help keep your appliance running efficiently and your dishes sparkling clean.
Understanding Dishwasher Spray Arms
What Are Dishwasher Spray Arms?
Dishwasher spray arms are essential components of your appliance, designed to deliver streams of water during the washing cycle. These arms rotate and spray pressurized water mixed with detergent to clean dishes, glasses, and utensils effectively.
By evenly distributing water to all areas of the dishwasher, spray arms play a vital role in ensuring thorough cleaning and sanitization. Without adequately functioning spray arms, your dishwasher cannot operate at its full potential.
Types of Spray Arms
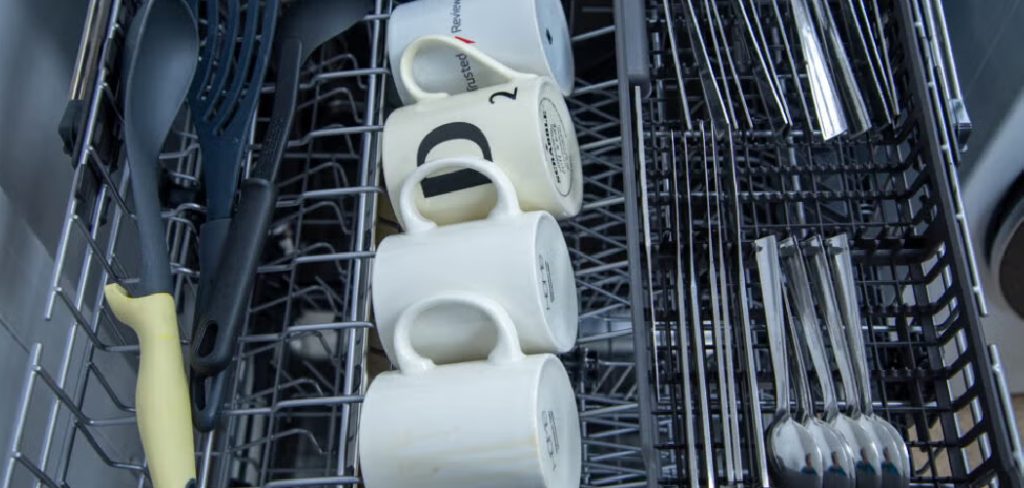
Most dishwashers have upper, middle, and lower spray arms, each fulfilling specific roles to target different areas. The lower spray arm, typically located at the bottom of the dishwasher, focuses on cleaning heavily soiled items like pots and pans. The middle spray arm, often found beneath the upper rack, provides targeted water spray for items like plates and bowls.
Finally, the upper spray arm, located at the dishwasher’s top, cleans delicate items such as glassware in the upper rack. The design and number of spray arms can vary depending on the dishwasher model, with some modern appliances using advanced multi-arm systems for enhanced performance.
How Spray Arms Can Get Clogged
Over time, spray arms can become clogged due to common culprits such as mineral deposits from hard water, leftover food particles, and grease buildup. These blockages can impair water flow, reducing the cleaning efficiency of your dishwasher.
Neglecting regular maintenance can exacerbate the issue, leading to persistent cleaning problems that may require professional repair. Understanding the causes of clogs is the first step in keeping your spray arms clean and ensuring your dishwasher remains in optimal working condition.
Signs That Your Dishwasher Spray Arms Need Cleaning
Keeping an eye out for certain signs can help you identify when your dishwasher spray arms need cleaning. Addressing these issues promptly can prevent more significant problems from developing.
Poor Cleaning Performance
One of the most noticeable signs is reduced cleaning performance. If your dishes come out of a cycle still dirty or with food residue, it could be due to reduced water pressure or uneven water flow caused by clogged spray arms. Blockages prevent water from reaching all areas effectively, leaving your dishware unsatisfactorily cleaned.
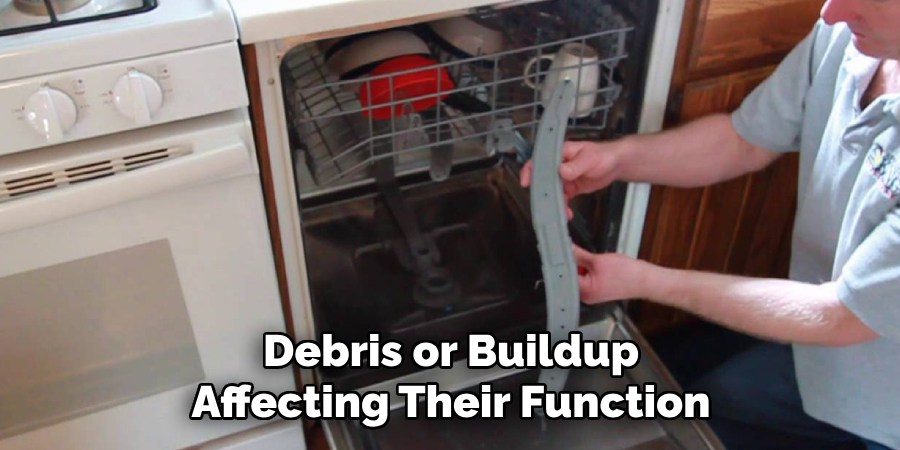
No Water Spraying from the Arms
If you observe that no water is being sprayed from the arms during a cycle, they are likely clogged. This issue can arise from grease, food particles, or hard water deposits obstructing the tiny holes in the arms. To resolve this, inspect the spray arms and clean out any debris or buildup affecting their function.
Unusual Noises or Movements
Other indicators are unusual noises or improper movement of the spray arms. Clogs or debris can obstruct their rotation, leading to grinding or knocking sounds during operation. Additionally, the arms may stop rotating altogether, further reducing cleaning performance. Cleaning the spray arms can restore normal function and eliminate these noises.
Tools and Materials You’ll Need
Basic Tools
- Screwdriver (If Necessary): To help remove the spray arms if they need to be taken out for a thorough cleaning.
- Soft Cloth: Use this to wipe down and clean the spray arms and surrounding areas.
- Toothbrush: Ideal for scrubbing away grease, grime, or buildup on and around the spray arm holes.
Cleaning Supplies
- Vinegar: A natural cleaner for breaking down mineral deposits and grease effectively.
- Baking Soda: Excellent for scrubbing off stubborn residue and neutralizing odors.
- Dish Soap: Useful for removing general grease and buildup.
- Small Needle, Pin, or Toothpick: These are perfect for unclogging the tiny holes in the spray arms.
Optional Materials
- Small Bowl or Container: For soaking, spray arms or small parts in a cleaning solution.
- Hose: Convenient for rinsing parts thoroughly after cleaning to ensure no debris remains.
How to Clean Dishwasher Spray Arms: Step-by-Step Guide
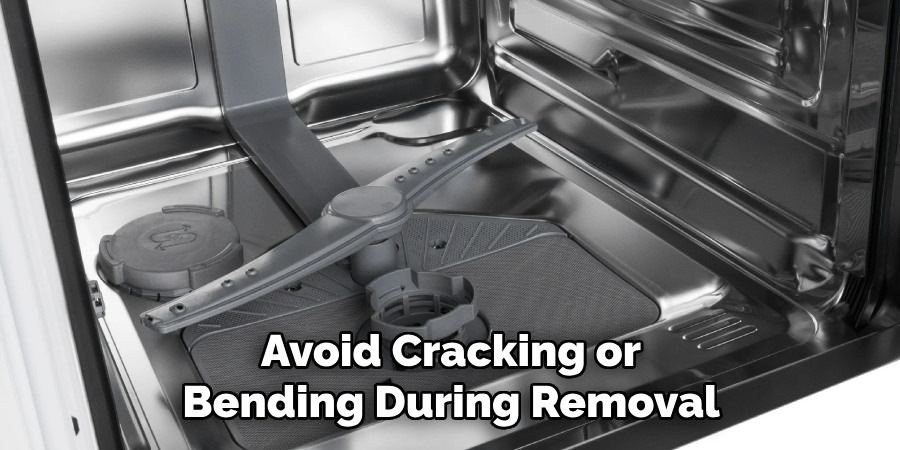
Step 1: Remove the Spray Arms
Begin by turning off your dishwasher and ensuring it is completely cool. Carefully detach the spray arms, starting with the upper spray arm, then the middle and lower ones, if your model has multiple arms. Refer to your dishwasher’s manual to locate and understand the mechanisms holding the spray arms in place, such as screws or clips. Always gently handle the spray arms to avoid cracking or bending during removal.
Step 2: Inspect the Spray Arms
Once removed, closely examine each spray arm. Look for visible clogs, such as food particles or minerals, in the small holes where water sprays out. Additionally, check for grease, grime, or other buildup along the surface. Please pay special attention to any cracks or damage, as these might require replacing the spray arm instead of cleaning it.
Step 3: Clean the Spray Arms
Proceed to clean the spray arms using a toothbrush and some dish soap. Scrub the surfaces to remove visible dirt, grease, or buildup. After scrubbing, fill a small bowl or container with white vinegar and soak the spray arms for about 30 minutes. This helps dissolve mineral deposits and other stubborn grime.
Step 4: Unclog the Holes
Care unclog any blocked holes in the spray arms using a small needle, pin, or toothpick. Insert the tool gently to avoid damaging the holes, and work to remove any debris blocking water flow. Once completed, double-check that all holes are free of obstructions to ensure proper water distribution.
Step 5: Rinse and Dry
Finally, rinse the spray arms thoroughly under warm water to wash away any remaining debris or vinegar solution. Check for smooth water flow through the holes as you rinse. Allow the spray arms to air dry entirely before reassembling them in the dishwasher. Reinstall carefully, ensuring all components are securely fastened.
Reassembling the Spray Arms
Reattaching the Spray Arms
To reattach the spray arms, carefully align each arm with its designated position inside the dishwasher. For the lower spray arm, place it over the central hub and press down until it clicks securely into place. The upper spray arm should be reconnected to its mounting bracket or holder, ensuring it is fastened tightly but not over-tightened to allow free rotation. Double-check that all spray arms are positioned correctly and can spin freely without obstruction.
Testing the Dishwasher
Before using the dishwasher for a full load, run a short rinse cycle to test the spray arms. Listen for smooth operation and check that water is being sprayed evenly across the interior. Open the dishwasher after the test cycle to confirm that all surfaces appear to be reached by water. If issues persist, revisit the installation steps to ensure no misalignment or blockage remains.
Preventative Maintenance Tips
Regular Cleaning Schedule
To keep your dishwasher running efficiently, cleaning the spray arms every 3 to 6 months is essential. Regular cleaning helps to remove any food particles, grease, or debris that can accumulate and cause clogs. Maintaining this schedule’ll ensure consistent water flow and optimal cleaning performance.
Using Dishwasher Cleaner
Using a dishwasher cleaner periodically can effectively prevent mineral buildup and debris accumulation inside your machine. These cleaners are specially formulated to dissolve grease, lime, and other residues, keeping your spray arms and other components in peak condition. Run a cleaning cycle with a dishwasher cleaner monthly or as the manufacturer recommends to maintain a clean and efficient appliance.
Proper Loading Practices
Avoid overloading your dishwasher, as this can obstruct water flow and cause food particles to accumulate in the spray arms. Ensure dishes are spaced appropriately, allowing the spray arms to rotate freely and water to reach every surface effectively. Adopting proper loading practices can significantly reduce the likelihood of clogs.
Water Softener
If your area has hard water, installing a water softener can protect your dishwasher from mineral buildup. Hard water deposits, such as calcium and lime, can block spray arm nozzles over time. A water softener minimizes these deposits, enhancing the longevity and performance of your dishwasher.
Common Mistakes to Avoid
Not Cleaning the Spray Arms Regularly
Neglecting to clean the spray arms can lead to a build-up of food particles, grease, and mineral deposits, obstructing the water flow and decreasing cleaning efficiency. Over time, clogged spray arms strain the dishwasher’s motor and can cause uneven cleaning results, leaving your dishes dirty despite a full wash cycle. Regular maintenance prevents these issues and extends the life of your appliance.
Using Harsh Chemicals
Using harsh or abrasive cleaning chemicals might seem like a quick solution to tough grime, but it can severely damage the spray arms and other dishwasher components. Such chemicals may corrode the plastic or rubber parts, leading to cracks or degradation over time. Always opt for dishwasher-safe cleaners specifically designed to clean without causing harm to your machine.
Forcing the Spray Arms into Place
Forcing spray arms back into position after cleaning or maintenance can be detrimental, as it may cause cracks or breakage. The spray arms are delicate and designed to move freely; mishandling them can lead to costly replacements. Handle these parts with care and ensure they are securely but gently reattached to avoid long-term damage.

Conclusion
Regularly cleaning your dishwasher spray arms is essential to maintaining your appliance’s efficiency and ensuring your dishes come out spotless after every cycle. Neglecting this task can lead to clogs, uneven cleaning, and even long-term damage to the spray arms.
During routine maintenance, always check for clogs and address any issues early to prevent costly repairs. Learning how to clean dishwasher spray arms properly and gently handle them can significantly affect their longevity. Adopting a consistent cleaning schedule will improve performance and extend your dishwasher’s lifespan, saving time and money in the long run.
Professional Focus
Angela Ervin, a former interior designer turned blogger, specializes in kitchen design and renovations. Through her website, she blends her passion for cooking with design expertise, sharing practical and creative ideas. Known for balancing functionality and beauty, Angela’s insightful content has made her a trusted voice in home design and lifestyle.
About the Author
Angela Ervin, an experienced interior designer and blogger, combines her passion for kitchen renovations with storytelling. Living in Petersburg with her family, she enjoys cooking and testing her projects firsthand. Known for her humor and relatable style, Angela shares creative, functional design insights through her content, making her a trusted voice in home design.
Education History
University: Virginia Commonwealth University
Degree: Bachelor of Fine Arts (BFA) in Interior Design
- Angela’s education at VCU focused on mastering core interior design principles, including spatial planning, color theory, materials selection, and sustainable design practices.
- She gained hands-on experience through studio projects and collaborative design exercises, which honed her ability to create functional and aesthetically pleasing environments.
- Her coursework also emphasized problem-solving and practical applications of design, preparing her for real-world projects like her self-directed kitchen renovations.
- The program’s strong foundation in both technical skills and creative expression shaped Angela’s ability to seamlessly integrate form and function in her work.