
Electric oven coils ensure your meals are cooked evenly and efficiently. However, these coils can accumulate grease, food debris, and other grime from regular use over time. Regular cleaning is essential to prevent this buildup, which can impact your oven’s performance and even create unpleasant odors that affect the flavor of your food. Failure to address dirty coils may also lead to inefficient heating and potentially shorten your oven’s lifespan.
Keeping the coils clean is not just about aesthetics—it’s about maintaining the efficiency and safety of your appliance. Properly caring for your electric oven coils ensures that your cooking experience remains enjoyable and hassle-free.
This article provides a comprehensive guide on how to clean electric oven coils, offering step-by-step instructions and best practices for maintaining them. You can enhance your oven’s performance and extend its longevity with proper upkeep.
What Are Electric Oven Coils and How Do They Work?
Understanding the Coils
Electric ovens rely on metal coils, typically made of durable materials like steel or aluminum, to generate the heat necessary for cooking. These coils are in two main forms within ovens—exposed or hidden.
Exposed coils are visible on the oven surface, making them easy to access, while hidden coils are located beneath a ceramic or metal surface, providing a smoother appearance but often requiring additional effort to clean.
How Coils Generate Heat
The operation of electric oven coils is based on the principles of electrical resistance. When electricity flows through the coils, the resistance of the metal causes it to heat up. This heat is then radiated throughout the oven to cook food evenly. The amount of heat produced depends on both the electrical current supplied and the material properties of the coils, allowing for precise temperature control.
Types of Coils in Electric Ovens
- Exposed Coils: These are the more traditional type seen in many ovens and are easily removable for cleaning or replacement.
- Hidden Coils: These are concealed beneath the oven’s surface, offering a sleek appearance. However, accessing them for cleaning purposes may require disassembly or specialized cleaning solutions.
Preparing to Clean the Coils
Safety First
Before starting the cleaning process, it is crucial to prioritize safety. Always turn off the oven and disconnect it from the power supply to prevent electrical shock or injury. Allow the oven to cool completely, as cleaning hot coils may lead to burns or damage. Proper preparation ensures a safe and efficient cleaning experience.

Gather the Necessary Tools
Having the right tools on hand will make cleaning easier and more effective. You will need the following items:
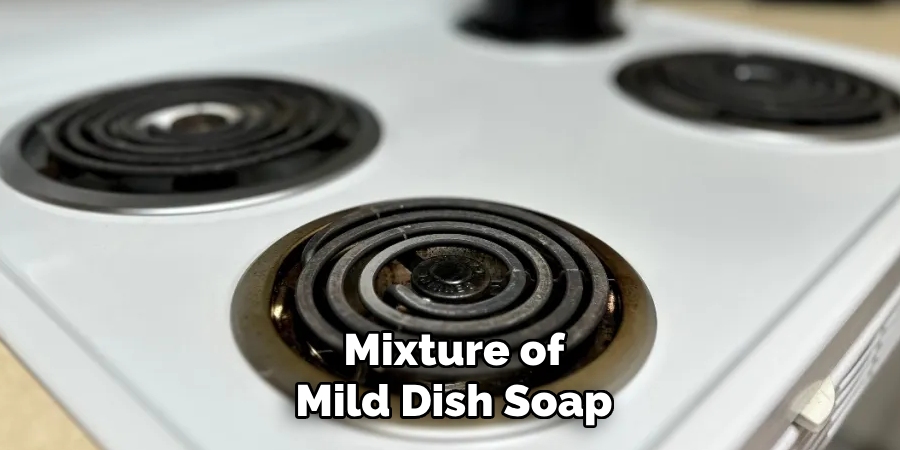
- Mild dish soap or a degreaser for breaking down grease and grime.
- A soft cloth or sponge to gently clean the surface of the coils.
- Baking soda and water (optional) to create a paste for tackling tougher stains.
- A non-abrasive scrub brush to scrub without scratching the coils.
- Paper towels or a clean cloth for drying the coils thoroughly after cleaning.
Check for Damage
Before proceeding, inspect the coils for any visible signs of damage, including cracks, fraying, or burn marks. Damaged coils could pose a risk and should not be cleaned. Instead, they need to be replaced to ensure proper function and safety in your oven.
How to Clean Electric Oven Coils: Cleaning Exposed Electric Oven Coils
Remove the Coils (If Applicable)
For ovens with exposed electric coils, begin by carefully lifting the coils from their sockets. Most exposed coils can be removed by gently pulling them out of their connections.
However, if the coils appear to be hardwired or resistant to removal, consult your oven’s user manual for specific disconnection instructions. Handling the coils gently is crucial to avoid damaging them or their electrical connections.
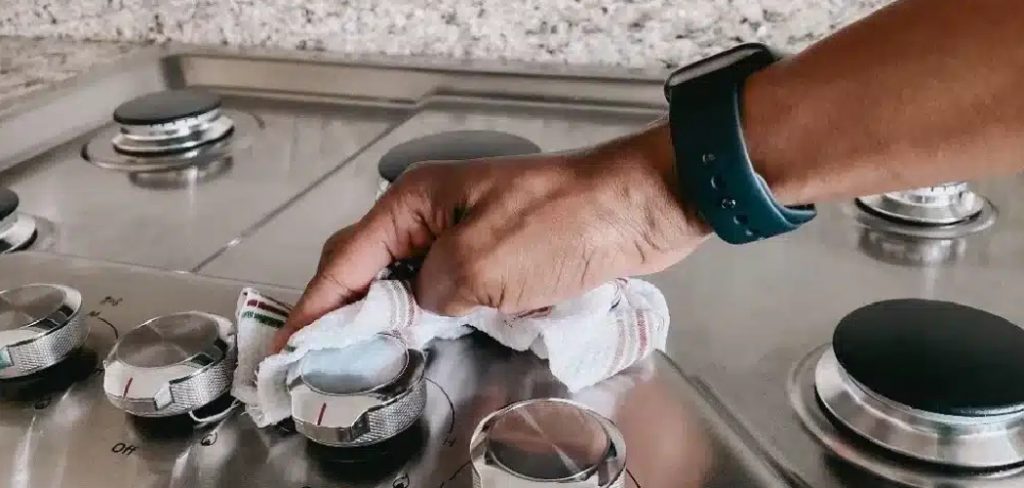
Wipe the Coils with Soapy Water
Prepare a mixture of mild dish soap and warm water for cleaning. Dip a soft cloth or sponge into the soapy water and use it to wipe away grease, grime, and debris from the coils. Be careful not to soak the coils, as excess water could damage their electrical components. Focus on gently cleaning the surface without applying too much pressure.
Tackle Stubborn Stains
If certain stains prove resistant to soapy water, mix baking soda and water to create a cleaning paste. Apply the paste to the stubborn spots on the coils and allow it to sit for 15-20 minutes. Use a non-abrasive scrub brush to gently scrub the areas, lifting away the stains without scratching or damaging the surface of the coils.
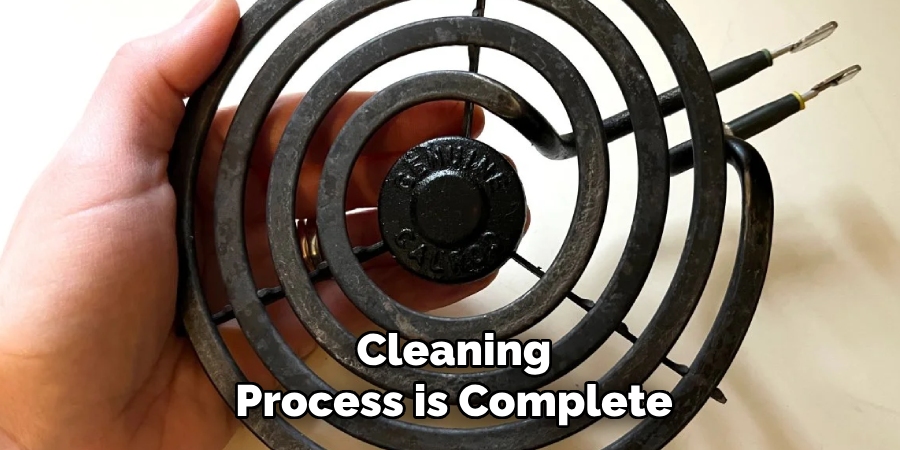
Rinse and Dry the Coils
Once the cleaning process is complete, use a damp cloth to wipe away any remaining soap residue or cleaning paste carefully. Thoroughly dry the coils using paper towels or a clean cloth. Ensuring the coils are completely dry is essential before reinstalling them into the oven to avoid electrical hazards.
Dealing with Persistent Odors and Stains
Why Odors Occur
Unpleasant odors in ovens often stem from food spills, grease buildup, and residue that accumulate on the coils and oven surfaces. When these materials are heated during cooking, they release strong smells that can affect the flavor of your food.
Regularly cleaning the oven coils and interior helps prevent odors from lingering and ensures a fresher cooking environment.
Baking Soda for Odors
To tackle persistent odors, baking soda is an effective and natural solution. Sprinkle baking soda over the coils and the oven floor, allowing it to sit overnight to absorb lingering smells. The following day, wipe down the oven with a damp cloth to remove the baking soda, leaving your oven fresh and odor-free.
Vinegar for Odor Removal
If odors persist, vinegar can help neutralize them while also loosening grime. Fill a small, oven-safe bowl with vinegar and place it in the oven. Turn the oven on to a low temperature, letting it heat for about 30 minutes. The steam from the vinegar will help combat unwanted odors and make cleaning the oven’s surfaces easier.
Use a Degreaser for Heavy Residue
A mild degreaser or oven cleaner designed for electric ovens can be used for stubborn grease buildup and residue that refuses to budge.
Always follow the manufacturer’s instructions carefully to ensure safe and effective use. This final step will leave your oven coils and interior spotless and odor-free.
Maintaining Clean Coils for Long-Term Performance
Keeping your oven coils clean is essential for maintaining its performance and efficiency over time. Proper maintenance not only ensures safe operation but also extends the lifespan of your appliance.
Avoiding Excessive Grease Buildup
To prevent stubborn grease from accumulating on the coils, cleaning any spills immediately after using the oven and allowing it to cool is crucial. Fresh spills are much easier to remove compared to hardened residue, which can damage the coils over time.
Regular Coil Inspection
Inspect the coils for wear, corrosion, or other damage every few months. Any signs of warping or discoloration may indicate the need for replacement. Using damaged coils can reduce efficiency and pose a safety hazard. Prompt replacement will help maintain your oven’s optimal performance.
Use an Oven Liner
An oven liner placed beneath the coils can catch food spills and crumbs, simplifying cleanup. These liners are usually easy to remove, clean, and replace, making them an effective tool for minimizing buildup on your coils.
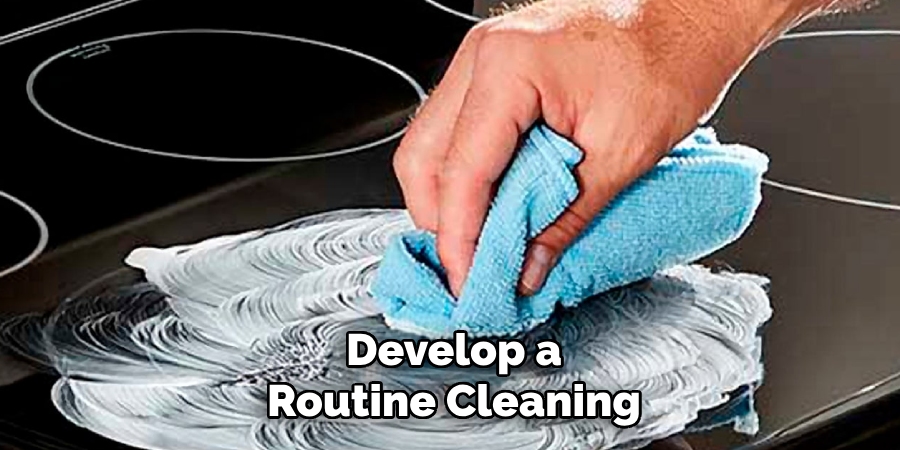
Routine Cleaning Schedule
Develop a routine cleaning schedule based on how often you use your oven. Thoroughly clean the coils every 3-6 months to remove residue and grease accumulating over time. This simple habit will keep your appliance running efficiently for years to come.
Conclusion
Cleaning the coils of your electric oven is a simple yet highly effective way to maintain the appliance’s performance, reduce cooking odors, and ensure efficient heating. Regular maintenance, including wiping down the coils after each use, can prevent long-term buildup, making the cleaning process much easier.
Always exercise caution when handling the coils and take the time to inspect for any damage, as this step is crucial to maintaining both safety and functionality. If you’re wondering how to clean electric oven coils, following the outlined tips and establishing a routine cleaning schedule are key to keeping them in excellent condition.
By staying diligent with your oven maintenance, you’ll enjoy better cooking results and prolong the life of your appliance, ensuring an efficient and pleasant cooking experience for years to come.
Professional Focus
Angela Ervin, a former interior designer turned blogger, specializes in kitchen design and renovations. Through her website, she blends her passion for cooking with design expertise, sharing practical and creative ideas. Known for balancing functionality and beauty, Angela’s insightful content has made her a trusted voice in home design and lifestyle.
About the Author
Angela Ervin, an experienced interior designer and blogger, combines her passion for kitchen renovations with storytelling. Living in Petersburg with her family, she enjoys cooking and testing her projects firsthand. Known for her humor and relatable style, Angela shares creative, functional design insights through her content, making her a trusted voice in home design.
Education History
University: Virginia Commonwealth University
Degree: Bachelor of Fine Arts (BFA) in Interior Design
- Angela’s education at VCU focused on mastering core interior design principles, including spatial planning, color theory, materials selection, and sustainable design practices.
- She gained hands-on experience through studio projects and collaborative design exercises, which honed her ability to create functional and aesthetically pleasing environments.
- Her coursework also emphasized problem-solving and practical applications of design, preparing her for real-world projects like her self-directed kitchen renovations.
- The program’s strong foundation in both technical skills and creative expression shaped Angela’s ability to seamlessly integrate form and function in her work.