
Are you tired of seeing fire extinguisher residue in your oven? No need to worry, as this guide will help you get rid of it quickly and effectively.

How to clean fire extinguisher residue from oven can seem like a daunting task, but it’s essential to clean it thoroughly to ensure your appliance is safe and functional. Fire extinguishers release a powdery substance designed to smother flames, but this residue can leave behind a mess and may be harmful if not removed properly. Whether from an accidental discharge or after putting out a small fire, cleaning your oven effectively will restore it to its original state and eliminate any potential hazards.
You can tackle this cleaning process efficiently and without damaging your appliance with the right steps and techniques.
What Are the Benefits of Cleaning Fire Extinguisher Residue From Your Oven?
There are several benefits to cleaning fire extinguisher residue from your oven, including:
- Safety: The powdery substance in fire extinguishers can be toxic and cause respiratory issues if ingested or inhaled. Removing it will make your oven safe to use again.
- Functional Oven: Fire extinguisher residue can clog the vents and filters in your oven, affecting its performance and causing potential malfunctions. Cleaning it out will ensure your oven is functioning correctly.
- Aesthetic Appeal: Let’s face it, nobody wants a dirty oven with a layer of white powder all over it. Cleaning it will restore its appearance and make your kitchen look cleaner and more inviting.
Now that you know why cleaning fire extinguisher residue from your oven is crucial, let’s dive into the steps and techniques to do so effectively.
What Will You Need?
Before you begin, gather the following materials:
- Damp cloth or sponge
- Baking soda
- Vinegar
- Dish soap
- Rubber gloves (optional)
Once you have all these items, you can start the cleaning process.
8 Easy Steps on How to Clean Fire Extinguisher Residue From Oven
Step 1. Let the Residue Settle
After using a fire extinguisher in your oven, giving it some time for the residue to settle is essential. This will prevent the powder from becoming airborne when you begin cleaning, which can irritate your eyes, throat, or skin, and create an even bigger mess in your kitchen. Ultimately, waiting for about 10-15 minutes should be enough to allow the particles to settle. During this time, avoid touching the oven, and consider opening a window or turning on a fan to ventilate the area, as some fire extinguisher substances can have a strong odor. Proper ventilation will help clear the air and make cleaning more comfortable.

Step 2. Remove Loose Residue
Using a damp cloth or sponge, gently wipe the oven’s interior to remove any loose fire extinguisher residue. Be careful not to press too hard, as this could spread the powder further or scratch your oven’s surface. For areas with a significant buildup of residue, use a vacuum cleaner with a hose or brush attachment to carefully suck up the excess powder before wiping. Make sure to dispose of the vacuum bag or clean out the vacuum container afterward to prevent the residue from circulating back into the air.
Step 3. Clean with a Safe Cleaning Solution
Prepare a mild cleaning solution using warm water and a small amount of dish soap or a mixture of water and vinegar. Dip a soft sponge or cloth into the solution, and gently scrub the interior surfaces of the oven to remove any remaining residue. Focus on corners and crevices where particles might have settled. Avoid harsh chemicals or abrasive cleaners, as these can damage the oven’s finish. After scrubbing, use a clean, damp cloth to wipe away any soap or vinegar solution, ensuring the surfaces are residue-free. Allow the oven to dry completely before using it again.
Step 4. Address Stubborn Stains
For tough, baked-on stains that remain after cleaning, create a paste using baking soda and a small amount of water. Apply the paste directly to the stubborn spots and allow it to sit for 15 to 20 minutes. This will help break down the residue, making it easier to remove. Afterward, gently scrub the area with a soft brush or sponge, careful not to scratch the surface. Wipe the area clean with a damp cloth and ensure no residue from the paste remains. Repeat this process as needed for particularly persistent stains.
Step 5. Clean the Oven Racks
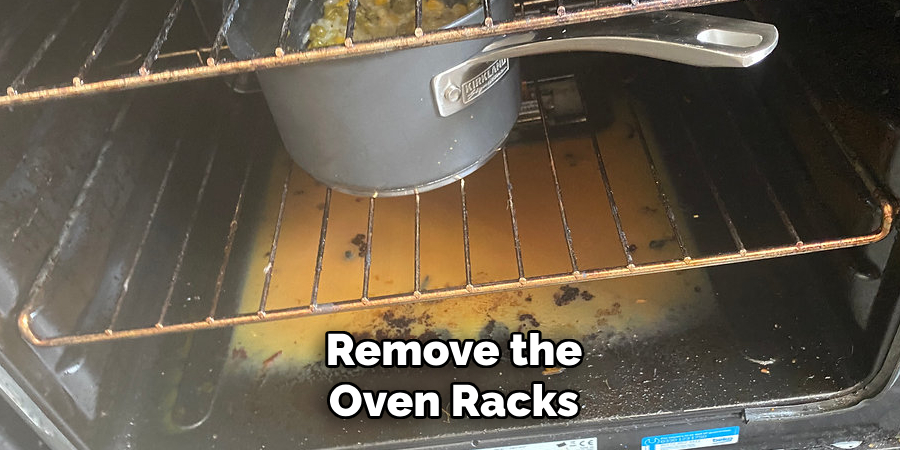
Remove the oven racks and soak them in a sink or bathtub filled with warm, soapy water. Add a few tablespoons of baking soda to the water to tackle any burnt grease or stains. Allow the racks to soak for at least 30 minutes, if needed. Use a soft brush or sponge to scrub away any residue, paying extra attention to tight corners. Rinse thoroughly with clean water and dry the racks completely before placing them back into the oven.
Step 6. Reassemble and Test the Oven
Once all components are thoroughly cleaned and dry, reassemble the oven by placing the racks back in their designated slots. Wipe down the interior of the oven one final time with a clean, damp cloth to ensure no residue or cleaning product remains. Turn on the stove at a low temperature for 10-15 minutes to dry out any lingering moisture and to ensure everything functions properly. This step will also help to eliminate any leftover odors from the cleaning process. Your oven is now clean and ready for use!
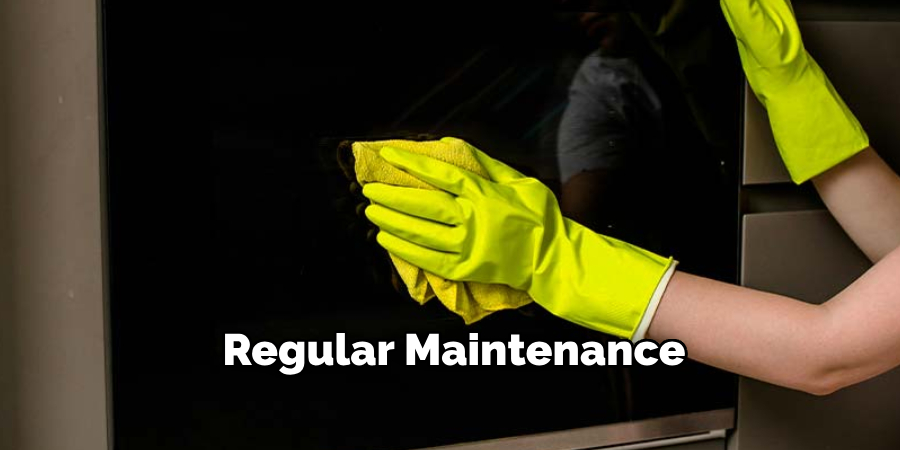
Step 7. Maintain Regular Cleaning Habits
Regular maintenance is key to ensuring your oven stays clean and functions efficiently for years to come. Develop a habit of wiping down spills, grease, or splatters as soon as the oven has cooled after use. This prevents buildup and reduces the need for deep cleaning sessions.
For light maintenance, use a damp cloth or sponge with a mild detergent to address any visible residue on the interior surfaces. If your oven has a self-cleaning feature, utilize it periodically according to the manufacturer’s instructions to handle baked-on grime with minimal effort. Additionally, inspect your oven every couple of months to check for signs of wear, such as damaged gaskets or loose racks, and address these issues promptly to maintain optimal performance. By integrating these cleaning habits into your routine, you can extend the life of your oven and ensure it remains a reliable part of your kitchen.
Step 8. Use Oven-Safe Cookware
Always use cookware labeled as oven-safe to protect your oven and ensure consistent cooking results. Materials such as glass, ceramic, or metal pans are typically suitable for oven use, but it’s essential to check the manufacturer’s guidelines for temperature limits. Avoid using plastic or non-oven-safe materials, as these can melt or release harmful chemicals when exposed to high heat. Additionally, be mindful of the size of your cookware; oversized pans can obstruct proper air circulation, resulting in uneven cooking. Ensuring proper cookware usage prevents damage to your oven and enhances the quality of your dishes.
By following these steps and incorporating good maintenance habits, you can effectively clean your oven after a fire extinguisher incident and maintain its longevity.
5 Things You Should Avoid
- Using Harsh Chemicals or Abrasive Cleaners: Avoid strong chemicals or abrasive cleaners as they can damage your oven’s interior surfaces. Harsh substances may corrode metal parts or leave harmful residues affecting cooking safety.
- Skipping Protective Gear: Never clean without using proper protective gear such as gloves and a mask. The residue from fire extinguishers can irritate the skin and respiratory system, so taking necessary precautions is crucial.
- Ignoring Loose Debris: Do not spray cleaning solutions directly onto the residue without first removing loose debris. Skipping this step can create a paste-like substance, making cleaning more difficult.
- Using Excessive Water: Avoid excessive water while cleaning, especially on electrical components. Water can cause damage to electrical parts or lead to short circuits, compromising your oven’s safety and functionality.
- Rushing the Cleaning Process: Do not rush the cleaning process by skipping steps or neglecting thorough rinsing. Leaving behind residue or cleaning agents can result in unpleasant odors and impact the safety of food preparation.
Is Fire Extinguisher Residue Harmful?
Fire extinguisher residue can be harmful if ingested or inhaled. It contains chemicals, such as monoammonium phosphate, that can cause respiratory and skin irritation. Ingesting the residue can also lead to stomach problems. As a precaution, always wear protective gear and ensure proper ventilation when cleaning up fire extinguisher residue. If you experience any adverse reactions during cleaning, seek medical attention immediately.

Additionally, the residue and any contaminated cleaning materials must be properly disposed of according to local regulations. Do not mix the residue with other household cleaners, as this can create dangerous chemical reactions.
Conclusion
How to clean fire extinguisher residue from oven requires careful attention to detail and adherence to safety guidelines.
Start by removing any loose residue using a vacuum with a HEPA filter or a damp cloth to minimize dispersing particles into the air. Next, gently scrub the affected areas with a mild dish soap mixed with warm water. Avoid harsh chemicals or abrasive cleaning tools, as these can damage the oven’s surface. Rinse thoroughly with clean water to remove all soap and residue, and allow the oven to air dry thoroughly before use. Always prioritize safety by wearing protective gloves, ensuring proper ventilation, and disposing of waste materials by local regulations.
Following these steps will leave your oven clean, safe, and ready for use again.
Professional Focus
Angela Ervin, a former interior designer turned blogger, specializes in kitchen design and renovations. Through her website, she blends her passion for cooking with design expertise, sharing practical and creative ideas. Known for balancing functionality and beauty, Angela’s insightful content has made her a trusted voice in home design and lifestyle.
About the Author
Angela Ervin, an experienced interior designer and blogger, combines her passion for kitchen renovations with storytelling. Living in Petersburg with her family, she enjoys cooking and testing her projects firsthand. Known for her humor and relatable style, Angela shares creative, functional design insights through her content, making her a trusted voice in home design.
Education History
University: Virginia Commonwealth University
Degree: Bachelor of Fine Arts (BFA) in Interior Design
- Angela’s education at VCU focused on mastering core interior design principles, including spatial planning, color theory, materials selection, and sustainable design practices.
- She gained hands-on experience through studio projects and collaborative design exercises, which honed her ability to create functional and aesthetically pleasing environments.
- Her coursework also emphasized problem-solving and practical applications of design, preparing her for real-world projects like her self-directed kitchen renovations.
- The program’s strong foundation in both technical skills and creative expression shaped Angela’s ability to seamlessly integrate form and function in her work.