
A grill basket is a versatile tool that makes grilling smaller foods like vegetables, seafood, and sliced meats a breeze. However, keeping it clean is essential to ensure it stays in good condition and prevents residue buildup that can affect the flavor of your dishes. If you’ve been wondering how to clean grill basket effectively, you’re in the right place. This guide will walk you through the process step-by-step, so even if you’re tackling a dirty grill basket for the first time, you’ll feel confident doing it.
Cleaning your grill basket properly not only makes it easier to maintain but also improves your overall grilling experience. Read on to learn why cleaning matters, the tools and materials you need, and a detailed guide on how to clean your grill basket.

Regular cleaning prevents the buildup of grease and food residue, which can affect the flavors of your food and even become a potential fire hazard over time. By maintaining your grill basket, you ensure that it remains in good condition for longer, saving you money on replacements. Plus, a clean grill basket makes your cooking experience smoother, as food is less likely to stick to clean surfaces.
Why Cleaning Your Grill Basket Matters
Cleaning your grill basket isn’t just about aesthetics—it impacts the safety, taste, and durability of your equipment. Here’s why it’s so important:
- Hygiene: Over time, leftover food particles and grease can accumulate, becoming a breeding ground for bacteria. Cleaning the basket after every use ensures that the food you grill is safe to eat.
- Better Taste: Residues from previous grilling sessions can stick to your fresh ingredients, altering their flavor. A clean grill basket ensures that the true taste of your food shines through.
- Longevity of the Basket: Proper maintenance prevents rusting and corrosion, significantly extending the life of your grill basket. This helps you avoid spending money on replacements.
- Improved Efficiency: A clean basket allows for better heat distribution, ensuring even cooking and no frustrating moments of food sticking or burning unnecessarily.
By making it a habit to clean your grill basket thoroughly, you’ll enhance your grilling game while preserving this essential tool.
10 Step-by-Step Guide: How to Clean Grill Basket
Cleaning your grill basket doesn’t have to be a daunting task. Follow these detailed steps, and your grill basket will be as good as new every time you use it.
Step 1: Gather Your Cleaning Supplies
Start by assembling everything you need. Having the right tools on hand makes the process much smoother. Common items include a soft-bristle brush, a sponge, dish soap, warm water, and white vinegar if grease buildup is stubborn. To avoid damaging the basket’s surface, choose non-abrasive cleaning tools.

Step 2: Allow the Basket to Cool
Once you’ve finished grilling, resist the urge to clean the basket immediately. Allow it to cool to a manageable temperature to avoid burns. Cleaning a hot basket can also cause materials to warp if subjected to sudden temperature changes.
Step 3: Remove Loose Debris
To begin, gently shake or tap the basket to dislodge loose bits of burnt food. Over the sink, use the soft-bristle brush to sweep off more stubborn particles. Doing this before any soaking ensures those bits don’t harden and turn even more difficult to remove.
Step 4: Soak the Basket in Warm, Soapy Water
Fill a sink or large basin with warm water and add a generous squirt of dish soap. Place the grill basket in the solution, ensuring it’s fully submerged. Leave it to soak for about 15–20 minutes. This step will loosen any grease and food residue stuck to the surface.
Step 5: Scrub the Basket Thoroughly
After soaking, use the dish sponge or brush to scrub the basket. Pay close attention to corners and crevices where grease or food could still be lodged. If the residue is particularly stubborn, sprinkle some baking soda on the sponge for added scrubbing power. Use circular motions for effective cleaning without scratching the surface.
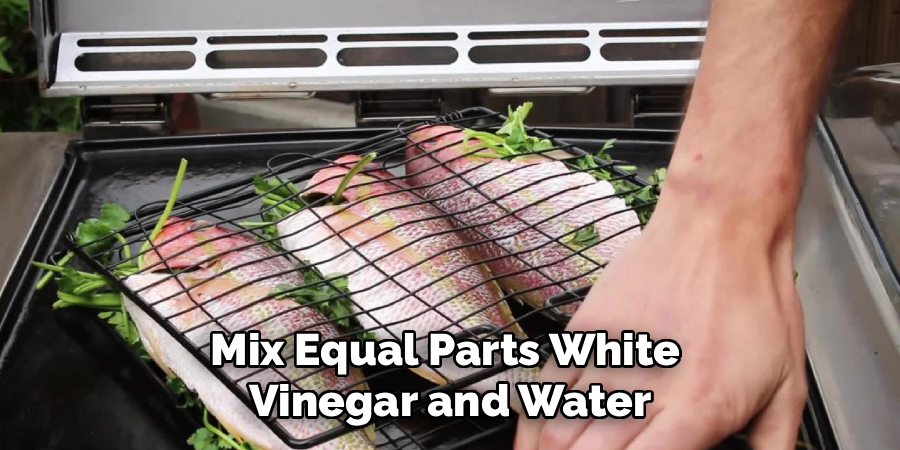
Step 6: Tackle Grease Stains with Vinegar
If grease spots remain, mix equal parts white vinegar and water in a spray bottle. Spray the solution directly onto the stains and allow it to sit for a few minutes. Vinegar is a natural degreaser, and this step will help dissolve stubborn buildup for easier cleaning.
Step 7: Rinse Thoroughly
Rinse the basket under warm running water to remove all soap and residue. Check that no areas are still greasy or sticky. Proper rinsing ensures no soap tastes transfer to your food during the next use.
Step 8: Dry Completely Before Storage
Water left on the basket can cause rust, especially in metal baskets. Use a clean towel to pat it dry, then set it aside in a well-ventilated spot to air dry completely. Paying attention to this step ensures your grill basket remains rust-free for years to come.
Step 9: Perform a Pre-Use Inspection
Before your next grilling session, inspect your basket one more time. Look for any signs of buildup you might have missed during cleaning or rust development. Catching these early will keep your grilling experience worry-free.
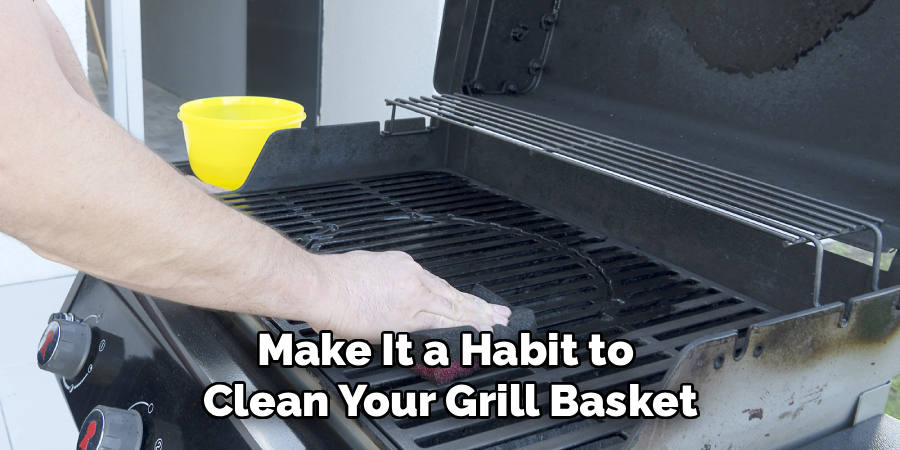
Step 10: Maintain Cleanliness Regularly
Make it a habit to clean your grill basket after every use. Regular maintenance keeps future cleanings quick and hassle-free. Consistency is key to preserving your grill basket’s quality and ensuring it lasts a long time.
Additional Cleaning Tools to Consider
To make your grill basket cleaning even easier, consider investing in a few specialized tools. A sturdy grill brush with stainless steel bristles is perfect for scraping away stubborn residue. Silicone scrubbers are another great option, as they are gentle on nonstick coatings while effectively removing grease. For tough-to-reach spots, a narrow bottle brush can work wonders in corners or tight spaces. Finally, using a high-quality degreasing cleaner can help break down built-up grease, leaving your grill basket looking like new. Having these tools on hand will streamline the cleaning process and keep your grill basket in excellent condition.
Regular maintenance is key to prolonging the life of your grill basket and ensuring optimal performance during every use. After each cleaning, make sure to thoroughly dry the basket to prevent rust or corrosion. Storing it in a dry, covered space will add an extra layer of protection, keeping it ready for your next grilling session. Additionally, inspecting the basket periodically for any signs of wear or damage can help address issues early and avoid future complications.
Frequently Asked Questions
1. How often should I clean my grill basket?
You should clean your grill basket after every use to prevent food residue and grease from hardening. Regular cleaning also ensures better-tasting food and prolongs the basket’s lifespan. For deep cleaning, you can do a more thorough soak and scrub once a month if you use the basket frequently.
2. Can I put my grill basket in the dishwasher?
While some grill baskets are labeled as dishwasher-safe, it’s usually best to wash them by hand. Dishwashers can dull or weaken certain coatings over time. Handwashing with mild soap and a soft sponge is a safer, more effective option for maintaining your grill basket’s integrity.
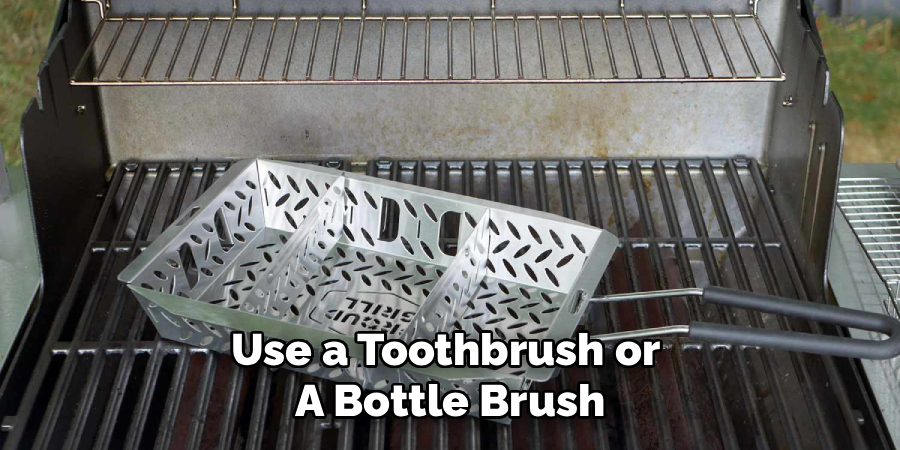
3. What should I do about food stuck in hard-to-reach areas?
For stubborn debris in crevices, use a toothbrush or a bottle brush. These tools allow for precision cleaning and help you reach corners that a regular sponge can’t access. Alternatively, soaking the basket in warm soapy water loosens debris and makes scrubbing easier.
4. Is vinegar safe for cleaning grill baskets?
Yes, vinegar is safe and highly effective for cleaning grill baskets, especially for tackling grease and grime. Its natural antibacterial properties also add an extra layer of hygiene to your cleaning process. Just make sure to rinse thoroughly to remove any lingering vinegar odor.
5. How can I prevent rust on my grill basket?
The key to preventing rust is proper drying. After washing your grill basket, use a towel to remove excess water and then allow it to air dry completely. Storing it in a cool, dry place also minimizes the chances of rust developing. If rust does appear, you can remove it with a scrubber before it worsens.
Conclusion
Cleaning your grill basket might seem like a tedious chore, but it’s an essential step in maintaining your grilling tools and ensuring every meal tastes as good as it should. By following this guide on how to clean grill basket, you’ll not only improve the quality of your food but also extend the life of your equipment.
Proper maintenance not only enhances the performance of your grilling tools but also ensures safety during cooking. Neglecting to clean or care for your equipment can lead to build-up that might negatively impact the taste of your food or even pose health risks. Taking a few moments to care for your grill basket after each use makes all the difference in preserving its quality and functionality over time.
Take pride in keeping your grill basket in peak condition. Remember, a clean grill basket is the foundation of a great grilling experience. Now, grab that sponge and get started—you’ll thank yourself at your next cookout!
Professional Focus
Angela Ervin, a former interior designer turned blogger, specializes in kitchen design and renovations. Through her website, she blends her passion for cooking with design expertise, sharing practical and creative ideas. Known for balancing functionality and beauty, Angela’s insightful content has made her a trusted voice in home design and lifestyle.
About the Author
Angela Ervin, an experienced interior designer and blogger, combines her passion for kitchen renovations with storytelling. Living in Petersburg with her family, she enjoys cooking and testing her projects firsthand. Known for her humor and relatable style, Angela shares creative, functional design insights through her content, making her a trusted voice in home design.
Education History
University: Virginia Commonwealth University
Degree: Bachelor of Fine Arts (BFA) in Interior Design
- Angela’s education at VCU focused on mastering core interior design principles, including spatial planning, color theory, materials selection, and sustainable design practices.
- She gained hands-on experience through studio projects and collaborative design exercises, which honed her ability to create functional and aesthetically pleasing environments.
- Her coursework also emphasized problem-solving and practical applications of design, preparing her for real-world projects like her self-directed kitchen renovations.
- The program’s strong foundation in both technical skills and creative expression shaped Angela’s ability to seamlessly integrate form and function in her work.