
Keeping your kitchen appliances in top condition is not just a matter of hygiene—it’s also essential for maintaining their performance and longevity. Among the most often overlooked components is the microwave filter. This small part plays a vital role in ensuring your microwave operates efficiently and safely. When neglected, a dirty or clogged filter can lead to unpleasant odors, reduced ventilation, and even compromised cooking results.
In this comprehensive guide on how to clean LG microwave filter, you’ll discover everything you need to keep your microwave running smoothly. Maintaining a clean filter is not complicated and doesn’t require any advanced technical skills, but it does make a significant difference in your appliance’s function and your kitchen environment. Let’s explore why filter maintenance matters and how you can easily incorporate this routine into your kitchen care plan.
Understanding the Role of a Microwave Filter
What Does the Microwave Filter Do?
Inside every LG microwave, the filter serves an important function. Its primary job is to collect grease, food particles, and airborne contaminants produced during cooking. By trapping these elements, the filter helps to keep both your microwave and your home’s air cleaner.
A clean filter ensures your microwave’s ventilation system works efficiently, preventing the buildup of grease inside the appliance and reducing the risk of lingering food smells and smoke. Over time, as more particles accumulate, the filter’s ability to capture and remove unwanted material diminishes, underscoring the need for regular maintenance.
Types of Filters in LG Microwaves
LG microwaves commonly utilize two types of filters: grease filters and charcoal filters.
- Grease filters are typically made of metal mesh and are designed to capture oils, fats, and food particles that become airborne during cooking. You’ll often find these filters installed beneath the microwave, especially in over-the-range models, where they serve as the first line of defense against grease.
- Charcoal filters are used to absorb odors and additional impurities from the air before it is recirculated back into the kitchen. Unlike grease filters, these are generally placed inside the microwave’s air duct or behind the vent grille.
Knowing which type your LG microwave uses—and where to find them—is the first step in effective filter maintenance.
Signs That Your LG Microwave Filter Needs Cleaning
Common Indicators
Your microwave filter is a hard-working component, but it can only function well if kept reasonably clean. Some of the most noticeable signs that your LG microwave filter needs attention include:
- Reduced ventilation performance: If you notice less airflow or that vapors seem to linger around your microwave longer than usual, the filter might be clogged.
- Trapped grease and dirt: Visible buildup on the filter, or a sticky or damp texture when touched, indicates the need for cleaning.
Aside from these basic signs, you might also notice persistent food odors even after the microwave is off, which suggests the filter is no longer effectively capturing airborne particles.
Impact of Neglect
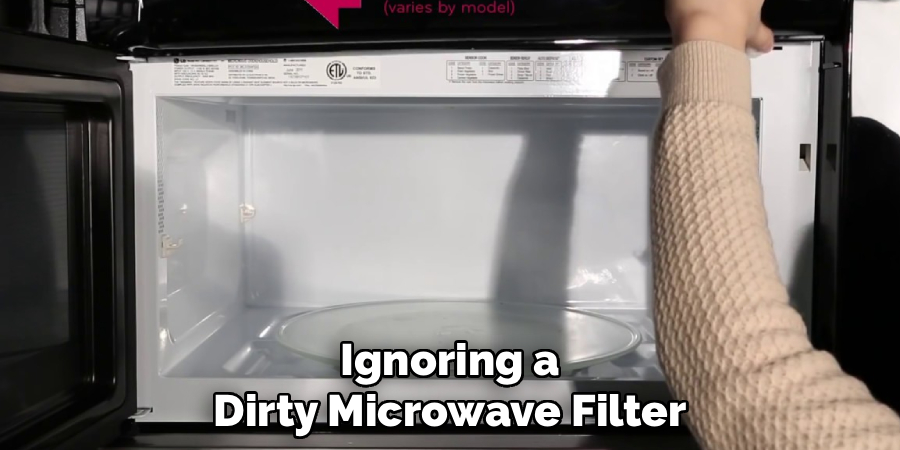
Ignoring a dirty microwave filter can cause more than just minor inconveniences. Over time, clogged filters can hinder the appliance’s airflow, causing the ventilation system to work harder and potentially overheat. This not only reduces the efficiency of your microwave, possibly leading to longer cooking times or uneven heating, but also raises the risk of more serious maintenance issues down the road.
A neglected filter can also become a breeding ground for bacteria and mold, which affects both your appliance and your health. Regular cleaning is, therefore, essential to prevent long-term damage and maintain a safe cooking environment.
How to Clean LG Microwave Filter: Step-by-Step Guide
Tools and Supplies You’ll Need
Before you begin the cleaning process, it’s helpful to gather all the necessary supplies. Typically, you’ll need:
- Mild dish soap
- Warm water
- A non-abrasive sponge or soft cloth
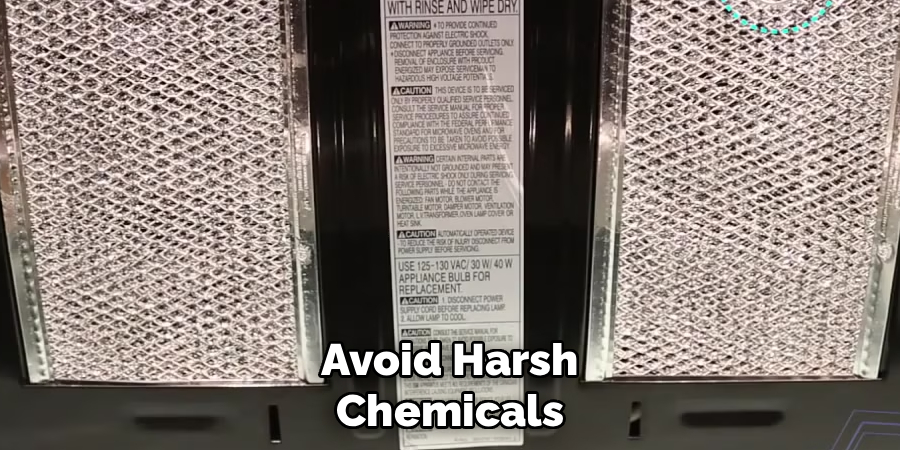
Alternatively, for stubborn grease, a solution of baking soda and water or a specialized degreasing cleaner can be used. Avoid harsh chemicals or abrasive materials, as these can degrade the filter or leave behind toxic residues.
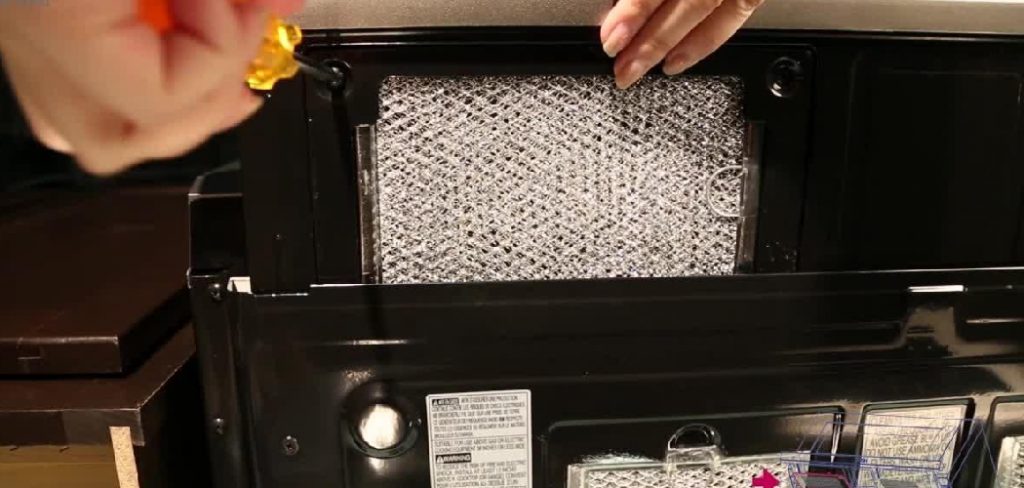
Removing the Filter
Start by ensuring your microwave is turned off and unplugged for safety. Depending on your LG model, you may need to open the microwave’s door or access the underside:
- Locate the filter: In over-the-range LG microwaves, the grease filter is usually found at the bottom, protected by a simple retaining mechanism. For charcoal filters, look behind the vent grille or inside the duct.
- Detach the filter: Carefully slide or push the latch to release the grease filter. These filters are typically designed for easy removal, requiring no special tools. If the filter feels stuck, avoid using excessive force. Instead, gently wiggle it back and forth or refer to your owner’s manual for model-specific instructions.
Handle the filter with care to avoid damaging the mesh or other delicate parts.
Cleaning the Filter
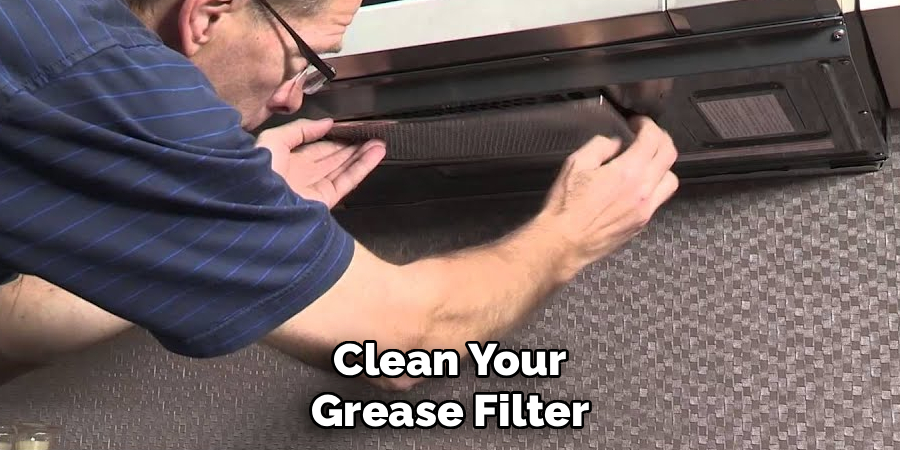
How to Clean Grease Filters
To clean a washable grease filter:
- Soak the filter: Fill a basin or sink with warm, soapy water—using a mild dish detergent is ideal. Let the filter soak for about 10–15 minutes to loosen any grease and debris.
- Scrub gently: Use a non-abrasive sponge or soft-bristled brush to gently scrub both sides. Pay particular attention to corners and crevices, where grease can accumulate.
- Rinse thoroughly: Wash out all soap and loosened particles under running water.
- Inspect for stains: If any stubborn marks remain, create a paste from baking soda and water and apply with a soft brush. For exceptionally dirty filters, you may need to repeat the soaking and scrubbing process.
Addressing Charcoal Filters
Charcoal filters, unlike grease filters, are not washable. Their structure is designed to absorb odors and contaminants, but washing them destroys their filtration capability. Instead, replace charcoal filters every 6–12 months, or sooner if you notice a decrease in odor control.
Drying and Reinstalling
After washing, shake off any excess water from the grease filter and set it on a dry towel. Air-dry completely before reinstalling; this step is important to prevent mold growth and ensure the filter functions correctly. Never reinstall a damp filter.
Once the filter is completely dry, slide or snap it back into its slot, ensuring a snug and secure fit. Double-check the placement before plugging your microwave back in and using it as normal.
Maintaining Your LG Microwave Filter
Cleaning Frequency
To maintain top performance, it’s best to clean your grease filter at least once a month, or more frequently if you use your microwave heavily for greasy foods. Charcoal filters should be replaced at regular intervals, typically every six months, but this can vary depending on model and usage.
Regular filter maintenance helps avoid the buildup that leads to odors, inefficient operation, and safety concerns.
Preventative Tips
Reducing grease and dirt accumulation doesn’t just make cleaning easier; it also extends your appliance’s life. Whenever possible:
- Cover foods that are likely to splatter, such as bacon or sauces.
- Wipe down the inside of your microwave after each use to prevent residue from settling.
- Avoid running the microwave on high heat with an already dirty filter, as this can cause excess smoke or trigger warning signals.
Simple habits like these can make a significant difference in how often and how thoroughly you need to clean your LG microwave filter.
Troubleshooting Common Filter Issues
Filter Issues You Might Encounter
While cleaning is typically straightforward, sometimes you’ll face challenges like stuck filters or filters that don’t seem to fit correctly after cleaning. If a filter is stubborn, check for any hidden latches or screws and consult your microwave’s manual. Never force the filter, as bending or damaging it can create air gaps or render it ineffective.
Sometimes, after cleaning and reinstalling, the filter may not sit as snugly as before. In this case, make sure there is no leftover debris blocking the slot or that the filter isn’t warped from excessive force during cleaning.
What to Do When Cleaning Doesn’t Help
If, after several cleanings, your filter no longer seems effective—perhaps because of persistent odors, visible damage, or a loose fit—it may be time to replace it entirely. Replacement filters are available directly from LG or from most major appliance retailers.
In rare cases where cleaning or replacement doesn’t restore performance, a mechanical issue with the microwave’s vent system may be at fault. At this point, it’s wise to consult a qualified appliance repair technician.
Benefits of a Clean Microwave Filter
Performance and Efficiency
A clean filter ensures unobstructed airflow through your microwave’s ventilation system, allowing the appliance to heat food more evenly and efficiently. Without the added strain of poor ventilation, the microwave operates at its best, using energy more effectively and shortening cooking times.
Health and Safety
Maintaining a clean filter also ensures that grease, bacteria, and other particles aren’t re-circulated into your home’s air or left to accumulate inside your microwave. This proactive routine helps prevent unwanted odors, smoke, and the potential for fire hazards, making your kitchen a healthier and safer environment for your family.
Comparing DIY Cleaning vs. Professional Maintenance
Pros of Cleaning Yourself
Taking the do-it-yourself approach to cleaning your LG microwave filter offers fast, satisfying results and helps you save money associated with professional appliance servicing. Anyone can handle this simple task with some basic supplies and a systematic approach.
Regular DIY cleanings also keep you more attuned to the condition of your appliance. By handling the filter yourself, you’ll quickly spot any signs of damage, allowing you to address potential problems before they escalate.
When to Call a Professional
While most filter maintenance can be done on your own, there are times when professional intervention is a good idea. If your microwave emits persistent, unusual odors even after cleaning and filter replacement—or if you notice visible electrical issues, like sparks or control panel errors—professional assessment may be necessary.

Similarly, if the filter appears fused in place, the vent system isn’t working, or you are unsure about any step in the process, don’t hesitate to consult a certified technician. A small investment in expert help can save you costly damage in the long run.
Conclusion
A well-maintained microwave filter is key to ensuring your kitchen is both clean and efficient. As this guide on how to clean LG microwave filter demonstrates, regular cleaning and prompt replacement are simple tasks that can profoundly impact your appliance’s performance and longevity. By following the steps outlined here—identifying the right filter, cleaning or replacing as necessary, and practicing basic preventative maintenance—you can prolong the life of your LG microwave and enjoy fresher, safer cooking for years to come. Don’t wait to make filter maintenance part of your regular kitchen routine; your appliance and your taste buds will thank you.
Professional Focus
Angela Ervin, a former interior designer turned blogger, specializes in kitchen design and renovations. Through her website, she blends her passion for cooking with design expertise, sharing practical and creative ideas. Known for balancing functionality and beauty, Angela’s insightful content has made her a trusted voice in home design and lifestyle.
About the Author
Angela Ervin, an experienced interior designer and blogger, combines her passion for kitchen renovations with storytelling. Living in Petersburg with her family, she enjoys cooking and testing her projects firsthand. Known for her humor and relatable style, Angela shares creative, functional design insights through her content, making her a trusted voice in home design.
Education History
University: Virginia Commonwealth University
Degree: Bachelor of Fine Arts (BFA) in Interior Design
- Angela’s education at VCU focused on mastering core interior design principles, including spatial planning, color theory, materials selection, and sustainable design practices.
- She gained hands-on experience through studio projects and collaborative design exercises, which honed her ability to create functional and aesthetically pleasing environments.
- Her coursework also emphasized problem-solving and practical applications of design, preparing her for real-world projects like her self-directed kitchen renovations.
- The program’s strong foundation in both technical skills and creative expression shaped Angela’s ability to seamlessly integrate form and function in her work.