
Cleaning your oven fan filter is an essential part of maintaining a clean and efficient kitchen. Over time, grease, dust, and debris can accumulate on the filter, reducing its effectiveness and potentially affecting the air quality in your home. Regular cleaning not only helps keep your kitchen odor-free but also extends the life of your oven fan.
This guide on how to clean an oven fan filter will walk you through the steps needed to clean it properly and safely.
Tools and Materials Needed
Screwdriver:
A screwdriver is needed to remove the screws holding the oven fan filter in place. Make sure that the screwdriver fits the screws on your oven fan to avoid damaging them.
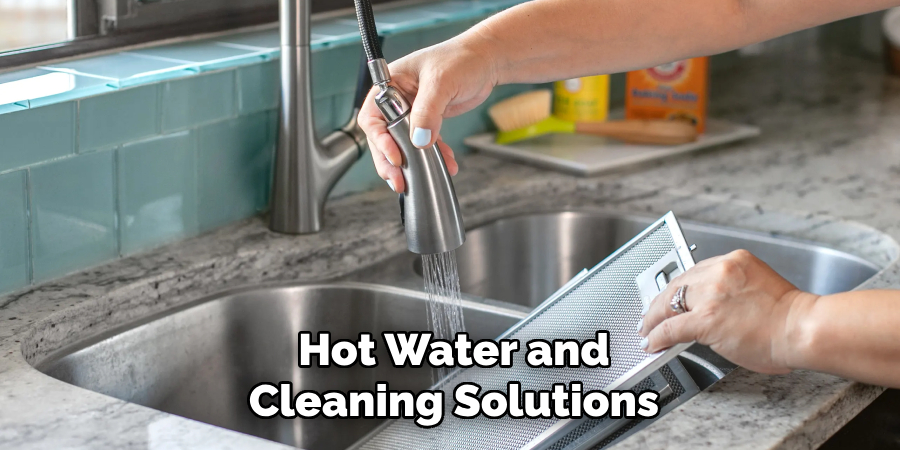
Hot Water and Soap:
Hot water and soap are essential for cleaning any type of grease or grime build-up on your oven fan filter. You can use dish soap, regular soap, or a degreaser depending on how dirty your filter is.
Baking Soda:
Baking soda is an excellent natural cleaner and deodorizer. It works well in removing stubborn stains and odors from your oven fan filter.
Microfiber Cloth:
A microfiber cloth is gentle but effective in wiping away dirt and grime from your oven fan filter. It is also reusable, making it an eco-friendly option.
Gloves:
When working with hot water and cleaning solutions, it’s essential to protect your hands by wearing gloves. This will also prevent any harsh chemicals from coming into contact with your skin.
8 Step-by-step Guides on How to Clean Oven Fan Filter
Step 1: Turn off Power to the Oven
Before starting the cleaning process, safety should be your top priority. Locate the power switch for your oven and turn it off to ensure there is no electrical current running to the appliance. If your oven is plugged into an outlet, carefully unplug it.
This step is crucial to avoid the risk of electrical shock while removing or cleaning the fan filter. Always double-check that the oven is completely powered off before proceeding.
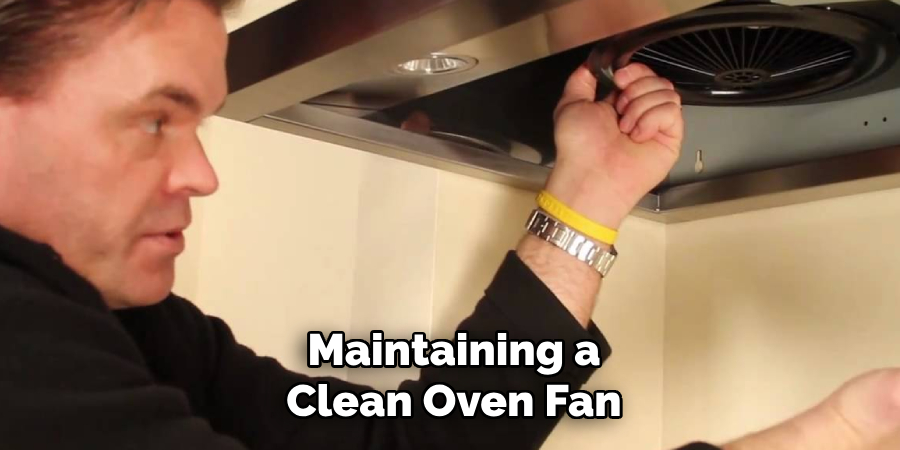
Step 2: Locate the Oven Fan Filter
The next step is to locate the oven fan filter, which is typically situated within the range hood or under the vent cover of your oven. Refer to your oven’s user manual if you are unsure of its exact placement.
Once you locate the filter, inspect it for screws, clips, or any other mechanisms securing it in place. These components will need to be removed to access the filter. Make note of how the filter is installed so you can easily reattach it after cleaning.
Step 3: Remove the Oven Fan Filter
Using your screwdriver or the appropriate tool, carefully remove the screws or clips that hold the oven fan filter in place. Keep the screws or any small components in a safe place to avoid losing them during the cleaning process.
Once the securing mechanisms are removed, gently pull the filter out from its position. Be cautious while handling the filter, as it may be greasy or covered in debris. If the filter is stuck, avoid using excessive force; instead, check for any hidden clips or attachments that may still be holding it in place.
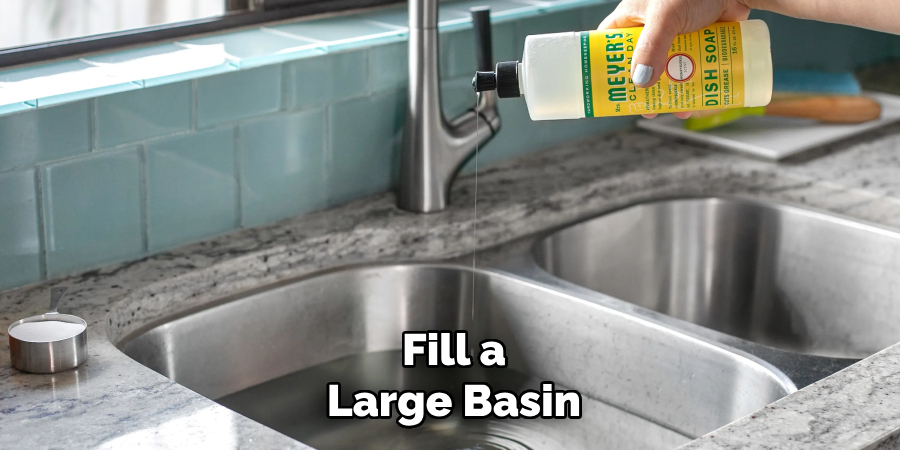
Step 4: Soak the Oven Fan Filter
Fill a large basin, sink, or bucket with hot water and add a generous amount of dish soap or degreaser to create a soapy solution. Optionally, mix in a few tablespoons of baking soda to help loosen stubborn grease and grime. Carefully place the oven fan filter into the soapy water, ensuring it is fully submerged. Allow the filter to soak for at least 15 to 20 minutes.
This process helps to break down the grease and dirt clinging to the filter, making it easier to clean during the next steps. Be patient during this step as soaking is crucial for achieving the best cleaning results.
Step 5: Scrub the Oven Fan Filter
After soaking, remove the filter from the water and lightly scrub it with a microfiber cloth. Pay extra attention to any stubborn areas or stains. If needed, you can use an old toothbrush or soft-bristled brush for more thorough scrubbing.
Avoid using abrasive materials such as steel wool or harsh chemicals that may damage the filter’s surface.
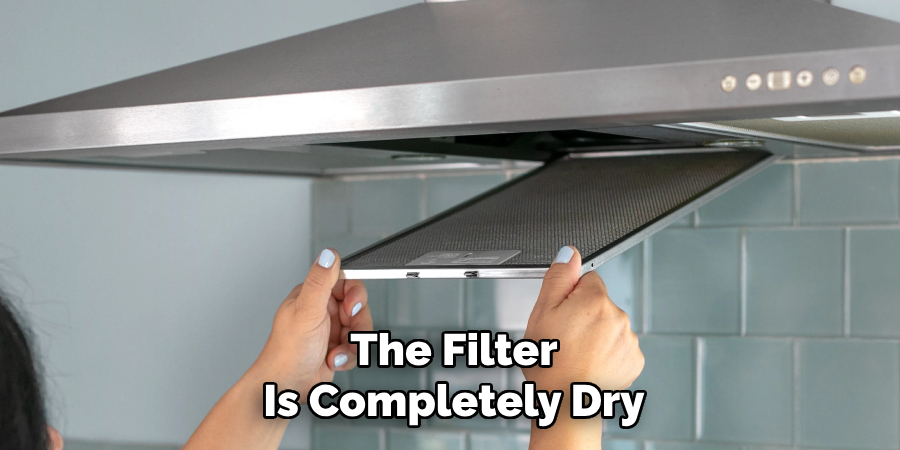
Step 6: Rinse and Dry the Oven Fan Filter
Rinse off all soap residue from the oven fan filter under running water. Make sure to clean both sides of the filter thoroughly. Once rinsed, gently shake off any excess water and allow it to air dry completely.
You can also use a clean microfiber cloth to pat the filter dry; however, avoid rubbing it as this may damage the delicate surface.
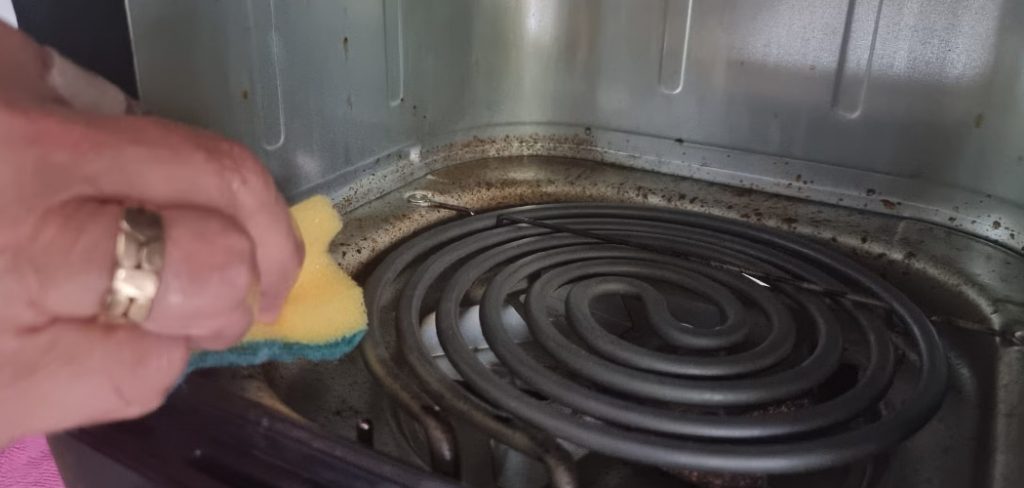
Step 7: Clean the Fan Housing
While the oven fan filter is drying, take this opportunity to clean the fan housing area. Using a damp microfiber cloth dipped in hot water and soap or degreaser, gently wipe away any visible dirt or grime from inside the hood. Pay extra attention to any stubborn areas around the fan blades.
The fan housing area can also accumulate grease and dirt over time, affecting the efficiency of your oven’s ventilation. Regular cleaning will help maintain the overall cleanliness of your kitchen.
Step 8: Reattach the Oven Fan Filter
Once the filter is completely dry, reattach it to its original position using the screws or clips you removed earlier. Carefully align it with the designated slots and gently secure it in place. Turn on the power on your oven and switch on the fan to ensure everything is working correctly.
Following these simple steps on how to clean oven fan filter will help you maintain a clean and efficient oven fan filter. Make sure to clean your filter regularly to prevent excessive build-up of grease and dirt, which can lead to potential fire hazards or reduced ventilation efficiency.
A well-maintained oven fan filter will not only keep your kitchen smelling fresh but also prolong the lifespan of your appliance. So make it part of your regular cleaning routine for a safer and more hygienic cooking experience!
Additional Tips for Maintaining a Clean Oven Fan Filter
- Clean or replace the oven fan filter at least once a month, depending on usage.
- For tough stains and grime, you can use a specialized filter cleaner or create a paste using baking soda and water to spot clean.
- Avoid using harsh chemicals or abrasive materials that may damage the filter’s surface or release harmful fumes into your kitchen.
- If your oven has carbon filters, make sure to replace the filters every 6 to 12 months, depending on usage.
- Regularly clean and maintain the oven fan blades to prevent them from getting clogged with dirt and grease.
- Consider investing in a range hood or stove top splatter guard to prevent excess grease and dirt from entering the ventilation system.
- If you notice any unusual noises or smells coming from your oven fan, contact a professional for inspection and maintenance.
Frequently Asked Questions
Q: How Often Should I Clean My Oven Fan Filter?
A: It is recommended to clean or replace the filter once a month, depending on usage. It is also essential to regularly inspect the filter for any signs of build-up or damage and clean it accordingly.
Q: Can I Use Oven Cleaner on My Oven Fan Filter?
A: No, avoid using harsh chemicals or oven cleaners on your oven fan filter as they may damage the filter’s surface or release harmful fumes into your kitchen. Instead, opt for milder cleaning solutions like dish soap and baking soda.
Q: Why is it Important to Clean My Oven Fan Filter Regularly?
A: Regular cleaning helps prevent excessive build-up of grease and dirt, which can lead to potential fire hazards or reduced ventilation efficiency. It also helps maintain a hygienic cooking environment and prolong the lifespan of your appliance. So make it part of your regular cleaning routine for a safer and more efficient cooking experience!
Q: How Do I Know if My Oven Fan Filter Needs to be Replaced?
A: If your oven fan filter is damaged, heavily clogged with grease and dirt, or has been in use for more than 6 months, it may be time to replace it. You can also consult the manufacturer’s manual for specific recommendations on when to replace the filter. Make sure to use the correct replacement filter for your specific oven model.
Conclusion
Maintaining a clean oven fan filter is essential for ensuring the safety, efficiency, and longevity of your kitchen appliances. By following the outlined steps on how to clean oven fan filter and incorporating regular cleaning into your routine, you can prevent grease and dirt build-up, reduce potential fire hazards, and maintain proper ventilation.
A clean oven fan filter not only enhances your cooking experience but also keeps your kitchen fresh and hygienic. Remember, a little upkeep goes a long way in preserving the performance and safety of your oven. Take proactive measures today, and enjoy a cleaner and safer kitchen environment for years to come!
Professional Focus
Angela Ervin, a former interior designer turned blogger, specializes in kitchen design and renovations. Through her website, she blends her passion for cooking with design expertise, sharing practical and creative ideas. Known for balancing functionality and beauty, Angela’s insightful content has made her a trusted voice in home design and lifestyle.
About the Author
Angela Ervin, an experienced interior designer and blogger, combines her passion for kitchen renovations with storytelling. Living in Petersburg with her family, she enjoys cooking and testing her projects firsthand. Known for her humor and relatable style, Angela shares creative, functional design insights through her content, making her a trusted voice in home design.
Education History
University: Virginia Commonwealth University
Degree: Bachelor of Fine Arts (BFA) in Interior Design
- Angela’s education at VCU focused on mastering core interior design principles, including spatial planning, color theory, materials selection, and sustainable design practices.
- She gained hands-on experience through studio projects and collaborative design exercises, which honed her ability to create functional and aesthetically pleasing environments.
- Her coursework also emphasized problem-solving and practical applications of design, preparing her for real-world projects like her self-directed kitchen renovations.
- The program’s strong foundation in both technical skills and creative expression shaped Angela’s ability to seamlessly integrate form and function in her work.