
Oven grills are essential components of any modern kitchen, but over time, they tend to accumulate grease, burnt food particles, and stubborn carbon buildup. This affects the grill’s appearance and hinders cooking performance and hygiene. A dirty oven grill can lead to excessive smoke, unpleasant odors, and even alter the flavors of your food. Additionally, heavy grease buildup increases the risk of fire hazards, making regular cleaning an essential practice for kitchen safety.
This article aims to provide a comprehensive, step-by-step guide on how to clean oven grill surfaces effectively. Whether using household items, such as baking soda and vinegar, or commercial cleaning solutions, these methods tackle grime without damaging the grill. With proper maintenance and a little effort, you can keep your oven grill in excellent condition, ensuring safe and flavorful cooking experiences for years to come.
Understanding Oven Grill Materials and Coatings
When cleaning your oven grill, it’s important to understand the type of material and coating it is made of, as this will influence the cleaning method you should use.
Stainless Steel Grills
are highly durable and resistant to rust, making them a popular choice in modern ovens. However, they can develop stubborn burnt stains over time due to repeated high-heat exposure. These stains often require elbow grease and effective cleaning agents to restore their shine.
Enamel-Coated Grills
are designed to be easier to clean thanks to their smooth surface, which resists food sticking. However, enamel coatings can scratch easily, so avoiding using abrasive cleaners or harsh scrubbing tools that might damage the surface is important.
Cast Iron Grills
are heavy-duty and excellent for retaining heat, which is perfect for grilling. Despite their strength, they are prone to rust if not dried properly after cleaning. Applying a thin layer of oil after drying can help prevent rust formation and maintain their longevity.
Non-Stick Coated Grills
require gentle cleaning methods to protect their delicate coating. Harsh chemicals or abrasive materials can wear away the non-stick layer, so it’s best to use soft sponges and mild cleaners to preserve their functionality. Understanding these materials ensures effective cleaning while maintaining the longevity of your grill.
Essential Tools and Cleaning Supplies
Keeping your grill clean and functional requires the right tools and supplies. Here are some essential items to make grill maintenance more effective and hassle-free:
- Baking soda and vinegar – A natural, non-toxic cleaning combination ideal for lifting grease and stubborn grime. These two ingredients can also help eliminate odors while being safe for most grill surfaces.
- Dish soap and hot water – A simple yet effective cleaning solution for tackling light grease and everyday cleaning tasks. It’s gentle on most grill types and easy to use.
- Lemon and salt – This natural degreaser is an excellent alternative for those who prefer chemical-free options. Lemon’s acidity and salt’s abrasive texture work well on food residue and grease.
- Commercial oven cleaners – Perfect for heavy-duty cleaning and tackling tough buildups. These solutions are effective but should be used sparingly to avoid damaging certain types of grill surfaces.
Scrubbing tools:
- Wire brush – Ideal for heavy-duty grills like stainless steel or cast iron, the bristles remove stubborn food debris and residue.
- Non-scratch sponge – Gentle and safe for delicate surfaces like non-stick and enamel-coated grills, preventing scratches.
- Old toothbrush – A handy tool for cleaning small crevices and intricate areas.
- Plastic scraper – Effective for removing thick grease deposits without damaging the grill surface.
Using the right tools protects your grill while ensuring thorough cleaning, extending its lifespan and performance.
Basic Cleaning Method for Light Grease and Food Residue
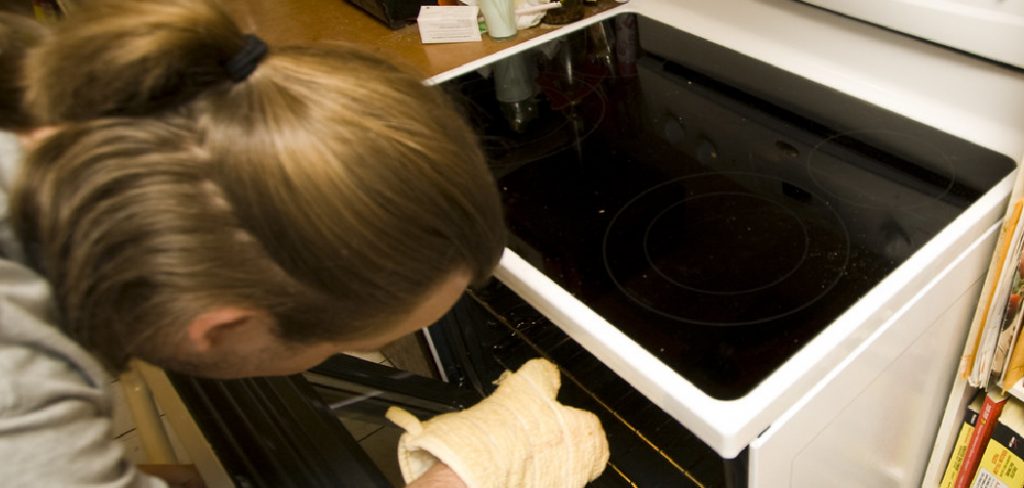
Remove the Grill from The Oven
Begin by carefully taking the grill out of your oven. Ensure the grill is cool to the touch to avoid any burns or injuries.
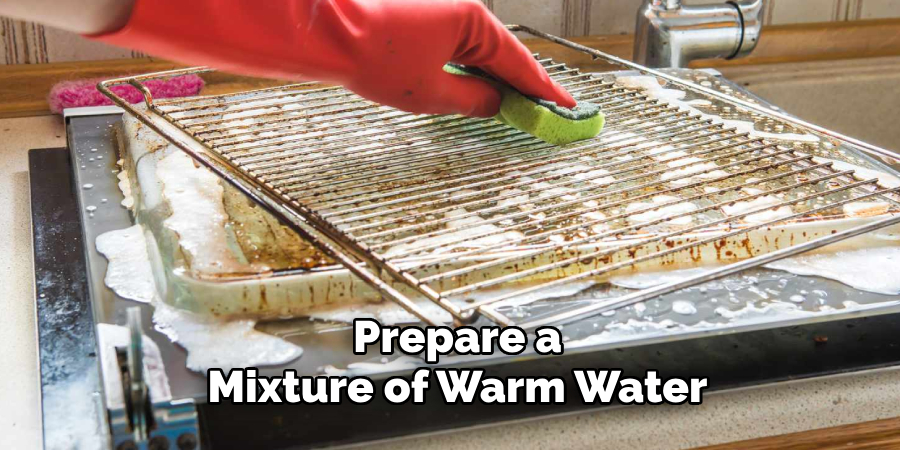
Fill a Sink or Bathtub with Warm, Soapy Water
Prepare a mixture of warm water and a gentle dish soap in a sink or bathtub. This soapy solution will help break down light grease and food residue.
Let the Grill Soak for 30 Minutes to Loosen Grease
Submerge the grill completely in the soapy water and allow it to soak for at least 30 minutes. This step helps to loosen any stuck-on grease or food particles, making them easier to remove.
Scrub with A Sponge or Brush to Remove Residue
After soaking, use a non-scratch sponge or a suitable brush to scrub the grill. Pay special attention to stubborn spots, but avoid using harsh tools that could damage the surface.
Rinse Thoroughly and Dry
Once you’ve scrubbed the grill clean, rinse it thoroughly with clean water to remove any soap residue. Use a dry cloth or towel to pat it dry completely before placing it back in the oven or storing it. Regular drying helps prevent rust and ensures your grill stays in top condition.
How to Clean Oven Grill: Deep Cleaning Methods
For particularly stubborn grease or burnt-on stains, these deep cleaning methods can help restore your grill to pristine condition. Each method uses everyday household items, making it both effective and convenient.
Baking Soda and Vinegar Method
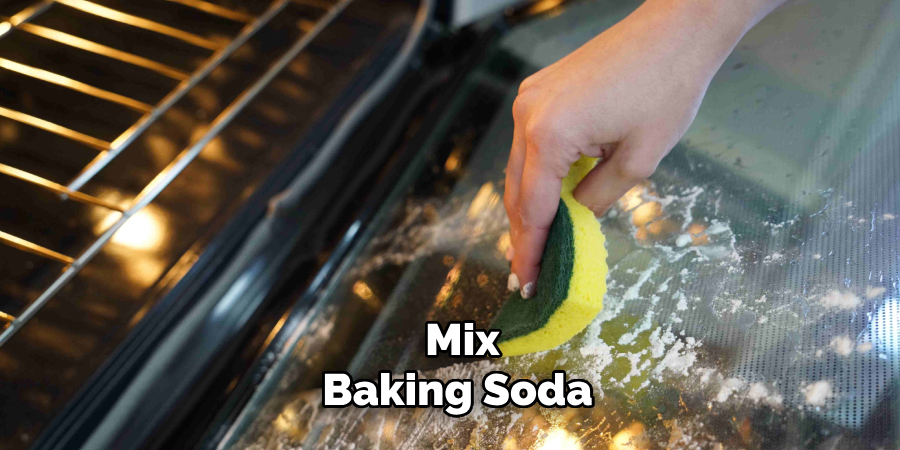
- Make a paste with baking soda and water
Mix baking soda with a small amount of water to create a thick, spreadable paste. The alkaline properties of baking soda help break down tough grease.
- Apply the paste to burnt areas and let sit for 1 hour
Spread the paste over the burnt or stained areas of the grill, ensuring an even coating. Allow it to sit for at least an hour to loosen the tough residues.
- Spray vinegar over the paste and let it fizz
Fill a spray bottle with vinegar and lightly spray it over the baking soda paste. The reaction between the vinegar and baking soda creates fizzing action that helps break down the stains.
- Scrub and rinse clean
Use a sponge or scrub brush to remove the loosened debris, then rinse thoroughly with water. Dry with a cloth to prevent rust.
Lemon and Salt Scrub
- Cut a lemon in half and dip it in salt
Slice a fresh lemon in half and dip the exposed side into coarse salt. The salt acts as an abrasive, while the lemon provides natural acidity for cleaning.
- Scrub directly onto grease stains
Use the salted lemon to scrub over grease stains with firm, circular motions, targeting problem areas.
- Let it sit for 10 minutes, then rinse
Allow the lemon juice and salt mixture to work on the stains for about 10 minutes before rinsing the grill with clean water. Dry thoroughly to finish.
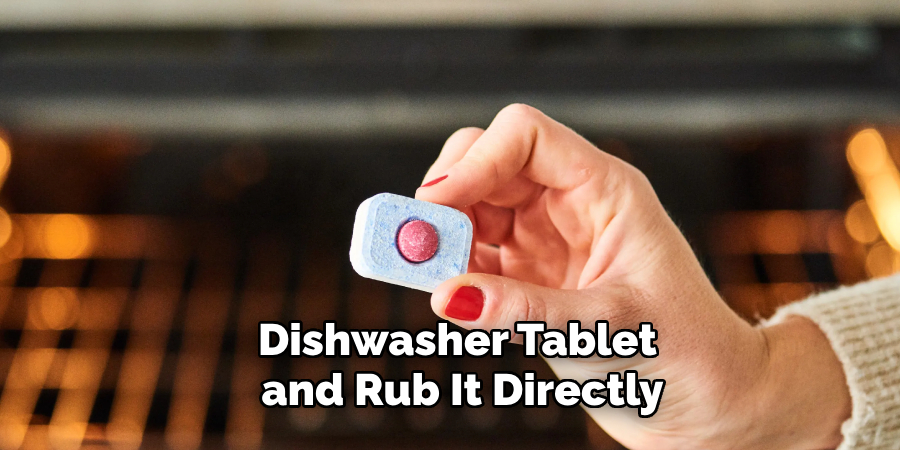
Dishwasher Tablet Method
- Wet a dishwasher tablet and rub it over tough stains
Lightly moisten a dishwasher tablet and rub it directly on the burnt or greasy areas of the grill. The cleaning agents in the tablet will help dissolve the grime.
- Let sit for 15 minutes before scrubbing and rinsing
Allow the tablet residue to sit on the grill for 15 minutes to penetrate the stains. Then scrub with a sponge or brush and rinse thoroughly with water. Pat dry to complete the process.
These methods make it easy to tackle tough grime and prolong the lifespan of your oven grill.
Using Commercial Oven Cleaners
Commercial oven cleaners can be highly effective when tackling particularly stubborn grease and burnt-on grime. Choosing the right cleaner is crucial—opt for non-toxic, fume-free products to ensure safety and reduce harsh chemical exposure. These options are better for the environment and safer for household use.
Step-by-Step Process
- Spray the cleaner on the grill and let it sit
Evenly coat the grill with the cleaner, paying extra attention to heavily soiled areas. Allow it to sit for the time specified in the product instructions, typically around 10-15 minutes, to loosen the grime.
- Scrub using a wire brush or sponge
With a wire brush or heavy-duty sponge, scrub the grill to remove the dissolved grease and burnt residue. Apply consistent pressure for effective cleaning, ensuring all problem spots are addressed.
- Rinse thoroughly to remove chemical residues
After scrubbing, rinse the grill thoroughly with water to remove all traces of the cleaner. Any residue left can cause unwanted chemical odors during future use, so ensure it’s spotless.
Safety Precautions
Always wear gloves during this process to protect your hands from irritation. Work in a well-ventilated area to avoid inhaling fumes, even for fume-free products. Additionally, avoid using these cleaners on non-stick-coated grills unless the product specifically states compatibility to prevent damage to the coating.
Preventing Future Buildup on Oven Grills
Preventing grease and food residue buildup on your oven grills can save time and effort in the long run. One effective method is using aluminum foil or grill liners to catch drips during cooking. These materials act as a barrier, preventing spills and drips from contacting the grill surface. After cooking, remove and replace the foil or liners as needed.

It’s also important to clean your oven grills after each use. Wiping away food particles and grease while the surface is still warm prevents residue from hardening and becoming more difficult to remove later. Additionally, applying a light coat of oil on the grill before each use can help minimize food sticking and make post-cooking cleanup more manageable.
Avoiding excessively high cooking temperatures can also reduce excessive grease burning, which leads to tougher residue buildup. Instead, cooking at moderate temperatures preserves food quality and reduces the strain on your oven grills. Incorporating these simple habits into your routine will prolong the lifespan of your grills and ensure they remain in excellent condition for future use.
Alternative Cleaning Hacks for Extra Tough Stains
Boiling Water Soak
A boiling water soak can work wonders for stubborn, burnt food particles. Simply pour boiling water over the grill, placing it in a large sink or a sturdy container. Allow the hot water to sit for several minutes to loosen the burnt-on residue. Afterward, use a grill brush or scouring pad to scrub away the softened grime, then rinse thoroughly.
Ammonia Bag Method
This method is ideal for non-coated grills with extreme buildup. Carefully place the grill in a large, sealable plastic bag and add a cup of ammonia. Seal the bag tightly and let it sit overnight, allowing the fumes to break down tough residue. The next day, remove the grill from the bag, rinse it thoroughly, and clean with soap and water to eliminate any ammonia traces.
Vinegar Steam Cleaning
For a nontoxic approach, try vinegar steam cleaning. Place a heat-safe bowl filled with vinegar inside the oven and heat it at a low temperature for about 20-30 minutes. The steam from the vinegar will help loosen grime on the oven grills. Afterward, remove the grills and wipe them clean using a damp cloth or sponge.
Conclusion
Keeping your oven grill clean is essential for maintaining its efficiency and prolonging its lifespan. This guide has outlined various methods on how to clean oven grill based on the level of grease buildup and the grill’s material type, from soaking in hot water to using ammonia or vinegar steam cleaning. Each technique is designed to tackle specific cleaning needs safely and effectively. Remember, regular maintenance and proper precautions can prevent heavy buildup and make cleaning easier over time. With these simple approaches, maintaining a spotless oven grill can be both quick and effortless.
Professional Focus
Angela Ervin, a former interior designer turned blogger, specializes in kitchen design and renovations. Through her website, she blends her passion for cooking with design expertise, sharing practical and creative ideas. Known for balancing functionality and beauty, Angela’s insightful content has made her a trusted voice in home design and lifestyle.
About the Author
Angela Ervin, an experienced interior designer and blogger, combines her passion for kitchen renovations with storytelling. Living in Petersburg with her family, she enjoys cooking and testing her projects firsthand. Known for her humor and relatable style, Angela shares creative, functional design insights through her content, making her a trusted voice in home design.
Education History
University: Virginia Commonwealth University
Degree: Bachelor of Fine Arts (BFA) in Interior Design
- Angela’s education at VCU focused on mastering core interior design principles, including spatial planning, color theory, materials selection, and sustainable design practices.
- She gained hands-on experience through studio projects and collaborative design exercises, which honed her ability to create functional and aesthetically pleasing environments.
- Her coursework also emphasized problem-solving and practical applications of design, preparing her for real-world projects like her self-directed kitchen renovations.
- The program’s strong foundation in both technical skills and creative expression shaped Angela’s ability to seamlessly integrate form and function in her work.