
Are you tired of the outdated look of your old countertops? Are you looking for a budget-friendly and easy way to give them a new lease on life? Look no further!
Old countertops can make an otherwise beautiful kitchen or bathroom look outdated and worn. Replacing them can be expensive and time-consuming, but covering them is a cost-effective and straightforward way to give your space a fresh, modern look.
Whether you’re looking to update your countertops with paint, laminate, or a faux concrete finish, plenty of DIY-friendly solutions can transform your surfaces without breaking the bank.
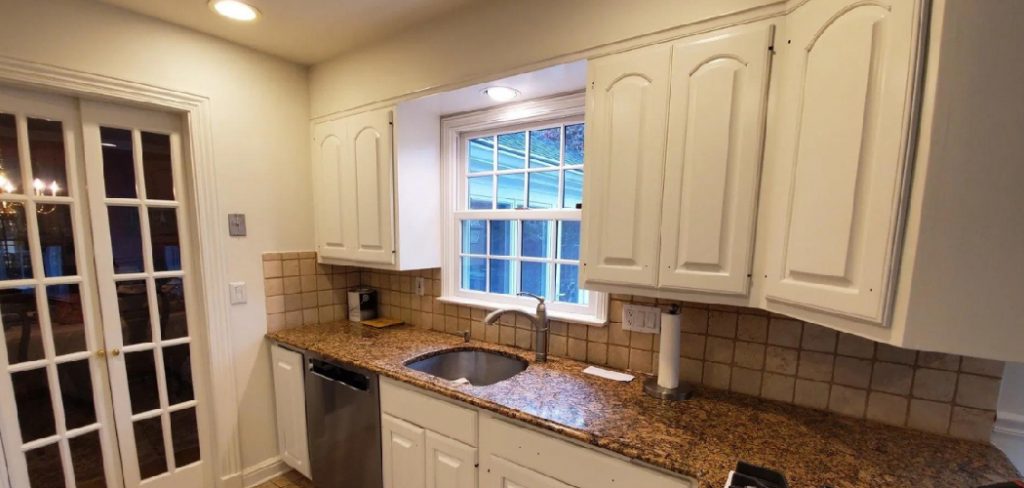
This guide on how to cover old countertops will explore various methods to breathe new life into your old countertops, helping you achieve a stylish and durable finish that fits your design aesthetic.
What Are the Benefits of Covering Old Countertops?
Before we delve into how you can cover your old countertops, let’s first discuss why it’s a good idea. Here are some of the top benefits of covering old countertops:
- Cost-effective: As mentioned earlier, replacing countertops can be expensive. Covering them instead will save money on materials and labor costs.
- Easy and Quick: Unlike replacing countertops, covering them is a relatively easy and quick process. Most DIY methods can be completed over a weekend or in just a few hours.
- Versatile Design Options: When it comes to covering old countertops, the possibilities are endless! There are plenty of design options, from paint and laminate to concrete overlays and tile. You can easily personalize your countertops to match your style and preferences.
- Temporary Solution: Covering old countertops is a great temporary solution for those planning to renovate their kitchen or bathroom. It allows you to update the look of your space without committing to a permanent change.
What Will You Need?
The materials and tools required will depend on the method you choose to cover your old countertops. However, here are some essential items that may be needed for most DIY methods:
- Sandpaper or Sander: To prepare the surface of your old countertops for covering.
- Primer: This helps create a smooth and even base for your new finish.
- Paint or Laminate Sheets: For painting or laminating your countertops with a new color or pattern.
- Tools for Applying Concrete Overlay: If you’re planning on using a concrete overlay to cover your countertops, you will need various tools such as trowels, mixers, and sponges.
- Tile Adhesive and Grout: For those opting to cover their countertops with tile.
- Protective Gear: Depending on your chosen method, you may need gloves, a mask, and protective eyewear to ensure your safety.
Once you have gathered all the necessary materials and tools, it’s time to start! Keep reading for some popular methods on how to cover old countertops.
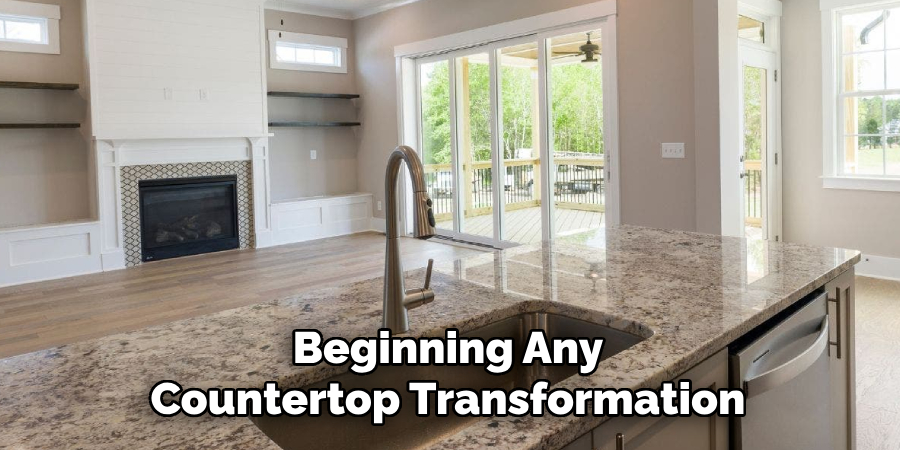
8 Easy Steps on How to Cover Old Countertops
Step 1: Clean the Surface
Before beginning any countertop transformation, starting with a clean and debris-free surface is essential. Begin by removing all items from your countertop, including appliances, decor, and utensils. Use a mild detergent or a degreaser to thoroughly clean the surface, removing all grease, grime, and residue.
Pay close attention to corners, seams, and areas where dirt accumulates. After cleaning, wipe down the countertop with a damp cloth to remove any soap residue and allow it to dry completely.
Any moisture or leftover debris can interfere with the adhesion of the materials you’re applying, so don’t rush this step. A properly cleaned surface is the foundation for a successful, durable countertop makeover.
Step 2: Sand the Surface
Once the countertop is clean and dry, the next step is to sand the surface to promote better adhesion of the covering material. Use medium-grit sandpaper (such as 120- or 150-grit) to scuff the surface in a circular motion gently. This process helps remove glossy finishes or uneven textures, allowing the new material to stick more effectively.
Be careful not to sand too aggressively, as this could damage the countertop or create unnecessary unevenness. After sanding, wipe down the surface with a damp or tack cloth to remove all dust and particles. A smooth, prepared surface will ensure the covering material adheres securely and creates a professional-looking finish.
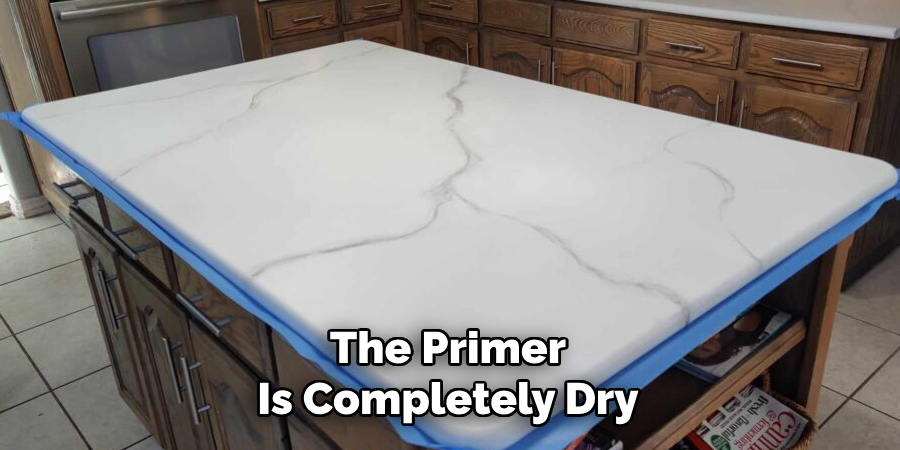
Step 3: Apply a Primer
Before applying the finishing material, it’s essential to use a primer to ensure the best adhesion and durability. Choose a high-quality primer for your countertop’s material, such as wood, laminate, or concrete.
Using a roller or brush, apply an even coat of primer across the surface. Be sure to reach all corners and edges for complete coverage. Allow the primer to dry thoroughly according to the manufacturer’s instructions. This step helps the covering material adhere properly and creates a smooth and uniform base for the finish.
Step 4: Apply the Finish
Once the primer is completely dry, you can apply the finishing material you choose. Whether you’re using paint, a sealant, or any specialized countertop covering, ensure you follow the application instructions carefully. Use a high-quality brush, roller, or applicator to spread the finish evenly across the surface.
Work in long, smooth strokes to avoid streaks or brush marks, and apply as many coats as necessary for full coverage, allowing each coat to dry per the manufacturer’s recommendations. Pay particular attention to corners and edges to ensure a clean and polished look. A properly applied finish will enhance the countertop’s appearance and protect it from wear and tear.
Step 5: Allow the Finish to Cure
After applying the final coat of your chosen finish, it is crucial to allow the surface to cure fully before using the countertop. Curing times can vary depending on the type of finish and environmental factors such as temperature and humidity, so refer to the manufacturer’s guidelines for specific instructions.
During this period, avoid placing objects on the countertop or exposing them to moisture. Proper curing ensures that the finish sets ultimately, providing maximum durability and a professional, long-lasting result. Patience during this step will ensure your efforts are well worth it.
Step 6: Maintain the Countertop Finish
Regular maintenance is essential to keep your countertop looking its best and prolong the finish’s life. Clean the surface with a mild, non-abrasive cleaner and a soft cloth to avoid damaging the finish.
Avoid placing hot items directly onto the countertop and always use trivets or heat-resistant pads to prevent heat damage. Additionally, address spills promptly to avoid stains or moisture from seeping into the finish. As the manufacturer recommends, periodic resealing or reapplying a protective coating will help maintain the countertop’s appearance and durability over time.
Step 7: Troubleshoot Common Issues
Even with proper care and maintenance, issues with your countertop finish may occasionally arise. For minor scratches or scuffs, use a touch-up kit or a matching repair product recommended by the manufacturer to restore the surface. If the countertop develops dull spots or uneven areas, consider lightly sanding the affected sections and reapplying the finish per the product guidelines.
For more significant damage or persistent problems, consult a professional to assess and repair the issue. Addressing these concerns promptly will ensure your countertop remains functional and visually appealing for years.
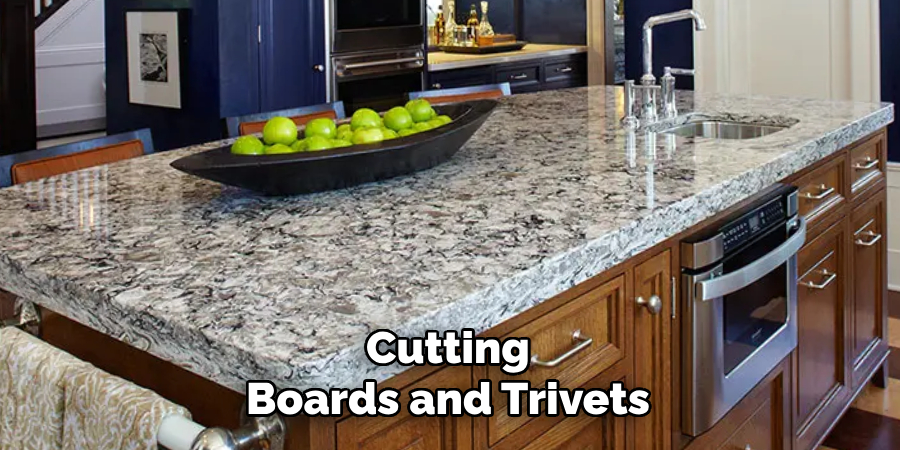
Step 8: Enhance the Longevity of Your Countertop
To ensure your countertop lasts as long as possible, implement preventative measures as part of your routine care. Use cutting boards and trivets to avoid direct contact with sharp objects and hot cookware.
Avoid using harsh chemical cleaners that could degrade the finish, opting for gentle, manufacturer-approved cleaning solutions. Regularly inspect the surface for signs of wear or damage, and address minor issues promptly to prevent them from worsening.
By following these steps, you can successfully transform your countertop’s appearance and enhance its durability.
5 Things You Should Avoid
- Skipping Surface Preparation: Proper preparation is crucial for a successful countertop makeover. Avoid applying coverings or finishes to dirty, greasy, or uneven surfaces, leading to poor adhesion and an unprofessional finish.
- Using Non-Compatible Materials: Ensure your chosen materials are compatible with your countertop’s existing surface. For instance, not all paints, adhesive films, or laminates will adhere properly to certain surfaces like laminate or granite.
- Ignoring Manufacturer’s Instructions: Each product you use to cover your countertop will come with specific guidelines for application, curing times, and maintenance. Failing to follow these instructions can result in peeling, cracking, or uneven finishes that reduce the longevity of your work.
- Overlooking Edge Treatments: The edges of your countertop are often the first areas to wear or show damage. They can reveal the underlying surface and ruin the overall look if neglected. Pay extra attention to adequately sealing and covering the edges during your project.
- Applying Too Many Layers: While it might be tempting to use an extra layer for durability or coverage, excessive layers can lead to bubbling, uneven surfaces, or difficulty curing. Stick to the recommended number of layers to achieve optimal results without compromising quality.
Conclusion
How to cover old countertops can be a cost-effective and transformative way to refresh your kitchen or bathroom.
Careful preparation, attention to detail, and adherence to product guidelines are critical to achieve the best results. You can ensure a durable and visually appealing finish by avoiding common mistakes such as neglecting surface preparation, over-layering, or skipping edge treatments.
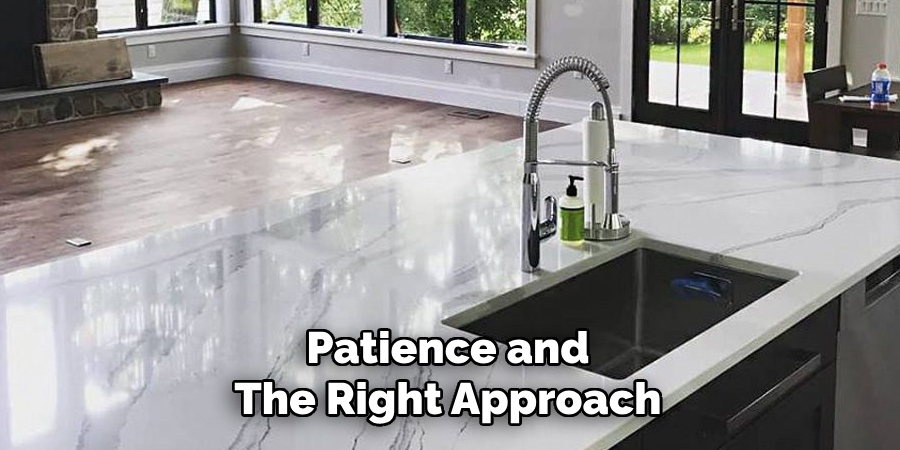
With patience and the right approach, your old countertops can look as good as new, giving your space a stylish and updated appearance.
Professional Focus
Angela Ervin, a former interior designer turned blogger, specializes in kitchen design and renovations. Through her website, she blends her passion for cooking with design expertise, sharing practical and creative ideas. Known for balancing functionality and beauty, Angela’s insightful content has made her a trusted voice in home design and lifestyle.
About the Author
Angela Ervin, an experienced interior designer and blogger, combines her passion for kitchen renovations with storytelling. Living in Petersburg with her family, she enjoys cooking and testing her projects firsthand. Known for her humor and relatable style, Angela shares creative, functional design insights through her content, making her a trusted voice in home design.
Education History
University: Virginia Commonwealth University
Degree: Bachelor of Fine Arts (BFA) in Interior Design
- Angela’s education at VCU focused on mastering core interior design principles, including spatial planning, color theory, materials selection, and sustainable design practices.
- She gained hands-on experience through studio projects and collaborative design exercises, which honed her ability to create functional and aesthetically pleasing environments.
- Her coursework also emphasized problem-solving and practical applications of design, preparing her for real-world projects like her self-directed kitchen renovations.
- The program’s strong foundation in both technical skills and creative expression shaped Angela’s ability to seamlessly integrate form and function in her work.