
Are you looking to update your kitchen countertops with a new Formica design? Or perhaps you need to make some modifications to an existing Formica countertop? Whatever the reason, knowing how to cut a Formica countertop is essential for any DIY project.

Cutting a Formica countertop is essential for anyone looking to customize their kitchen or bathroom surfaces. Formica, a popular and durable laminate material, offers both style and functionality, but achieving a precise cut is crucial for a professional and polished appearance. Whether replacing an old countertop or installing a new one, understanding the proper tools and techniques ensures a smooth process and avoids costly mistakes.
With careful preparation and attention to detail, you can confidently cut your Formica countertop to fit your space perfectly.
What Are the Benefits of Cutting a Formica Countertop?
Before diving into the steps of cutting a Formica countertop, let’s explore some of the benefits of this skill.
- Cost- Effective: Customizing a pre-made Formica countertop can be more affordable than purchasing a custom-sized one.
- Wide Variety of Design Options: With Formica, you have endless design options, allowing you to create a unique and personalized look for your space.
- Durable Material: Formica is known for its durability and resistance to stains, scratches, and heat, making it an ideal choice for high traffic areas like kitchens.
- Easy to Maintain: Cleaning and maintaining a Formica countertop is a breeze, making it a practical choice for busy households.
- Diy – Friendly: With the right tools and techniques, anyone can cut a Formica countertop, even those with limited DIY experience.
What Will You Need?
Here’s a list of tools and materials you’ll need to cut your Formica countertop successfully:
- Safety Equipment: Safety goggles, dust mask, and gloves are essential for protecting yourself during cutting.
- Measuring Tape: Accurate measurements are crucial when cutting a Formica countertop. A measuring tape will help ensure precise cuts.
- Pencil or Marker: You’ll need something to mark your cutting lines on the Formica surface.
- Circular Saw With Fine-Tooth Blade: A circular saw is the best tool for cutting through Formica, and a fine-tooth blade will minimize chipping.
- Jigsaw: A jigsaw is helpful in making curved or angled cuts, such as around sinks or corners.
- Sanding Block: A sanding block will help smooth any rough edges after cutting.
- Clamps: Clamping the Formica countertop to a stable surface will provide stability and prevent it from slipping during the cutting process.
10 Easy Steps on How to Cut a Formica Countertop
Step 1. Measure and Mark
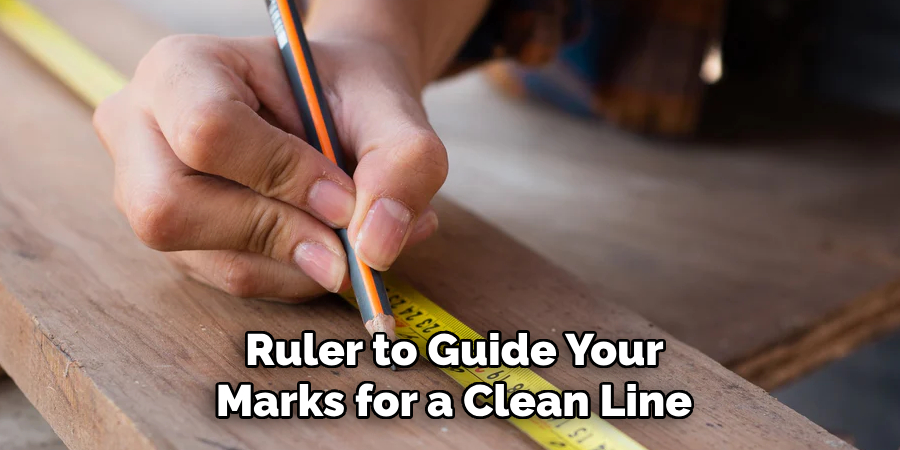
Begin by measuring the area where you must cut the Formica countertop using your measuring tape. Double-check your measurements to ensure accuracy, as even a slight discrepancy can lead to problems with the final fit. Once you’ve confirmed the measurements, use a pencil or marker to outline the cutting lines on the Formica surface. If you’re working on a straight cut, use a straightedge or ruler to guide your marks for a clean line. For curved or angled cuts, such as those around a sink or corner, use a template or make careful sketches to define the cutting area precisely. This step is critical to achieving a professional finish and avoiding wasted material.
Step 2. Prepare Your Workspace
Before cutting the Formica countertop, ensure your workspace is clean and clutter-free. Position the countertop on a stable surface, such as a workbench, and secure it with clamps to prevent movement. Lay down protective material, like a drop cloth or plastic sheet, to catch any debris and protect surrounding areas. Properly setting up your workspace will make the cutting process more efficient and help reduce the risk of accidents.
Step 3. Choose the Right Tools
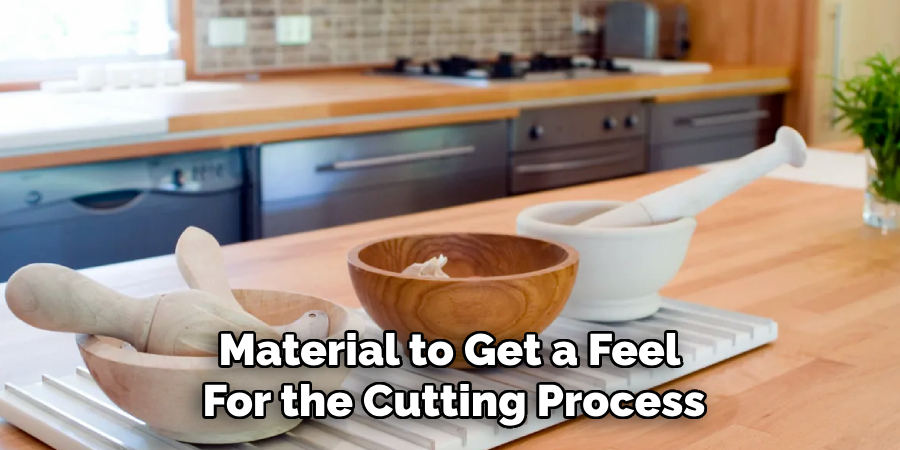
Using the correct tools is essential for a precise and smooth cut. A circular saw with a fine-tooth blade works best for straight cuts, while a jigsaw equipped with a laminate blade is ideal for curved or intricate cuts. Ensure your tools are sharp and in good condition to prevent chipping or damage to the Formica. Double-check the blade settings, and practice on a scrap piece of material to get a feel for the cutting process. The right tools will make your job easier and produce professional-quality results.
Step 4. Measure and Mark the Cutline
Accurate measurements are critical to ensuring a successful cut. Use a measuring tape to carefully measure the dimensions you need, and mark the cutline on the Formica surface with a pencil or masking tape. Masking tape can help minimize chipping and provide a clear guideline as you cut. Double-check all measurements before proceeding to avoid costly mistakes. Taking your time during this step will set the foundation for a precise and clean cut.
Step 5. Secure the Formica
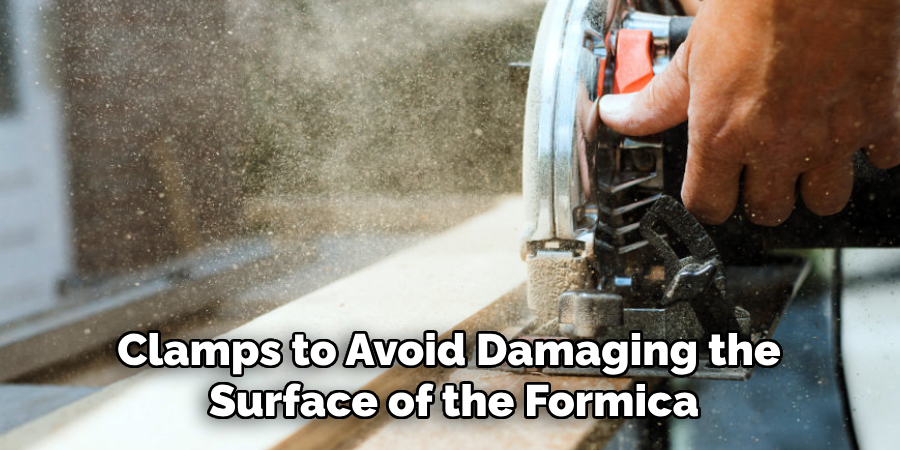
Before cutting, ensure the Formica sheet is securely clamped or held in place to prevent movement. Use sturdy clamps on a stable surface to keep the material from shifting, which could result in uneven cuts or accidents. Place a soft cloth or padding under the clamps to avoid damaging the surface of the Formica. Properly securing the sheet will give you better control during cutting and help maintain precision.
Step 6. Cut the Formica
Carefully follow the marked cutline using the appropriate cutting tool, such as a fine-tooth saw, laminate cutter, or utility knife. Start slowly and apply even pressure, letting the tool do the work to avoid jagged edges. If using a saw, ensure the blade is sharp and suitable for laminate materials to achieve a smooth cut. Work in a well-lit area for better visibility and accuracy. After completing the cut, use a fine file or sandpaper to smooth any rough edges for a professional finish.
Step 7. Clean the Cut Edges
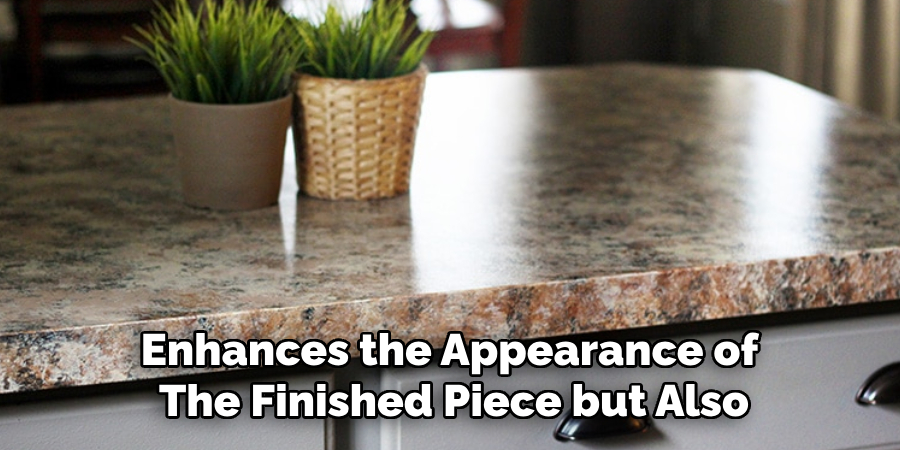
Clean the Formica sheet after cutting and smoothing the edges to remove any dust, debris, or adhesive residue. Use a damp cloth or a mild cleaning solution suitable for laminate surfaces and wipe thoroughly, ensuring the edges and surface are spotless. This step not only enhances the appearance of the finished piece but also ensures proper adhesion if the Formica is being applied to another surface. Allow the sheet to dry completely before proceeding to the next step.
Step 8. Apply Adhesive
To secure the Formica sheet to the desired surface, use a high-quality contact adhesive designed for laminate materials. Apply the glue evenly on both the back of the Formica sheet and the surface it will be bonded to, following the manufacturer’s instructions for drying time. Ensure full coverage, especially near the edges, for a strong and lasting bond. Wait until the adhesive is tacky before aligning and adhering the Formica sheet.
Step 9. Position and Bond the Formica Sheet
Carefully align the Formica sheet with the surface, ensuring all edges match up as planned. Once aligned, press the sheet firmly onto the surface, starting from the center and working outward to remove any air pockets. Use a roller or a wood block wrapped in a soft cloth to apply even pressure across the entire sheet. Pay special attention to the edges to ensure they are securely bonded. This step is crucial for achieving a smooth, professional finish.
Step 10. Trim the Excess Formica
After securely bonding the Formica sheet, use a laminate trimmer or a router with a flush-trim bit to remove any excess material around the edges. Guide the tool carefully along the edges to achieve a clean, precise cut. If necessary, you may use a fine file or sandpaper to smooth any rough spots or imperfections, always working downward to prevent chipping. Proper trimming ensures a polished and professional appearance.
By following these steps, you can confidently cut Formica countertops and achieve professional results.
5 Things You Should Avoid
- Skipping Measurements: Avoid cutting without accurate measurements. Proper measurements are essential to ensure a precise fit, and skipping this step can lead to costly mistakes and wasted materials.
- Using the Wrong Tools: Do not use improper tools like dull blades or tools not designed for laminate surfaces. These can cause uneven cuts, chipping, or damage to the countertop.
- Cutting Without Support: Never cut the countertop without stable support. An unsteady surface can lead to accidents or uneven cuts, ruining the material and posing safety risks.
- Neglecting Safety Gear: Avoid ignoring safety precautions such as wearing protective eyewear and gloves. Cutting tools can produce debris and sharp edges, making proper safety gear crucial.
- Rushing the Process: Do not attempt to rush through the cutting process. Taking your time ensures accuracy and reduces the likelihood of making errors or damaging the countertop.
By avoiding these common mistakes, you can ensure a successful cutting process and achieve professional-quality results.
Conclusion
How to cut a formica countertop requires patience, precision, and the right tools to achieve professional-looking results.
You can ensure a clean and precise cut by following proper preparation steps, using accurate measurements, and employing the correct cutting techniques. Always prioritize safety by wearing protective gear and working on a stable surface. Avoid rushing the process, as careful execution is key to preserving the quality of the material.
You can successfully cut a Formica countertop without unnecessary mistakes or damage with careful attention to detail and adherence to these guidelines.
Professional Focus
Angela Ervin, a former interior designer turned blogger, specializes in kitchen design and renovations. Through her website, she blends her passion for cooking with design expertise, sharing practical and creative ideas. Known for balancing functionality and beauty, Angela’s insightful content has made her a trusted voice in home design and lifestyle.
About the Author
Angela Ervin, an experienced interior designer and blogger, combines her passion for kitchen renovations with storytelling. Living in Petersburg with her family, she enjoys cooking and testing her projects firsthand. Known for her humor and relatable style, Angela shares creative, functional design insights through her content, making her a trusted voice in home design.
Education History
University: Virginia Commonwealth University
Degree: Bachelor of Fine Arts (BFA) in Interior Design
- Angela’s education at VCU focused on mastering core interior design principles, including spatial planning, color theory, materials selection, and sustainable design practices.
- She gained hands-on experience through studio projects and collaborative design exercises, which honed her ability to create functional and aesthetically pleasing environments.
- Her coursework also emphasized problem-solving and practical applications of design, preparing her for real-world projects like her self-directed kitchen renovations.
- The program’s strong foundation in both technical skills and creative expression shaped Angela’s ability to seamlessly integrate form and function in her work.