
Are you planning to install a new sink in your kitchen or bathroom? If so, you may need to know how to cut a sink in a countertop.
Cutting a sink in a countertop is an essential step in many kitchen and bathroom remodeling projects. Whether you’re installing a brand-new sink or replacing an old one, this process requires precision, the right tools, and
careful planning to achieve a clean and accurate cut. Following the correct steps can ensure a seamless fit for your sink, enhancing both functionality and aesthetics.
This guide on cutting a sink in a countertop will walk you through the necessary preparations and step-by-step instructions to cut a sink opening in your countertop confidently.
What Are the Benefits of Cutting a Sink in a Countertop?
Before we dive into cutting a sink in a countertop, let’s first discuss why this process is necessary. Here are some benefits of cutting a sink in your countertop:
- Better Fit: By cutting a sink opening precisely to fit your chosen sink, you can ensure it will sit flush with the countertop and prevent any gaps or unevenness.
- More Space: Customizing the size and shape of your sink opening allows for more space on your countertop, making washing dishes and preparing food easier.
- Personalization: With various types and styles of sinks available, cutting a sink opening allows you to choose the one that best fits your style and needs.
- Improved Functionality: A properly cut sink opening allows for proper installation of the sink, ensuring it works efficiently and prevents any leaks or damage in the future.
Once you have understood the benefits of cutting a sink in your countertop, it’s time to get into the steps on how to do it correctly.
What Will You Need?
Before getting started, gather all the necessary tools and materials for this project. Here’s a list of what you’ll need:
- Sink Template: Most sinks come with a paper or cardboard template that you can use as a guide for cutting the opening.
- Measuring Tape: This will help you measure the exact dimensions of your sink opening on the countertop.
- Pencil: Use a pencil to trace the outline of your sink template onto the countertop.
- Drill with Hole Saw Attachment: This creates starter holes for your jigsaw when cutting out the sink opening.
- Jigsaw: A jigsaw is essential for making precise and curved cuts. Make sure to use a fine-toothed blade for a smoother cut.
- Safety Goggles and Gloves: These are necessary to protect yourself from any potential hazards while cutting the countertop.
- Sandpaper: You’ll need sandpaper to smooth out the edges of the sink opening after cutting it out.
8 Easy Steps on How to Cut a Sink in a Countertop:
Step 1: Measure and Mark
The first step in cutting a sink into a countertop is to measure and mark the area for the cutout carefully. Begin by placing the sink template provided by the manufacturer onto the countertop in the desired location. Use measuring tape to ensure the sink is centered and aligned properly with surrounding cabinets or fixtures, such as a faucet or dishwasher.

Once correctly positioned the template, trace its outline onto the countertop with a pencil. Double-check your measurements to ensure everything is precise, as accurate markings are crucial to achieving a clean and professional fit. Additionally, consider the overhang or lip of the sink, if applicable, when tracing, as this will affect how the sink rests on the countertop.
Step 2: Prepare the Countertop
Before cutting, take precautions to protect the countertop and surrounding area. Clear the workspace of any unnecessary items and cover nearby surfaces with a drop cloth to catch debris. If the countertop is installed, ensure it is fully supported to prevent vibrations or movement during the cutting process. Attach masking tape along the pencil outline to avoid chipping and to create a clean guide for your cut. This preparation step will help maintain the integrity of the countertop and provide you with a steady and safe surface to work on.
Step 3: Cut the Countertop
Using the appropriate cutting tool for your countertop material, carefully cut along the outline. For most materials, a jigsaw with a fine-toothed blade works well, but you may need a diamond blade or specialized saw for more complex surfaces like stone.
Start cutting slowly to maintain control and follow the guide precisely. Wear protective eyewear, a dust mask, and gloves to safeguard yourself from debris and sharp edges. Take breaks as needed to avoid overheating the tool or causing unnecessary strain. Once the cutting is complete, inspect the edges to ensure they are smooth and adjust as necessary with sandpaper or a file.
Step 4: Test the Fit
After cutting the countertop, carefully place it onto the base or cabinets to test the fit. Check that the edges align correctly with the walls and that there are no gaps. Ensure that the cutouts for sinks or appliances are positioned correctly and fit snugly. Make small adjustments using a file or sandpaper to refine the edges and achieve a perfect fit if necessary. This step is crucial to avoid complications during the installation process and confirm that no further modifications are needed before securing the countertop.
Step 5: Secure the Countertop
Once you have confirmed the fit, proceed to secure the countertop. Apply a bead of silicone adhesive or construction-grade glue along the top edges of the base or cabinets where the countertop will rest. Carefully lower the countertop onto the adhesive, ensuring it aligns correctly and sits evenly. Press down gently to help the adhesive bond, and wipe away any excess that squeezes out with a damp cloth. Allow the adhesive to cure according to the manufacturer’s instructions before proceeding to the final steps, ensuring the countertop is fixed securely.
Step 6: Seal the Countertop
To protect your countertop and extend its lifespan, apply an appropriate sealant based on the material of the countertop. Use a high-quality stone sealer for natural stone countertops to prevent stains and moisture absorption. Follow the manufacturer’s instructions for applying the sealant, ensuring complete coverage across the surface. Allow the adhesive to cure as recommended, and wipe away any excess to achieve a smooth, polished finish. Sealing your countertop is essential for maintaining its durability and appearance over time.
Step 7: Final Touches and Inspection
Once the sealant has cured, inspect your countertop for any imperfections or areas requiring additional attention. Check that all edges are smooth, the countertop is securely attached, and the sealant has been evenly applied.
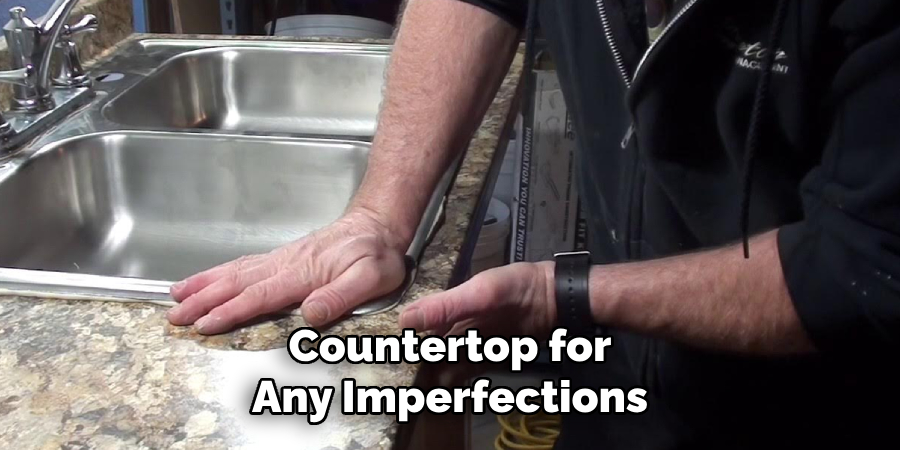
Make minor adjustments or apply extra sealant to areas needing reinforcement. Finally, clean the countertop thoroughly with a soft cloth and a suitable cleaning solution to remove any dust or residue from the installation process. Your countertop is ready for use, providing a functional and stylish surface for your kitchen or workspace.
Step 8: Maintenance and Care
Establish a regular maintenance routine to ensure the longevity and appearance of your countertop. Clean the surface frequently with a mild, non-abrasive cleaner to prevent buildup and stains. Avoid placing hot items directly on the countertop and use cutting boards to prevent scratches. Reseal the surface periodically, as the manufacturer recommends, to maintain its protective layer.

By following these simple steps, you can successfully cut a sink into a countertop and create a professional-looking and functional addition to your home.
5 Things You Should Avoid
1. Using Incorrect Tools: Always use the right tools, such as a jigsaw or circular saw with the appropriate blade, to cut countertops. Using unsuitable tools can result in uneven cuts or damage to the countertop material.
2. Skipping Measurements: Avoid neglecting precise measurements. Failing to accurately measure and mark the sink placement can lead to misaligned cuts, rendering the countertop unusable.
3. Cutting Without Support: Never cut the countertop without properly supporting the material. Unsupported areas can break or crack under the pressure of the cutting tool, causing costly mistakes.
4. Not Wearing Safety Gear: Do not cut a countertop without wearing safety goggles, gloves, and a dust mask. Failing to protect yourself can expose you to injuries from flying debris or dust inhalation.
5. Rushing the Process: Take your time and follow a step-by-step process. Avoid rushing, as hasty cuts can lead to errors, such as uneven edges or improperly sized openings for the sink. Patience and attention to detail are key.
Conclusion
Cutting a sink in a countertop is a task that requires careful planning, precision, and patience. You can achieve a professional and clean result by using the correct tools, taking accurate measurements, and adequately supporting the material.
Always prioritize safety by wearing the appropriate gear and following the step-by-step process without rushing. Avoid common mistakes to minimize waste and ensure the countertop remains intact and functional. With attention to detail and proper preparation, you can complete the project and create a flawless space for your sink installation.
Hopefully, the article on how to cut a sink in a countertop has provided you with valuable information and tips to help you achieve a successful outcome. Happy DIYing!
Professional Focus
Angela Ervin, a former interior designer turned blogger, specializes in kitchen design and renovations. Through her website, she blends her passion for cooking with design expertise, sharing practical and creative ideas. Known for balancing functionality and beauty, Angela’s insightful content has made her a trusted voice in home design and lifestyle.
About the Author
Angela Ervin, an experienced interior designer and blogger, combines her passion for kitchen renovations with storytelling. Living in Petersburg with her family, she enjoys cooking and testing her projects firsthand. Known for her humor and relatable style, Angela shares creative, functional design insights through her content, making her a trusted voice in home design.
Education History
University: Virginia Commonwealth University
Degree: Bachelor of Fine Arts (BFA) in Interior Design
- Angela’s education at VCU focused on mastering core interior design principles, including spatial planning, color theory, materials selection, and sustainable design practices.
- She gained hands-on experience through studio projects and collaborative design exercises, which honed her ability to create functional and aesthetically pleasing environments.
- Her coursework also emphasized problem-solving and practical applications of design, preparing her for real-world projects like her self-directed kitchen renovations.
- The program’s strong foundation in both technical skills and creative expression shaped Angela’s ability to seamlessly integrate form and function in her work.