
Are you looking to give your kitchen a budget-friendly update? Don’t worry – you don’t need to break the bank in order to give your countertops a fresh new look.
How to cut laminate countertops can be a straightforward task with the right tools and techniques. Whether you’re installing new countertops or customizing existing ones, achieving clean and accurate cuts is essential for a professional-looking finish. Laminate countertops are durable and cost-effective, making them popular for kitchens and bathrooms. However, improper cutting can lead to chipping or uneven edges.
By following a few basic steps and using appropriate methods, you can ensure a smooth and successful cut while maintaining the integrity of the material. Let’s dive into the details of cutting laminate countertops effectively.
What Are the Causes of Damages to Laminate Counters?
Before we start discussing how to cut laminate countertops, it is important to understand the common causes of damage that can occur during the cutting process. These include:
- Incorrect Measuring: Accurate measurements are crucial for a precise and clean cut. Any measurement errors can lead to uneven edges or gaps between the countertop and wall.
- Using Dull Blades: Dull saw blades can result in jagged cuts, causing chips or splinters on the surface of the laminate.
- Lack of Support: Not properly supporting the countertop while cutting can cause it to crack or break, especially at the edges.
So, before cutting your laminate countertops, double-check your measurements, use sharp blades, and have proper support in place.
What Will You Need?
To cut laminate countertops, you’ll need a few essential tools:
- Measuring Tape: For accurate countertop measurements and any additional cuts needed.
- Circular Saw or Jigsaw: These are the most commonly used tools for cutting laminate countertops. Make sure to use ones with sharp blades.
- Clamps or Sawhorses: To securely hold the countertop in place while cutting.
- Masking Tape: Used to create a smooth edge and prevent chipping during cutting.
You can begin the cutting process once you have all these tools ready.
8 Easy Steps on How to Cut Laminate Countertops
Step 1: Measure and Mark the Cutting Line
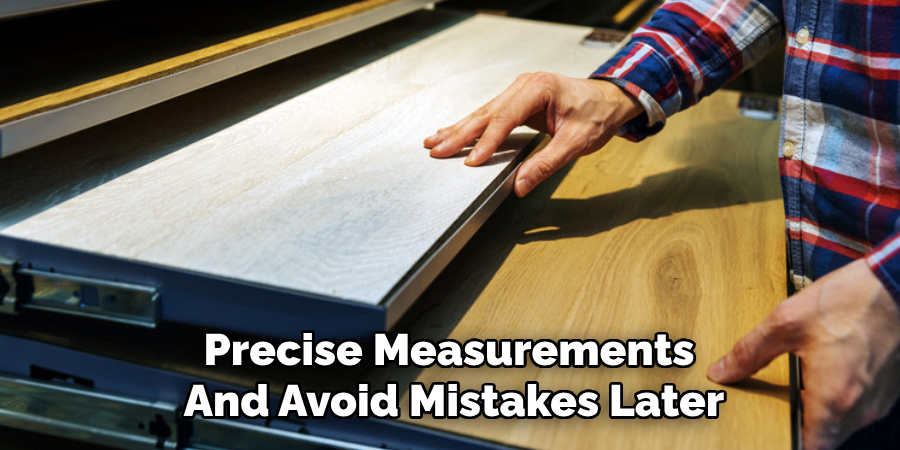
Begin by using your measuring tape to determine the exact length and width where the cut is needed. Take your time with this step to ensure precise measurements and avoid mistakes later in the process. Once you have your measurements, mark the cutting line clearly using a pencil or marker. Using a straight edge or ruler ensures the line remains even and straight.
To further prevent any chipping during the cut, apply a strip of masking tape over the marked line. This tape will stabilize the laminate surface and protect it from splintering when the saw blade passes through. Double-check your measurements and marks before moving on to the next step, as accuracy sets the foundation for a clean and professional-looking cut.
Step 2: Secure the Countertop
Place the laminate countertop on a stable, flat surface like a workbench or sawhorses. Ensure that the cutting area is fully supported to prevent movement or vibrations during the process. Use clamps to hold the countertop firmly in place, positioning them away from the cutting line to avoid interference. A secure setup is crucial for maintaining control and achieving a precise cut. Verify that the clamps are tightly fastened and the surface is sturdy before moving forward.
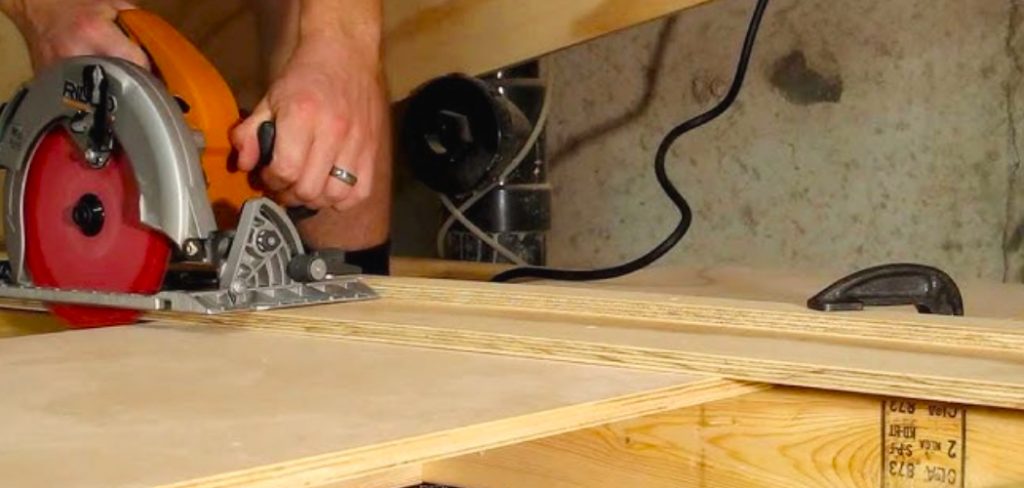
Step 3: Make the Cut
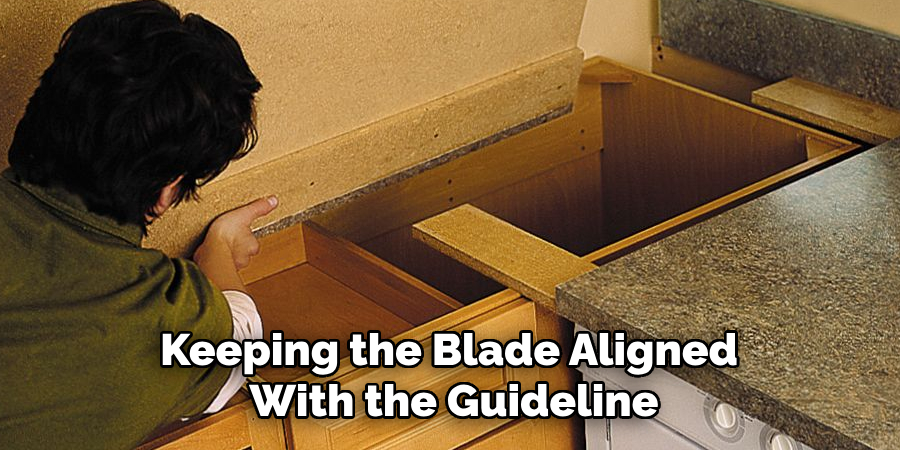
Carefully begin cutting along the marked line, Using a fine-tooth or circular saw with a blade designed for laminate. Start the saw slowly and maintain a steady pace, keeping the blade aligned with the guideline. Avoid forcing the saw, as this can create rough edges or damage the laminate surface. Use a straight edge or guide rail to help keep your cut on track for added precision. Take your time to ensure the cut is smooth and clean. Once complete, inspect the edges for any splinters or rough spots and sand them lightly with fine-grit sandpaper if necessary.
Step 4: Finishing the Edges
After completing the cut, the edges must be finished properly for a polished look. If applicable, use an adhesive recommended for your countertop material to apply edge banding or laminate strips. Press the edging firmly and trim any excess with a utility knife or edge trimmer. Use a file to carefully smooth and shape the edges, ensuring no sharp or uneven areas. For a seamless finish, clean the surface with a damp cloth to remove any debris or adhesive residue. Taking the time to finish the edges properly will enhance the overall appearance and durability of your countertop.
Step 5: Installing the Countertop
With the edges finished, you’re ready to install the countertop in its designated space. Begin by dry-fitting the countertop to ensure it aligns correctly with the walls, cabinets, or adjoining surfaces. Make minor cuts or sanding to achieve a perfect fit if adjustments are needed. Apply a quality countertop adhesive or silicone sealant along the top edges of the cabinets to secure the countertop.
Carefully place the countertop onto the adhesive, pressing it firmly to ensure it adheres properly. Use clamps or weights to hold it in place while the adhesive sets. Once installed, check for levelness using a spirit level and make any necessary corrections before the adhesive fully cures. Proper installation ensures stability and a professional finish for your completed project.
Step 6: Sealing the Countertop
After the countertop is securely installed and the adhesive has fully cured, the next step is sealing the surface to protect it from stains, moisture, and wear. Begin by thoroughly cleaning the countertop to remove any dust or debris from the installation process. Once the surface is clean and dry, apply a high-quality sealant appropriate for the material of your countertop. Use a clean cloth or applicator brush to evenly spread the sealant, following the manufacturer’s recommendations for application and drying times.
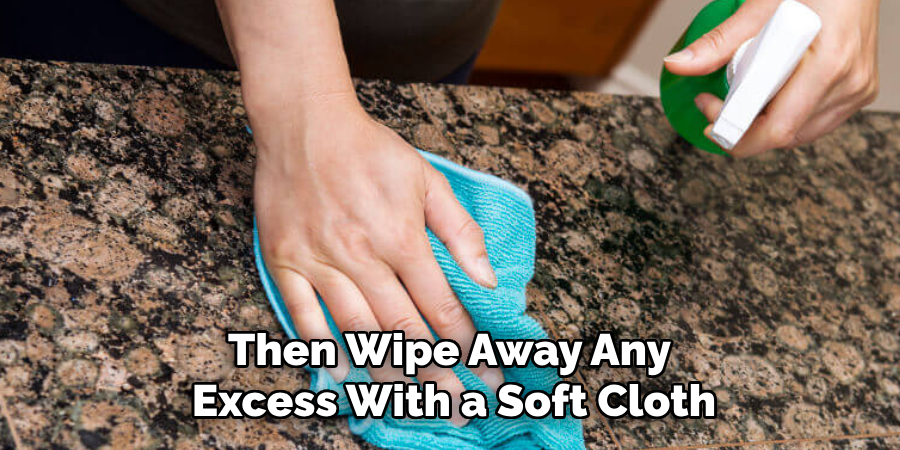
Allow the sealant to penetrate the surface, and then wipe away any excess with a soft cloth. Multiple coats may be required for optimal protection for porous materials like granite or marble. Sealing the countertop not only preserves its appearance but also extends its lifespan.
Step 7: Final Inspection and Maintenance Tips
Once the sealant has dried completely, it’s time to perform a final inspection of your countertop. Check for any areas requiring additional attention, such as stains, uneven sealant application, or loose edges. Ensure the surface is smooth and free from imperfections. After the inspection, clean the countertop with a non-abrasive cleaner to remove any remaining residue.
To maintain the longevity of your countertop, follow a regular cleaning schedule using appropriate cleaners for the material. Avoid using harsh chemicals or abrasive tools that could damage the surface. For materials like granite or marble, reapply sealant periodically as the manufacturer recommends. By keeping up with maintenance, your countertop will remain durable and visually appealing for years.
Step 8: Enjoy Your Refreshed Countertop

Now that your countertop has been cleaned, repaired, and sealed, it’s time to enjoy the results of your hard work. Admire your surface’s renewed appearance and functionality, whether you’re preparing meals, hosting guests, or simply going about your daily routine. A well-maintained countertop enhances your home’s aesthetic and provides a durable and practical workspace. Remember, consistent care is key to preserving its beauty and utility.
By following these steps and taking the time to properly cut, finish, install, seal, and maintain your laminate countertop, you can achieve a professional-looking result that will elevate your space.
5 Things You Should Avoid
- Using the Wrong Tools: Avoid using tools not specifically designed for laminate countertop cutting. For instance, a dull or incorrect blade can lead to chipping or uneven edges, compromising the countertop’s finish.
- Skipping Measurements: Never skip precise measurements before cutting. Failure to measure accurately can result in cuts that don’t align with the required dimensions, causing wastage or improper installation.
- Ignoring Safety Precautions: Cutting laminate without the proper safety gear, such as goggles and gloves, can put you at risk of injury from debris or sharp materials. Always prioritize safety during the process.
- Cutting Too Quickly: Rushing through the cutting process can lead to mistakes like jagged edges or cracked laminate. Take your time to ensure steady and controlled cuts for a clean result.
- Failing to Secure the Countertop: If the countertop is not adequately stabilized during cutting, it can shift, leading to inaccurate cuts or even damage to the material. Always ensure the laminate is firmly clamped before starting.
Conclusion
How to cut laminate countertops can be a straightforward process if you take the time to plan and follow the appropriate steps carefully. Always ensure you have the right tools, take precise measurements, and prioritize safety to achieve a clean and professional finish.
You can save time, materials, and effort by avoiding common mistakes such as cutting too quickly or skipping critical steps. Proper preparation and a steady hand are key to successfully cutting laminate countertops that fit perfectly and maintain their integrity.
Hopefully, the article has provided you with the necessary knowledge and tips to complete this DIY project with confidence. Happy cutting!
Professional Focus
Angela Ervin, a former interior designer turned blogger, specializes in kitchen design and renovations. Through her website, she blends her passion for cooking with design expertise, sharing practical and creative ideas. Known for balancing functionality and beauty, Angela’s insightful content has made her a trusted voice in home design and lifestyle.
About the Author
Angela Ervin, an experienced interior designer and blogger, combines her passion for kitchen renovations with storytelling. Living in Petersburg with her family, she enjoys cooking and testing her projects firsthand. Known for her humor and relatable style, Angela shares creative, functional design insights through her content, making her a trusted voice in home design.
Education History
University: Virginia Commonwealth University
Degree: Bachelor of Fine Arts (BFA) in Interior Design
- Angela’s education at VCU focused on mastering core interior design principles, including spatial planning, color theory, materials selection, and sustainable design practices.
- She gained hands-on experience through studio projects and collaborative design exercises, which honed her ability to create functional and aesthetically pleasing environments.
- Her coursework also emphasized problem-solving and practical applications of design, preparing her for real-world projects like her self-directed kitchen renovations.
- The program’s strong foundation in both technical skills and creative expression shaped Angela’s ability to seamlessly integrate form and function in her work.