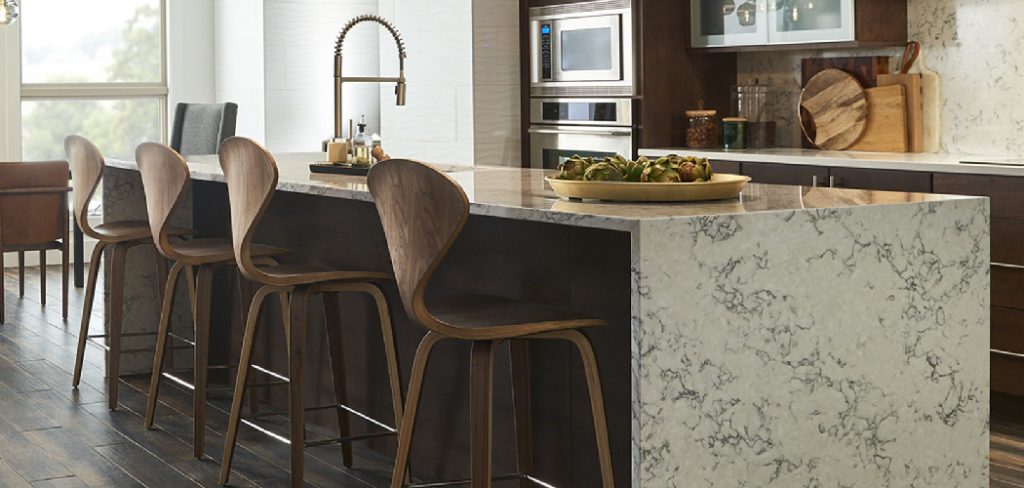
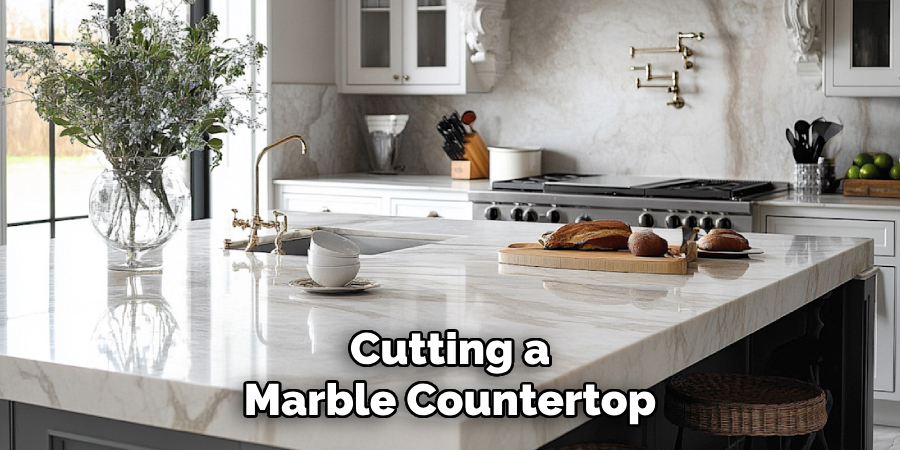
Are you looking to cut your marble countertop for a bathroom or kitchen remodel? Don’t worry, it’s easier than you think!
How to cut marble countertop can seem like a daunting task, but with the right tools, preparation, and techniques, it’s a process that can be managed successfully. Whether you’re customizing a piece for a perfect fit or resizing it for a new project, precision is crucial to preserve the beauty and integrity of the marble.

This guide will walk you through the essential steps to cut a marble countertop safely and efficiently, ensuring professional results even for DIY enthusiasts. When done correctly, you can achieve a clean cut that enhances the elegance and functionality of your space. Let’s get started!
What Are the Benefits of Cutting a Marble Countertop?
Cutting a marble countertop allows you to customize and create a perfect fit for your space, whether it’s a new build or a remodel. It also allows you to add unique design elements such as curves or angles to your countertop, making it stand out from traditional straight-edged countertops.
Moreover, cutting a marble countertop can save you money compared to purchasing pre-cut pieces. You can also repurpose an existing marble slab for another project instead of buying a new one. This makes cutting your own marble countertop not only cost-effective but also environmentally friendly.
What Will You Need?
Before cutting, ensure you have all the necessary tools and materials ready. Here’s a list of items you’ll need:
- Safety gear (gloves, protective eyewear, face mask)
- Measuring tape
- Marker or pencil
- Straight edge ruler or level
- Diamond-tipped circular saw blade
- Wet tile saw (for intricate cuts)
- Angle grinder with diamond blade (for curved cuts)
- Clamps
- Water bottle/sprayer
It’s important to note that marble is fragile and can crack easily if not handled correctly. Therefore, it’s crucial to use high-quality tools specifically designed for cutting stone to minimize the risk of damage to the marble.
10 Easy Steps on How to Cut Marble Countertop

Step 1: Measure and Mark the Marble
Begin by accurately measuring the dimensions of your countertop space. Use a measuring tape to determine the exact size needed for your marble countertop. Once measured, use a marker or pencil to outline the desired cut line on the marble directly. A straight edge or level can help ensure straight and precise markings. Double-check your measurements before proceeding to avoid mistakes.
Step 2: Secure the Marble
Properly securing the marble is essential to ensure a clean and accurate cut and prevent any accidental movement during the process. Place the marble slab on a stable, flat surface like a workbench or sawhorses. Use clamps to firmly hold the marble in place, ensuring that it does not shift while cutting.
To protect the marble from potential damage caused by the clamps, place a soft cloth or padding between the clamps and the surface of the marble. Double-check that the marble is wholly stabilized before you begin cutting. A secure setup will not only produce better results but also improve safety during the process.
Step 3: Choose the Right Tools
Selecting the proper tools is critical for cutting marble effectively and safely. A diamond-coated blade is highly recommended, specifically designed to cut through hard materials like marble without causing cracks or chips. You can use a wet saw or an angle grinder equipped with a diamond blade, depending on the size and nature of your project.
A wet saw is ideal for larger, straight cuts, while an angle grinder is better suited for more minor, intricate cuts. Ensure that your tools are in good condition and double-check that they are compatible with the task at hand. Using the right tools will guarantee a smoother cutting process and professional-looking results.
Step 4: Mark the Cutting Line
Before you start cutting, carefully measure and mark the cutting line on the marble. Use a pencil or a washable marker to draw a clear, visible line that outlines where the cut will be made. Ensure your measurements are accurate to avoid mistakes that may waste material.
For straight cuts, a ruler or a straight edge can help maintain precision. Consider using a template or stencil to trace the desired shape if you need to make curved or intricate cuts. Taking the time to mark the cutting line properly will make it easier to follow with your cutting tool and ensure a clean, professional result.
Step 5: Secure the Marble
To ensure safety and precision, securely hold the marble in place before beginning to cut. Use clamps or a sturdy workbench to stabilize the marble, preventing any movement during the cutting process.
Be cautious not to apply too much pressure with the clamps, as this can damage or crack the marble. Properly securing the material will help you maintain a steady hand when using your cutting tools and reduce the risk of errors or accidents.

Step 6: Start Cutting the Marble
Once the marble is adequately secured, begin cutting slowly and steadily using the appropriate tool for your project, such as a wet saw or an angle grinder with a diamond blade.
Keep the blade aligned with the marked guide to ensure precision. If using a wet saw, ensure the water reservoir is full to minimize dust and keep the blade cool. Take your time and avoid rushing, as this can lead to uneven cuts or damage to the marble. Periodically pause to check your progress and adjust to maintain accuracy.
Step 7: Smooth the Edges
After completing the cuts, use a sanding stone or a polishing pad to smooth out the edges of the marble. This step is crucial to remove any rough or sharp edges left behind by the cutting process. Start with a coarse grit and gradually move to a finer grit for a polished finish.
Work carefully along the edges, maintaining even pressure to avoid removing too much material. Smoothing the edges enhances the marble’s appearance and ensures safety when handling or installing the cut pieces.
Step 8: Clean the Marble
Once the cutting and smoothing processes are complete, thoroughly clean the marble to remove any dust, debris, or residue. Use a soft, damp cloth and a gentle cleaner designed for marble surfaces to avoid damage.
Wipe the surface and edges carefully, ensuring no particles are left that could interfere with installation or compromise the finish. Allow the marble to dry completely before proceeding to the next step in your project.
Step 9: Seal the Marble
Sealing the marble is an essential step to protect it from stains, moisture, and wear. Choose a high-quality marble sealant appropriate for the type of marble you’re working with.
Apply the sealant evenly across the surface and edges using a clean, soft cloth or applicator, following the manufacturer’s instructions. Allow the sealant to penetrate the marble, and then wipe away any excess to prevent streaks. Ensure sufficient curing time for the sealant to set properly before using or installing the marble. Regular sealing will help preserve the marble’s beauty and longevity.

Step 10: Polish the Marble
Polishing the marble is the final step to enhance its natural shine and achieve a smooth, lustrous finish. Use a high-quality marble polish specifically formulated for the type of marble you are working with. Apply the polish in small sections using a clean, soft cloth or buffer, working in circular motions to evenly distribute it across the surface.
Once the polish has been applied, gently buff the marble with a dry, lint-free cloth to bring out its radiant shine. Regular polishing will help maintain the marble’s pristine appearance and elevate its elegance.
By following these ten steps, you can effectively and safely cut marble for your next project.
5 Things You Should Avoid
- Using the Wrong Tools: Avoid using tools not specifically designed for cutting marble. Using inappropriate tools can lead to uneven cuts, damage to the marble, or even personal injury.
- Skipping Safety Measures: Never neglect safety precautions like wearing protective eyewear, gloves, and a dust mask. Marble cutting generates fine dust particles that can be hazardous to your health.
- Cutting Without a Solid Support: Ensure the marble countertop is firmly secured on a stable surface during cutting. Cutting without proper support can cause the marble to crack or break unintentionally.
- Rushing Through the Process: Patience is key when cutting marble. Avoid rushing, as it increases the risk of mistakes, such as jagged edges or uneven lines, which can ruin the countertop.
- Ignoring Proper Measurements: Always double-check your measurements before making cuts. Skipping this step often leads to cuts that are too short or too long, making the final installation difficult or impossible.

Conclusion
How to cut marble countertop requires precision, proper tools, and adherence to safety protocols to achieve the desired results.
You can ensure a clean and professional finish by avoiding common mistakes such as improper measurements, inadequate support, or the use of incorrect tools.
Always take the time to plan each step, prioritize safety, and execute the process patiently. With careful preparation and attention to detail, cutting a marble countertop can be accomplished smoothly, resulting in a beautiful and functional addition to your space.
Hopefully, this guide has provided you with the necessary information to confidently embark on your marble cutting journey. Happy cutting!
Professional Focus
Angela Ervin, a former interior designer turned blogger, specializes in kitchen design and renovations. Through her website, she blends her passion for cooking with design expertise, sharing practical and creative ideas. Known for balancing functionality and beauty, Angela’s insightful content has made her a trusted voice in home design and lifestyle.
About the Author
Angela Ervin, an experienced interior designer and blogger, combines her passion for kitchen renovations with storytelling. Living in Petersburg with her family, she enjoys cooking and testing her projects firsthand. Known for her humor and relatable style, Angela shares creative, functional design insights through her content, making her a trusted voice in home design.
Education History
University: Virginia Commonwealth University
Degree: Bachelor of Fine Arts (BFA) in Interior Design
- Angela’s education at VCU focused on mastering core interior design principles, including spatial planning, color theory, materials selection, and sustainable design practices.
- She gained hands-on experience through studio projects and collaborative design exercises, which honed her ability to create functional and aesthetically pleasing environments.
- Her coursework also emphasized problem-solving and practical applications of design, preparing her for real-world projects like her self-directed kitchen renovations.
- The program’s strong foundation in both technical skills and creative expression shaped Angela’s ability to seamlessly integrate form and function in her work.
