
Are you planning to remodel your kitchen? Have you decided to use quartzite for your countertops?
Quartzite countertops are popular for modern kitchens and bathrooms due to their durability, natural beauty, and resistance to heat and scratches. However, cutting quartzite requires precision, the right tools, and careful technique to avoid cracking or damaging the material.

Whether you’re a professional fabricator or a DIY enthusiast, understanding the essential steps and safety considerations is critical when working with quartzite. Additionally, it’s essential to adhere to proper maintenance practices to ensure the longevity of your quartzite countertops.
This guide on how to cut quartzite countertops will walk you through the process, ensuring a successful and stress-free project. Let’s get started with the necessary tools and equipment.
What Are the Benefits of Quartzite Countertops?
Before we dive into the cutting process, let’s quickly go over why quartzite is a popular choice for countertops.
- Durability: Quartzite is one of the hardest natural stones, ranking higher than granite and marble. It can withstand high levels of foot traffic, making it an ideal material for kitchen and bathroom countertops.
- Heat Resistance: Quartzite has a high tolerance to heat, making it suitable for placing hot pots and pans directly on the surface without causing any damage.
- Scratch Resistance: Its dense composition makes quartzite resistant to scratches and abrasions from sharp objects or daily use.
- Natural Beauty: Quartzite comes in various colors and patterns, adding a touch of elegance and sophistication to any space.
- Low Maintenance: Quartzite is relatively easy to maintain, requiring only regular cleaning with mild soap and water. It’s also non-porous, making it resistant to stains and bacteria.
Now that you know the benefits of quartzite countertops, let’s move on to the cutting process.
What Will You Need?
- Safety gear (protective goggles, gloves, and a dust mask)
- Measuring tape
- Straight edge ruler or level
- Diamond-tipped saw blade suitable for cutting quartzite
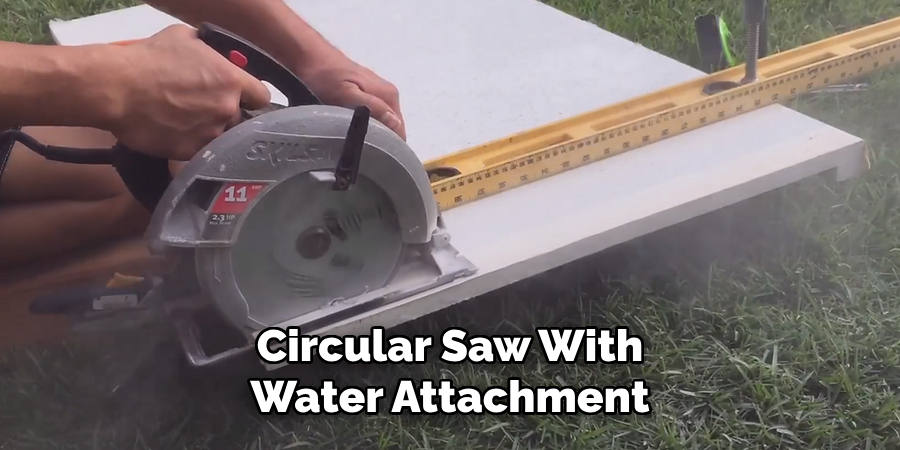
- Wet tile saw or circular saw with water attachment
- Clamps
- A pencil or marker for marking cuts
- Sandpaper or diamond polishing pads
Now that you have all the necessary tools, it’s time to start cutting your quartzite countertops. But before we do, let’s go over some safety precautions.
8 Easy Steps on How to Cut Quartzite Countertops
Step 1: Measure and Mark the Cut Line
Start by accurately measuring where the quartzite countertop needs to be cut. Use a measuring tape to determine the exact dimensions, ensuring precise measurements to avoid any mistakes. Once you have the correct measurements, use a straight edge ruler or a level to create a straight and clean cut line on the quartzite. Mark the desired cut location with a pencil or a marker that shows clearly on the surface of the quartzite. Double-check the measurements and markings to align perfectly with your installation requirements. Measuring and marking the cut line accurately is crucial, as even the most minor miscalculation can lead to material waste or improper fitting.
Step 2: Secure the Quartzite Countertop
Once the cut line is marked, securely position the quartzite countertop to prevent movement during cutting. Use sturdy clamps to fasten the countertop to a workbench or a stable surface. Make sure that the marked cut line is fully accessible and not obstructed by the clamps or any other tools. A stable work surface is critical to maintain precision and minimize the risk of accidents. Additionally, ensure that the quartzite is evenly supported to avoid cracking or damage during cutting.
Step 3: Choose the Right Cutting Tool
Selecting the appropriate cutting tool is vital for a clean and accurate cut on quartzite. A diamond blade, either on a wet saw or an angle grinder, is highly recommended due to its ability to handle the hardness of quartzite efficiently.
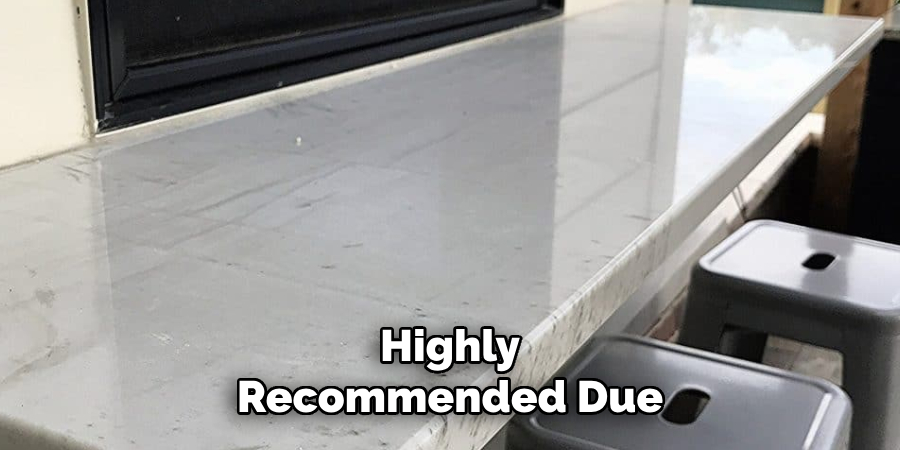
Wet saws are particularly effective, reducing dust and overheating while ensuring smooth edges. Before using the tool, inspect the blade for any signs of wear or damage that could compromise the quality of the cut. Always follow the manufacturer’s guidelines when operating the cutting tool, and ensure you wear proper safety gear, including goggles, gloves, and a mask, to protect yourself during the cutting process.
Step 4: Mark and Secure the Cut Line
Before cutting the quartzite, carefully measure and mark the desired cut line using a pencil or non-permanent marker. Use a straight edge or template to ensure the line is accurate and straight. Once marked, firmly secure the quartzite using clamps or another reliable method to prevent movement during the cutting process. Ensuring stability is crucial to achieving a precise cut and avoiding any mistakes or damage to the material. Double-check your measurements and markings to confirm accuracy before proceeding.
Step 5: Make the Cut
With the quartzite securely in place, begin the cutting process by slowly guiding the cutting tool along the marked line. Maintaining a steady hand and consistent pressure ensures a clean and precise cut. Take your time during this step to avoid chipping or uneven edges. If necessary, periodically pause to check the progress of the cut and ensure you are staying on track with the marked line. After completing the cut, inspect the edges for smoothness and use a polishing tool if needed to refine them.
Step 6: Clean and Finish the Surface
Once the cutting process is complete, clean the quartzite surface to remove any dust or debris left from the cutting. Use a damp cloth or a soft brush to wipe the surface gently, ensuring no residue remains. If the edges were polished in the previous step, verify that they are smooth and free of imperfections.
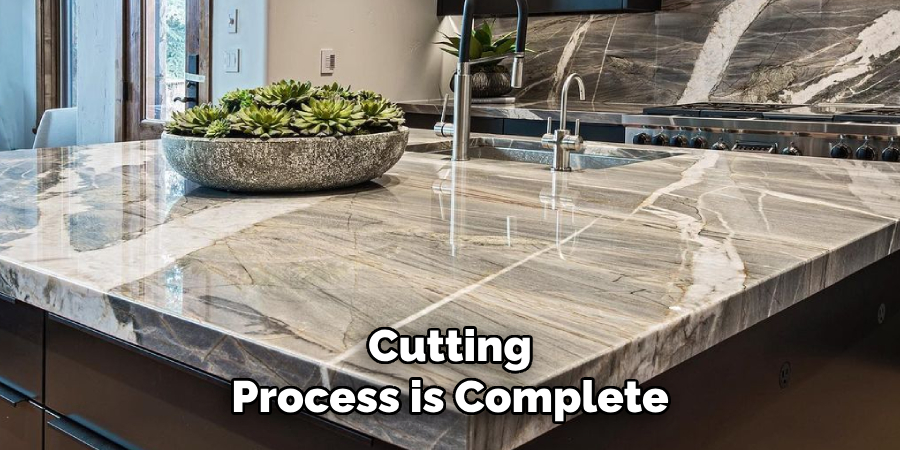
For a professional finish, consider applying a sealant to protect the quartzite from stains and enhance its natural color and shine.
Step 7: Install the Quartzite
After the quartzite surface has been prepared and finished, it is ready for installation. Carefully position the quartzite in its designated location, ensuring it aligns perfectly with any surrounding surfaces or structures. If adhesive or mounting materials are required, apply them according to the manufacturer’s guidelines, distributing them evenly for a secure and lasting bond. Once in place, gently press the quartzite to ensure proper adhesion. Use a level to confirm that the surface is even, making any necessary adjustments. Allow sufficient time for the adhesive to cure fully before using or applying any weight to the quartzite.
Step 8: Final Inspection and Maintenance
Once the quartzite has been installed and the adhesive has fully cured, perform a thorough final inspection. Check for gaps, uneven surfaces, or imperfections, and address them as needed. Clean the surface with a soft cloth and a mild cleaner to remove any residue from the installation process. To maintain the quartzite’s natural beauty and durability, implement a regular cleaning and sealing routine as the supplier recommends. Proper maintenance will help preserve the quartzite’s appearance and structural integrity for years to come.
By following these ten simple steps, you can achieve a professional and accurate cut on your quartzite countertop.
5 Things You Should Avoid
1. Using the Wrong Tools: Quartzite is a tough material, and using improper tools can lead to damage or uneven cuts. Always opt for diamond blades explicitly designed for cutting hard stone to ensure precision and avoid cracking.
2. Skipping Proper Safety Measures: Cutting quartzite generates plenty of dust. Failing to wear protective gear such as goggles, gloves, and a respirator can expose you to potential hazards. Make safety a priority at all times.
3. Ignoring Proper Support: It can crack or break during the cutting process without sufficient support beneath the countertop slab. Always secure the quartzite properly to avoid unnecessary damage.
4. Cutting Without Marking Measurements: Attempting to cut quartzite without clearly marking your measurements can lead to costly mistakes. Always double-check and mark where the cuts should be made to achieve accurate results.
5. Rushing the Process: Quartzite cutting requires patience and attention to detail. Rushing through the process or applying uneven pressure can result in poor cuts, tool damage, or even injury. Take your time and work carefully for the best outcome.
Why is Quartzite So Hard to Cut?
Quartzite is a naturally occurring metamorphic rock that forms when sandstone goes through high levels of pressure and heat. This process creates a dense and tightly packed structure, making it one of the hardest natural stones available.
One of the main reasons quartzite is so rugged to cut is its high hardness on the Mohs scale. On this scale, which measures mineral hardness from 1-10, with 10 being the hardest, quartzite ranks at an impressive 7.
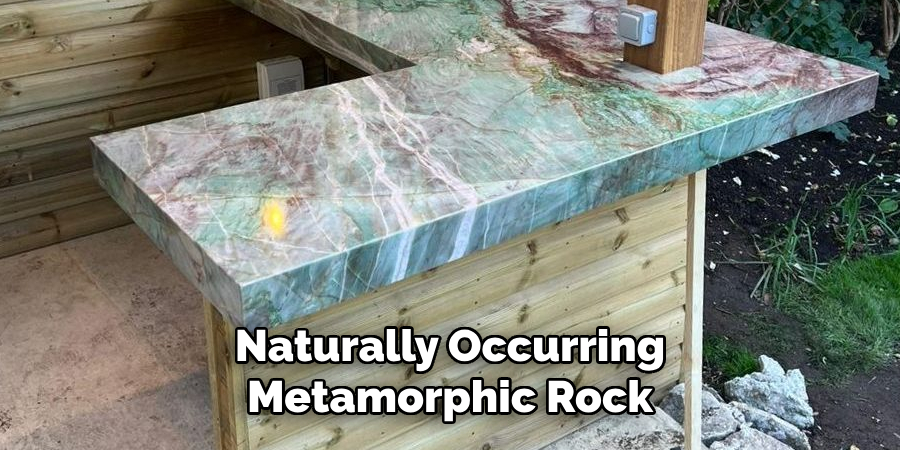
This puts it in the same league as other notoriously hard materials such as granite and diamonds.
Additionally, quartzite has a unique grain structure that can be challenging. It’s made up of tightly bonded quartz crystals, making it resistant to splitting and chipping. This also means that traditional cutting methods used for softer stones may not be as effective on quartzite.
Overall, its hardness, density, and grain structure make quartzite a challenging material to cut, but it can be done successfully with the right tools and techniques.
Conclusion
To successfully cut quartzite countertops, using specialized tools and following precise techniques is essential. Diamond-tipped blades are highly recommended as they can handle the hardness of quartzite without significant wear.
A wet saw is another critical tool, as it helps to reduce heat and dust during the cutting process, minimizing the risk of the stone cracking or chipping. Additionally, measuring twice and marking cutting lines carefully ensures accuracy and reduces the chance of errors. Patience and steady handling are also key to achieving clean cuts.
Hopefully, the article on how to cut quartzite countertops has provided you with valuable insights and tips to successfully complete your project. Happy cutting!
Professional Focus
Angela Ervin, a former interior designer turned blogger, specializes in kitchen design and renovations. Through her website, she blends her passion for cooking with design expertise, sharing practical and creative ideas. Known for balancing functionality and beauty, Angela’s insightful content has made her a trusted voice in home design and lifestyle.
About the Author
Angela Ervin, an experienced interior designer and blogger, combines her passion for kitchen renovations with storytelling. Living in Petersburg with her family, she enjoys cooking and testing her projects firsthand. Known for her humor and relatable style, Angela shares creative, functional design insights through her content, making her a trusted voice in home design.
Education History
University: Virginia Commonwealth University
Degree: Bachelor of Fine Arts (BFA) in Interior Design
- Angela’s education at VCU focused on mastering core interior design principles, including spatial planning, color theory, materials selection, and sustainable design practices.
- She gained hands-on experience through studio projects and collaborative design exercises, which honed her ability to create functional and aesthetically pleasing environments.
- Her coursework also emphasized problem-solving and practical applications of design, preparing her for real-world projects like her self-directed kitchen renovations.
- The program’s strong foundation in both technical skills and creative expression shaped Angela’s ability to seamlessly integrate form and function in her work.