
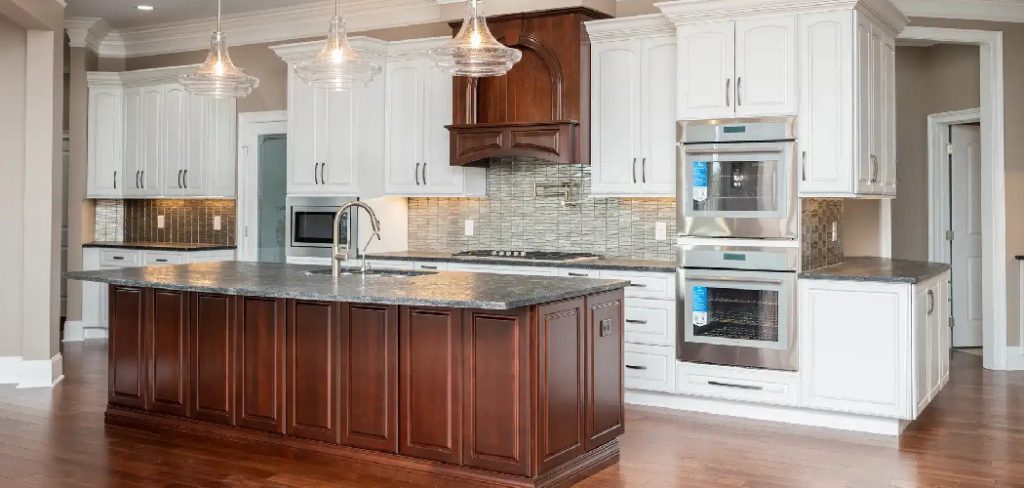
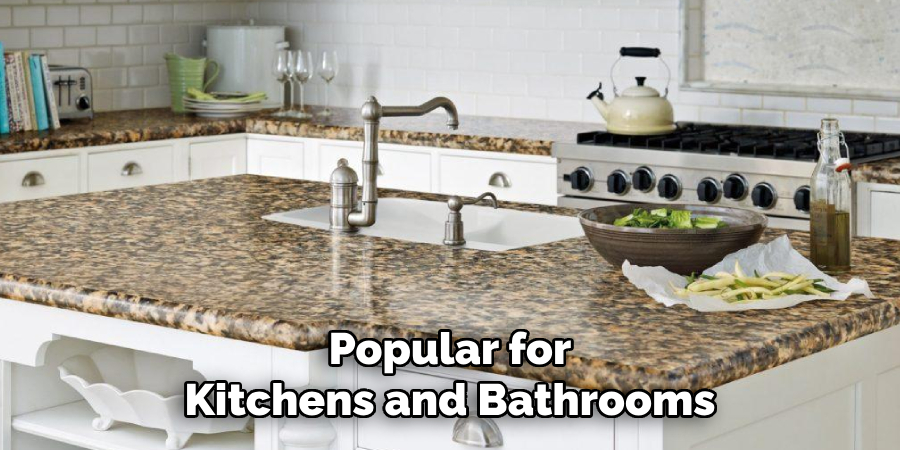
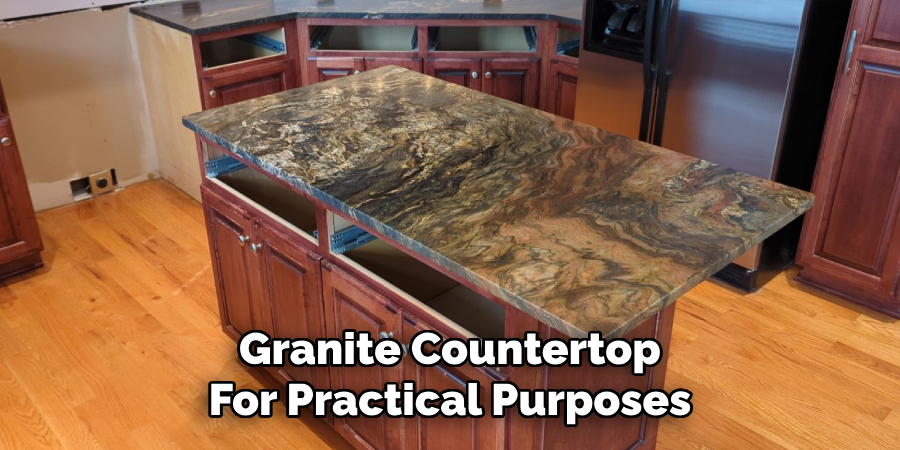
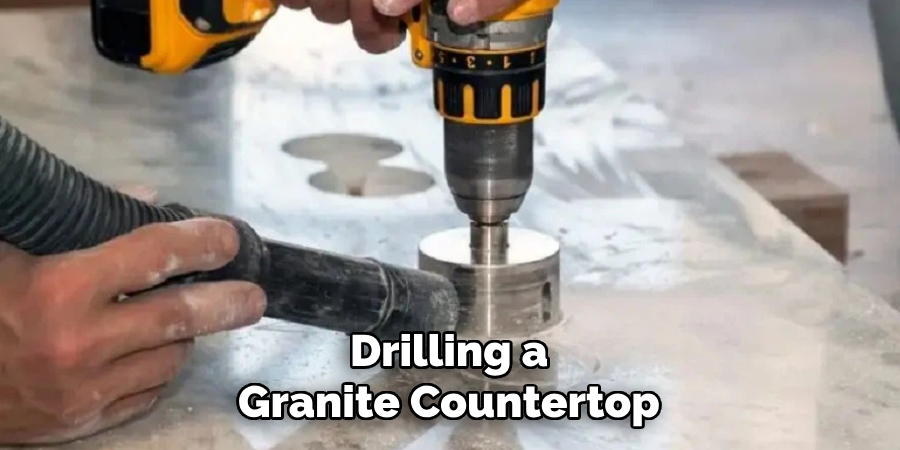
Granite countertops are popular for kitchens and bathrooms due to their durability and elegant appearance. However, you may need to drill a hole in your granite countertop for practical purposes, such as installing a faucet, soap dispenser, sink sprayer, or cable pass-through.
Drilling into granite can be a daunting task, as it is a tough and dense material that requires specialized tools and techniques. Without the proper approach, there is a significant risk of damaging the countertop.
This article aims to provide you with a comprehensive, step-by-step guide on how to drill a hole in a granite countertop safely and effectively.
By following the outlined instructions, you’ll learn the necessary tools to use, how to protect the integrity of the granite, and tips for achieving a clean and precise hole. With the right preparation and patience, this seemingly challenging task can be completed successfully.
Tools and Materials Needed
Successfully drilling a hole in a granite countertop requires the appropriate tools and materials to ensure a clean and precise outcome and protect both the countertop and yourself during the process.
Drilling Equipment:
- Diamond-tipped hole saw or carbide masonry drill bit (the size will depend on the hole diameter needed). These tools are specifically designed to cut through hard materials like granite.
- Variable-speed drill or rotary hammer drill with adjustable torque for controlled drilling and to prevent cracking or damage to the granite surface.
Safety Gear:
- Safety glasses and a dust mask to protect your eyes and lungs from granite dust and flying debris.
- Work gloves to improve grip and protect your hands during the drilling process.
Additional Materials:
- Painter’s tape or masking tape to cover the drilling area and help prevent surface chipping.
- Water source such as a spray bottle, sponge, or running water to cool the drill bit and reduce friction during the drilling process.
- Wood backing board to be placed under the countertop if drilling through a slab before installation, providing stability and protecting the underside of the material.
These tools and materials will ensure a safer and more efficient drilling experience.
Preparing the Granite Countertop for Drilling
Step 1: Mark the Drill Spot
Begin by identifying the exact location where the hole is needed. Use a pencil or marker to make a visible mark at the center of the desired spot. Place a piece of masking or painter’s tape directly over this mark to avoid slipping or chipping during drilling. Then, redraw the mark on top of the tape for clear visibility.
Step 2: Secure the Area
If you are working with a loose slab, place it on a stable workbench to prevent movement during the drilling process. Position a wood backing board beneath the slab to provide additional stability and protect the granite’s underside. If the granite countertop is already installed, take care to ensure proper clearance beneath the drilling area to avoid damaging surrounding structures or cabinetry.
Step 3: Set Up a Water Source
Keeping the drill bit cool is crucial to avoid overheating and to reduce wear. Water also minimizes granite dust production, making the process safer and more efficient. Enlist a helper to spray water steadily onto the drill site using a spray bottle, or create a water dam around the drilling area using a barrier to contain and direct the water flow as you work.
How to Drill a Hole in A Granite Countertop: Drilling a Pilot Hole
Step 1: Choose the Right Drill Bit
To ensure precision and avoid errors, start with a small-diameter diamond drill bit to create a guide hole. Diamond drill bits are specifically designed for hard materials like granite, providing clean and accurate cuts. If you plan to use a hole saw, drill a small indentation at the center of the marked area first. This indentation will serve as a guide to stabilize the hole saw and prevent it from slipping during the drilling process.
Step 2: Begin Drilling Slowly
Set your drill to a low speed, ideally within the range of 1000-1500 RPM. Starting at a slower speed gives you greater control and reduces the risk of cracking or chipping the granite surface. Apply light, consistent pressure on the drill to avoid stressing the material. Avoid forcing the drill bit, as excessive pressure can cause damage to both the granite and the drill bit itself.
Step 3: Maintain a Steady Water Flow
Water plays a key role in cooling the drill bit and reducing dust production. Either spray or trickle water onto the drill site continuously while you work. This prevents overheating, which can dull the bit and potentially damage the granite. It’s also important to stop drilling every few seconds to allow the bit to cool down. Taking brief pauses ensures that the drilling process remains efficient and minimizes wear on your tools.
Finishing and Smoothing the Hole
Step 1: Inspect the Hole for Rough Edges
Once the drilling is complete, carefully examine the edges of the hole for any rough or uneven areas. A sanding drum attached to a rotary tool or a diamond file is used to smooth these edges. This step prevents chipping or cracking over time and ensures a polished, professional finish.
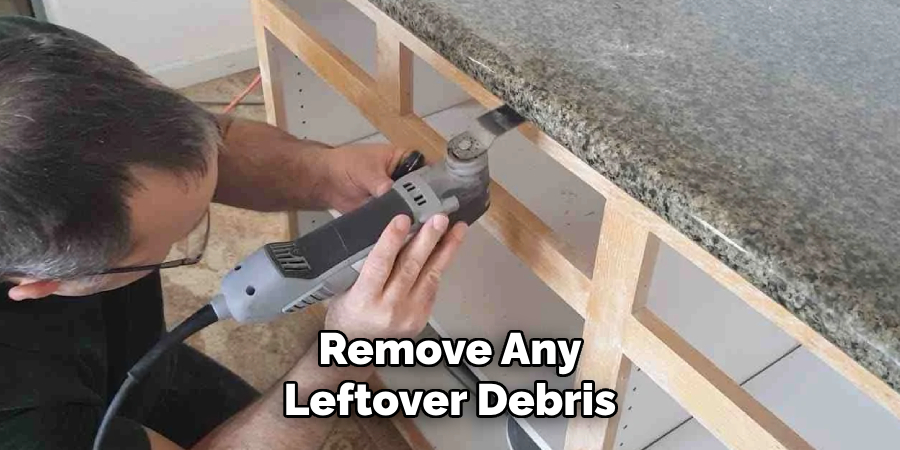
Step 2: Clean the Drilled Area
After smoothing the edges, thoroughly clean the area to remove any leftover debris. Use a damp cloth to wipe the surface of the granite around the hole, ensuring that all dust and grit are cleared away. Additionally, use a vacuum to remove granite dust from the surrounding area, keeping your workspace tidy and safe.
Step 3: Test the Hole for Fit
Before moving on to sealing or finalizing the project, take a moment to test the hole for fit. Whether it’s a faucet, cable, or another fixture, ensure it fits snugly and aligns correctly. This step is vital to confirm that your drilling work meets the required specifications.
Step 4: Seal the Edges (Optional)
For added durability and to protect the granite from moisture infiltration, you may choose to seal the edges of the hole. Use a small brush or applicator to apply a granite sealant carefully around the hole. This optional step adds an extra layer of protection and enhances the longevity of the drilled surface.
Troubleshooting Common Issues
Even with careful preparation, challenges can arise while drilling through granite. Here are some common issues and their solutions:
Drill Bit Overheating
If the drill bit becomes excessively hot, reduce the drilling speed, apply less pressure, and increase the flow of water to cool the bit. Heat buildup can damage both the drill bit and the granite surface.
Cracking or Chipping
To prevent cracking or chipping around the hole, ensure proper tape application over the drilling area to stabilize the surface. Additionally, always begin drilling at a low speed to reduce stress on the granite before gradually increasing speed.
Drill Bit Slipping
Slipping can occur if the drill cannot maintain consistent contact with the granite surface. To combat this, use a guide plate to steady the drill or create a small starter indentation on the surface to keep the bit in place.
Hole Too Small or Misaligned
If the drilled hole is slightly too small or misaligned, a diamond grinding attachment can be used to widen or adjust the hole. Take care to work slowly and methodically to avoid damaging the surrounding granite.
By addressing these issues proactively, you can ensure a smoother and more successful drilling process.
Frequently Asked Questions (FAQs) About Drilling Through Granite
1. Can I Drill Through Granite with A Regular Drill Bit?
No, regular drill bits are unsuitable for granite as the material is too hard. You need to use a diamond drill bit or a carbide-tipped bit specifically designed for drilling through hard surfaces like granite.
2. How Long Does It Take to Drill Through Granite?
The time required depends on the thickness of the granite and the type of drill bit you are using. It may take 10 to 20 minutes to drill through a standard granite slab if done correctly and with proper cooling techniques.
3. Do I Need a Professional to Drill Through Granite?
While hiring a professional can ensure precision, drilling through granite can be a DIY-friendly task if you have the right tools, follow safety precautions, and proceed with patience and care.
4. Is It Safe to Drill Into an Already Installed Granite Countertop?
Yes, it is safe as long as you stabilize the countertop and ensure proper clearance beneath the drilling area. You must also avoid applying excessive pressure to prevent cracking or damaging the structure.
5. What Should I Do if My Drill Bit Gets Stuck in The Granite?
If the drill bit gets stuck, stop the drill immediately and reverse the rotation to free the bit gently. Avoid forcing it, as this could damage both the granite and the drill. Ensure the area is adequately lubricated with water to reduce friction and prevent future sticking.
Conclusion
Drilling a granite countertop requires patience, the right tools, and proper cooling to achieve the desired result without damage. Remember to use a diamond drill bit, apply steady but gentle pressure, and ensure adequate water flow to keep the drill bit cool throughout the process.
These steps can help prevent common issues like cracking, chipping, or slipping. If you are unsure or inexperienced with drilling granite, it’s always a good idea to consider hiring a professional to avoid costly mistakes and ensure a flawless finish. Proper preparation and technique are key to a successful drilling project. Thanks for reading our post about how to drill a hole in a granite countertop.
Professional Focus
Angela Ervin, a former interior designer turned blogger, specializes in kitchen design and renovations. Through her website, she blends her passion for cooking with design expertise, sharing practical and creative ideas. Known for balancing functionality and beauty, Angela’s insightful content has made her a trusted voice in home design and lifestyle.
About the Author
Angela Ervin, an experienced interior designer and blogger, combines her passion for kitchen renovations with storytelling. Living in Petersburg with her family, she enjoys cooking and testing her projects firsthand. Known for her humor and relatable style, Angela shares creative, functional design insights through her content, making her a trusted voice in home design.
Education History
University: Virginia Commonwealth University
Degree: Bachelor of Fine Arts (BFA) in Interior Design
- Angela’s education at VCU focused on mastering core interior design principles, including spatial planning, color theory, materials selection, and sustainable design practices.
- She gained hands-on experience through studio projects and collaborative design exercises, which honed her ability to create functional and aesthetically pleasing environments.
- Her coursework also emphasized problem-solving and practical applications of design, preparing her for real-world projects like her self-directed kitchen renovations.
- The program’s strong foundation in both technical skills and creative expression shaped Angela’s ability to seamlessly integrate form and function in her work.