
Quartzite is a highly durable, natural stone commonly chosen for countertops due to its beauty and resilience. Its unique combination of hardness, which measures seven on the Mohs scale, and low porosity makes it resistant to staining, scratches, and everyday wear and tear. However, this same hardness also presents challenges when it comes to modifications, such as drilling. Standard drill bits are often insufficient to penetrate quartzite, making the process daunting for those unfamiliar with the proper tools and techniques.
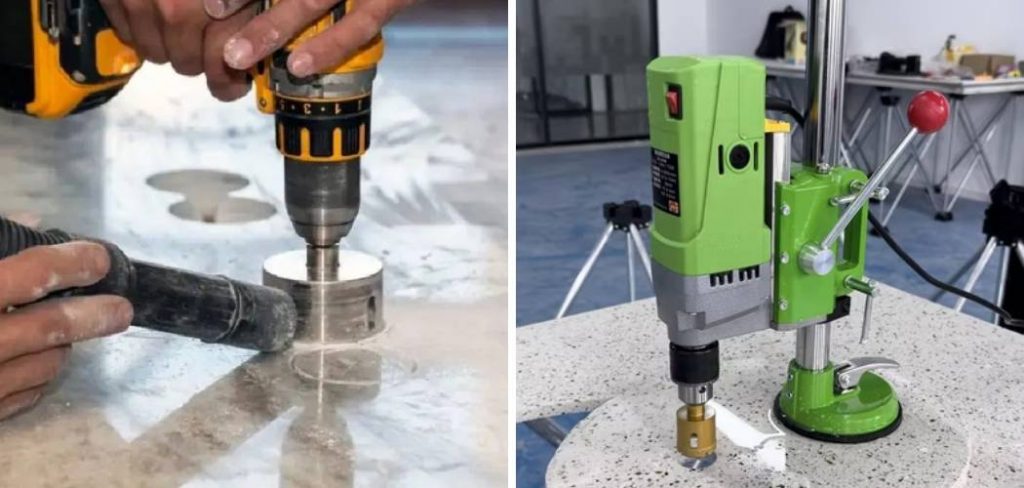
Drilling a hole in quartzite requires precision, patience, and the right equipment to avoid cracks or other damage to the stone. This article serves as a comprehensive step-by-step guide on how to drill a hole in quartzite countertop safely and effectively. By following these instructions, you’ll gain the knowledge needed to complete the task without jeopardizing the integrity or appearance of your beautiful quartzite surface.
Tools and Materials Needed
Having the right tools and materials is critical to drill a hole in a quartzite countertop successfully. Attempting the task without proper preparation can damage the stone or even cause personal injury. Below is a comprehensive list of essential tools and safety gear to ensure a smooth and safe drilling process.
Essential Tools
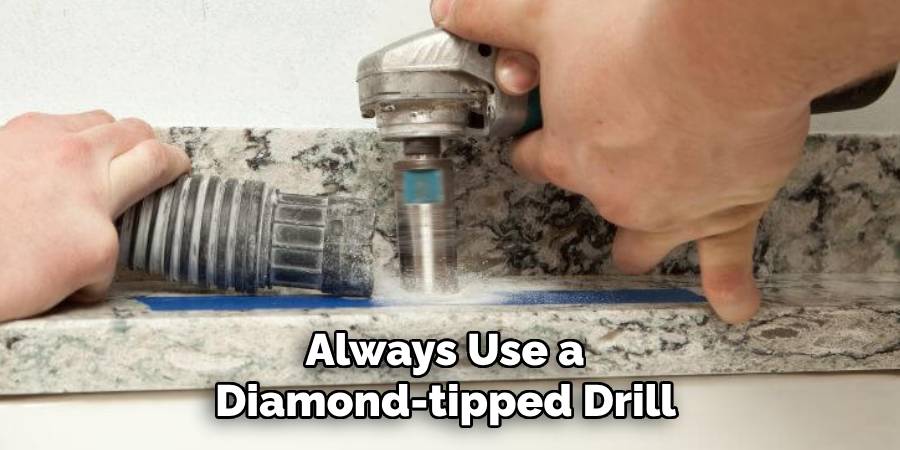
- Diamond-tipped drill bit – Specifically designed to penetrate hard materials like quartzite (carbide bits are insufficient).
- Variable-speed drill with adjustable RPM – Allows greater speed control during drilling.
- Hole saw with a diamond core bit – Ideal for creating larger holes in the countertop.
- Clamps – To secure the countertop if it is not already fixed in place.
- Center punch (optional) – Useful for accurately marking the drilling point to prevent the drill bit from slipping.
Safety Gear
- Safety goggles and gloves – Protect your eyes from debris and your hands from potential injuries.
- Dust mask – Prevents inhaling quartzite dust, which can harm your respiratory system.
Additional Supplies
- Water spray bottle or hose – Keeps the drill bit cool during operation and reduces dust.
- Painter’s tape – Minimizes surface chipping and helps define the drilling area clearly.
- Wooden backing board – Provides stability and additional protection when drilling near the countertop edges.
By assembling these tools and materials beforehand, you’ll set the foundation for a safe and efficient drilling process.
Preparing the Quartzite Surface
Step 1: Choose the Right Drill Bit Size
Select a diamond-tipped drill bit or hole saw matching the required size. Diamond-tipped bits are essential for drilling into quartzite because they can withstand the hardness of the material while providing precise cuts. Ensure the bit is compatible with your drill to maintain optimal performance.
Step 2: Mark the Drilling Spot
Identify where the hole is needed, and mark it clearly using a pencil or marker. Apply painter’s tape over the mark to minimize chipping around the hole. The tape provides additional stability to the quartzite surface, reducing the chances of cracks or splinters. If accuracy is a priority, use a center punch to create a slight indentation at the marked spot, which helps guide the drill bit during the initial phase of drilling.
Step 3: Secure the Countertop
If the quartzite countertop is not already fixed in place, secure it firmly with clamps to prevent any movement during drilling. Ensure installed countertops are supported underneath with a sturdy wooden backing board. Proper stabilization is crucial to achieving a clean and precise hole while avoiding accidental damage to the material.
How to Drill a Hole in Quartzite Countertop: Drilling the Hole in Quartzite
Step 1: Start at a Low Speed
Set your drill to the lowest RPM setting to minimize the risk of cracking the quartzite surface. Begin drilling at a slight angle rather than starting upright. This method creates a small guide indentation, which helps to keep the drill bit stable and prevent slipping when transitioning to drilling straight down.
Step 2: Increase Speed Gradually
Once the guide indentation is established, hold the drill steady and apply consistent pressure. Gradually increase the drill’s speed to allow the bit to penetrate the quartzite more effectively. Transition slowly to an upright position as the drill bit grips the stone to ensure proper alignment and maintain control throughout the process.
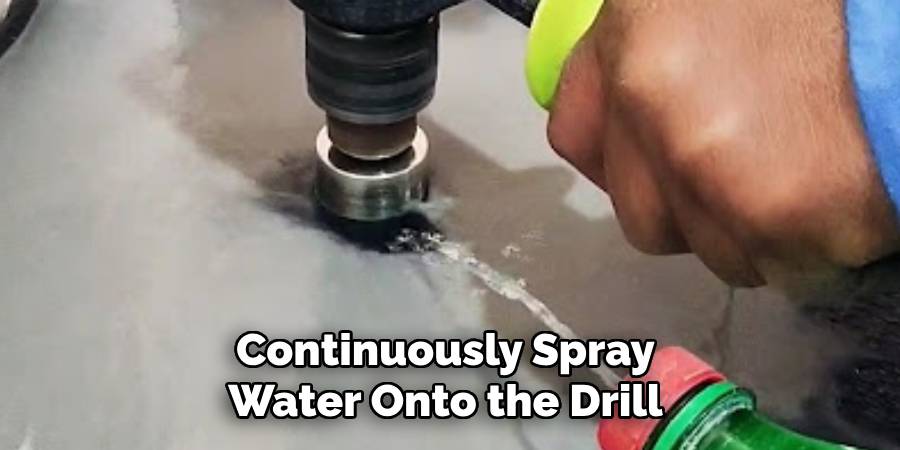
Step 3: Use Water for Cooling
Quartzite is a dense material, and drilling can generate significant heat that may damage both the stone and the drill bit. Continuously spray water onto the drill bit and the drilling site to counter this. This prevents overheating and reduces friction. Additionally, drill in short bursts to allow the bit to cool down between intervals, ensuring longevity and precision.
Step 4: Finish with a Steady Hand
As you near the desired depth, reduce the pressure applied to the drill. Avoid pushing too hard, as this can lead to sudden breakage or uneven edges around the hole. With a steady hand and careful control, complete the drilling process smoothly, leaving a clean and precise hole in the quartzite.
Common Mistakes and How to Avoid Them
Using the Wrong Drill Bit
An improper drill bit is one of the most common errors when drilling quartzite. Standard bits are not designed to handle the hardness of quartzite and may lead to cracking or incomplete drilling. Always opt for diamond-tipped drill bits, specifically engineered to penetrate dense materials while maintaining precision and durability.
Drilling Too Fast
High-speed drilling can generate excessive heat, resulting in structural damage to the quartzite, including fractures or uneven holes. To avoid this, keep the drill at a moderate speed, allowing the bit to work through the material gradually. This will not only ensure cleaner results but also extend the lifespan of your drill bit.
Applying Too Much Pressure
Many believe applying more pressure will speed up the drilling process, but this can cause sudden breakage or damage to the quartzite’s surface. Instead, allow the diamond-tipped bit to gradually break through the stone without forcing it. Gentle, consistent pressure ensures a more even and precise hole.
Skipping the Cooling Process
Heat buildup during drilling is a primary cause of cracked or damaged quartzite. Failing to use water as a cooling agent can lead to overheating and degrade the drill bit. Always keep a steady flow of water on the drilling site to prevent heat accumulation and ensure smoother, safer drilling.
Post-Drilling Cleanup and Maintenance
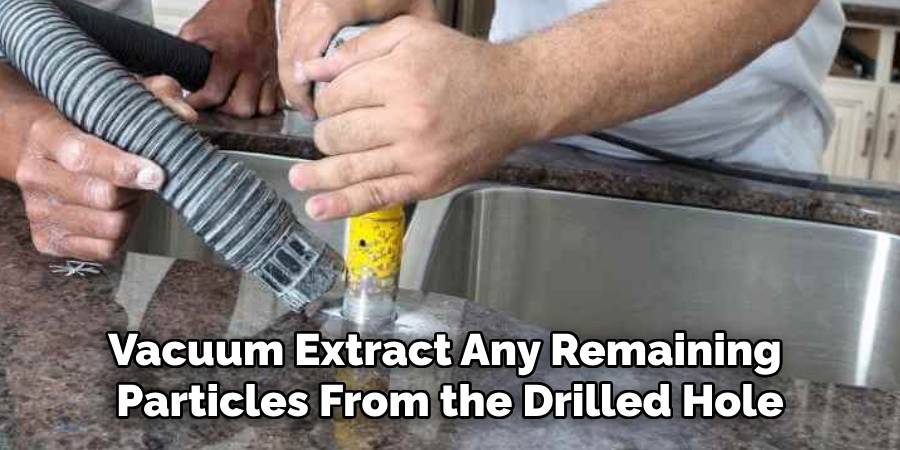
Cleaning the Drilled Hole
After completing the drilling process, cleaning the area thoroughly is essential. Start by wiping away any visible dust and debris with a damp cloth. Next, vacuum extract any remaining particles from the drilled hole. This ensures the surface is clean and ready for further use or finishing touches.
Sealing the Edges (Optional)
For added protection, consider sealing the edges of the drilled hole. Apply a stone sealer around the opening to prevent water absorption and potential staining. This step is particularly helpful in areas prone to moisture, as it helps maintain the durability and appearance of the quartzite.
Maintaining Quartzite Countertops
Clean your quartzite countertops regularly with a pH-neutral cleaner to keep them in excellent condition. Harsh chemicals or abrasive cleaners should be avoided, as these can degrade the surface over time. Proper maintenance will ensure the stone remains beautiful and functional for years to come.
Frequently Asked Questions (FAQs)
1. Can I Drill Quartzite on My Own, or Should I Hire a Professional?
Drilling quartzite can be done as a DIY project if you have the proper tools and follow the recommended steps. However, if you are inexperienced or concerned about damaging the material, hiring a professional is advisable to ensure precise and safe results.
2. What Type of Drill Bit Should Be Used on Quartzite?
Always use a diamond-tipped drill bit specifically designed for hard materials like quartzite. These bits are durable and effective at creating clean holes without cracking or damaging the stone.
3. Does the Quartzite Countertop Need to Be Sealed After Drilling?
Sealing the drilled hole is optional but recommended in areas exposed to moisture, such as kitchens or bathrooms. A stone sealer can protect the hole’s edges and prevent water absorption or staining.
4. How Can I Prevent My Quartzite from Cracking While Drilling?
To prevent cracking, use the correct drill bit, start drilling at a low speed, and gradually increase the speed. Apply consistent, gentle pressure, and continuously cool the drill site with water to reduce heat buildup.
5. Can I Use a Standard Drill for Quartzite?
Yes, you can use a standard drill, but ensure it is compatible with diamond-tipped drill bits. Additionally, ensure your drill has variable speed settings for a controlled and gradual drilling process.
6. How Long Does It Take to Drill Through Quartzite?
The time required to drill through quartzite depends on its thickness and the quality of the drill bit and equipment. Taking your time and proceeding gradually is essential to avoid damage, so patience is key for successful results.
Conclusion
Drilling into quartzite requires careful preparation and execution to avoid damaging the material. Key steps include selecting the right tools, such as a diamond drill bit, drilling slowly while using cooling water to reduce heat, and avoiding excess pressure to prevent cracks. Patience and precision are essential to achieve clean and professional results.
For larger or more complex tasks, or if you’re unsure about the process, it’s wise to consider hiring a professional. By following these guidelines on how to drill a hole in quartzite countertop, you can successfully complete your project while preserving the beauty of your stone.
Professional Focus
Angela Ervin, a former interior designer turned blogger, specializes in kitchen design and renovations. Through her website, she blends her passion for cooking with design expertise, sharing practical and creative ideas. Known for balancing functionality and beauty, Angela’s insightful content has made her a trusted voice in home design and lifestyle.
About the Author
Angela Ervin, an experienced interior designer and blogger, combines her passion for kitchen renovations with storytelling. Living in Petersburg with her family, she enjoys cooking and testing her projects firsthand. Known for her humor and relatable style, Angela shares creative, functional design insights through her content, making her a trusted voice in home design.
Education History
University: Virginia Commonwealth University
Degree: Bachelor of Fine Arts (BFA) in Interior Design
- Angela’s education at VCU focused on mastering core interior design principles, including spatial planning, color theory, materials selection, and sustainable design practices.
- She gained hands-on experience through studio projects and collaborative design exercises, which honed her ability to create functional and aesthetically pleasing environments.
- Her coursework also emphasized problem-solving and practical applications of design, preparing her for real-world projects like her self-directed kitchen renovations.
- The program’s strong foundation in both technical skills and creative expression shaped Angela’s ability to seamlessly integrate form and function in her work.