
Are you thinking of extending your countertop? Don’t worry, it’s not as complicated as you may think!
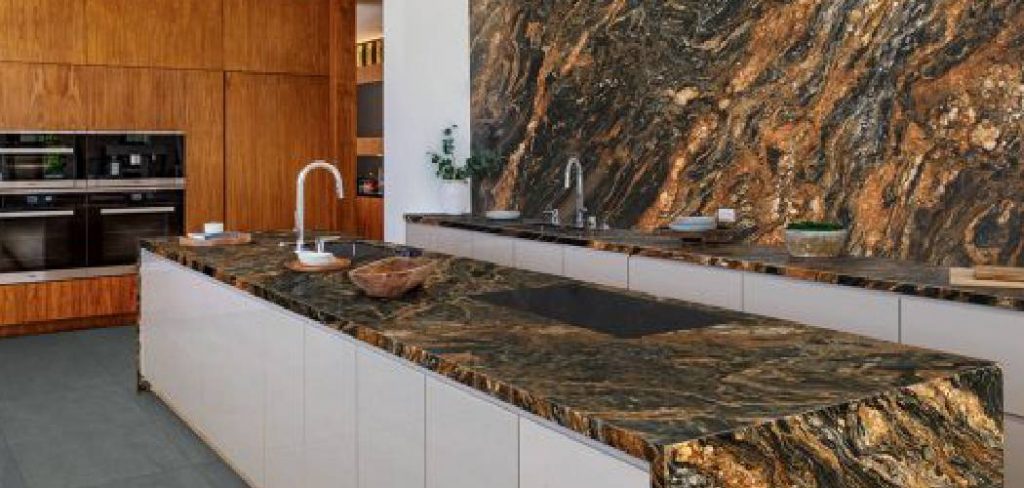
Extending a countertop can be a practical and rewarding home improvement project, offering additional space for cooking, dining, or other activities. Whether you are remodeling your kitchen or need more surface area, extending your countertop can enhance functionality and aesthetic appeal. This process requires careful planning, the right materials, and some basic tools to ensure a seamless and durable result. Additionally, extending your countertop can increase your home’s value and make it more attractive to potential buyers.
In this guide on how to extend a countertop, we will cover the necessary steps to take and provide helpful tips and recommendations along the way.
What Are the Benefits of Extending a Countertop?
Before we dive into the actual process, let’s take a moment to look at the benefits of extending a countertop.
- Extra Space: As mentioned earlier, extending your countertop can provide additional surface area for cooking, dining, or other activities. This is especially useful if you have a small kitchen or frequently host guests.
- Enhanced Functionality: With more counter space, you can add new appliances, such as an extra sink or cooktop, to make your kitchen more functional and efficient.
- Improved Aesthetics: Extending your countertop can also enhance the overall appearance of your kitchen by creating a cohesive and seamless look.
- Increased Home Value: Extending your countertop can add value to your home and potentially increase its resale value. This is particularly beneficial if you plan on selling your home.
What Will You Need?
Now that we have discussed the benefits, let’s look at the materials and tools you will need to extend your countertop.
- Countertop Material: You will first need an appropriate piece of countertop material. This can be natural stone, such as granite or marble, or a more affordable option like laminate or butcher block.
- Measuring Tape: Accurate measurements are crucial when extending a countertop, so ensure a measuring tape is on hand.
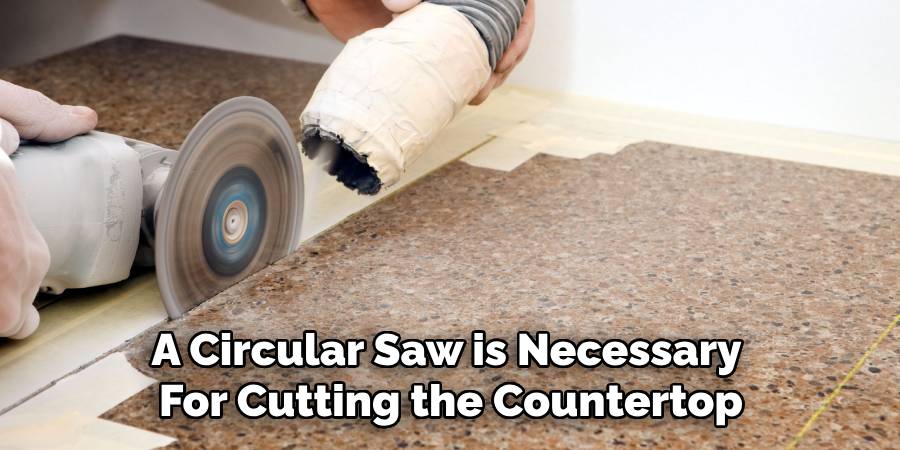
- Circular Saw: A circular saw is necessary for cutting the countertop material to fit the desired size and shape.
- Drill with Screws: You will also need screws and a drill to secure the new countertop piece to the existing one.
- Adhesive: Depending on your chosen countertop material, you may need adhesive to bond the two pieces together.
- Sealant: Finally, you will need sealant to protect and seal any gaps or seams between the two pieces of countertop.
Once you have all the necessary materials and tools, you can start extending your countertop.
8 Easy Steps on How to Extend a Countertop
Step 1: Measure and Plan
Start by carefully measuring the area where the countertop will be extended. Use the measuring tape to determine the dimensions needed for the new piece, ensuring it will fit seamlessly with the existing countertop. Make detailed notes of your measurements and plan the extension’s shape, size, and placement before proceeding. Accurate planning at this stage sets the foundation for a successful project.
Step 2: Choose and Prepare the Countertop Material
Select a countertop material that matches or complements your existing countertop. Once you’ve chosen, prepare the material by cutting it to the exact dimensions based on your measurements from Step 1. Use the appropriate tools, such as a saw or cutter, to ensure precise cuts to a perfect fit. Sand down any rough edges to create a smooth and polished finish. This preparation step is crucial for achieving a professional-looking result.
Step 3: Secure the Countertop Extension
Position the prepared countertop extension, aligning it carefully with the existing countertop. Use clamps to hold the piece steady while you work. Apply a strong adhesive for your countertop material along the edges where the new piece meets the existing surface. Once the adhesive is applied, press the two surfaces firmly and allow the glue to cure according to the manufacturer’s instructions.
If additional support is needed, consider using brackets or screws beneath the countertop, ensuring they are evenly spaced and securely fastened. This step ensures the extension is potent, stable, and seamlessly integrated with your existing countertop.
Step 4: Finishing Touches
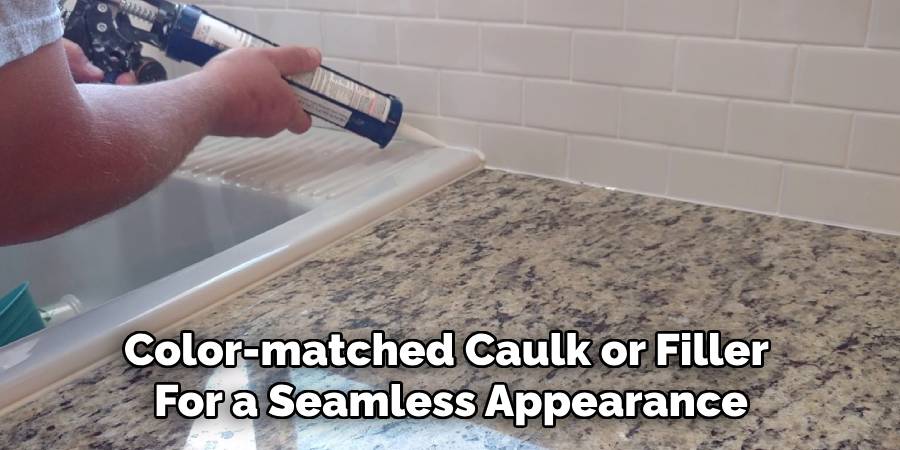
After the adhesive has fully cured and the countertop extension is securely in place, it’s time to focus on the finishing touches. Start by filling any minor gaps or seams between the existing countertop and the extension with a color-matched caulk or filler for a seamless appearance. Next, sand down any rough edges or inconsistencies to ensure the surface is smooth and even. If required, apply a matching sealant or finish to the entire countertop to protect it and enhance its uniform look. Finally, thoroughly clean the area to remove any debris or adhesive residue, leaving your countertop looking polished and professional.
Step 5: Inspect and Test
Once all finishing touches are complete, it’s crucial to inspect and test the integrity of your countertop extension. Check that the extension is securely attached and aligned with the existing countertop. Apply gentle pressure across various points to ensure no weak spots or areas may flex. If you plan to use the extension for tasks that require support for heavier items, conduct a weight test to confirm its stability. Address any issues identified during inspection promptly to ensure your countertop extension is fully functional and ready for use.
Step 6: Maintain Your Countertop Extension
Proper maintenance is key to ensuring the longevity and durability of your countertop extension. Regularly clean the surface with a non-abrasive cleaner to prevent dirt, stains, or grease buildup. Avoid placing excessively hot items directly onto the surface, as it may cause damage over time. If the extension is made of wood or other porous materials, periodically apply a protective treatment or sealant to prevent wear and tear. By following these simple upkeep practices, you can preserve the appearance and functionality of your countertop extension for years to come.
Step 7: Adjust and Customize as Needed
To ensure your countertop extension continues to meet your needs, consider making adjustments or customizations over time. For example, if your cooking or workspace needs change, you can reposition the extension or add accessories such as hooks, extra storage compartments, or decorative finishes. Customizing the extension allows it to integrate seamlessly with your existing design while enhancing its practicality. Regular evaluations of how the extension is used can help you identify improvement opportunities, ensuring it remains a versatile and valuable feature in your space.
Step 8: Ensure Proper Safety Measures
When using your countertop extension, prioritize safety to prevent accidents or damage. Ensure the extension is securely attached and stable before placing heavy items or performing tasks on it. If the extension includes movable parts, such as adjustable brackets or foldable components, regularly inspect them to ensure proper functionality and avoid potential hazards. Additionally, overloading the extension beyond its weight capacity could compromise its structural integrity.

By following these 8 easy steps, you can successfully extend your countertop and create a functional and stylish addition to your space.
5 Things You Should Avoid
- Using Low-Quality Materials: Opting for cheap or substandard materials might save money initially, but it can compromise the durability and appearance of your countertop extension in the long run.
- Ignoring Proper Measurements: Failing to take accurate measurements can lead to misaligned edges, gaps, or an improper fit, affecting functionality and aesthetics.
- Skipping Support Structures: Extending a countertop without considering the necessary support, such as brackets or legs, can cause it to sag or even break under pressure.
- Overlooking Compatibility with the Existing Countertop: Adding an extension that clashes in style, color, or material with your current countertop can create an unappealing and disjointed look.
- Not Consulting a Professional for Complex Designs: Attempting DIY for intricate or large extensions without professional assistance can result in costly mistakes or structural issues.
How to Lift a Countertop?
Lifting a countertop can be a complex and physically demanding, especially if it is made of heavy materials such as stone or concrete. Here are some steps you can follow to lift a countertop safely:
- Clear the Area: Before lifting the countertop, ensure the surrounding area is free from any obstacles or hindrances. This will provide enough space to maneuver and prevent any accidents.
- Gather Proper Equipment: You will need appropriate tools for lifting a countertop, such as suction cups, pry bars, and straps. Ensure they are in good condition and suitable for your specific type of countertop.
- Secure the Countertop: Use suction cups or straps to secure the countertop firmly in place. This will prevent it from shifting or slipping during the lifting process.
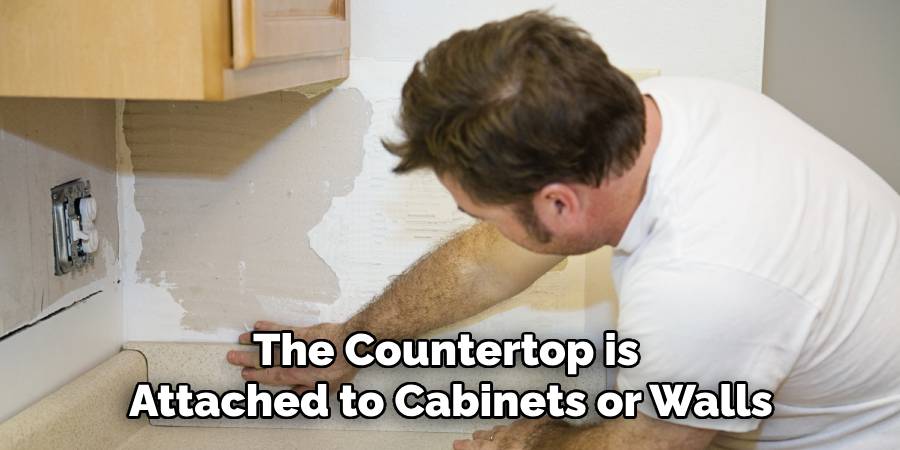
- Loosen Connections: If the countertop is attached to cabinets or walls, carefully loosen the screws, bolts, or adhesives that hold it in place.
- Lift with Proper Technique: Engage your core muscles and lift with your legs instead of your back to avoid strain or injury. Ask for assistance if the countertop is too heavy to lift independently.
- Move Slowly and Steadily: Carefully lift and move the countertop to its new location while always keeping it level. Avoid sudden movements or tilting, which can cause damage.
- Secure in Place: Once the countertop is in its new position, reattach it to the cabinets or walls and ensure it is level. Double-check for any gaps or uneven edges before securing everything in place again.
With these steps, you can safely and successfully lift a countertop without causing damage to yourself or the surface.
Conclusion
How to extend a countertop requires careful planning, appropriate tools, and precise execution to achieve a seamless and functional result.
Begin by measuring the desired extension and selecting a material that matches the existing countertop in color, texture, and style. Properly prepare the surface and secure the extension piece using durable adhesives or brackets, ensuring it aligns perfectly with the original countertop. Sanding and sealing the joined area will help create a smooth and uniform appearance.
Following these steps, you can extend your countertop, enhancing your workspace while maintaining a cohesive and professional look.
Professional Focus
Angela Ervin, a former interior designer turned blogger, specializes in kitchen design and renovations. Through her website, she blends her passion for cooking with design expertise, sharing practical and creative ideas. Known for balancing functionality and beauty, Angela’s insightful content has made her a trusted voice in home design and lifestyle.
About the Author
Angela Ervin, an experienced interior designer and blogger, combines her passion for kitchen renovations with storytelling. Living in Petersburg with her family, she enjoys cooking and testing her projects firsthand. Known for her humor and relatable style, Angela shares creative, functional design insights through her content, making her a trusted voice in home design.
Education History
University: Virginia Commonwealth University
Degree: Bachelor of Fine Arts (BFA) in Interior Design
- Angela’s education at VCU focused on mastering core interior design principles, including spatial planning, color theory, materials selection, and sustainable design practices.
- She gained hands-on experience through studio projects and collaborative design exercises, which honed her ability to create functional and aesthetically pleasing environments.
- Her coursework also emphasized problem-solving and practical applications of design, preparing her for real-world projects like her self-directed kitchen renovations.
- The program’s strong foundation in both technical skills and creative expression shaped Angela’s ability to seamlessly integrate form and function in her work.