
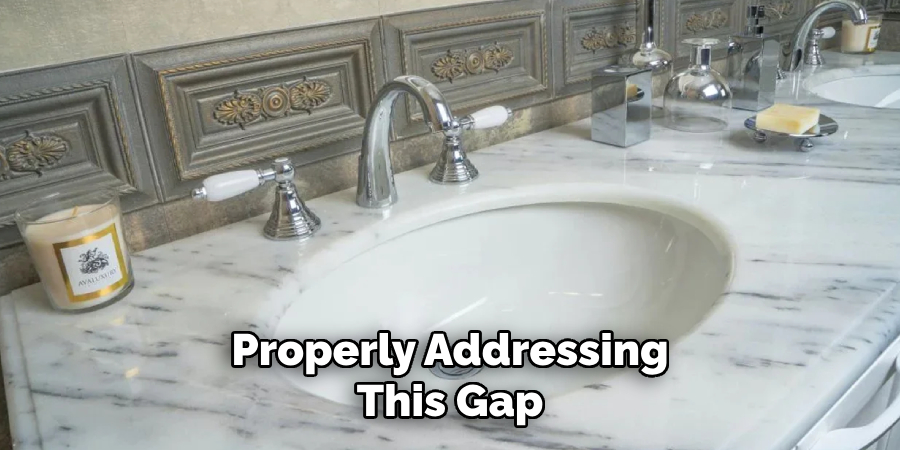
When remodeling or maintaining a kitchen or bathroom, one common issue homeowners face is the gap between the wall and the countertop. This gap not only affects the aesthetics of the space but may also allow dirt, debris, or even moisture to accumulate, potentially leading to bigger issues over time. Properly addressing this gap ensures a cleaner, more polished look while preventing unwanted problems.
This guide on how to fill gap between wall and countertop will walk you through the steps to effectively fill the gap and achieve a seamless finish.
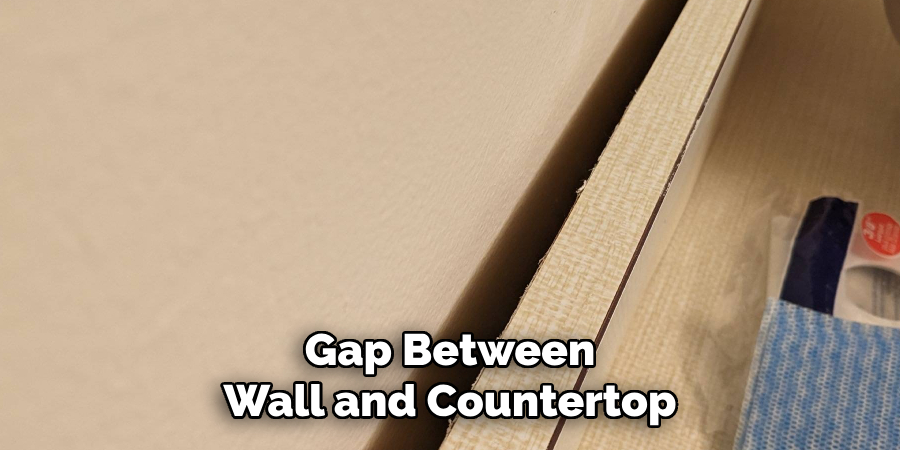
Why Does a Gap Form Between the Wall and Countertop?
There are several reasons why a gap may form between the wall and countertop. One of the most common causes is uneven or inconsistent installation of either the wall or countertop, resulting in a space between them.
Another possibility is that the walls have shifted over time, creating a gap where there previously wasn’t one. It could also be due to settling of the house’s foundation, causing the walls and countertops to shift.
No matter the reason, it is important to address this gap in order to maintain a visually appealing and functional space.
Materials and Tools Needed
Before attempting to fill the gap between your wall and countertop, make sure you have all the necessary materials and tools on hand. This will save you time and effort by preventing multiple trips to the hardware store.
Caulk Gun
A caulking gun is an essential tool for filling the gap between the wall and countertop. It allows for precise application of caulk, ensuring a clean and professional finish.
Caulk
Choose a caulk that is specifically designed for use in kitchens and bathrooms, as they are more resistant to moisture and mold. Silicone or acrylic caulk are popular options.
Caulk Smoothing Tool
This tool helps to smooth out the caulk and create a seamless finish. A putty knife or even your finger can also work in a pinch.
Painter’s Tape
Painter’s tape will help protect your walls and countertops from getting messy or damaged during the caulking process.
7 Steps on How to Fill Gap Between Wall and Countertop
Step 1: Clean the Gap
Before starting the process, it is crucial to thoroughly clean the gap between the wall and countertop. Use a vacuum or a small brush to remove any loose debris, dirt, or dust that may have accumulated in the space.
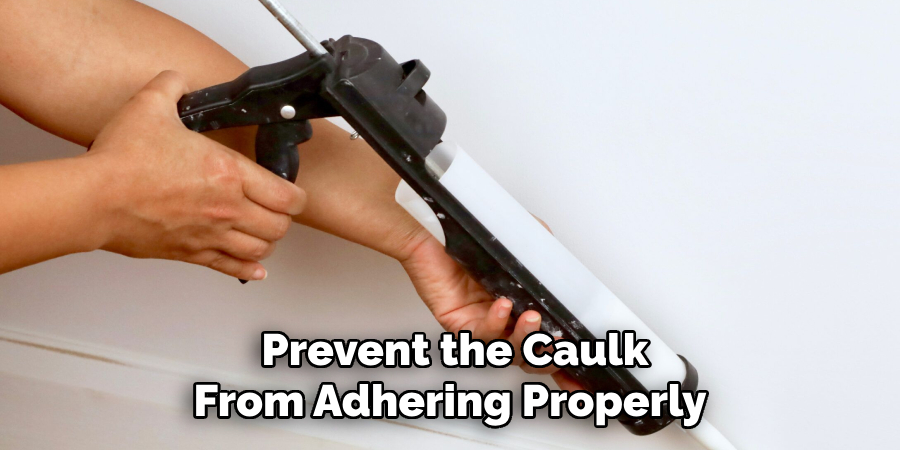
Next, wipe the area with a damp cloth to remove any remaining grime or grease. If the surface is particularly dirty, use a mild soap or cleaner to ensure it is completely clean. Make sure the gap is dry before proceeding to the next step, as moisture can prevent the caulk from adhering properly.
Step 2: Protect the Surrounding Areas
To ensure a neat and professional finish, it is important to protect the areas around the gap before applying caulk. Use painter’s tape to mask off the edges of both the wall and the countertop along the gap. This will help prevent excess caulk from spreading onto unintended surfaces and make cleanup much easier.
Apply the tape in straight, even lines for the best results. Be sure to leave enough of the gap exposed so that the caulk can properly fill it. Taking the time to carefully prep the area will save effort in the later stages of the process.
Step 3: Load the Caulk Gun
To begin applying the caulk, you need to properly load the caulk gun. Start by cutting the tip of the caulk tube at a 45-degree angle to create an opening that matches the size of the gap you are filling. Use a utility knife or scissors for a clean cut.
Next, insert the caulk tube into the caulk gun. Ensure that the nozzle is pointing outward and that the tube is secured in place. Squeeze the trigger a few times to push the plunger snugly against the base of the tube.
This will prime the caulk and ensure it flows smoothly when you begin application. Test the caulk on a piece of scrap material or paper towel to make sure it dispenses evenly before moving on to the next step.
Step 4: Apply the Caulk
With the caulk gun loaded and ready, it’s time to start filling the gap. Hold the gun at a 45-degree angle and apply even pressure as you move it along the length of the gap. Keep a steady pace to ensure an even flow of caulk.
If necessary, use your finger or a putty knife to smooth out any bumps or uneven areas. Once you have reached the end of the gap, release pressure on the trigger and pull away from the gap to stop dispensing caulk.
Step 5: Smooth Out the Caulk
After applying the caulk, it is important to smooth it out to ensure a clean and seamless finish. Using a caulk smoothing tool, putty knife, or simply your finger, gently press down and glide along the length of the caulked gap. This will help to evenly distribute the caulk and press it firmly into the gap.
For best results, wet the smoothing tool or your finger with a bit of water or rubbing alcohol to prevent the caulk from sticking and to achieve a polished look. Work carefully and methodically to avoid creating gaps or uneven areas. If you notice excess caulk spilling over onto the edges, clean it up immediately using a damp cloth or paper towel before it begins to set.
Step 6: Remove the Painter’s Tape
After smoothing out the caulk, carefully remove the painter’s tape from both the wall and countertop. Do this while the caulk is still wet to avoid pulling up any dried caulk along with it. Discard the tape and any excess caulk that may have spread onto it.
You may notice some small gaps or imperfections in the caulk at this stage. If so, use a damp cloth or your finger to touch up and smooth out these areas before the caulk dries completely.
Step 7: Let the Caulk Dry
The final step is to let the caulk dry completely. This can take anywhere from 24-48 hours, depending on the brand and type of caulk used. Check the manufacturer’s instructions for specific drying times. During this time, avoid touching or disturbing the area to allow the caulk to set properly.
Following these seven steps on how to fill gap between wall and countertop will result in a clean and professional-looking finish to the gap between your wall and countertop.
Remember to regularly check and touch up any areas that may have cracked or dried out over time, as this will help maintain a seamless appearance and prevent any water or debris from getting into the gap. With the right tools and techniques, you can easily fill and seal any gaps in your kitchen or bathroom for a polished and functional space.
Maintaining Your Newly Filled Gap
Once you have successfully filled the gap between your wall and countertop, proper maintenance is key to keeping it in pristine condition.
Regularly inspect the caulking for signs of wear, such as cracking, peeling, or discoloration, especially in areas exposed to frequent moisture or temperature changes. If you notice any problems, promptly remove the damaged caulk and reapply a fresh layer following the steps outlined earlier.
To keep the caulk clean, wipe it down with a damp cloth and mild cleaner during your routine kitchen or bathroom cleaning. Avoid using abrasive scrubbers or harsh chemicals, as these can damage the caulking and compromise its seal. Prevent excessive moisture buildup by ensuring proper ventilation in the area, such as using exhaust fans or opening windows when cooking or showering.
By taking these simple steps, your newly filled gap will remain durable, clean, and visually appealing for years to come, ensuring a polished and functional space that stands up to daily use.
Frequently Asked Questions
Q: How Often Do I Need to Check and Touch Up the Caulk in the Gap Between My Wall and Countertop?
A: It is recommended to regularly inspect and touch up the caulk in the gap between your wall and countertop every 6-12 months, depending on usage and exposure to moisture. This will help maintain a seamless appearance and prevent any potential damage or water intrusion.
Q: Can I Use Silicone Caulk Instead of Acrylic Caulk?
A: Yes, silicone caulk can also be used to fill the gap between your wall and countertop. However, keep in mind that silicone is more difficult to work with and may require special tools for smoothing and cleanup. It also has a longer drying time compared to acrylic caulk. Consider your personal skill level and preference before choosing which type of caulk to use.
Q: Can I Paint Over the Caulk in the Gap Between My Wall and Countertop?
A: Acrylic caulk can be painted over with water-based paints, while silicone caulk is not paintable. If you plan on painting over the caulk, make sure to choose a color that matches or complements your existing surfaces. It is also recommended to use a primer before painting for best results.
Conclusion
Filling the gap between your wall and countertop is a straightforward process that greatly enhances the appearance and functionality of your space. By following the outlined steps on how to fill gap between wall and countertop, using the appropriate tools, and selecting the right type of caulk for your needs, you can achieve a clean and professional finish.
Regular maintenance and inspection will ensure the caulking remains intact, preventing water damage and keeping your kitchen or bathroom looking its best. With proper care, your newly sealed gap will provide a durable and seamless solution that improves both aesthetics and practicality in your home.
Professional Focus
Angela Ervin, a former interior designer turned blogger, specializes in kitchen design and renovations. Through her website, she blends her passion for cooking with design expertise, sharing practical and creative ideas. Known for balancing functionality and beauty, Angela’s insightful content has made her a trusted voice in home design and lifestyle.
About the Author
Angela Ervin, an experienced interior designer and blogger, combines her passion for kitchen renovations with storytelling. Living in Petersburg with her family, she enjoys cooking and testing her projects firsthand. Known for her humor and relatable style, Angela shares creative, functional design insights through her content, making her a trusted voice in home design.
Education History
University: Virginia Commonwealth University
Degree: Bachelor of Fine Arts (BFA) in Interior Design
- Angela’s education at VCU focused on mastering core interior design principles, including spatial planning, color theory, materials selection, and sustainable design practices.
- She gained hands-on experience through studio projects and collaborative design exercises, which honed her ability to create functional and aesthetically pleasing environments.
- Her coursework also emphasized problem-solving and practical applications of design, preparing her for real-world projects like her self-directed kitchen renovations.
- The program’s strong foundation in both technical skills and creative expression shaped Angela’s ability to seamlessly integrate form and function in her work.