
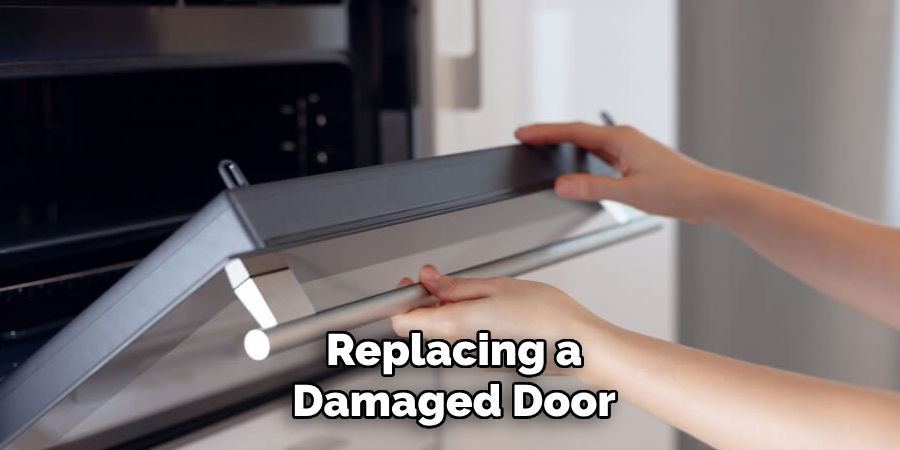
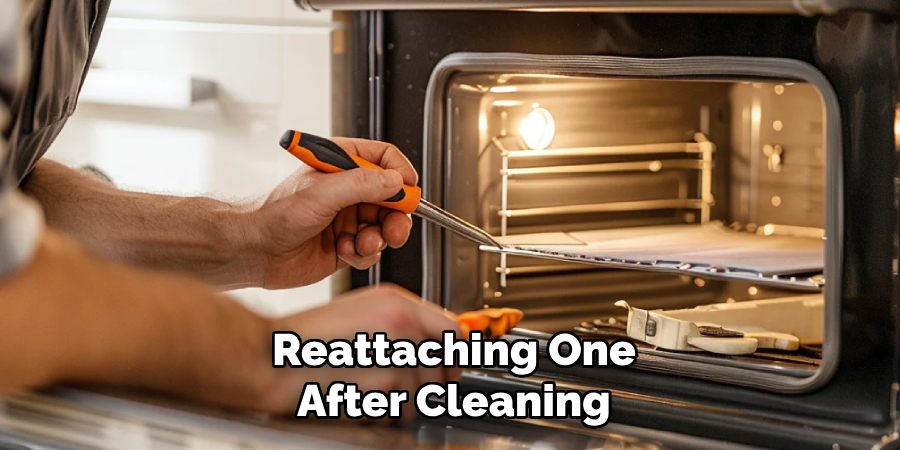
Fitting an oven door may seem like a daunting task, but with the right tools and guidance, it can be a straightforward process. Whether you are replacing a damaged door or reattaching one after cleaning, proper installation ensures safety and optimal functionality.
This guide on how to fit an oven door will provide step-by-step instructions to help you fit an oven door correctly and efficiently.
Tools and Materials Needed
Screwdriver
You will need a screwdriver to remove and insert screws when fitting an oven door. Make sure you have the appropriate size and type of screwdriver for your oven model.
Soft Cloth
A soft cloth will come in handy for wiping down the oven door’s edges and removing any debris or buildup before fitting the new door.
Replacement Door (If Necessary)
If you are replacing a damaged or broken oven door, make sure to have a replacement door ready before starting the fitting process.
8 Step-by-step Guidelines on How to Fit an Oven Door
Step 1: Remove the Old Oven Door
Begin by fully opening the oven door and locating the hinges on either side. Most oven doors have hinge locks that need to be released before removal. Using your fingers or a flathead screwdriver, carefully pull the hinge locks into their open position. Once the locks are released, gently lift the door at an angle to disengage it from the hinge slots.
Ensure you hold the door firmly during this process to prevent it from falling or causing any damage. Place the removed door on a flat, stable surface with a protective cloth underneath to avoid scratches or breakage.
Step 2: Clean the Hinge Slots
With the old oven door removed, take a moment to inspect the hinge slots for any debris, grease, or buildup. Use a soft cloth, and if necessary, a mild cleaning solution to thoroughly clean the slots. This step ensures a smooth and secure fit for the new or reattached door.
Allow the hinge slots to dry completely before proceeding to the next step, as moisture could affect the door’s stability or cause rust over time.
Step 3: Prepare the Replacement Door
If you are installing a replacement door, inspect it carefully to ensure it is compatible with your oven model. Check the hinges, glass, and frame for any signs of damage or imperfections. Use a soft cloth to wipe down the edges of the door and remove any dust or debris that might have accumulated during storage or shipping.
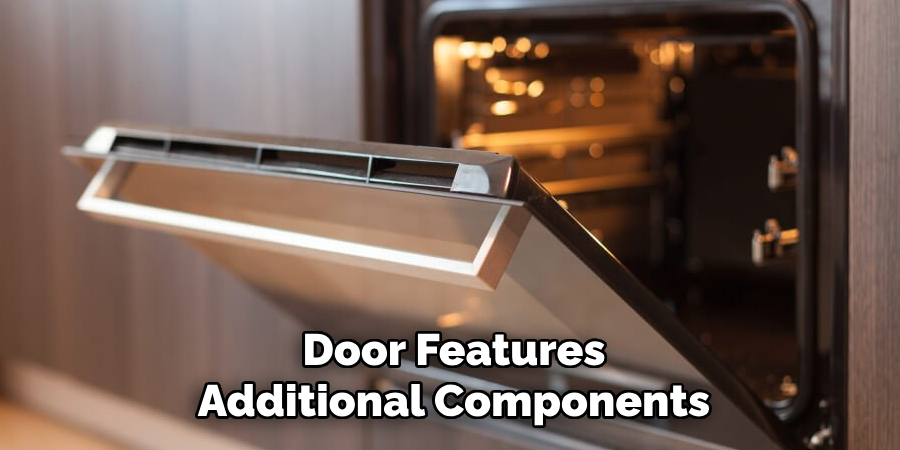
If your oven door features additional components, such as a handle or trim, assemble these pieces according to the manufacturer’s instructions before attaching the door. This preparation ensures a smooth installation process and helps prevent any issues with alignment or functionality later on.
Step 4: Align the Hinges
With the replacement door prepared, align its hinges with the hinge slots in the oven frame. Hold the door at a slight angle and carefully insert one hinge into its slot while making sure it slides smoothly. Repeat this step for the other hinge until both are securely in place.
Double-check that the door is properly aligned and level before continuing to the next step. If necessary, adjust the hinges or reposition the door to ensure an even fit.
Step 5: Secure the Door
Once the hinges are properly aligned and inserted into the hinge slots, gently lower the oven door into position. Ensure that the hinges are fully engaged in their slots and that the door is sitting securely against the oven frame. Next, press the hinge locks back into their closed position to lock the hinges in place. This step is crucial to securing the door and ensuring it does not come loose during operation.
Test the door by opening and closing it slowly to confirm that it moves smoothly and is firmly attached. If the door feels unsteady or misaligned, check the hinges and locks to make any necessary adjustments before proceeding. Properly securing the door ensures both safety and optimal functionality of your oven.
Step 6: Test the Door Seal
A properly fitted oven door should create a tight seal between the oven and its frame, preventing heat from escaping. To ensure your new or reattached door has a secure seal, close it fully and run your hand along the edges to check for any gaps.
If you feel any air coming through, adjust the hinges or make sure the door is properly aligned before proceeding. A tight seal helps maintain consistent temperatures in your oven and improves energy efficiency.
Step 7: Check the Handle and Trim
After securing the oven door and confirming a tight seal, inspect the handle and any trim pieces to ensure they are properly attached. Gently tug on the handle to verify that it is firmly secured and will not loosen during use. If the handle feels unstable, tighten the screws or fasteners as needed using the appropriate screwdriver.
Next, check that the trim pieces, if applicable, are aligned and seated correctly. Misaligned trim could interfere with the door’s operation or leave gaps that affect the oven’s appearance. If adjustments are necessary, carefully reposition the trim and ensure all attachments are secure. Taking the time to check the handle and trim ensures a polished and functional finish to your oven door installation.
Step 8: Clean Up and Test the Door
With the oven door successfully fitted and all components securely attached, clean up any debris or tools used during the process. Use a mild cleaning solution to wipe down the outside of the door, paying special attention to the handle and trim areas.
Once everything is clean, close the oven door fully and test its operation by opening and closing it a few times. If everything looks good, you have successfully fitted your new or reattached oven door!
Following these simple guidelines on how to fit an oven door will help you properly fit an oven door and ensure its safe and efficient operation. Remember to always use caution when handling heavy or delicate components, and consult a professional if you encounter any difficulties during the fitting process. Enjoy using your oven with its newly fitted door!
Common Issues and Fixes
Even with proper installation, oven door issues may still arise. Here are some common problems and their possible solutions:
Door Won’t Close Properly
Check the hinges for any obstructions or debris blocking them from closing fully. If necessary, clean the hinge slots and adjust the hinges to ensure a smooth fit.
Door Is Misaligned
Check that the hinges are properly inserted into their slots and that the door is level. If needed, adjust the hinges or reposition the door to achieve an even fit.
Loose or Broken Handle
Tighten any screws or fasteners holding the handle in place. If the handle is broken, it may need to be replaced entirely. Consult your oven’s manual for specific instructions.
Damaged Glass
If the glass on your oven door is cracked or broken, it will need to be replaced. Contact a professional for assistance with replacing the glass to ensure proper fit and safety.
Safety Tips
- Always unplug the oven or turn off the power source before attempting to fit an oven door.
- Wear protective gloves and eyewear when handling heavy or sharp components.
- Use caution when adjusting hinges, as they may spring back suddenly.
- If you encounter any difficulties during installation, consult a professional for assistance.
When to Call a Professional?
While many oven door installation tasks can be performed at home with proper tools and guidance, certain situations may require professional assistance. Here are some instances when it’s best to call a professional:
Severely Damaged Door or Frame
If the oven door or its frame is heavily bent, warped, or damaged, it may compromise the overall functionality of the oven. A professional can assess the extent of the damage and recommend appropriate repairs or replacements.
Electrical Issues
If you encounter any electrical issues while attempting to fit the oven door, such as sparking or smoke, it’s best to stop immediately and consult a professional. Electrical problems can be dangerous and should be addressed by a trained technician.
Lack of Experience
If you are unsure about fitting an oven door or do not have the necessary tools and experience, it’s best to hire a professional for the job. This will ensure proper installation and avoid potential safety hazards.
Frequently Asked Questions
Q1: Can I Reuse the Old Oven Door Hinges When Fitting a New Door?
A: It is recommended to use new hinges with a new oven door for optimal performance and safety. However, if the old hinges are in good condition and compatible with the new door, they can be reused after thorough cleaning and inspection.
Q2: Why is My Oven Door Not Closing Properly?
A: This could be due to a misaligned door or obstructed hinges. Refer to the common issues and fixes section for troubleshooting steps, or consult a professional if needed.
Q3: How Do I Know If My Oven Door Needs to Be Replaced?
A: Signs that your oven door may need to be replaced include excessive wear and tear, damage to the glass or frame, or difficulty in closing or opening the door. A professional can also assess the condition of your oven door and recommend replacements if necessary.
Conclusion
In conclusion, knowing how to fit an oven door is a valuable skill for any homeowner or DIY enthusiast. By following these simple steps and safety precautions, you can easily install a new or reattached oven door and ensure its proper functioning.
Remember to always refer to your oven’s manual and seek professional help if needed, but with the guidance provided here, you can confidently tackle this task on your own. Enjoy using your oven with its newly fitted door! So go ahead and give it a try and take pride in completing this useful home improvement project. Happy cooking!
Professional Focus
Angela Ervin, a former interior designer turned blogger, specializes in kitchen design and renovations. Through her website, she blends her passion for cooking with design expertise, sharing practical and creative ideas. Known for balancing functionality and beauty, Angela’s insightful content has made her a trusted voice in home design and lifestyle.
About the Author
Angela Ervin, an experienced interior designer and blogger, combines her passion for kitchen renovations with storytelling. Living in Petersburg with her family, she enjoys cooking and testing her projects firsthand. Known for her humor and relatable style, Angela shares creative, functional design insights through her content, making her a trusted voice in home design.
Education History
University: Virginia Commonwealth University
Degree: Bachelor of Fine Arts (BFA) in Interior Design
- Angela’s education at VCU focused on mastering core interior design principles, including spatial planning, color theory, materials selection, and sustainable design practices.
- She gained hands-on experience through studio projects and collaborative design exercises, which honed her ability to create functional and aesthetically pleasing environments.
- Her coursework also emphasized problem-solving and practical applications of design, preparing her for real-world projects like her self-directed kitchen renovations.
- The program’s strong foundation in both technical skills and creative expression shaped Angela’s ability to seamlessly integrate form and function in her work.