
Are you looking to fix a Formica countertop? Look no further! In this step-by-step guide, we will walk you through the process of how to fix a Formica countertop.
Formica countertops are a popular choice for kitchens and bathrooms due to their durability, affordability, and various designs. However, wear and tear can cause them to develop scratches, chips, or even lifting edges over time. Fixing a damaged Formica countertop is an achievable DIY project that can save you the cost of replacing the entire surface.
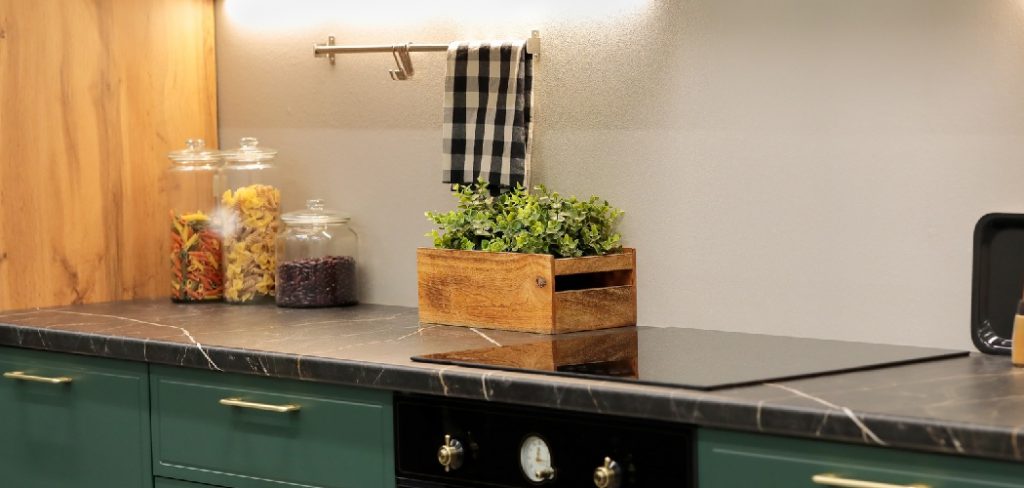
With the right tools and techniques, you can restore your countertop to its original condition, giving it a refreshed and polished look. This guide will walk you through the steps to repair common issues and ensure your Formica surface remains functional and visually appealing.
What Are the Benefits of Fixing a Formica Countertop?
Before we dive into the repair process, let’s discuss why fixing a Formica countertop is worth the effort. Here are some of the advantages:
- Cost-effective: As mentioned earlier, repairing your Formica countertop is much more affordable than replacing it altogether.
- Time-efficient: Repairing minor damages on your countertop can be done within a few hours or even minutes, depending on the severity of the issue.
- Sustainable: By fixing your countertop instead of replacing it, you reduce waste and contribute to a more sustainable environment.
- Personalization: If you’re attached to your current Formica design or have trouble finding a replacement that matches your existing decor, repairing is the best solution.
What Will You Need?
To fix a Formica countertop, you will need the following tools and supplies:
- Spatula: This tool will help you remove loose particles from the damaged area.
- Sandpaper: Sandpaper is used to smooth out rough edges and prepare the surface for repair.
- Formica Adhesive: Get an appropriate type of adhesive based on your specific countertop material.
- Caulk Gun: Needed if using adhesive in a tube form instead of a canister.
- Roller: A roller can be used to apply pressure onto the repaired area for better adhesion.
- Clamps: In case your countertop has a lifting edge, clamps can help hold it in place while the adhesive dries.
- Color-matched Laminate Repair Compound: This fills in chips and scratches on your countertop surface. You can find this at your local hardware store.
9 Easy Steps on How to Fix a Formica Countertop
Step 1: Prepare the Damaged Area
Start by thoroughly cleaning the damaged area to remove any dirt, grease, or debris that might interfere with the repair process. Use a mild cleaning solution and a soft cloth to wipe the surface, ensuring it’s residue-free. Next, take your spatula and gently scrape off any loose particles or peeling laminate around the damaged area. Be careful not to chip away more material than necessary, as this can make the repair more extensive.

If the edges around the damaged area are jagged or uneven, use sandpaper to smooth them out. This will create a uniform surface, allowing the adhesive or repair compound to adhere more effectively. Once the area is prepped, wipe it with a damp cloth and allow it to dry completely before proceeding to the next step. Proper preparation is crucial to achieving a seamless repair.
Step 2: Apply Adhesive
Once the damaged area is fully prepared and clean and dry, it’s time to apply the adhesive. Select a high-quality adhesive suitable for laminate surfaces, such as contact cement or a specialized laminate glue, which ensures a strong bond.
Using a small brush or applicator, carefully apply an even layer of adhesive to the damaged area on the countertop and the underside of the repair piece or laminate patch. Make sure to spread the adhesive thinly but thoroughly, covering the entire surface and edges. Avoid over-applying the adhesive, as excess glue can seep out when the pieces are pressed together, creating a messy finish.
Step 3: Position and Secure the Patch
After the adhesive has been applied to both surfaces, allow it to become tacky according to the adhesive manufacturer’s instructions—this usually takes a few minutes. Once tacky, carefully align the repair patch or laminate piece with the damaged area. Take time to ensure proper alignment, as adjustments will be difficult once the adhesive contacts.
Press the patch firmly onto the surface, starting from one edge and working your way across to eliminate any air bubbles. Use a roller or flat object to apply even pressure across the patch, ensuring a secure bond. Allow the adhesive to cure fully before handling or using the repaired area.
Step 4: Trim and Finish the Edges
Once the adhesive has cured completely, inspect the edges of the repair patch to ensure they are flush with the surface. If there are any excess materials or uneven edges, use a sharp utility knife or precision cutting tool to trim them away carefully. Be cautious to avoid damaging the surrounding surface during this process.
After trimming, sand the edges lightly with fine-grit sandpaper to create a smooth transition between the patch and the original surface. If desired, apply a matching sealant, paint, or finish to the repaired area for a seamless appearance. Allow any additional coatings to dry thoroughly before regular use.
Step 5: Test the Repair
Once the repair is complete and all coatings or finishes have dried, carefully test the repaired area to ensure it is secure and functioning as intended. Apply moderate pressure or use the item normally, checking for any signs of weakness or failure. If the repair holds up under normal use, your repair is successful.
However, reassess the process and consider reapplying the patch or using additional reinforcement if any issues are detected. Regularly inspect the repaired area over time to ensure its durability.
Step 6: Maintain the Repaired Area
To ensure the longevity of the repair, implement regular maintenance and care for the patched area. Keep the surface clean by gently wiping it with a damp cloth or appropriate cleaning solution, avoiding harsh chemicals that could degrade the repair. Monitor the area periodically for any wear signs, and promptly address minor issues to prevent further damage. Proper upkeep can extend the repair’s life and maintain the item’s overall integrity.
Step 7: Evaluate Long-Term Performance
Over time, assess the long-term performance of the repaired area to ensure it continues to meet your expectations. Observe how the material responds to regular use and environmental factors, such as temperature changes or humidity. If necessary, perform touch-ups or reinforce the repair to maintain its effectiveness.
Keeping records of any additional repairs or adjustments can help you identify patterns and improve future repair techniques. This proactive approach ensures the functionality and durability of the item over an extended period.
Step 8: Dispose of Materials Responsibly
After completing the repair process, ensure that any leftover materials, such as adhesives, damaged parts, or packaging, are disposed of responsibly. Follow local guidelines for recycling or disposing of hazardous materials to minimize environmental impact. Proper disposal protects the environment and ensures a safe workspace for future projects. Organizing and maintaining your tools and supplies after finishing the repair will prepare you for any future tasks.
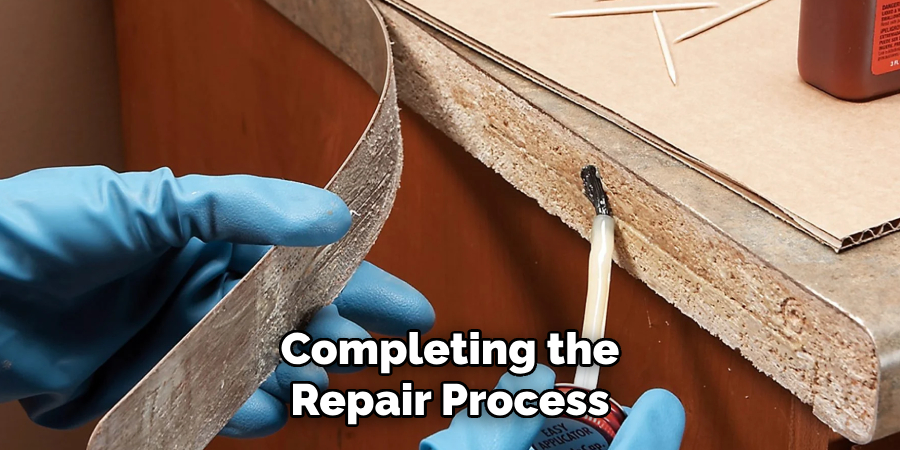
Step 9: Clean and Finalize the Repair
After testing the repaired item, the next step is to clean and finalize your work. Remove any debris, residue, or tools left behind during the repair process. If adhesives, sealants, or paints were used, ensure they have dried or cured correctly before returning the item to regular use. Cleaning the item helps improve its appearance and ensures no leftover materials interfere with its functionality.
Once everything is clean and orderly, reassemble any parts that may have been temporarily removed and confirm that all bolts, screws, and components are securely fastened. Finally, ensure the repaired item is stored or positioned correctly, ready for operational use. Taking the time to complete these final steps will provide a polished result and guarantee the repair is complete.
By following these steps and implementing proper maintenance, you can successfully repair a variety of items using patches.
What are the Causes of Damage to Countertops
Countertops can become damaged for various reasons, including normal wear and tear, accidental spills, scratches or dents from heavy objects, and even exposure to extreme temperatures.
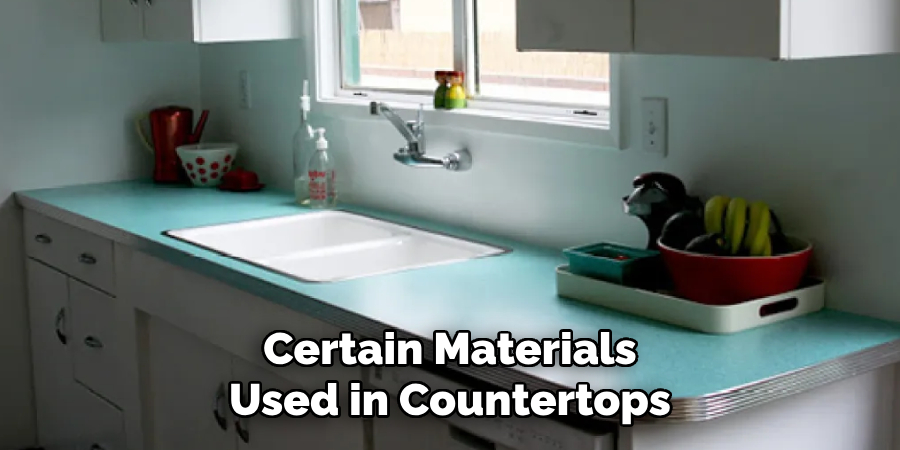
Additionally, certain materials used in countertops may be more susceptible to damage than others. For example, marble is prone to staining and chipping, while laminate can easily scratch or peel. Understanding the potential causes of damage can help you take preventative measures and choose appropriate repair methods.
Regularly cleaning and maintaining your countertops can also help prolong their lifespan and prevent future damage.
Conclusion
How to fix a Formica countertop may seem like a daunting task at first, but with the right tools, materials, and patience, it can be accomplished effectively.
You can restore the countertop’s aesthetic appeal and functionality by following a systematic approach—cleaning and preparing the damaged area, applying a suitable adhesive or filler, and carefully sanding and finishing the surface.
Paying attention to detail during each step ensures a long-lasting repair that blends seamlessly with the original surface.
With proper care and maintenance, your Formica countertop can continue to serve as a durable and attractive feature in your home for years.
Professional Focus
Angela Ervin, a former interior designer turned blogger, specializes in kitchen design and renovations. Through her website, she blends her passion for cooking with design expertise, sharing practical and creative ideas. Known for balancing functionality and beauty, Angela’s insightful content has made her a trusted voice in home design and lifestyle.
About the Author
Angela Ervin, an experienced interior designer and blogger, combines her passion for kitchen renovations with storytelling. Living in Petersburg with her family, she enjoys cooking and testing her projects firsthand. Known for her humor and relatable style, Angela shares creative, functional design insights through her content, making her a trusted voice in home design.
Education History
University: Virginia Commonwealth University
Degree: Bachelor of Fine Arts (BFA) in Interior Design
- Angela’s education at VCU focused on mastering core interior design principles, including spatial planning, color theory, materials selection, and sustainable design practices.
- She gained hands-on experience through studio projects and collaborative design exercises, which honed her ability to create functional and aesthetically pleasing environments.
- Her coursework also emphasized problem-solving and practical applications of design, preparing her for real-world projects like her self-directed kitchen renovations.
- The program’s strong foundation in both technical skills and creative expression shaped Angela’s ability to seamlessly integrate form and function in her work.