
A malfunctioning soap dispenser on your dishwasher can disrupt its ability to properly clean dishes, leaving behind residue and grease. Understanding the cause of the issue is the first step in resolving it, whether it involves a jammed dispenser door, a buildup of detergent, or a mechanical failure.
This guide on how to fix soap dispenser on dishwasher will walk you through common problems and provide step-by-step instructions to help you get your dishwasher back in working order.
Why Is the Soap Dispenser Not Working?
Before diving into how to fix a soap dispenser on a dishwasher, it’s important to understand why it may not be working in the first place. There are several potential reasons for this issue, including:
Jammed Dispenser Door
If the dispenser door is stuck or not opening properly, it won’t be able to release detergent into the dishwasher during the wash cycle. This can be caused by a buildup of residue or debris, or a faulty latch mechanism.
Detergent Buildup
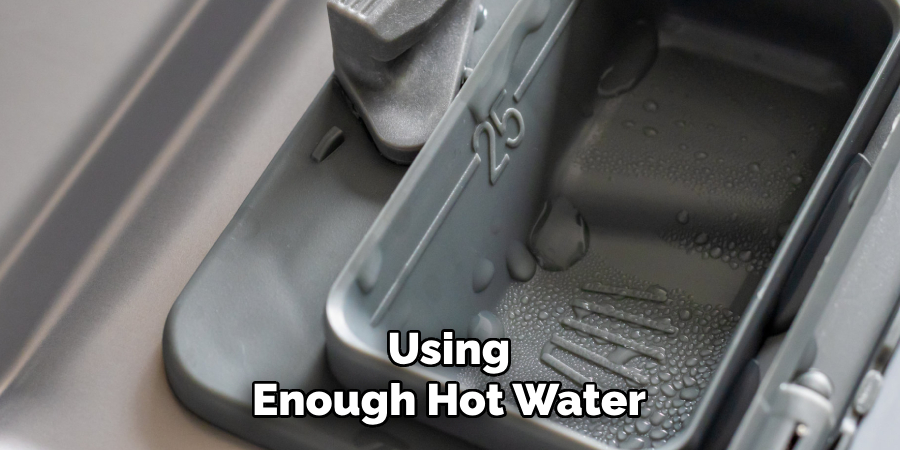
Over time, detergent can accumulate and clog the dispenser, preventing it from opening or closing properly. This can happen if you use too much detergent or if your dishwasher’s water temperature is not hot enough to dissolve the soap.
Mechanical Failure
In some cases, the soap dispenser may simply stop working due to mechanical failure. This could be caused by a broken spring or latch, an issue with the timer or control panel, or other internal malfunctions.
Now that we understand some potential reasons for why your soap dispenser is not working, let’s move on to how to fix it.
8 Step-by-step Guides on How to Fix Soap Dispenser on Dishwasher
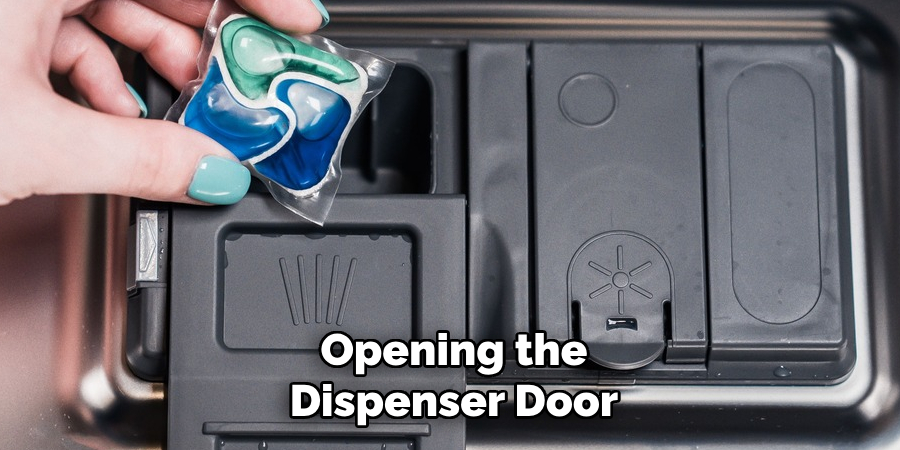
Step 1: Clean the Dispenser Area
The first step in fixing your dishwasher’s soap dispenser is to thoroughly clean the dispenser area. Start by opening the dispenser door and inspecting it for any visible residue, grease, or detergent buildup. Use a damp cloth or sponge to wipe away excess detergent or debris. For tougher buildup, you can use a soft brush, like an old toothbrush, and a mixture of warm water and mild dish soap to scrub the area gently.
Make sure to clean around the edges and the latch mechanism, as residue in these areas can prevent the dispenser from opening properly. Once cleaned, rinse the area with a damp cloth and dry it thoroughly to ensure no moisture causes further issues.
Step 2: Check the Dispenser Door Spring
If your dispenser door is not opening, it could be due to a broken spring. To check this, locate the spring on the side of the dispenser and gently pull on it. If it’s loose or disconnected, you will need to replace it. You can find replacement springs at most hardware stores or through online retailers.
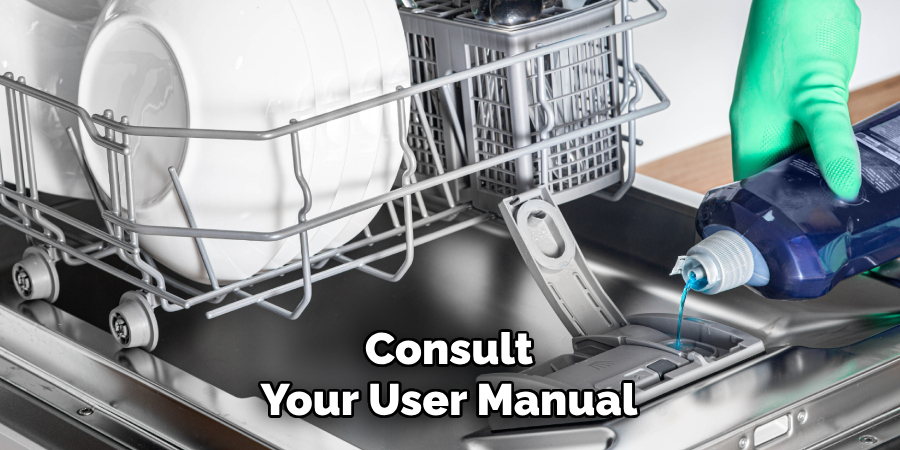
The process for replacing the spring may vary depending on your dishwasher model, so refer to your user manual or search online for specific instructions. Generally, you will need to remove the dispenser door and insert the new spring into place before reattaching it.
Step 3: Inspect the Latch Mechanism
If the dispenser door is not staying closed properly, there may be an issue with the latch mechanism. This can also cause detergent buildup over time due to incomplete closure.
Check for any visible damage or debris around the latch and clean as needed. If there is significant damage, you may need to replace the entire latch. Refer to your user manual or search online for specific instructions on how to replace the latch.
Step 4: Adjust the Dispenser’s Position
If the dispenser door is not lining up properly with the dishwasher, it may need to be adjusted. This can happen if the dishwasher was recently moved or if there is a buildup of residue around the hinge area.
To adjust the position, gently push or pull on the dispenser until it lines up evenly with the dishwasher. You may also need to clean any residue around the hinge to ensure smooth movement.
Step 5: Test the Dispenser Door Release Mechanism
If the dispenser door is not opening during the wash cycle, there may be an issue with the release mechanism. This is typically a small lever or button that activates when the dishwasher runs to open the dispenser door.
With your user manual as a guide, locate this mechanism and make sure it moves freely. If it’s stuck or not functioning properly, you may need to replace it.
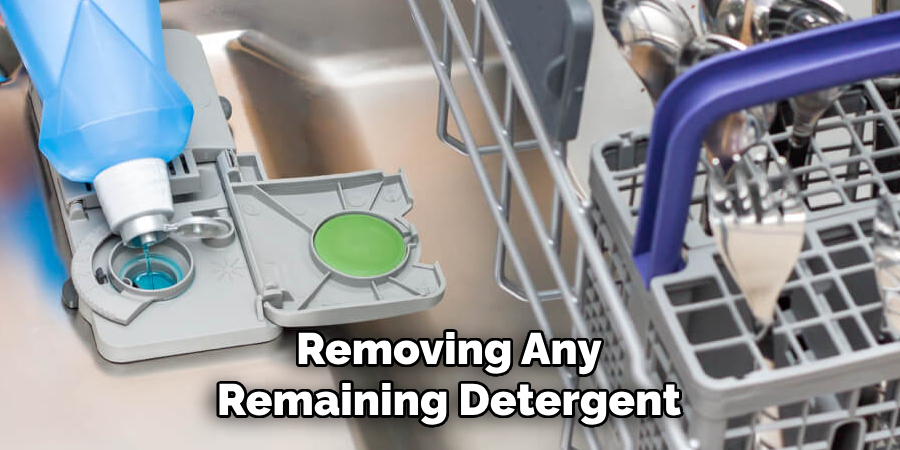
Step 6: Check for Clogs in the Dispenser
Detergent buildup can also cause clogs within the dispenser itself, preventing proper operation. To check for clogs, start by removing any remaining detergent from the dispenser. Then, use a small tool like a toothpick or Q-tip to gently remove any buildup within the dispenser’s compartments.
Once cleared, run water through the compartment to ensure it is draining properly. If there are still clogs, you may need to disassemble the dispenser and clean it thoroughly.
Step 7: Check for Mechanical Failures
If none of the above steps have resolved your soap dispenser issue, there may be a mechanical problem within your dishwasher. This could involve faulty components like the timer, control panel, or wiring.
In this case, it may be best to consult a professional appliance repair technician for further assistance. They will have the tools and expertise needed to diagnose and fix any mechanical failures within your dishwasher.
Step 8: Prevent Future Issues
Once you have successfully fixed your soap dispenser, it’s important to take steps to prevent future issues. This includes regularly cleaning the dispenser area, using the correct amount of detergent, and ensuring your dishwasher’s water temperature is hot enough to dissolve the soap.
You can also use a dishwasher cleaner once a month to help remove built-up residue and keep your appliance running smoothly.
Following these steps on how to fix soap dispenser on dishwasher and maintaining regular dishwasher maintenance can help ensure your soap dispenser operates properly for years to come. Remember to always consult your user manual or seek professional assistance if needed when troubleshooting any issues with your dishwasher. So, you can enjoy clean dishes without any hassle. Happy dishwashing!
How Much Could It Cost?
The cost of fixing a dishwasher soap dispenser can vary depending on the nature of the problem and whether you choose to do it yourself or hire a professional. For minor issues like cleaning the dispenser area, replacing a spring, or removing clogs, the cost is typically low. You may only need to spend $5 to $20 on cleaning supplies or replacement parts if you handle these fixes yourself.
However, if mechanical failures or more complex problems arise, such as faulty timers or control panels, the cost can increase significantly. Replacement parts for these components often range from $50 to $150, but prices depend on the make and model of your dishwasher. Additionally, hiring a professional technician to diagnose and fix the issue could add $100 to $200 or more for labor costs.
To avoid unnecessary expenses, start with the simpler troubleshooting steps outlined above. If the repair requires more technical expertise, weigh the cost of fixing the unit against the cost of purchasing a new dishwasher to determine the best option for your budget.
Frequently Asked Questions
Q: Why is My Soap Dispenser Not Opening?
A: There could be a few reasons for this. It may be due to mechanical failure, buildup of residue or debris, or an issue with the latch mechanism or release mechanism. Follow the steps above to troubleshoot and fix the issue.
Q: Can I Use Any Detergent in My Dishwasher?
A: It’s important to use detergent specifically designed for dishwashers. Regular dish soap or other cleaning products can create excessive suds and potentially damage your dishwasher.
Q: How Often Should I Clean My Dishwasher’s Soap Dispenser?
A: It is recommended that your dispenser be cleaned once a month to prevent buildup and ensure proper functioning. Additionally, regularly wiping down the area after each use can help prevent any major issues from occurring.
Q: Why is My Dishwasher Not Fully Dissolving the Soap?
A: This could be due to a few reasons, such as using the wrong type of detergent, not using enough hot water, or clogs within the dispenser. Refer to your user manual for specific instructions on how to troubleshoot and resolve this issue.
Conclusion
Properly maintaining your dishwasher and its soap dispenser is crucial for ensuring optimal performance and longevity. By proactively addressing issues such as clogs, mechanical failures, or misalignment, you can prevent disruptions to your daily routine and extend the life of your appliance. Regular cleaning, using the correct detergent, and following the manufacturer’s guidelines on how to fix soap dispenser on dishwasher are simple yet effective ways to avoid common problems.
Remember, if troubleshooting steps don’t resolve the issue, seeking professional assistance is always a reliable option. With consistent care, your dishwasher will continue to provide sparkling clean dishes efficiently for years to come.
Professional Focus
Angela Ervin, a former interior designer turned blogger, specializes in kitchen design and renovations. Through her website, she blends her passion for cooking with design expertise, sharing practical and creative ideas. Known for balancing functionality and beauty, Angela’s insightful content has made her a trusted voice in home design and lifestyle.
About the Author
Angela Ervin, an experienced interior designer and blogger, combines her passion for kitchen renovations with storytelling. Living in Petersburg with her family, she enjoys cooking and testing her projects firsthand. Known for her humor and relatable style, Angela shares creative, functional design insights through her content, making her a trusted voice in home design.
Education History
University: Virginia Commonwealth University
Degree: Bachelor of Fine Arts (BFA) in Interior Design
- Angela’s education at VCU focused on mastering core interior design principles, including spatial planning, color theory, materials selection, and sustainable design practices.
- She gained hands-on experience through studio projects and collaborative design exercises, which honed her ability to create functional and aesthetically pleasing environments.
- Her coursework also emphasized problem-solving and practical applications of design, preparing her for real-world projects like her self-directed kitchen renovations.
- The program’s strong foundation in both technical skills and creative expression shaped Angela’s ability to seamlessly integrate form and function in her work.