
Accidentally spilling dye on your countertop can be frustrating, but it’s often possible to remove the stain with a little effort and the right approach. Different types of countertops and dyes may require specific cleaning methods, so it’s important to act quickly and carefully to avoid causing further damage. This guide will help you understand the steps of how to get dye out of countertop.
Why Prompt Action is Crucial for Stain Removal
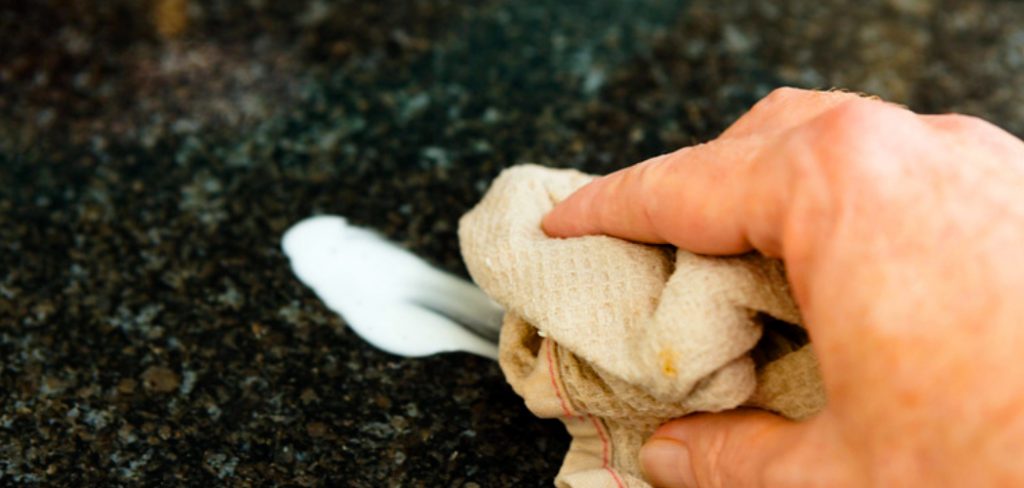
Acting quickly when a dye spill occurs is essential to prevent the stain from setting into the countertop material. Many dyes are formulated to bond strongly to surfaces, and the longer they sit, the harder they become to remove. Prompt action helps to limit the penetration of the dye into porous materials, such as natural stone or unsealed surfaces, reducing the risk of permanent discoloration. Additionally, immediate cleanup ensures that the dye does not have time to dry, making it easier to lift from the countertop using appropriate cleaning methods. By addressing spills as soon as they happen, you improve the chances of restoring your countertop to its original condition.
Understanding Different Countertop Materials
The type of countertop material you have plays a significant role in determining the best approach for dye stain removal. Common countertop materials include granite, quartz, laminate, marble, and concrete, each with unique characteristics and sensitivities. For instance, natural stone surfaces like granite or marble are porous and can easily absorb liquids, making dye stains more challenging to remove if not addressed immediately. Quartz, while non-porous and more resistant to staining, can still be damaged by harsh chemicals or abrasive cleaners. Laminate countertops are typically easier to clean but may be prone to discoloration if the dye penetrates the surface.
Concrete countertops, especially if not sealed, are highly absorbent and require immediate action to minimize damage. Understanding the properties of your countertop material is crucial to selecting the right cleaning method and avoiding unintentional damage in the stain removal process.
10 Methods How to Get Dye Out of Countertop
1. Wipe Immediately with Dish Soap and Warm Water
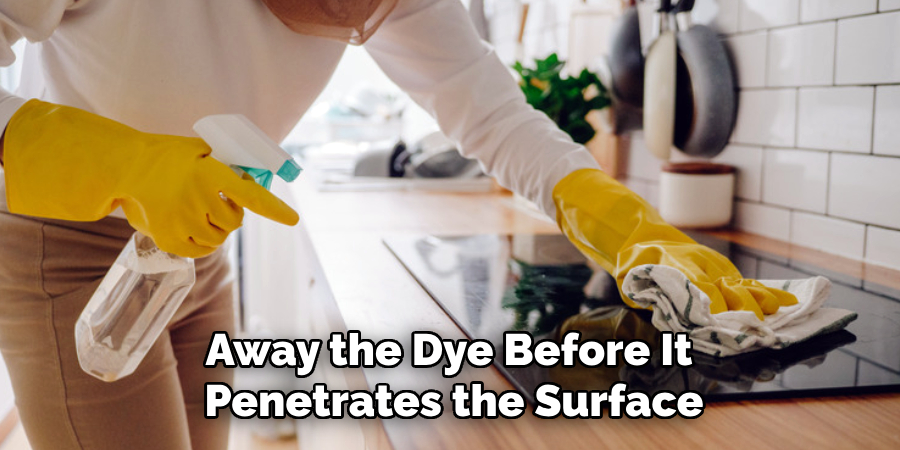
The easiest way to prevent dye stains from setting into your countertop is by acting fast. The moment you notice a spill, grab a damp cloth and some mild dish soap to wipe away the dye before it penetrates the surface. This method works especially well for non-porous countertops like quartz, granite, and laminate. Mix warm water with a few drops of dish soap and use a soft cloth to scrub in circular motions.
Rinse thoroughly with clean water and dry the surface with a microfiber cloth to prevent streaks. While this approach is ideal for fresh spills, it may not be sufficient for stains that have already set into the material.
2. Use Baking Soda Paste for Gentle Abrasion
For mild dye stains that won’t budge with soap and water, a baking soda paste can work wonders. Baking soda is a natural abrasive that helps lift stains without damaging most countertop materials. Mix baking soda with enough water to form a thick paste, then apply it to the stained area. Let it sit for 10–15 minutes before gently scrubbing with a soft sponge or cloth. Rinse thoroughly with warm water and dry.
Be cautious with marble or granite surfaces, as baking soda’s alkalinity may dull their finish if used too often. For these materials, use a less abrasive method like a specialized stone cleaner.
3. Apply Hydrogen Peroxide for Deep Stain Removal
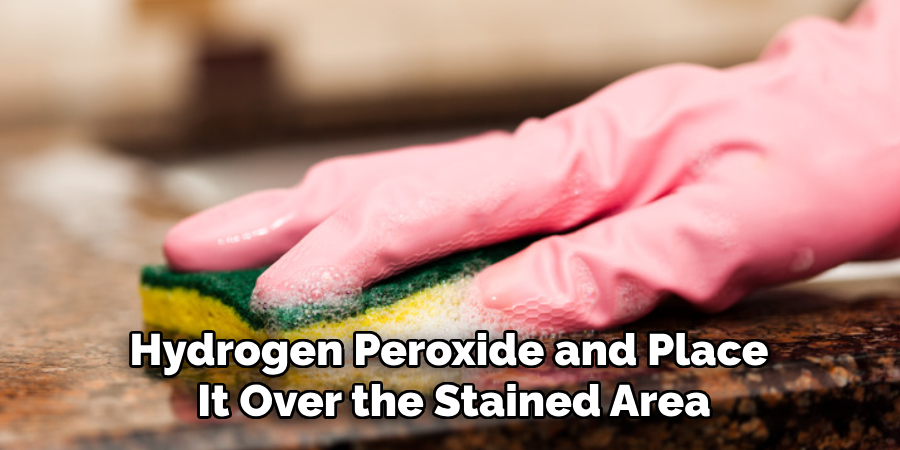
If the dye stain has set in, hydrogen peroxide can help break it down, particularly on light-colored countertops. Soak a cotton ball or paper towel in hydrogen peroxide and place it over the stained area. Let it sit for 15–30 minutes, then gently scrub with a soft sponge. Rinse with water and dry with a clean cloth.
Hydrogen peroxide is excellent for quartz and laminate surfaces, but it should be used cautiously on natural stones, as prolonged exposure can cause discoloration. Always test a small, hidden area before applying hydrogen peroxide to the entire stain.
4. Lift Stains with White Vinegar and Water
Vinegar is a powerful natural cleaner that works well against dye stains, particularly on non-porous countertops. Mix equal parts white vinegar and warm water in a spray bottle, then spray the stained area. Let the solution sit for 5–10 minutes before scrubbing with a soft cloth.
The acidity of vinegar helps dissolve the dye, making it easier to wipe away. Afterward, rinse thoroughly with water and dry the surface. However, vinegar should not be used on marble, granite, or other natural stone surfaces, as its acidity can etch the finish and cause long-term damage.
5. Use Rubbing Alcohol for Quick Stain Breakdown
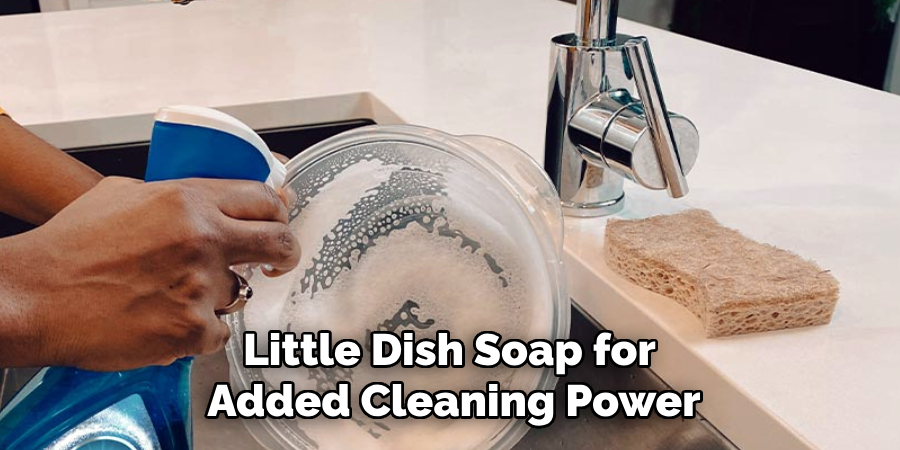
Rubbing alcohol (isopropyl alcohol) is another effective solution for removing dye stains, especially on sealed countertops. Dampen a cloth with rubbing alcohol and gently blot the stain. Let it sit for a few minutes to break down the dye molecules, then wipe the area clean.
This method works well for laminate, quartz, and solid surface countertops. If dealing with tougher stains, you can mix rubbing alcohol with a little dish soap for added cleaning power. Just be sure to rinse and dry the area afterward to prevent any residue from remaining on the surface.
6. Try Acetone for Stubborn Stains (Use with Caution!)
Acetone, commonly found in nail polish remover, is a strong solvent that can effectively lift dye stains. Apply a small amount of acetone to a cotton ball and dab it onto the stain, avoiding excessive rubbing. Let it sit for a few seconds, then wipe it off with a clean, damp cloth.
While this method works well on laminate and quartz, it should be used with extreme caution on natural stone or delicate surfaces, as it can strip protective sealants or damage the finish. Always test in an inconspicuous spot first to ensure compatibility with your countertop material.
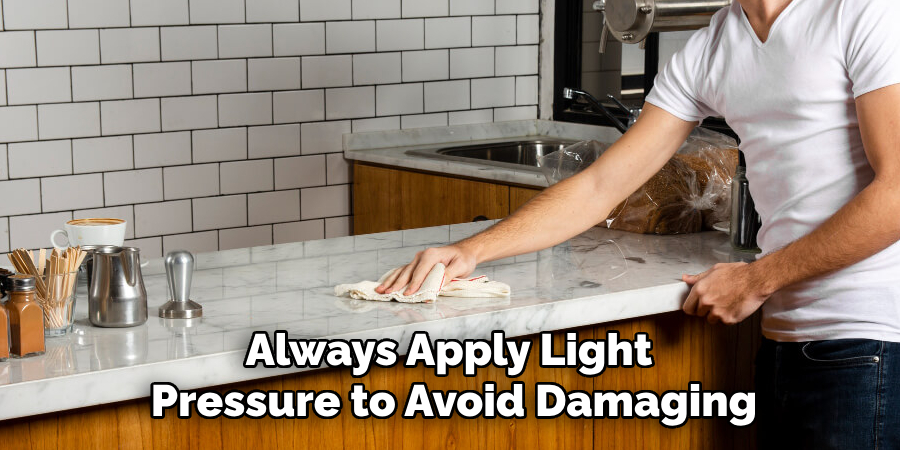
7. Use a Magic Eraser for Tough, Set-In Stains
A Magic Eraser (melamine foam sponge) is a great tool for removing stubborn dye stains from many countertop surfaces. Wet the sponge slightly and gently rub it over the stained area. The fine abrasive texture helps lift stains without harsh chemicals.
This method works well on laminate, solid surface, and some quartz countertops but should be used with caution on high-gloss or polished surfaces, as excessive scrubbing may dull the finish. Always apply light pressure to avoid damaging the countertop.
8. Make a Poultice for Porous Countertops
If you’re dealing with a porous surface like marble or granite, a poultice can help pull the stain out of the material. Mix baking soda with hydrogen peroxide or water to create a thick paste, then spread it over the stain. Cover the area with plastic wrap and tape down the edges to seal in moisture.
Let the poultice sit for 24 hours, allowing it to draw out the dye. Afterward, remove the plastic wrap, gently wipe away the dried paste, and rinse the area with warm water. This method is highly effective but may need to be repeated for deep-set stains.
9. Use a Commercial Stain Remover for Heavy Staining
If home remedies don’t work, a commercial stain remover designed for your specific countertop material may be necessary. Many brands offer specialty cleaners for quartz, granite, and laminate that are formulated to break down tough stains without harming the surface. Follow the manufacturer’s instructions carefully, and always test the product on a hidden area first.
Some cleaners may require multiple applications for complete stain removal. Additionally, ensure the cleaner is safe for your countertop type, as harsh chemicals can sometimes cause discoloration or damage.
10. Prevent Future Stains with Proper Sealing and Maintenance
Once the dye stain is removed, the best way to prevent future stains is by sealing your countertop (if applicable) and adopting good cleaning habits. Natural stone countertops like marble and granite should be resealed regularly to maintain their resistance to staining.
For other materials, wiping spills immediately, using cutting boards, and placing protective mats under hair dyes or food coloring can help prevent stains from setting in. Regular cleaning with mild soap and water will also keep your countertops looking fresh and stain-free.
Conclusion
Removing dye stains from countertops requires patience and the right approach, depending on the material and severity of the stain. From gentle cleaning with dish soap to powerful stain-lifting techniques like poultices and commercial removers, there’s a method for every situation. By acting quickly and choosing the appropriate cleaning solution, you can keep your countertops looking beautiful and stain-free. Additionally, preventive measures such as sealing and proper maintenance will help ensure that future stains don’t become a persistent problem.
Hopefully, this article gave you some helpful tips about how to get dye out of countertop successfully, so now that you have the proper knowledge on how to get the job done, why not give it a try today?
Professional Focus
Angela Ervin, a former interior designer turned blogger, specializes in kitchen design and renovations. Through her website, she blends her passion for cooking with design expertise, sharing practical and creative ideas. Known for balancing functionality and beauty, Angela’s insightful content has made her a trusted voice in home design and lifestyle.
About the Author
Angela Ervin, an experienced interior designer and blogger, combines her passion for kitchen renovations with storytelling. Living in Petersburg with her family, she enjoys cooking and testing her projects firsthand. Known for her humor and relatable style, Angela shares creative, functional design insights through her content, making her a trusted voice in home design.
Education History
University: Virginia Commonwealth University
Degree: Bachelor of Fine Arts (BFA) in Interior Design
- Angela’s education at VCU focused on mastering core interior design principles, including spatial planning, color theory, materials selection, and sustainable design practices.
- She gained hands-on experience through studio projects and collaborative design exercises, which honed her ability to create functional and aesthetically pleasing environments.
- Her coursework also emphasized problem-solving and practical applications of design, preparing her for real-world projects like her self-directed kitchen renovations.
- The program’s strong foundation in both technical skills and creative expression shaped Angela’s ability to seamlessly integrate form and function in her work.