
Installing a GE dishwasher can seem like a daunting task, but with the right tools and guidance, the process becomes straightforward. Whether you are replacing an old appliance or installing a brand-new unit, understanding the steps involved is crucial to ensure proper functionality and avoid potential issues.
This guide on how to hook up a ge dishwasher will provide clear, easy-to-follow instructions to help you hook up your GE dishwasher efficiently and safely.
Why Choose a GE Dishwasher?
Before we dive into the installation process, let’s first discuss why you should consider choosing a GE dishwasher over other brands. GE is known for its high-quality and reliable household appliances, and dishwashers are no exception. Here are some reasons to choose a GE dishwasher:
Efficiency:
GE dishwashers use less water and energy compared to other brands, making the operation more cost-effective in the long run.
Advanced Technology:
GE has integrated advanced technologies such as steam cleaning and bottle jets to ensure your dishes come out spotless and sanitized.
Variety of Models:
Whether you have a small kitchen or a large family, GE offers a variety of dishwasher models to fit your needs. From compact, portable units to spacious built-in dishwashers, there is an option for every household.
Now that we’ve discussed why GE dishwashers are worth considering, let’s move on to the installation process.
Needed Materials
Before you start the installation, make sure you have all the necessary materials ready. Here’s a list of tools and materials you will need:
Adjustable Wrench:
This tool is essential for tightening and loosening nuts, bolts, and other fasteners.
Screwdriver:
A screwdriver will be needed to remove the dishwasher’s access panel and adjust the leveling feet.
Dishwasher Installation Kit:
Most GE dishwashers come with a complete installation kit, including necessary fittings and adapters. However, make sure to check your specific model’s requirements before starting the installation process.
8 Step-by-Step Guides on how to hook up a ge dishwasher
Step 1: Preparation
Before beginning the installation process, it’s crucial to prepare the area and ensure everything is ready for a smooth setup. Start by turning off the power supply to the area where the dishwasher will be installed to avoid any electrical hazards. Locate the water supply valve and turn it off to prevent leaks during the installation.
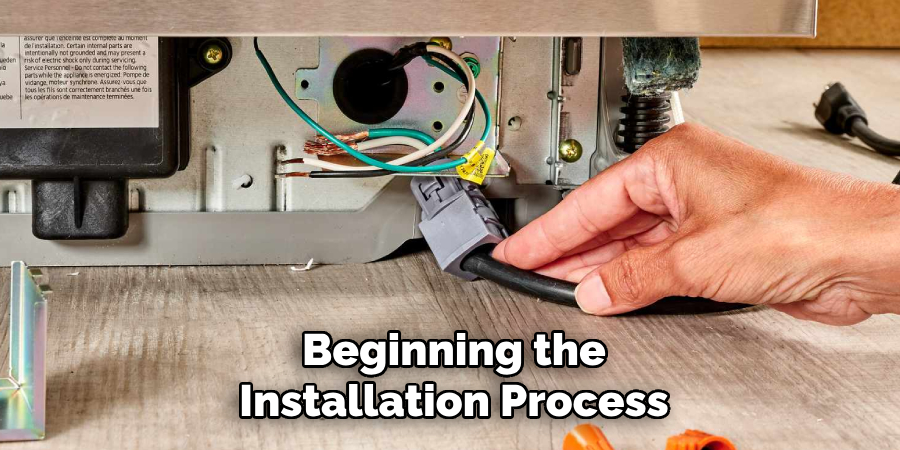
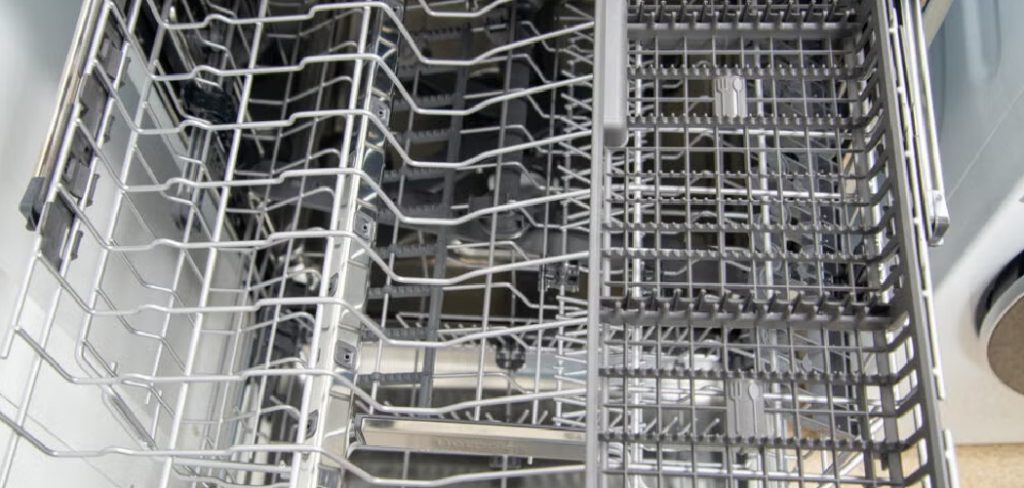
Measure the space where the dishwasher will be placed to confirm it fits properly, leaving room for leveling adjustments. Remove any packaging from the dishwasher and inspect it for any visible damage. Finally, gather all the necessary tools and materials listed earlier to ensure you won’t have to pause mid-installation to search for something you need.
Step 2: Mounting the Dishwasher
Once the preparation is complete, the next step involves mounting the dishwasher into place. Begin by carefully sliding the dishwasher into the allotted space, ensuring that the water supply line, drain hose, and power cord move freely and do not get pinched or tangled. Align the dishwasher properly with the adjacent cabinets for a seamless fit.
Next, locate the mounting brackets at the top or sides of the unit, depending on your specific GE dishwasher model. If your installation requires securing the dishwasher to the countertop, attach the mounting brackets to the underside of the countertop using the screws provided in your installation kit. For side-mounted installations, fasten the brackets to the adjacent cabinetry instead. This step ensures the dishwasher remains stable and prevents shifting during operation.
Step 3: Connecting Water Supply
Connecting the water supply is a critical step in the installation process to ensure your GE dishwasher operates correctly. Begin by locating the water inlet valve on the dishwasher, usually found at the bottom of the unit. Attach the water supply line to the valve, threading it carefully by hand to avoid cross-threading. Once properly aligned, use an adjustable wrench to tighten the connection securely, but be cautious not to overtighten, as this could damage the fitting.
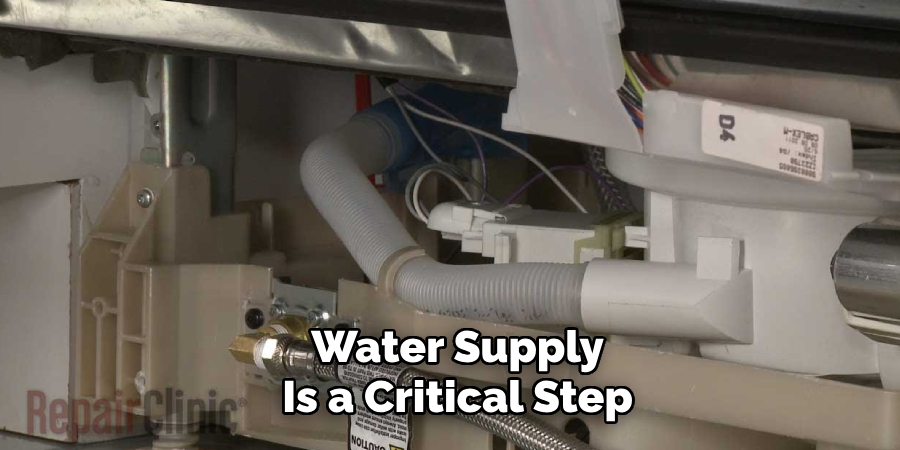
Next, connect the other end of the water supply line to the shut-off valve. Before securing this connection, double-check that the water supply line is free from any kinks or obstructions. Tighten the connection with an adjustable wrench, ensuring it’s snug but not overly tight.
Step 4: Connecting the Drain Hose
The next step is connecting the dishwasher’s drain hose to either your garbage disposal or sink drain, depending on your kitchen setup. Similar to the water supply line, carefully thread the hose onto the designated connection point and secure it with a hose clamp using a screwdriver. Double-check that there are no kinks in the hose that could impede proper drainage.
The drain hose should be secured to the underside of your countertop or cabinet using clips provided in your installation kit. This step ensures that the hose remains stationary and does not get pulled out during use.
Step 5: Securing the Power Cord
For safety reasons, it’s crucial to ensure that the power supply is securely connected before turning on your GE dishwasher. Plug one end of the power cord into the designated outlet on the dishwasher and secure it with a strain relief clamp using a screwdriver.
The other end of the cord should be plugged into a grounded electrical outlet. If an outlet is not available, consider hiring a professional electrician to install one for you.
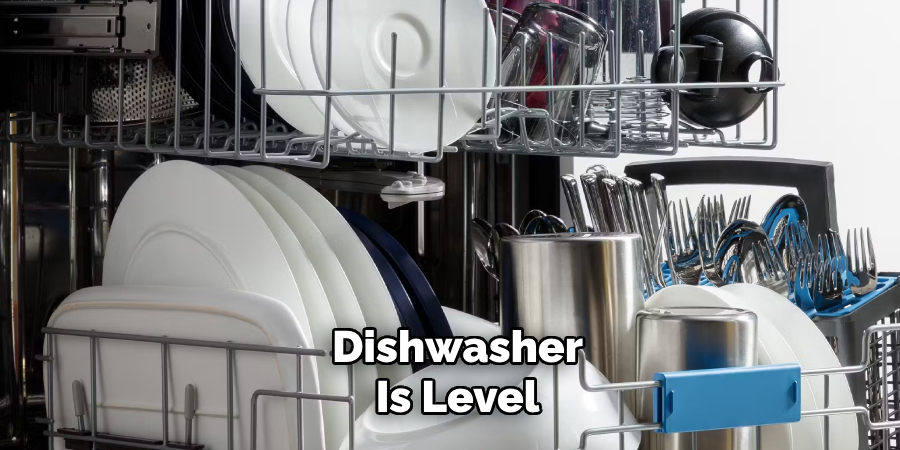
Step 6: Leveling the Dishwasher
For optimal performance, it’s crucial to ensure that your GE dishwasher is level. Begin by adjusting the feet at the bottom of the unit until it’s evenly aligned with the adjacent countertops or cabinets. An uneven dishwasher can cause issues with draining and may result in leaks. Use a bubble level to confirm that the dishwasher is properly leveled before moving on to the next step.
It’s also essential to make sure the dishwasher is securely anchored to prevent any movement during operation. Check the mounting brackets and tighten as needed using a screwdriver.
Step 7: Securing the Access Panel
After installing, leveling, and anchoring your GE dishwasher, it’s time to secure the access panel. Use the screws provided in your installation kit to fasten the panel back into place. This step ensures that all internal components are protected and prevents any accidents from occurring while operating the dishwasher.
If your dishwasher model does not have an access panel, you may skip this step.
Step 8: Final Steps & Testing
Before completing the installation process, double-check all connections and make sure they are secure. Turn on the water supply valve and plug in the power cord to test if your GE dishwasher is functioning correctly.
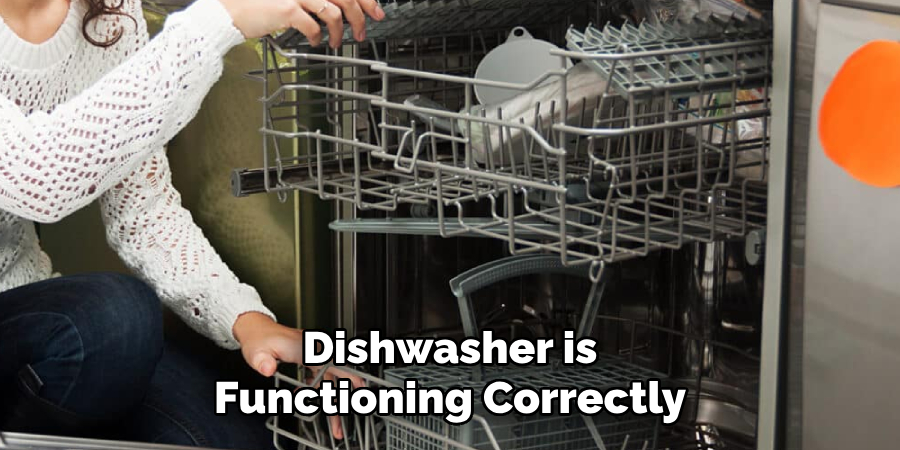
If everything looks good, run a short cycle with no dishes inside to check for any leaks or issues. If there are any problems, troubleshoot accordingly using the user manual provided by GE or contact their customer service for assistance. Once satisfied with the installation and testing results, congratulations – you now have a fully functional GE dishwasher! Enjoy cleaner dishes with less effort, thanks to your new appliance. Remember to properly maintain and clean your dishwasher regularly for optimal performance and longevity. Happy dishwashing!
Additional Tips & Tricks
- If you encounter a problem during installation or are unsure about a step, refer to your GE dishwasher’s user manual or contact their customer service for assistance.
- To ensure proper drainage and prevent any clogs, regularly clean the filters and spray arms of your GE dishwasher.
- If you have hard water, consider using a rinse aid in your dishwasher to prevent mineral buildup on dishes and inside the machine.
- For optimal energy efficiency, run your GE dishwasher at night when electricity rates may be lower.
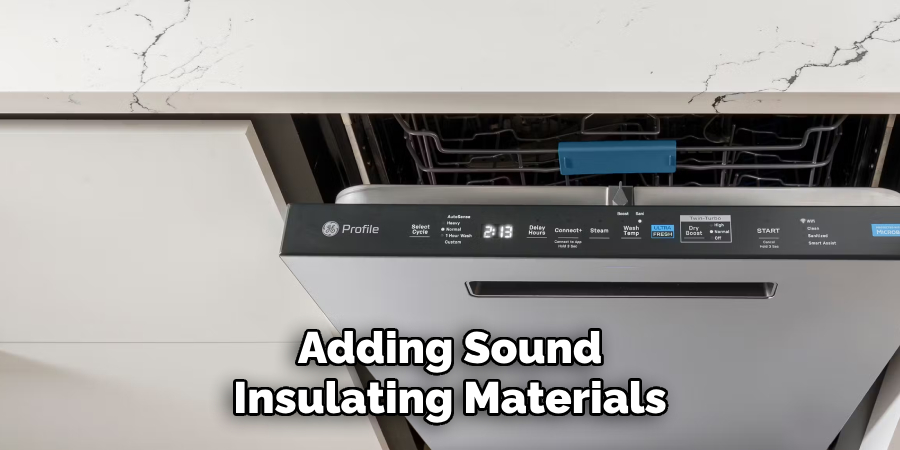
- Consider adding sound-insulating materials around the dishwasher to reduce noise levels during operation.
With these steps and additional tips and tricks on how to hook up a GE dishwasher, you should now have all the information needed to successfully install your GE dishwasher. Happy dishwashing!
Troubleshooting Common Issues
Here are some common issues you may encounter during or after installation and how to troubleshoot them:
Leaks:
Check all connections and make sure they are securely tightened. If leaks continue, check for cracks in hoses or valves and replace them if necessary.
Poor Drainage:
Ensure the drain hose is properly connected and free from any kinks or obstructions. If issues persist, check the garbage disposal or sink drain for clogs and clear if needed.
No Power:
Double-check that the power cord is securely plugged into a grounded electrical outlet. If there are still no signs of power, consider hiring a professional electrician to inspect your home’s wiring.
Loud Noise:
Make sure all mounting brackets and screws are tightened, as loose components can cause excess noise during operation. Adding sound-insulating materials around the dishwasher may also help reduce noise levels.
If problems continue after troubleshooting, refer to your GE dishwasher’s user manual for further guidance or contact their customer service for assistance. Keep in mind that proper installation and regular maintenance can prevent many common issues, so it’s essential to follow the steps outlined above carefully. Happy dishwashing!
Frequently Asked Questions
Q1: Can I Install My GE Dishwasher Myself?
A: Yes, as long as you have the necessary tools and carefully follow the steps outlined in this guide. However, if you encounter any issues or are unsure about a step, it’s always best to consult a professional for assistance.
Q2: Do I Need to Hire a Plumber or Electrician for Installation?
A: It depends on your level of experience and comfort with plumbing and electrical work. If you are not confident in your abilities, it’s recommended to hire a professional for these tasks to ensure proper installation and avoid any potential safety hazards.
Q3: How Often Should I Clean My GE Dishwasher?
A: It’s recommended to clean your dishwasher every 1-2 months or as needed, depending on usage and water quality. Regular cleaning can prevent clogs and maintain the proper functioning of the machine. Refer to your user manual for specific instructions on how to clean your model GE dishwasher.
Conclusion
Installing a GE dishwasher is a manageable task, especially when carefully following the installation steps outlined in this guide on how to hook up a ge dishwasher. By taking the time to properly secure connections, level the dishwasher, and ensure all components are in place, you can enjoy the convenience of a reliable and efficient appliance in your kitchen.
Remember, a well-installed dishwasher not only performs better but also lasts longer, saving you time and money in the long run. For any issues or uncertainties, don’t hesitate to consult GE’s customer service or your user manual for additional support. With your new dishwasher set up and ready to go, you can look forward to effortless cleanup and pristine dishes every time.
Professional Focus
Angela Ervin, a former interior designer turned blogger, specializes in kitchen design and renovations. Through her website, she blends her passion for cooking with design expertise, sharing practical and creative ideas. Known for balancing functionality and beauty, Angela’s insightful content has made her a trusted voice in home design and lifestyle.
About the Author
Angela Ervin, an experienced interior designer and blogger, combines her passion for kitchen renovations with storytelling. Living in Petersburg with her family, she enjoys cooking and testing her projects firsthand. Known for her humor and relatable style, Angela shares creative, functional design insights through her content, making her a trusted voice in home design.
Education History
University: Virginia Commonwealth University
Degree: Bachelor of Fine Arts (BFA) in Interior Design
- Angela’s education at VCU focused on mastering core interior design principles, including spatial planning, color theory, materials selection, and sustainable design practices.
- She gained hands-on experience through studio projects and collaborative design exercises, which honed her ability to create functional and aesthetically pleasing environments.
- Her coursework also emphasized problem-solving and practical applications of design, preparing her for real-world projects like her self-directed kitchen renovations.
- The program’s strong foundation in both technical skills and creative expression shaped Angela’s ability to seamlessly integrate form and function in her work.