
A portable dishwasher is an excellent solution for those who need the convenience of a dishwasher but lack built-in space in their kitchen. Unlike traditional dishwashers, portable models are easy to move and connect to almost any faucet, making them perfect for small apartments, rentals, or homes with limited kitchen layouts.
This guide on how to hook up a portable dishwasher will walk you through the step-by-step process, ensuring that you can enjoy spotless dishes with minimal hassle.
Why Choose a Portable Dishwasher?
Before we get into the details of hooking up your portable dishwasher, let’s quickly discuss why you might choose this type of dishwasher in the first place. Here are a few reasons to consider:
Space-saving
As mentioned earlier, portable dishwashers are perfect for small spaces or kitchens with limited layouts. They can be easily wheeled out of sight when not in use, freeing up valuable counter and storage space.
Flexibility
Portable dishwashers can be moved from one place to another with ease, making them a great choice for renters or those who move frequently. They can also be used in different rooms of the house, such as a laundry room or basement if needed.
Convenience
With a portable dishwasher, you don’t have to worry about installation or plumbing work. You simply need access to a faucet and an electrical outlet, and you’re good to go.
8 Step-by-step Guides on How to Hook Up Portable Dishwasher
Step 1: Choose a Location
The first step in hooking up your portable dishwasher is to select an appropriate location. Look for a flat and stable surface that is close to both a sink with a compatible faucet and a grounded electrical outlet. Ensure there is enough space around the dishwasher to allow for easy access to the hoses and connections.
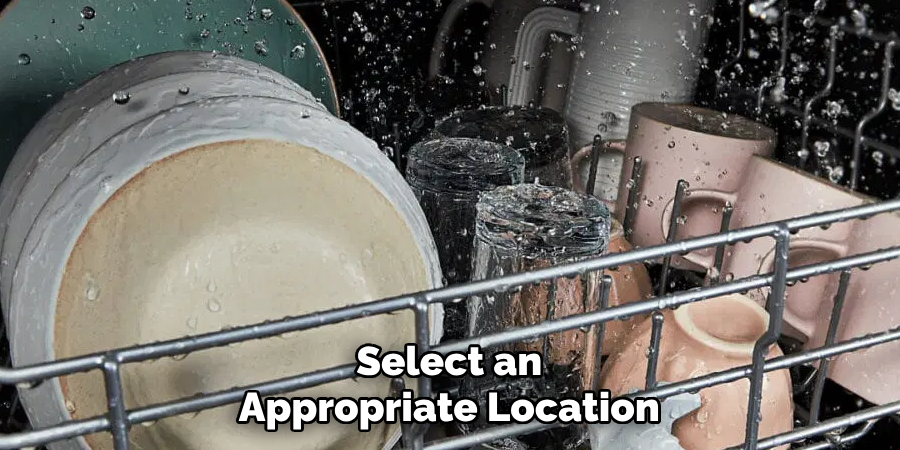
It’s also important to choose a location where the dishwasher can operate without obstructing movement in your kitchen or other areas. Taking the time to find the right spot will make the entire process smoother and more convenient.
Step 2: Prepare the Sink Faucet
Before connecting the portable dishwasher, you need to prepare your sink faucet. Start by removing any aerator or filter from the end of the faucet. You will also need to make sure that there is a male-threaded adapter on the faucet spout. If not, you can purchase one at a local hardware store.
You should also check the faucet for any leaks or damage and fix them before proceeding. If you have a pull-out sprayer faucet, you may need to use an alternative method of connection such as a quick-connect adapter.
Step 3: Connect the Faucet Adapter
Once your sink faucet is ready, it’s time to connect the adapter. Start by screwing in the male-threaded adapter onto the end of your faucet spout. Make sure it is securely attached and won’t fall off during use.
Next, attach the rubber nozzle to the adapter. This is where you will connect one end of your dishwasher hose.
Step 4: Position and Connect Hoses
With the faucet adapter securely in place, position your dishwasher close to the sink to ensure the hoses can easily reach the faucet and drain. Locate the two hoses on the back of the portable dishwasher—one for water intake and the other for draining.
Connect the water intake hose to the faucet adapter by firmly pressing the coupling onto the adapter until it locks into place. Ensure it is securely attached to prevent leaks during operation. Then, place the drain hose into the sink, making sure the end is securely positioned to avoid it slipping out when the water drains. Some models may come with a clip or suction cup to help stabilize the drain hose. Verify that there are no kinks or twists in the hoses to ensure proper water flow.
Step 5: Plug in the Power Cord
Next, plug the dishwasher’s power cord into a grounded electrical outlet. Make sure the outlet is suitable for the appliance and that there are no visible signs of damage or wear on the cord. If you have any concerns about the outlet, it’s best to consult an electrician before using your portable dishwasher.
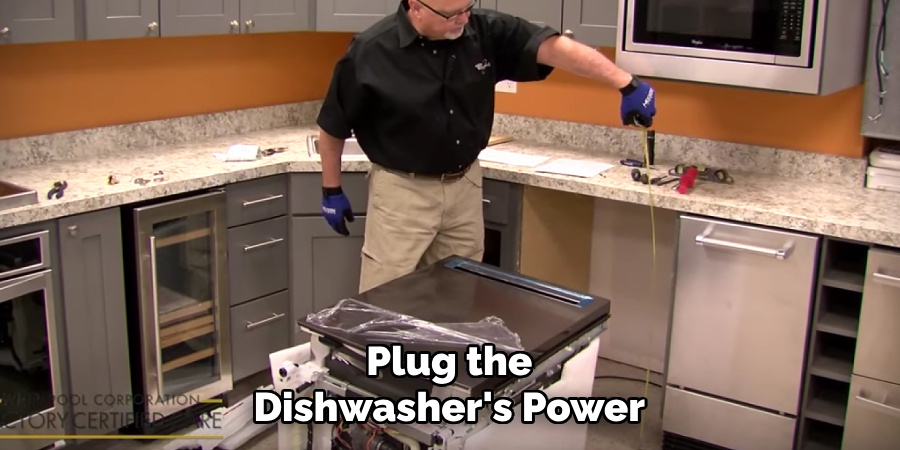
If your outlet is located far from the dishwasher, you may need to use an extension cord. Be sure to choose a heavy-duty extension cord that can handle the wattage of your appliance.
Step 6: Run a Test Cycle
Before loading dirty dishes into your portable dishwasher, it’s essential to run a test cycle first. This will ensure that everything is connected correctly and working as intended. You can follow the manufacturer’s instructions for running a test cycle or simply let the dishwasher run through a full wash and dry cycle with clean, empty racks.
If any issues arise during the test cycle, stop immediately and troubleshoot before proceeding with regular use.
Step 7: Load Dishes
Once the test cycle has confirmed that your portable dishwasher is working correctly, it’s time to load your dishes. Start by scraping off any leftover food or debris from your plates, utensils, and cookware. While the dishwasher will handle cleaning, pre-scraping ensures that no large particles clog the system.
Place larger items like plates and pans on the lower rack, angling them so that water can easily reach all surfaces. Use the upper rack for smaller items such as cups, glasses, bowls, and utensils. Be careful not to overcrowd the racks, as this can prevent water and detergent from reaching all areas and may lead to less effective cleaning.
Step 8: Start the Dishwasher
With your dishes loaded, add detergent according to the manufacturer’s instructions. Then, close the door and press start to begin the cleaning cycle. Depending on the model, you may be able to choose a specific wash cycle, such as light or heavy wash, or delay the start time.
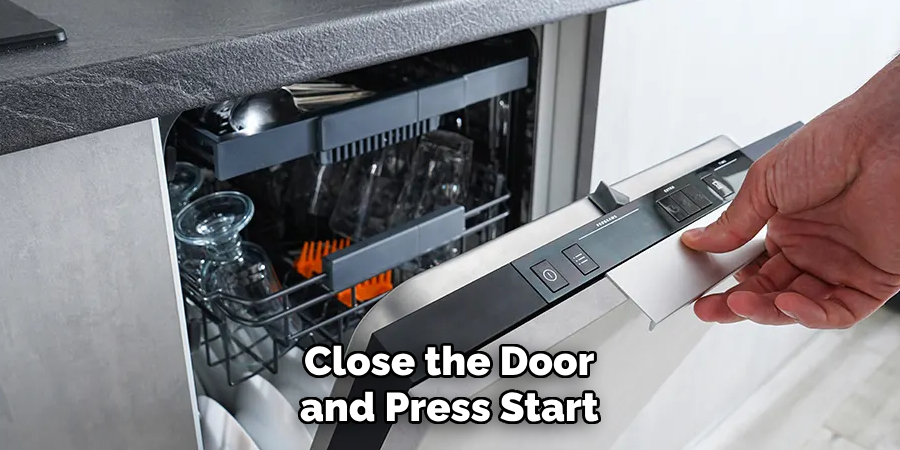
Finally, sit back and relax while your portable dishwasher takes care of the dirty work. Once it has completed the cycle, you can unload clean dishes from your convenient and space-saving appliance.
Following these eight simple steps on how to hook up portable dishwasher, you can easily hook up your portable dishwasher and enjoy the convenience of clean dishes with minimal effort. Remember to properly maintain and clean your appliance to ensure it continues to work effectively for years to come. Happy dishwashing!
Additional Tips
- Always read the manufacturer’s instructions before hooking up or using your portable dishwasher.
- Check the water temperature of your faucet before connecting the dishwasher as most models require hot water to perform efficiently.
- If you are using an extension cord, make sure it is rated for the wattage of your portable dishwasher and never overload the electrical outlet.
- Clean and maintain your dishwasher regularly to prevent buildup of food particles and keep it running smoothly.
- Consider purchasing a water softener if you have hard water in your area, as it can affect the performance of your appliance.
- Invest in a good quality detergent specifically designed for dishwashers to ensure optimal cleaning results.
- Avoid using hand-washing liquid or soap in your portable dishwasher as they may produce too many suds and cause overflow.
- If possible, run your dishwasher during off-peak hours to save on energy costs.
- It’s best to load your dishwasher with a mix of different items, rather than just plates or glasses, to ensure an even distribution of water and detergent for effective cleaning. Overall, portable dishwashers are convenient and efficient appliances that can make dishwashing a breeze. With proper installation and maintenance, your portable dishwasher will continue to provide you with clean dishes without taking up too much space in your kitchen. Happy dishwashing!
Frequently Asked Questions
Q1: Can I Use My Portable Dishwasher on a Countertop or Does It Have to Be Hooked Up to the Sink?
A1: Most portable dishwashers are designed to be connected to a sink, as they require a water source and drainage system. However, there are some smaller models that can fit on countertops and may come with an adapter for direct plumbing connection. Be sure to check the manufacturer’s instructions for specific guidelines before purchasing or using your portable dishwasher on a countertop.
Q2: How Often Should I Clean and Maintain My Portable Dishwasher?
A2: It’s recommended to clean and maintain your portable dishwasher at least once a month or more frequently if you use it regularly. This includes wiping down the inside of the appliance, removing and cleaning filters, and running a cleaning cycle with vinegar or a specialized dishwasher cleaner. Regular maintenance will help keep your dishwasher working effectively and prevent any buildup of food particles that can lead to odors or clogs.
Q3: Can I Load Pots and Pans Into My Portable Dishwasher?
A3: Yes, most portable dishwashers are designed to handle pots and pans as long as they fit comfortably on the lower rack. However, be sure to check your manufacturer’s instructions for any restrictions or recommendations regarding loading certain types of cookware. Also, avoid placing non-dishwasher-safe items such as wooden cutting boards or delicate glassware in your dishwasher. Lastly, do not overload the racks with heavy items as it can affect the balance and performance of your appliance.
Conclusion
Hooking up a portable dishwasher is a simple process that can save you time and effort when handwashing dishes. By following these step-by-step guides on how to hook up portable dishwasher and choosing an appropriate location for your portable dishwasher, you can enjoy clean dishes with minimal effort.
Remember to regularly maintain and clean your appliance for optimal performance and longevity. With a little bit of care, your portable dishwasher will become a valuable addition to your kitchen appliances.
Professional Focus
Angela Ervin, a former interior designer turned blogger, specializes in kitchen design and renovations. Through her website, she blends her passion for cooking with design expertise, sharing practical and creative ideas. Known for balancing functionality and beauty, Angela’s insightful content has made her a trusted voice in home design and lifestyle.
About the Author
Angela Ervin, an experienced interior designer and blogger, combines her passion for kitchen renovations with storytelling. Living in Petersburg with her family, she enjoys cooking and testing her projects firsthand. Known for her humor and relatable style, Angela shares creative, functional design insights through her content, making her a trusted voice in home design.
Education History
University: Virginia Commonwealth University
Degree: Bachelor of Fine Arts (BFA) in Interior Design
- Angela’s education at VCU focused on mastering core interior design principles, including spatial planning, color theory, materials selection, and sustainable design practices.
- She gained hands-on experience through studio projects and collaborative design exercises, which honed her ability to create functional and aesthetically pleasing environments.
- Her coursework also emphasized problem-solving and practical applications of design, preparing her for real-world projects like her self-directed kitchen renovations.
- The program’s strong foundation in both technical skills and creative expression shaped Angela’s ability to seamlessly integrate form and function in her work.